Finding quick, healthy snacks that actually keep you full between meals can feel like searching for a needle in a haystack. Those mid-afternoon energy crashes always seem to hit right when you’re rushing between meetings or trying to power through your to-do list, and grabbing whatever’s convenient usually means reaching for something loaded with sugar.
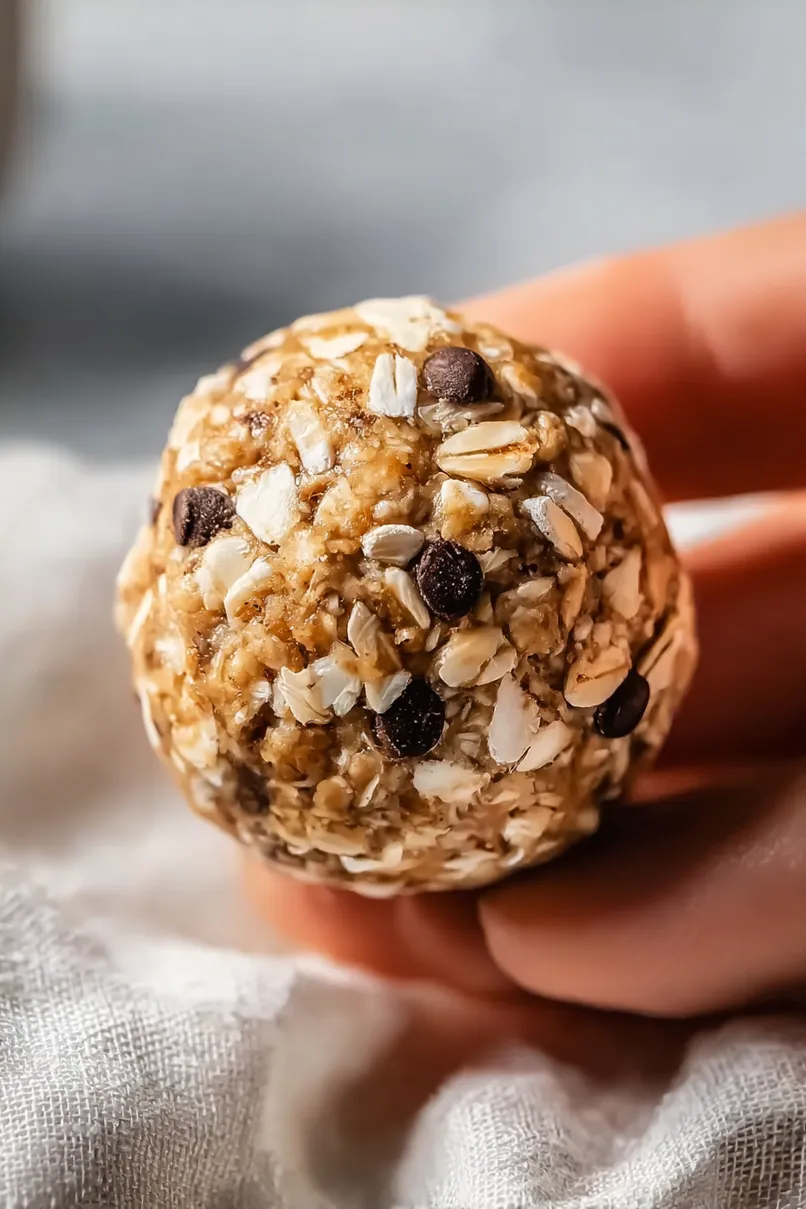
That’s where these peanut butter coconut protein balls come to the rescue: they’re filling and nutritious, take just minutes to whip up, and you can easily make a batch on Sunday to last the whole week. Plus, they’re naturally sweet while still packing plenty of protein to keep those hunger pangs at bay.
Why You’ll Love These Protein Balls
- No-bake convenience – These protein balls require zero oven time – just mix, roll, and they’re ready to enjoy. Perfect for hot summer days when you don’t want to turn on the oven.
- Healthy snacking – Packed with protein from peanut butter and fiber from oats, these balls make an ideal post-workout snack or afternoon pick-me-up that actually keeps you full.
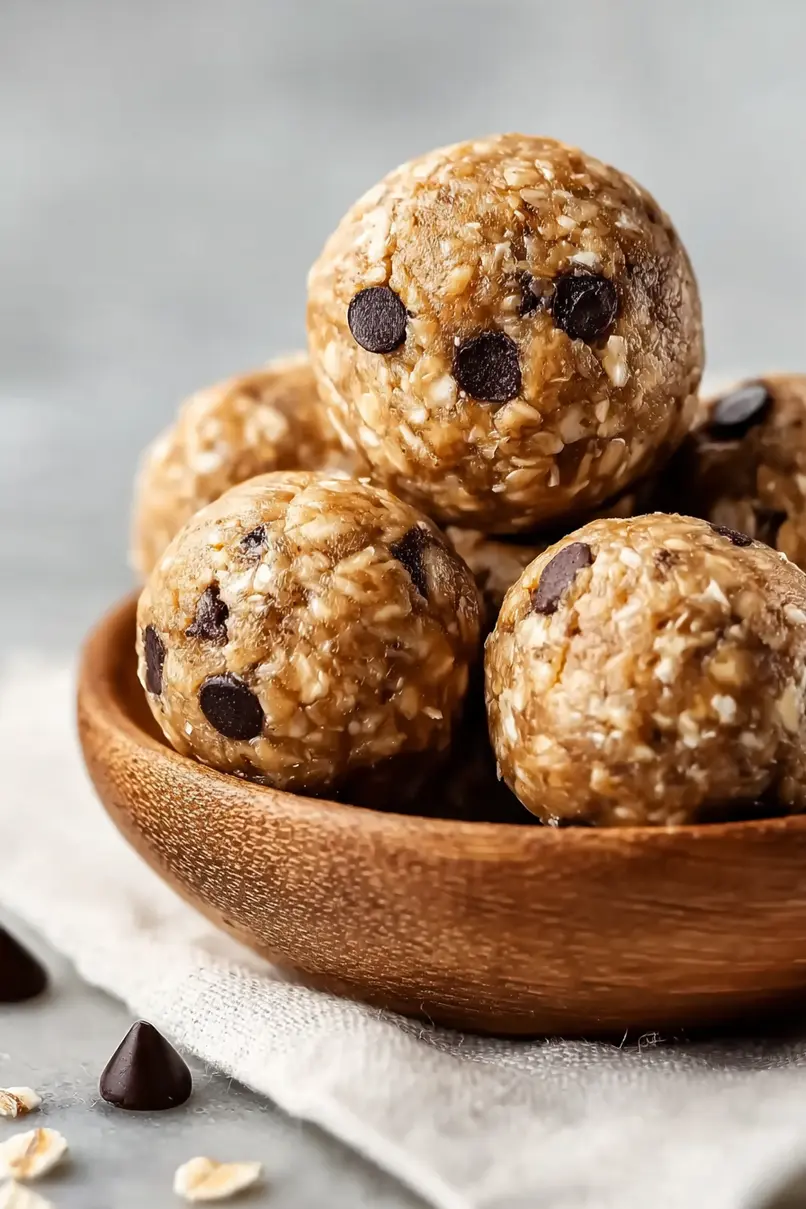
- Make-ahead friendly – You can prepare a batch on Sunday and have ready-to-grab snacks all week long – they store perfectly in the fridge for up to 7 days.
- Simple ingredients – Everything you need is likely already in your pantry, and there’s no complicated techniques or special equipment required.
- Kid-approved treat – The combination of peanut butter, chocolate, and honey makes these protein balls taste like a treat while secretly being nutritious.
What Kind of Peanut Butter Should I Use?
For protein balls, regular smooth peanut butter tends to work better than natural peanut butter since it holds together more reliably. Natural peanut butter can separate and make your mixture too oily or too dry, though you can still use it if you stir it really well first. The most important thing is to avoid chunky peanut butter, as the extra nuts can make it harder to form the balls and keep them together. If your peanut butter is stored in the fridge, let it come to room temperature before mixing – this will make it much easier to work with and help it blend better with the other ingredients.
Options for Substitutions
These protein balls are super adaptable – here’s how you can switch things up:
- Peanut butter: Not a fan of peanut butter or have an allergy? Any nut butter works great here – try almond butter, cashew butter, or sunflower seed butter for a nut-free option. Just make sure it’s the same creamy consistency.
- Honey: You can swap honey with maple syrup or agave nectar. If using maple syrup, you might need to add a bit more oats since it’s slightly thinner than honey.
- Instant oats: Regular rolled oats work too, but you’ll want to pulse them in a food processor a few times to break them down slightly. Steel-cut oats won’t work here as they’re too hard.
- Dried cherries: Feel free to use any dried fruit – cranberries, raisins, chopped apricots, or dates all work well. Just chop larger dried fruits into small pieces.
- Chocolate chips: You can use dark chocolate chips, cacao nibs, or even skip them altogether. White chocolate chips are another tasty option!
- Shredded coconut: Not into coconut? Replace it with chopped nuts, seeds, or more dried fruit. You can also use ground flaxseed for extra nutrition.
Watch Out for These Mistakes While Making
The biggest challenge when making protein balls is getting the right consistency – if your mixture is too dry, the balls won’t hold together, and if it’s too wet, they’ll be sticky and messy to handle. To achieve the perfect texture, start by mixing the peanut butter and honey first, then gradually add the oats until you get a moldable dough that holds its shape when rolled.
Another common mistake is trying to roll the balls immediately after mixing – letting the mixture chill in the refrigerator for 30 minutes makes it much easier to handle and helps the balls maintain their shape.
Temperature control is crucial when working with these no-bake treats – if your hands are too warm while rolling, the chocolate chips will melt and create a mess, so try running your hands under cool water and drying them between batches.
For the best results, store these protein balls in an airtight container in the refrigerator, where they’ll maintain their texture and flavor for up to two weeks.
What to Serve With Protein Balls?
These peanut butter coconut protein balls make a perfect grab-and-go snack, but there are lots of tasty ways to enjoy them as part of a bigger spread! I love serving them alongside a hot cup of coffee or tea for a quick breakfast or afternoon pick-me-up. They’re also great paired with fresh fruit like sliced apples or bananas, which complement the peanut butter flavor perfectly. For a more substantial snack plate, try arranging them with some Greek yogurt for dipping and a handful of mixed nuts to add even more protein to your snack time.
Storage Instructions
Keep Fresh: These protein balls stay fresh in an airtight container in the fridge for up to 2 weeks. I like to place a piece of parchment paper between layers to prevent them from sticking together. They’re perfect for grabbing when you need a quick snack!
Freeze: Want to make a big batch? These little energy bites freeze really well! Just pop them in a freezer-safe container or zip-top bag and they’ll keep for up to 3 months. I often make a double batch and freeze half for later.
Thaw: When you’re ready to enjoy your frozen protein balls, just transfer them to the fridge the night before. They’ll be perfectly chewy by morning! You can also let them sit at room temperature for about 30 minutes if you’re in a hurry.
| Preparation Time | 10-15 minutes |
| Cooking Time | 0 minutes |
| Total Time | 30-45 minutes |
| Level of Difficulty | Easy |
Estimated Nutrition
Estimated nutrition for the whole recipe (without optional ingredients):
- Calories: 2500-2700
- Protein: 50-60 g
- Fat: 100-120 g
- Carbohydrates: 350-400 g
Ingredients
- 3/4 cup smooth peanut butter (I use Jif creamy peanut butter)
- 3 cups instant oats
- 1/2 cup mini chocolate chips
- 1/2 cup natural honey
- 1/2 cup shredded coconut
- 1/2 cup dried cherries (chopped for even distribution)
Step 1: Mix the Ingredients
In a large mixing bowl, combine all of the ingredients.
Stir everything together until you have a well-combined dough.
Make sure all the ingredients are evenly distributed throughout the mixture to ensure a consistent flavor in each protein ball.
Step 2: Scoop and Shape the Dough
Using a 3/4-inch cookie dough scooper, scoop portions of the dough.
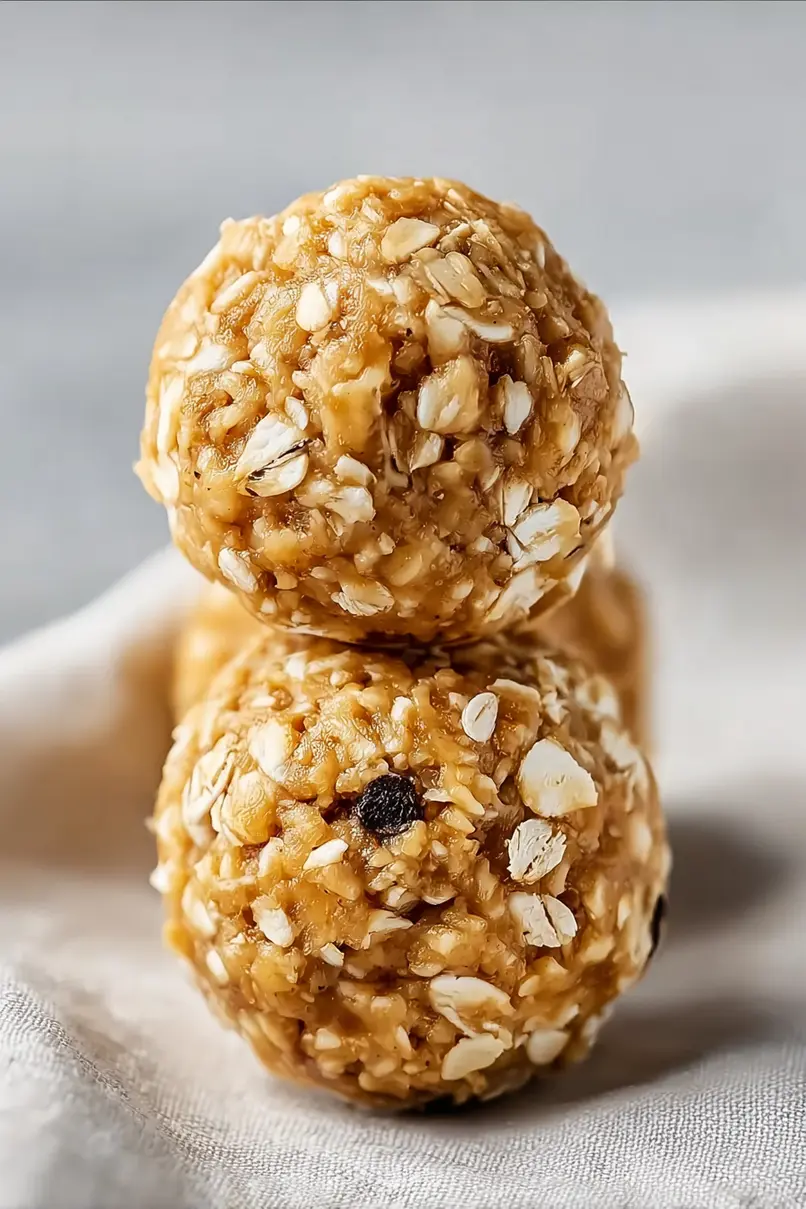
Roll each portion between your hands until it forms a smooth ball.
This will help the protein balls maintain their shape and have a nice, polished appearance.
Step 3: Chill the Protein Balls
Place all the formed protein balls on a plate or on parchment paper set atop a pan.
Transfer the pan to the refrigerator and let the protein balls chill for 30 minutes.
This will help them firm up and hold their shape.
Step 4: Store Properly
After the protein balls have chilled, transfer them to an airtight container.
For best freshness, store the container in the refrigerator.
Enjoy as a quick snack or an on-the-go energy boost!
