Growing up, I thought ice cream only came from the store or those fancy parlors downtown. My first homemade batch was a disaster – I used whole eggs and ended up with something that tasted more like frozen scrambled eggs than dessert.
That’s because I didn’t know the secret that pastry chefs have known forever – using just the yolks makes ice cream incredibly smooth and rich. While regular ice cream is good, this egg yolk vanilla version is the recipe that changed everything for me. It takes a bit more effort than grabbing a carton from the freezer, but trust me, it’s worth it.
Why You’ll Love This Vanilla Ice Cream
- Rich and creamy texture – Using egg yolks creates that smooth, silky texture you find in premium ice cream shops – it’s the secret to making restaurant-quality ice cream at home.
- Simple ingredients – You only need 6 basic ingredients that you probably already have in your kitchen to make this classic dessert.
- Customizable base – This vanilla ice cream works perfectly on its own, but it’s also great as a base for adding mix-ins like cookies, nuts, or fruit.
- Better than store-bought – No artificial ingredients or preservatives here – just pure, fresh ingredients that make this ice cream taste so much better than anything from the grocery store.
What Kind of Egg Yolks Should I Use?
Fresh eggs are key for making smooth, creamy ice cream, so try to use the freshest eggs you can find. The yolks from regular large chicken eggs work perfectly fine, though some folks like to splurge on farm-fresh eggs since their yolks tend to have a deeper orange color and richer flavor. When separating your eggs, make sure they’re cold from the fridge – this makes it easier to separate the whites from the yolks without breaking them. Just let the separated yolks come to room temperature before using them in your ice cream base, which helps them blend more smoothly with the other ingredients.
Options for Substitutions
Let’s talk about what you can (and can’t) swap in this ice cream recipe:
- Egg yolks: This is a French-style ice cream where egg yolks are crucial for that creamy texture – I wouldn’t recommend substituting these. However, if you need an egg-free version, you’ll want to look for a Philadelphia-style ice cream recipe instead.
- Half and half: You can make your own half and half by mixing equal parts heavy cream and whole milk. Or use all heavy cream for a richer ice cream, though you might want to reduce it to 1 3/4 cups since it’s thicker.
- Vanilla extract/paste: Feel free to swap between vanilla extract, paste, or a whole vanilla bean (scrape out the seeds). If using a vanilla bean, add it while heating the cream. In a pinch, you can use vanilla powder – start with 1 teaspoon and adjust to taste.
- Granulated sugar: Regular white sugar works best here, but you can use caster sugar too. Don’t substitute with liquid sweeteners like honey or maple syrup as they’ll affect the texture and freezing process.
Watch Out for These Mistakes While Cooking
The biggest challenge when making egg yolk ice cream is accidentally scrambling the eggs during the tempering process – to prevent this, slowly stream the hot cream mixture into the egg yolks while whisking constantly, and never let the custard base boil.
Temperature control is crucial throughout the process, so keep a close eye on your thermometer and remove the custard from heat as soon as it reaches 175°F (79°C), or when it coats the back of a spoon and holds a clear line when you run your finger through it.
Many home cooks skip the straining step, but passing your custard through a fine-mesh sieve before chilling will remove any tiny bits of cooked egg and ensure your ice cream is perfectly smooth.
For the creamiest texture, make sure your custard base is completely cold before churning (at least 4 hours in the fridge, or better yet, overnight), and don’t skip the final freezing step – letting your churned ice cream firm up in the freezer for at least 4 hours will give you that perfect scoop-able consistency.

What to Serve With Egg Yolk Ice Cream?
This rich, custard-style ice cream pairs perfectly with warm desserts since the contrast in temperatures makes every bite more interesting! Try serving it alongside a slice of warm apple pie or brownie fresh from the oven – the ice cream will create lovely melty pools as it mingles with the warm dessert. For a simple weeknight treat, spoon this creamy ice cream over fresh berries or sliced peaches in the summer, or drizzle it with some warm caramel sauce and a sprinkle of sea salt. If you’re feeling fancy, sandwich a scoop between two homemade cookies for an ice cream sandwich that’ll make store-bought versions seem boring in comparison.
Storage Instructions
Keep Cold: Once your ice cream is churned, transfer it to a freezer-safe container. The ice cream will stay fresh in your freezer for up to 2 weeks. Pro tip: press a piece of plastic wrap directly on the surface of the ice cream before putting the lid on – this helps prevent ice crystals from forming!
Freeze: For the best texture, store your ice cream towards the back of the freezer where the temperature is most consistent. Try to keep it below 0°F (-18°C) to maintain that smooth, creamy consistency we all love.
Serve: Take your ice cream out of the freezer about 5-10 minutes before serving to let it soften slightly – this makes scooping easier and brings out the vanilla flavor. If it gets too soft, just pop it back in the freezer for 30 minutes to firm up again.
| Preparation Time | 15-30 minutes |
| Cooking Time | 20-30 minutes |
| Total Time | 35-60 minutes |
| Level of Difficulty | Medium |
Estimated Nutrition
Estimated nutrition for the whole recipe (without optional ingredients):
- Calories: 800-900
- Protein: 10-12 g
- Fat: 45-50 g
- Carbohydrates: 90-100 g
Ingredients
- 1 vanilla bean
- 1 1/2 tsp vanilla extract
- 2 cups half and half (or whole milk for a lighter ice cream)
- 1/8 tsp salt
- 5 large egg yolks (from pasture-raised eggs for richer color)
- 2/3 cup granulated sugar
Step 1: Prepare and Whisk the Egg Mixture
Gather the ingredients: 5 large egg yolks (or 85g), 2/3 cup (135g) granulated white sugar, a pinch of salt (about 1/8 teaspoon), 2 cups (480ml) half and half, and 1.5 teaspoons of pure vanilla extract or vanilla paste.
In a heatproof bowl, combine the egg yolks, sugar, and salt.
Whisk these together until the mixture becomes light and fluffy, ensuring the sugar is well incorporated with the egg yolks.
Step 2: Heat and Combine the Ingredients
In a separate saucepan, heat the half and half until it starts to foam and bubble around the edges, either on the stove or using a microwave.
Gradually add the hot half and half to the egg yolk mixture while whisking continuously.
This step helps temper the eggs and prevent them from scrambling.
Step 3: Cook the Custard
Pour the tempered egg mixture back into a saucepan, set over simmering water.
Stir constantly while cooking the mixture until it reaches 170°F (77°C) or thickens enough to coat the back of a wooden spoon.
This step ensures your custard has the right consistency for ice cream.
Step 4: Add Vanilla and Chill
Remove the custard from heat and stir in the vanilla extract or vanilla paste.
For an extra vanilla flavor, scrape the seeds from a vanilla bean into the custard, and then add the whole bean as well.
Allow the custard to cool to room temperature.
Cover the mixture with plastic wrap and refrigerate it for several hours, or overnight, to chill completely.
Step 5: Churn the Ice Cream
Once the custard is chilled, remove the vanilla bean if you used one.
Prepare your ice cream machine according to the manufacturer’s instructions.
Pour the custard into the ice cream machine, filling it about halfway to two-thirds full to allow for expansion during churning.
Churn the ice cream for about 25-30 minutes until it reaches a soft-serve consistency.
Step 6: Freeze or Serve
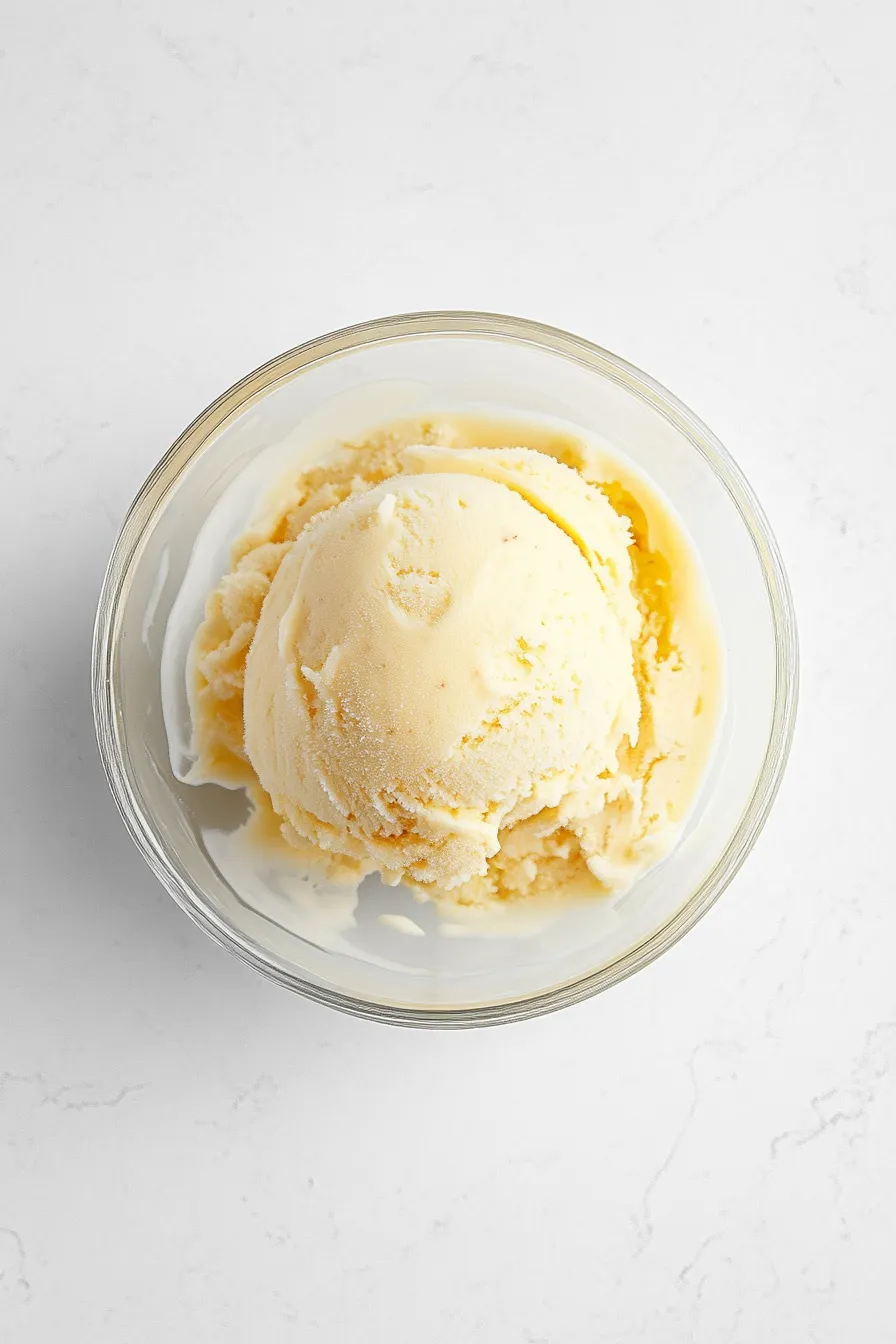
Transfer the churned ice cream to a covered container and freeze it for a couple of hours to firm up, or enjoy immediately if you prefer a softer texture.
If you don’t have an ice cream machine, pour the cold custard into a shallow metal container and freeze it, stirring every 30-45 minutes for a couple of hours until it reaches the desired consistency.
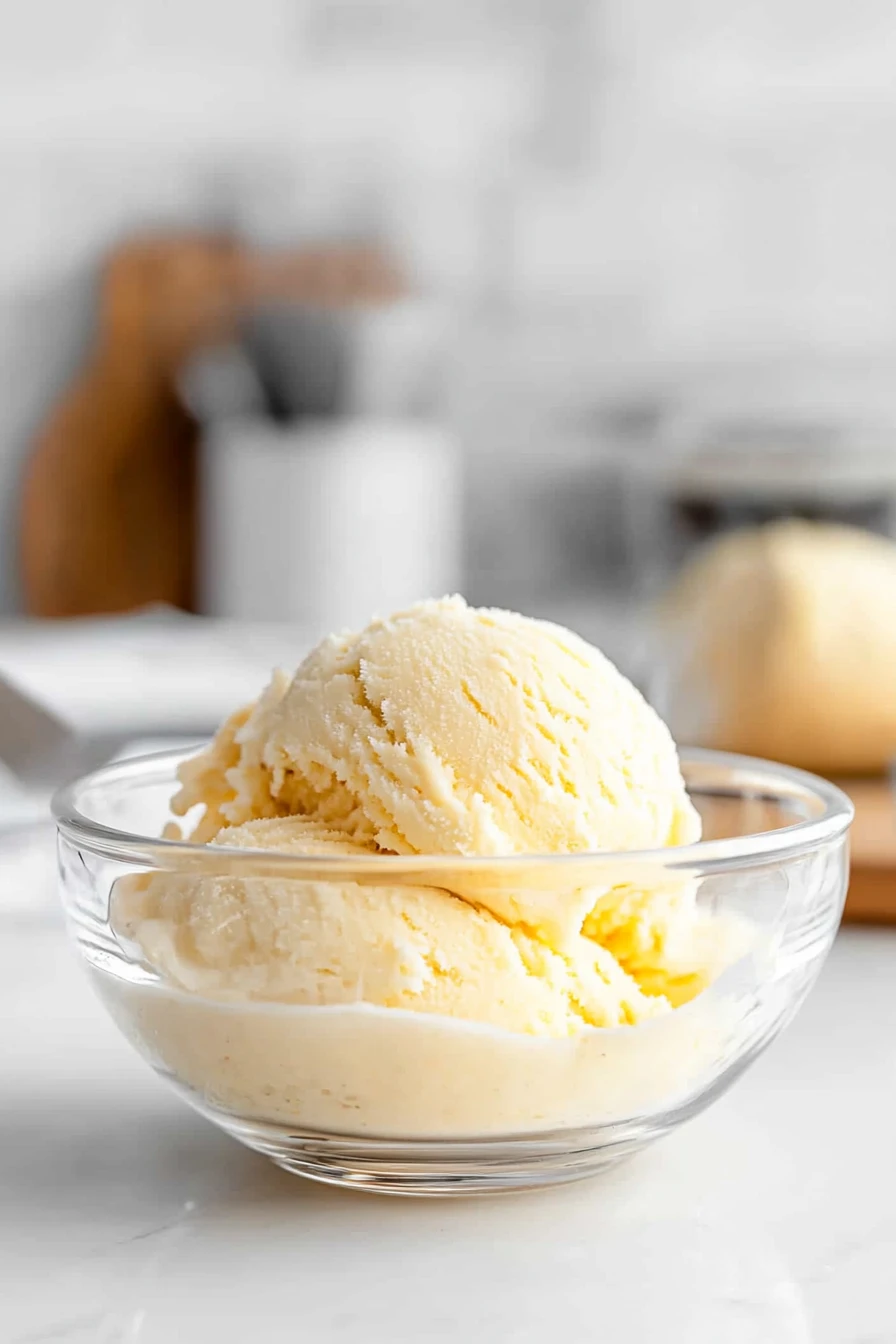
Serve your homemade vanilla ice cream and enjoy!
