You know that feeling when your hydrangeas just sit there doing nothing all season? Yeah, I’ve been there too. The good news is that those sleepy plants are probably just waiting for the right push to snap out of it.
Sometimes they need a little wake-up call to remember what they’re supposed to do—and trust me, when they finally get going, you’ll see way more blooms than you expected. Let’s talk about how to make that happen.
1) Prune at the Right Time

Timing your pruning sessions can make or break your hydrangea’s blooming potential. Different varieties bloom on either old wood or new wood, so you need to know what type you have before grabbing those shears.
Bigleaf and oakleaf hydrangeas bloom on old wood, meaning they set buds in late summer for next year’s flowers—prune these right after they finish blooming in summer.
Panicle and smooth hydrangeas bloom on new wood, so you can safely trim them in late winter or early spring before new growth starts. One wrong cut at the wrong time means saying goodbye to an entire season of flowers.
2) Test Your Soil pH

Your hydrangea’s color actually depends on the pH level of your soil, so testing it can help you understand what’s going on with your blooms. Pick up a soil test kit from any garden center for around $10—it takes just a few minutes.
Hydrangeas in acidic soil (pH below 6) tend to produce blue flowers, while alkaline soil (pH above 7) leads to pink ones. If your soil is too far in either direction, your plant might struggle to absorb nutrients, which affects bloom production. Testing gives you a baseline so you can adjust with amendments like sulfur or lime if needed.
3) Add Compost Around Base
Spreading a few inches of compost around your hydrangea’s base is like serving breakfast in bed to a tired plant. The organic matter feeds beneficial soil microbes while slowly releasing nutrients that hydrangeas actually need.
Apply it in early spring before new growth starts, keeping the compost about three inches away from the main stem to prevent rot. A two to three-inch layer works well for most established plants.
As the compost breaks down throughout the growing season, it improves soil structure and helps retain moisture—two things hydrangeas really appreciate. Reapply each spring for best results, especially in zones 5-9 where these shrubs thrive.
4) Water Deeply and Consistently
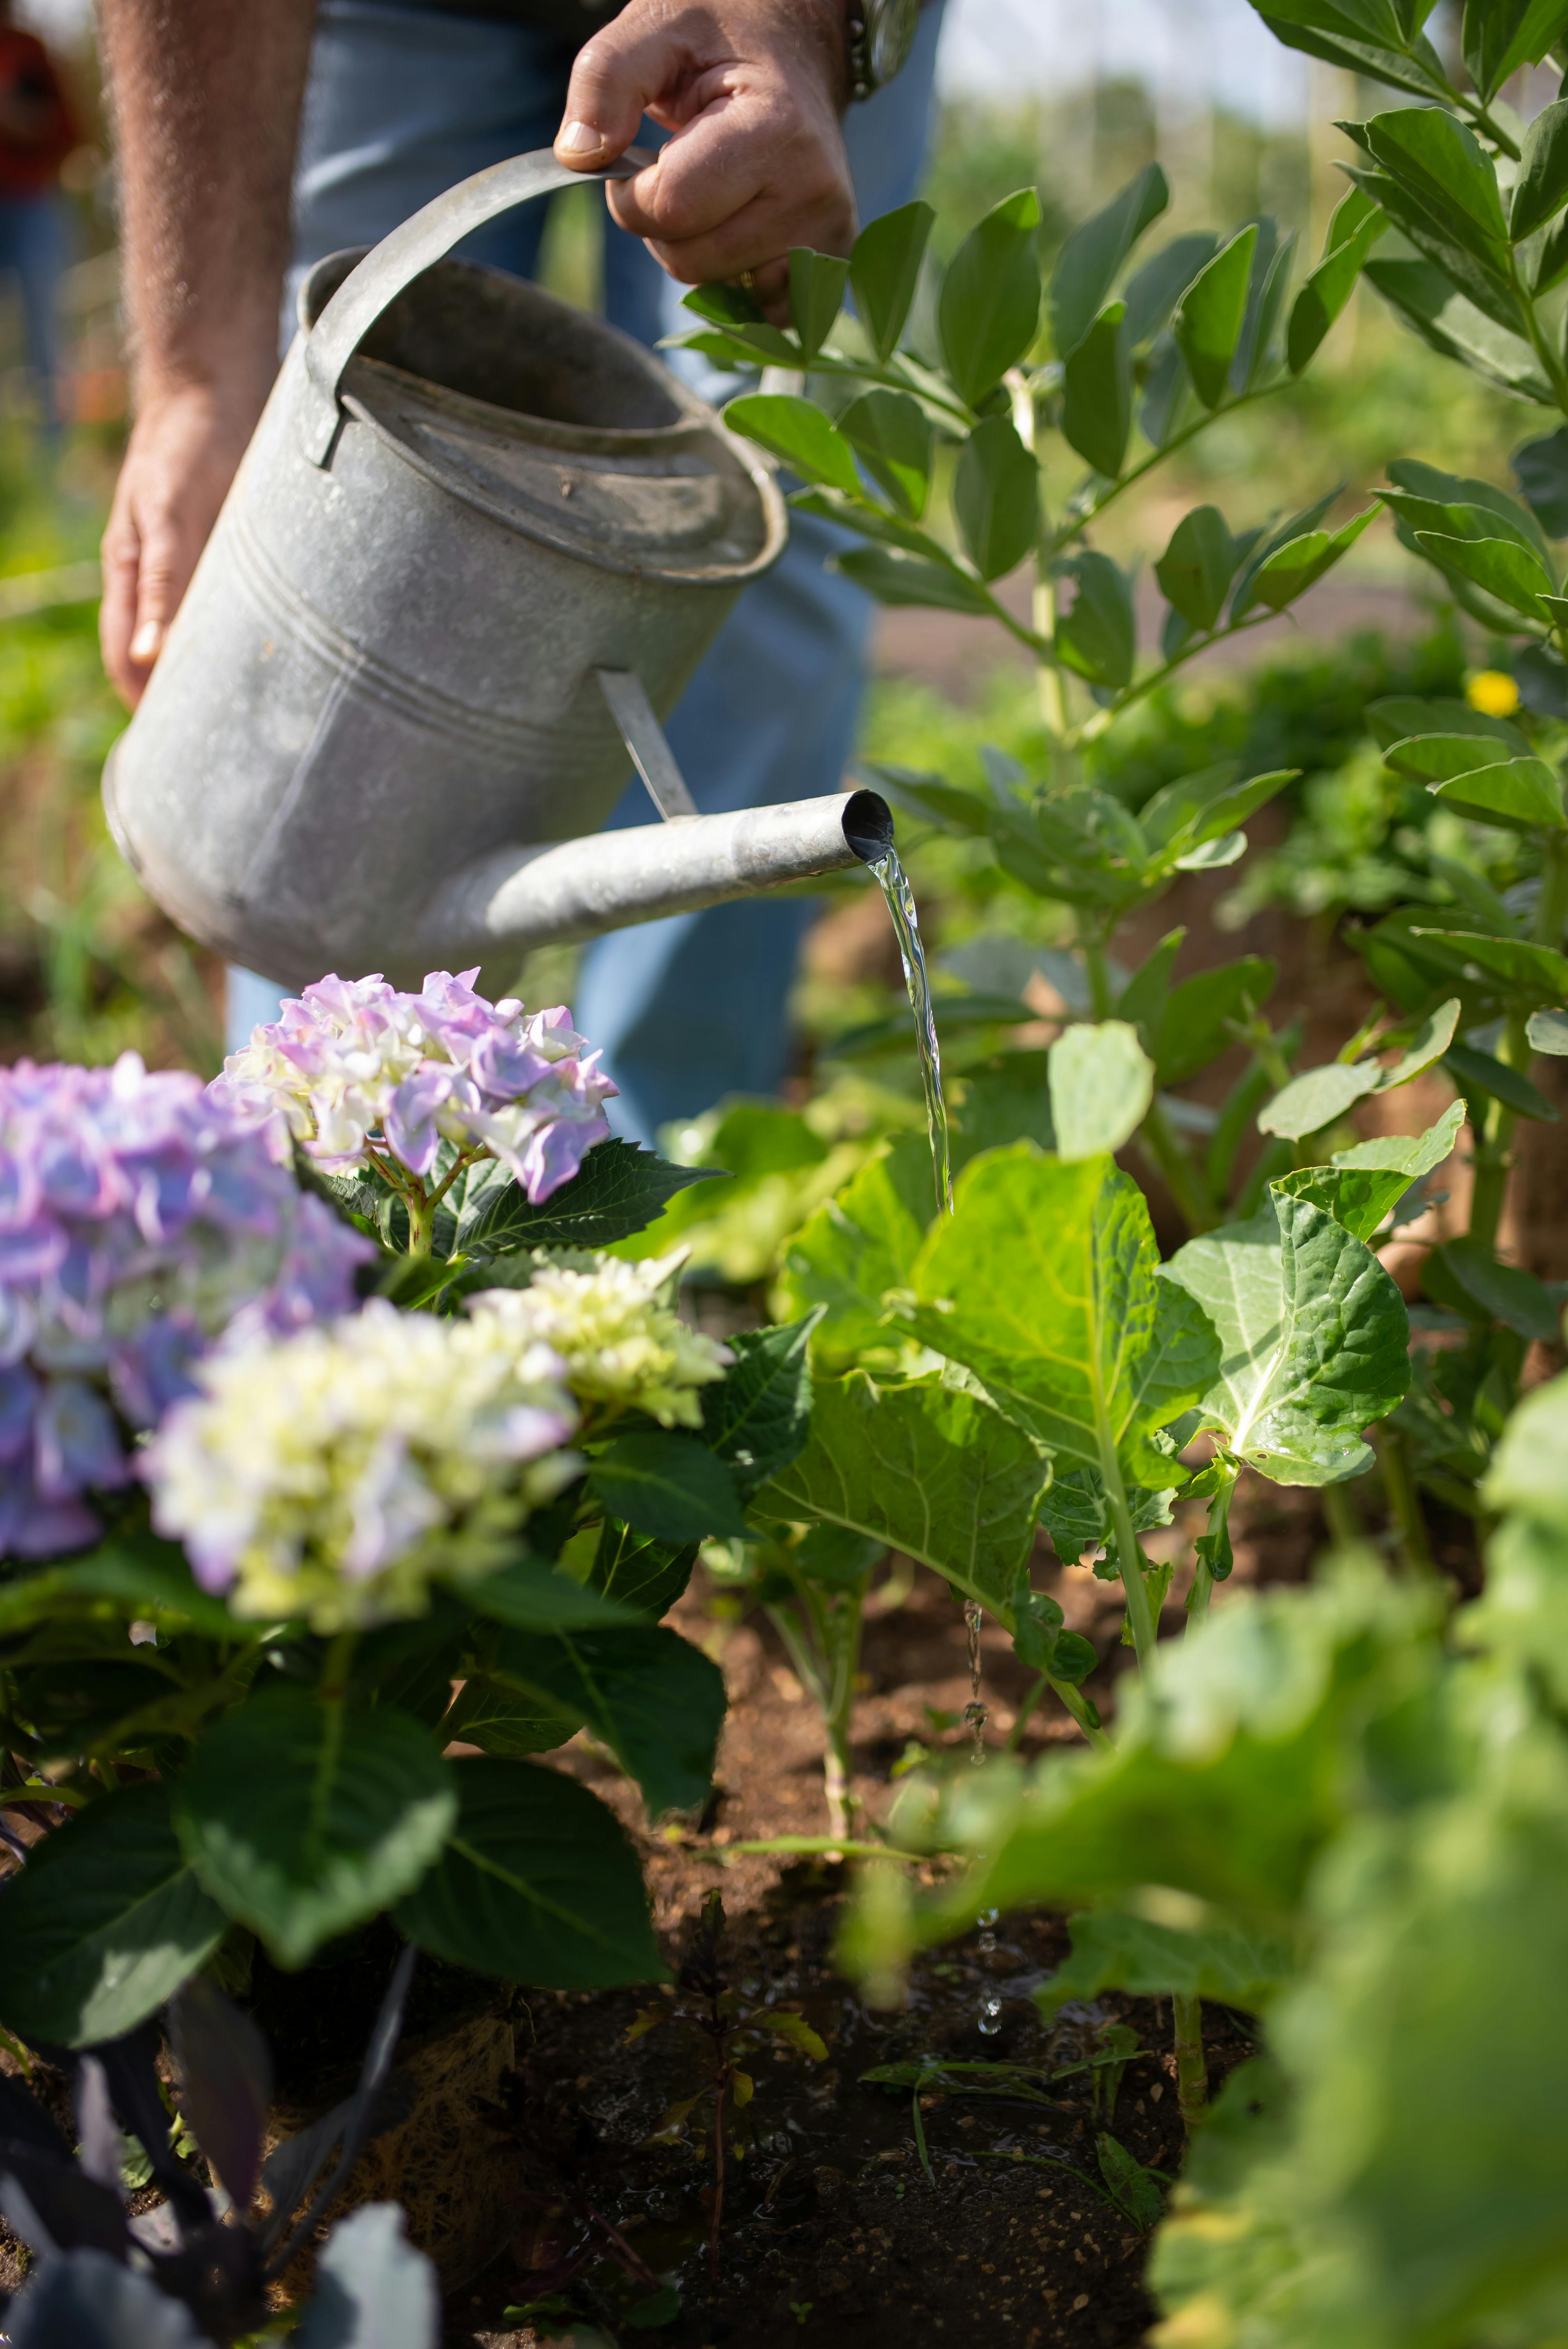
Hydrangeas need about one inch of water per week, but here’s the trick most gardeners miss: deep watering beats frequent shallow watering every time. When you water deeply, you’re encouraging roots to grow down instead of staying near the surface.
Grab a soaker hose or water at the base for 30-45 minutes, two to three times per week depending on your climate. Morning watering works best since it gives leaves time to dry before nightfall.
During hot summer months or if you’re in zones 7-9, you might need to water more often. Stick your finger two inches into the soil—if it’s dry, it’s time to water.
5) Apply Balanced Fertilizer

Give your hydrangeas a good meal in early spring when new growth starts appearing. Choose a balanced fertilizer with equal parts nitrogen, phosphorus, and potassium (look for 10-10-10 on the label).
Apply it once a month from March through July, then stop so your plants can prepare for winter dormancy. Too much nitrogen will give you lots of green leaves but fewer flowers, so stick to that balanced ratio.
Water the soil before and after fertilizing to prevent root burn. Slow-release granular formulas work well since they feed your plants steadily over several weeks, making the job easier for you.
6) Mulch for Moisture Retention

A thick layer of organic mulch around your hydrangeas helps lock in soil moisture and keeps roots cool during hot weather. Spread 2-3 inches of shredded bark, wood chips, or compost in a circle around the base, leaving a few inches of space near the stem to prevent rot.
The mulch breaks down over time and feeds nutrients back into the soil, which your hydrangeas will appreciate. Reapply mulch each spring and fall to maintain consistent moisture levels.
This works especially well in zones 5-9 where summer heat can stress plants. Your hydrangeas will reward you with better blooms when their roots stay comfortable and hydrated.
7) Remove Dead Wood First

Start your hydrangea spring cleanup by grabbing your pruning shears and cutting away any dead or damaged branches. Dead wood is easy to spot—it’s brittle, gray, and won’t have any signs of swelling buds.
Make your cuts at a 45-degree angle just above where you see healthy, green tissue. This simple step does two things: it stops your plant from wasting energy on branches that won’t produce flowers, and it improves air circulation throughout the shrub.
Early spring, before new growth really takes off, is the best time for this task. You’ll be surprised how much better your hydrangea looks after removing the deadwood.
8) Ensure Proper Sun Exposure

Getting your hydrangeas the right amount of sunlight can make or break their blooming potential. Most varieties prefer morning sun and afternoon shade, especially in warmer climates.
If your hydrangeas aren’t flowering, check whether they’re getting too much direct afternoon sun, which can stress them out, or too much shade, which limits flower production.
Oakleaf and smooth hydrangeas handle more sun than bigleaf types. In zones 3-6, you can usually get away with full sun, but gardeners in zones 7-9 should aim for four to six hours of morning light.
Watch your plants during the hottest part of the day to see if they’re wilting—that’s your cue to provide more shade.
9) Protect from Late Frosts
Late spring frosts can damage emerging hydrangea buds and set back your bloom schedule by weeks or even months. Keep an eye on weather forecasts once your hydrangeas start leafing out in early spring.
When frost is predicted, cover plants with old bedsheets, burlap, or frost cloth in the evening, making sure the material reaches the ground to trap heat. Remove covers once morning temperatures rise above freezing.
For potted hydrangeas, simply move them against your house or into a garage overnight. This extra effort pays off with fuller blooms come summer.
10) Divide Overcrowded Clumps
When hydrangeas grow in the same spot for several years, they form thick, crowded clumps that compete for water and nutrients. If your plant looks cramped or produces fewer flowers than before, it’s time to divide.
Early spring or fall works best for this task—just dig up the entire root ball and use a sharp spade to split it into sections. Each division should have at least three to five healthy shoots.
Replant the sections with plenty of space between them, water thoroughly, and add a layer of mulch. You’ll notice stronger growth and more blooms the following season as each plant gets the resources it needs.
11) Add Epsom Salt Boost

Your hydrangeas might just need a little magnesium to get those blooms going strong. Epsom salt delivers exactly that, helping your plants produce more flowers and greener leaves.
Mix one tablespoon of Epsom salt per gallon of water and apply it to the soil around your hydrangeas monthly during the growing season (spring through summer).
You can also sprinkle dry Epsom salt around the base of the plant and water it in—use about a tablespoon for small plants and up to a quarter cup for larger, established shrubs.
This simple trick works especially well if your soil is low in magnesium, which is common in sandy or heavily leached soils.
12) Check for Root Problems

Sometimes your hydrangea’s lackluster performance comes down to what’s happening underground. Gently dig around the base of your plant to inspect the roots.
Healthy roots should be white or cream-colored and firm to the touch. If you spot black, mushy, or circling roots, that’s your problem right there. Root rot often stems from poor drainage or overwatering, while circling roots happen when plants stay pot-bound too long.
Trim away any damaged roots with clean pruners, improve your soil drainage with compost, and make sure you’re not drowning your hydrangea with too much water. A healthy root system means better blooms come spring.
13) Adjust Aluminum Sulfate Levels

Want blue hydrangeas instead of pink ones? Aluminum sulfate is your secret weapon. When you add it to acidic soil (pH below 6), hydrangeas absorb aluminum through their roots, which turns the blooms blue.
Mix one tablespoon per gallon of water and apply monthly during the growing season, starting in early spring. Just remember this only works on certain varieties—white hydrangeas won’t change color no matter what you do.
Test your soil pH first, because if it’s already alkaline, you’ll need to adjust that before the aluminum sulfate can work its magic. Keep applications consistent for the best color results.
14) Remove Spent Blooms Properly

Deadheading your hydrangeas the right way can make a real difference in next season’s flower production. Here’s the thing—timing matters depending on your variety.
For bigleaf and oakleaf hydrangeas, only remove faded flowers back to the first set of healthy leaves in late summer, since they bloom on old wood.
Panicle and smooth hydrangeas bloom on new growth, so you can cut them back harder in late winter or early spring. Don’t just snap off the dead blooms—use clean pruners and make cuts at a slight angle just above a bud node.
This encourages your plant to focus energy on developing strong buds for the following year.
15) Increase Phosphorus for Buds
Want bigger, showier hydrangea blooms? It’s time to think about phosphorus. While nitrogen helps leaves grow green, phosphorus is what your hydrangeas need to produce those flower buds you’re after.
Look for a fertilizer with a higher middle number (like 10-20-10 or 5-10-5) and apply it in early spring before buds form. Bone meal is a good organic option that releases phosphorus slowly.
Just scratch it into the soil around your plant’s base. Be careful not to overdo it—too much phosphorus can actually prevent your hydrangeas from absorbing other nutrients. Feed once in spring and again in early summer for best results.
