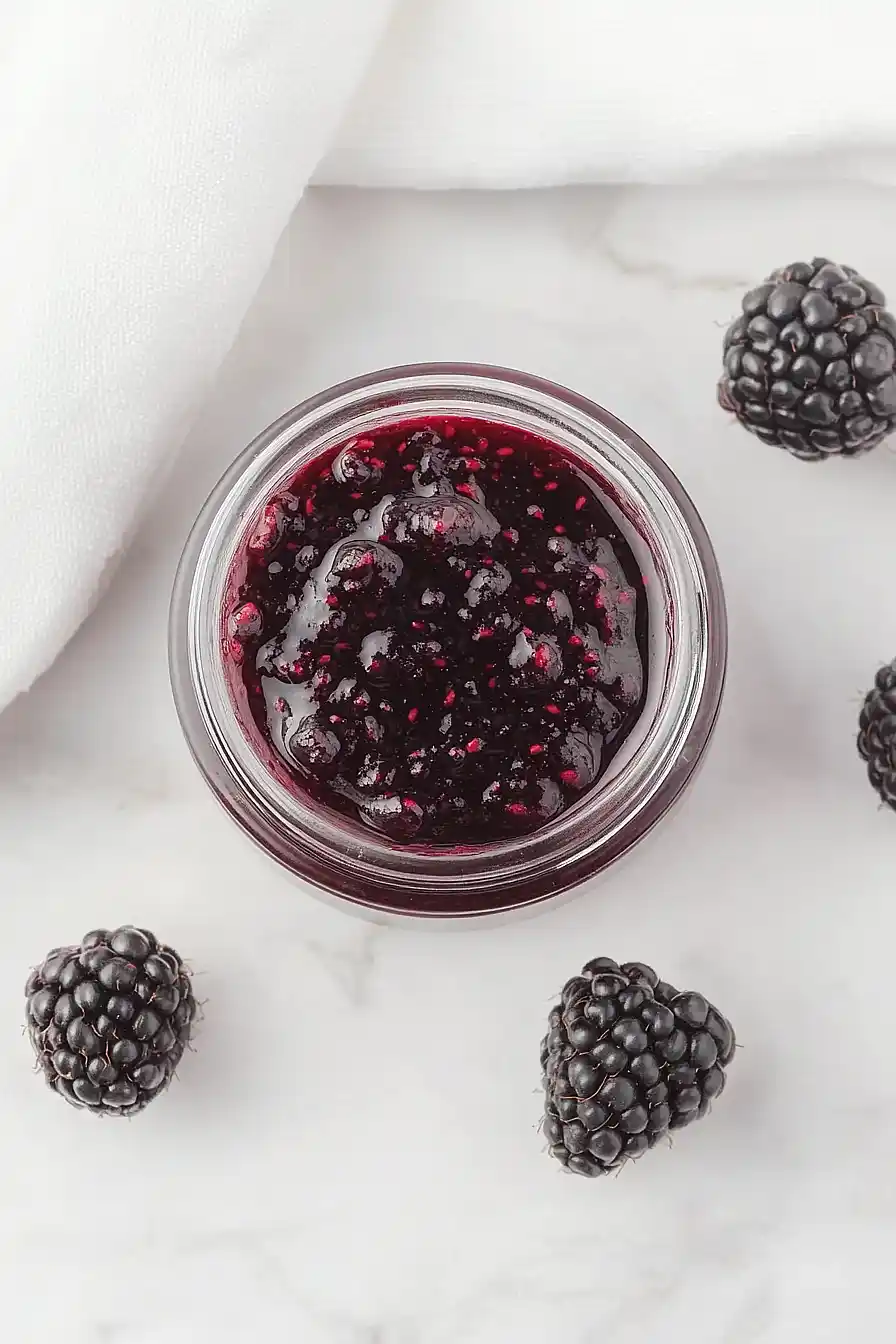
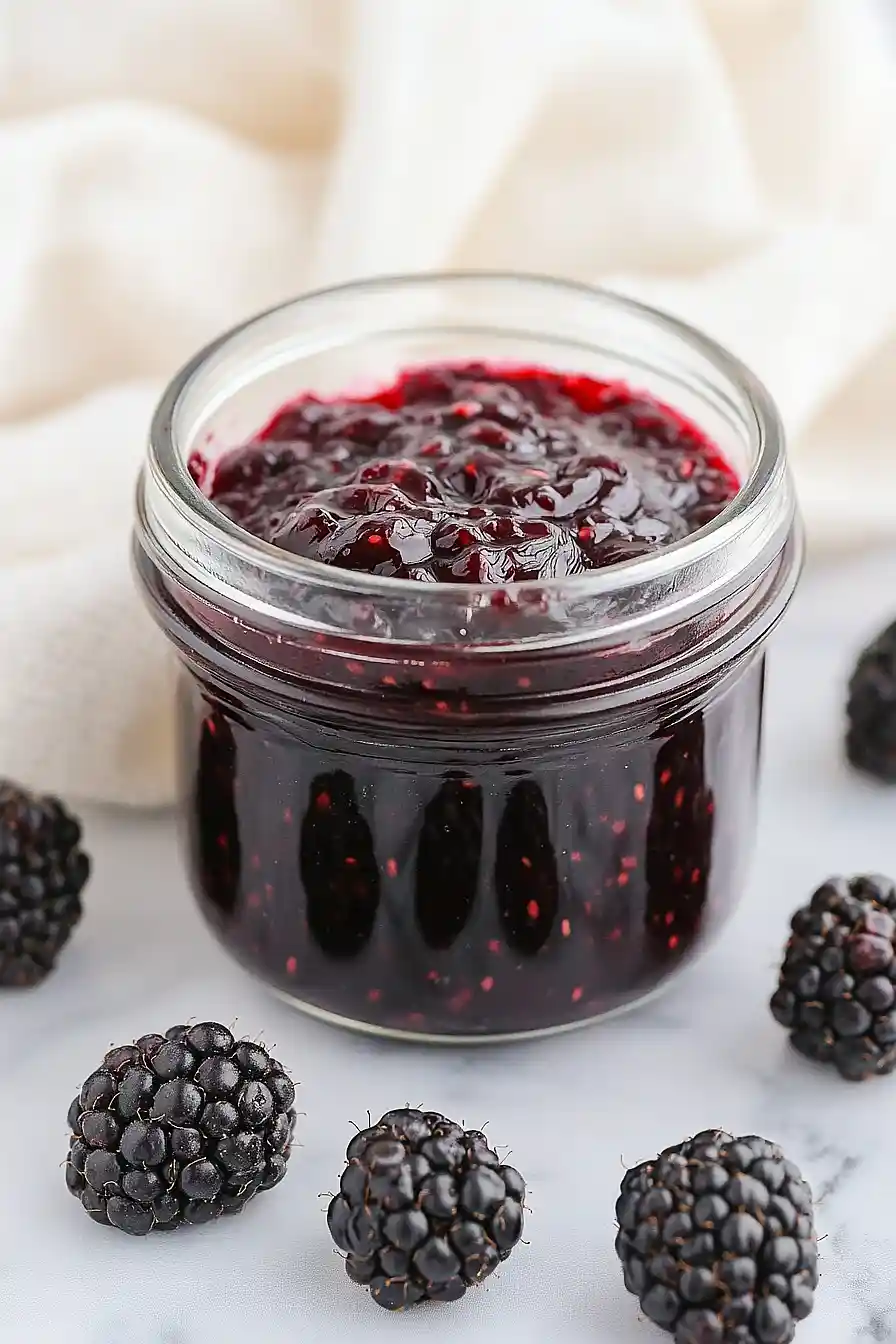
I didn’t know black raspberries were even a thing until I moved to Portland. Growing up, we only had regular red raspberries at the grocery store. Then I discovered these little dark purple gems at the farmers market, and wow—they pack so much more flavor than their red cousins.
The thing about black raspberry jam is that it’s tricky to find in stores, but surprisingly easy to make at home. These berries have a short season, usually just a few weeks in summer, so when you see them, grab as many as you can. Trust me, you’ll want to make enough jam to last through winter.
Why You’ll Love This Black Raspberry Jam
- Only three ingredients – You just need black raspberries, sugar, and lemon juice – that’s it! No pectin or complicated additives required.
- Quick and easy – This jam comes together in under 40 minutes, so you can have homemade jam ready in less time than it takes to run to the store.
- Natural and homemade – You know exactly what goes into your jam – no preservatives or artificial ingredients like store-bought versions.
- Perfect for beginners – If you’ve never made jam before, this simple recipe is a great place to start and build your confidence in the kitchen.
- Great way to use fresh berries – When black raspberries are in season, this recipe helps you preserve their sweet-tart flavor to enjoy all year long.
What Kind of Black Raspberries Should I Use?
Fresh black raspberries will give you the best flavor and texture for your jam, but frozen ones work just as well if that’s what you have on hand. If using frozen berries, there’s no need to thaw them first – just add them directly to your pot and they’ll break down as they cook. Look for berries that are deep purple-black in color and avoid any that are mushy or have white fuzzy mold. You can also mix in a few slightly underripe berries since they contain more natural pectin, which helps your jam set properly without needing to add store-bought pectin.
Options for Substitutions
This simple jam recipe has room for a few tweaks, but some ingredients are pretty important:
- Black raspberries: If you can’t find black raspberries, regular red raspberries work perfectly and taste just as good. You can also try blackberries, but they’ll give you a slightly different texture and flavor profile.
- Sugar: You can reduce the sugar to 1½ cups if you prefer less sweetness, but don’t go lower than that or your jam might not set properly. Honey can replace up to half the sugar, but add it gradually and expect a softer set.
- Lemon juice: Fresh lemon juice is best, but bottled works in a pinch. Don’t skip this ingredient entirely – the acid helps the jam set and balances the sweetness. If you’re out of lemons, try lime juice or even a splash of white vinegar.
Watch Out for These Mistakes While Cooking
The biggest mistake when making black raspberry jam is not testing for proper gel point, which can leave you with either runny syrup or rubber-like jam – use the cold plate test by dropping a small amount on a chilled plate and pushing it with your finger to see if it wrinkles.
Another common error is cooking the jam on too high heat, which can cause it to scorch on the bottom and develop a bitter taste, so keep your heat at medium and stir frequently with a wooden spoon.
Don’t skip the lemon juice thinking it’s just for flavor – the acid is actually essential for helping the natural pectin in the berries set properly, and without it your jam may never thicken.
Finally, resist the urge to double the recipe since larger batches take longer to reach the gel point and can result in overcooked, dark jam that’s lost its fresh berry flavor.
What to Serve With Black Raspberry Jam?
This homemade black raspberry jam is perfect spread on warm buttermilk biscuits or toasted English muffins for a cozy breakfast treat. I love dolloping it on top of plain Greek yogurt with a sprinkle of granola, or swirling it into oatmeal for a fruity morning boost. It also makes an amazing filling for thumbprint cookies or a sweet layer in a peanut butter and jam sandwich. For something a bit fancier, try spreading it on a cheese board alongside cream cheese and crackers – the tartness of the berries pairs beautifully with creamy cheeses.
Storage Instructions
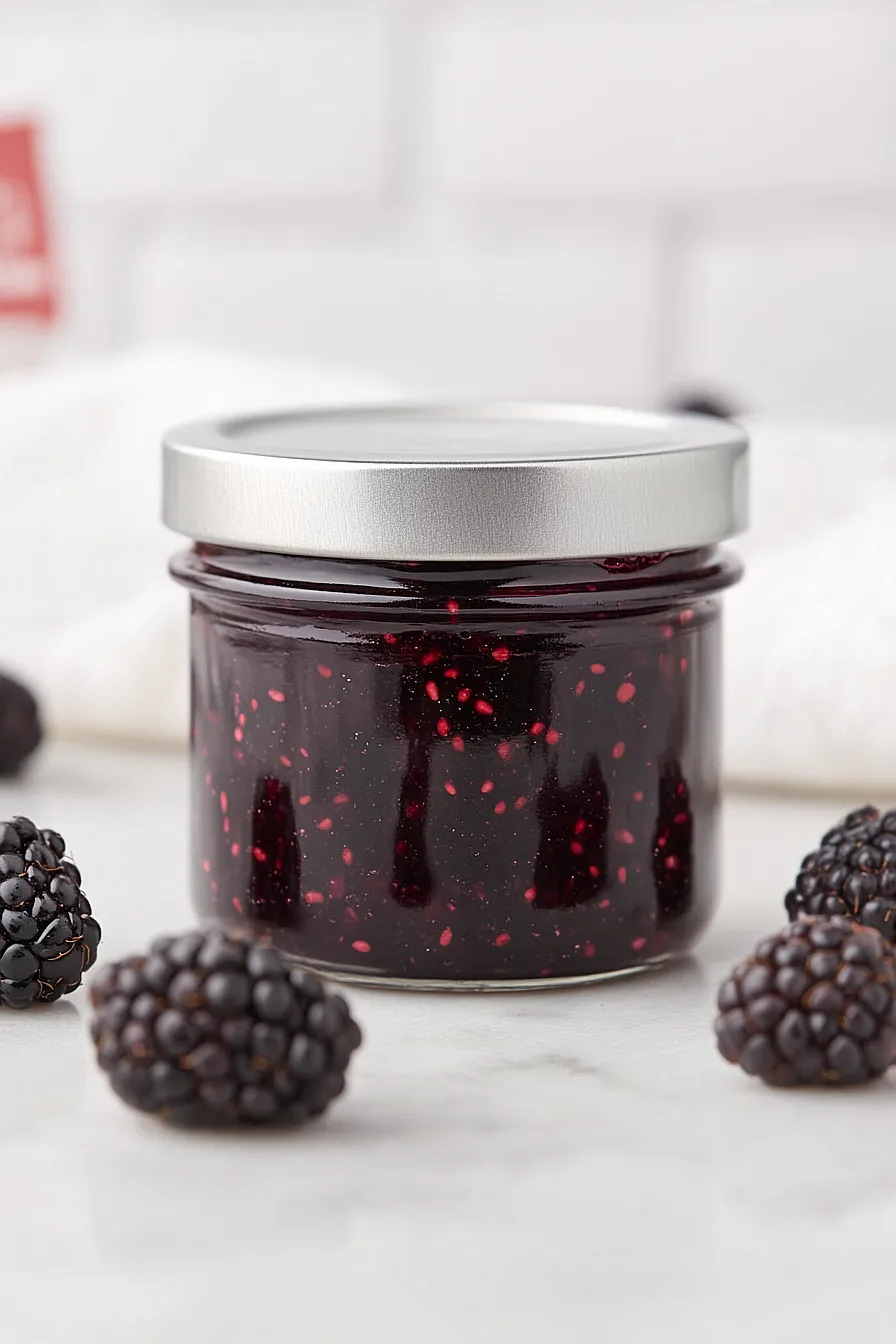
Store: Your homemade black raspberry jam will keep beautifully in the refrigerator for up to 3 weeks in clean glass jars or airtight containers. I always make sure to use a clean spoon each time I scoop some out to keep it fresh longer.
Preserve: If you want to keep this jam for months, you can process it using proper canning methods in sterilized jars. Follow safe canning guidelines and it’ll stay good in your pantry for up to a year. This is perfect when you have a big berry haul and want to enjoy summer flavors all winter long.
Freeze: You can also freeze portions of this jam in small containers or ice cube trays for up to 6 months. Just thaw what you need in the fridge overnight, and it’s ready to spread on toast or swirl into yogurt.
| Preparation Time | 10-15 minutes |
| Cooking Time | 15-25 minutes |
| Total Time | 25-40 minutes |
| Level of Difficulty | Medium |
Estimated Nutrition
Estimated nutrition for the whole recipe (without optional ingredients):
- Calories: 1100-1200
- Protein: 3-5 g
- Fat: 2-3 g
- Carbohydrates: 275-300 g
Ingredients
- 4 cups black raspberries
- 2 tbsp lemon juice (freshly squeezed for best flavor)
- 2 cups granulated sugar
Step 1: Combine the Ingredients in a Saucepan
- 4 cups black raspberries (about 2 pints, or 1 1/2 lb, or 3 cups when mashed)
- 2 cups granulated sugar
- 2 tbsp lemon juice
Place the black raspberries, granulated sugar, and lemon juice into a deep, heavy-bottomed saucepan.
Make sure there’s enough headspace to prevent the mixture from bubbling over during cooking.
Step 2: Cook and Mash the Berries
- black raspberries, sugar, and lemon juice mixture from Step 1
Turn the heat to medium and begin cooking the mixture.
Stir frequently and mash the black raspberries occasionally with a spoon or potato masher until the berries have released their juices.
Step 3: Boil and Test for Gel Stage
- cooked berry mixture from Step 2
Increase the heat to high and bring the mixture to a rapid boil.
Continue stirring and cook for 8–10 minutes, or until the jam thickens.
Test for gel stage using an instant-read thermometer (look for 220°F), or drop a small amount onto a chilled plate and check if it wrinkles when pushed.
I suggest always chilling the plate well in advance—it’s a simple trick that makes checking the consistency much easier.
Step 4: Fill Jars and Process
- finished jam from Step 3
Once the jam reaches gel stage, remove it from the heat immediately.
Pour into sterilized jam jars, leaving 1/4 inch headspace.
For immediate use, store the jam in the refrigerator.
To preserve, process the sealed jars in a boiling water bath canner for 5 minutes, then turn off the heat and let the jars sit in the water for another 5 minutes to help prevent siphoning.
Step 5: Cool and Store the Jam
Allow the jars to cool completely at room temperature.
Once cooled, check that the seals have set before storing the jars in a cool, dark place.
Refrigerate any jars that did not seal properly.
