Disclaimer: Our editors have used AI to create or enhance parts of this article and some images. All content has been fact-checked by our team to ensure accuracy.
Ever tried growing microgreens at home?
It’s easier than you think!
With just a few simple tactics, you can have fresh, tasty greens right in your kitchen. Here are 7 great tips to get you started.
Ready to grow your own microgreens?
Let’s go!
Pick Your Microgreens

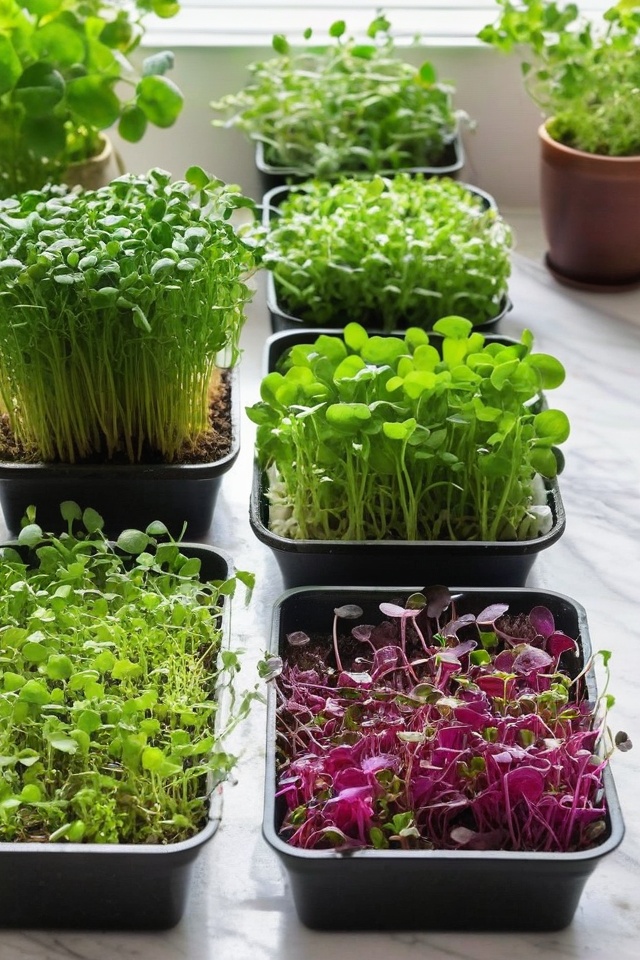
First things first, you gotta pick the type of microgreens you want to grow. Popular choices include radish, kale, sunflower, and peas.
Don’t stress too much about it—most microgreens are super easy to grow and taste amazing. Do a quick search or ask around at your local gardening center to find out what suits your taste.
Get the Right Supplies
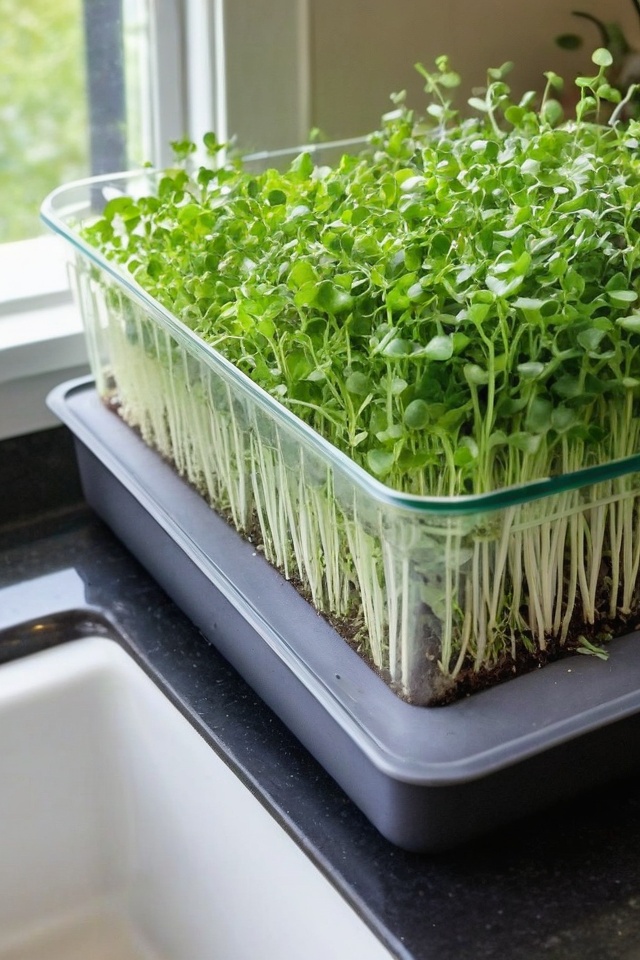
You’ll need some basic supplies to get started. Grab some good quality potting mix, seeds, a shallow container, and a spray bottle.
You can use anything from an old baking tray to a seedling tray. Trust me, you don’t need to break the bank on this stuff!
Sow Your Seeds
Fill your container with soil and sprinkle the seeds evenly on top. Don’t go overboard—just a nice, even layer will do.
Lightly press the seeds into the soil using your fingers or a small piece of cardboard. Give it a light spray of water with your spray bottle.
Easy-peasy!
Water and Wait
Now, place your container in a spot with indirect sunlight and keep the soil moist by misting it daily. It’s like giving your seeds a little sip instead of drowning them.
You’ll see them sprout in just a few days. Keep the excitement in check, though!
They need about 1-2 weeks to grow to the right size.
Time to Harvest
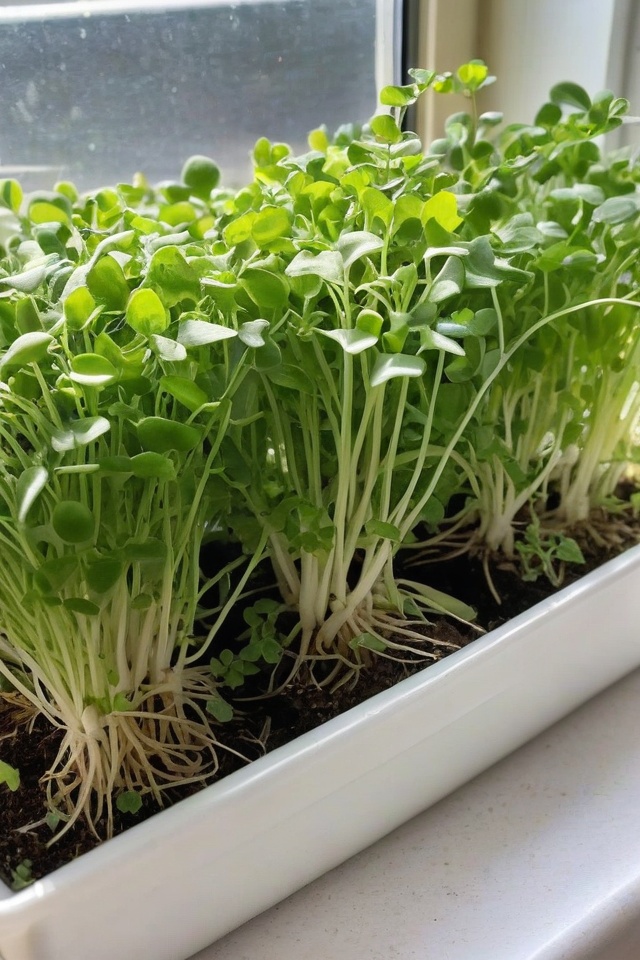
When your microgreens are about 2-3 inches tall, they’re ready to harvest. Use a pair of scissors to snip them at the base.
Make sure to give them a quick rinse before eating. Voilà, you’ve got fresh microgreens ready to up your salad game!
Store Extras
If you somehow don’t eat all your freshly harvested microgreens right away, store the extras in the fridge. Pop them in an airtight container with a paper towel to keep them fresh a bit longer.
They should last about a week, but honestly, they’re so tasty you’ll probably eat them way sooner!
Reuse Your Soil
Don’t toss out your soil just yet. After you harvest, you can remove the leftover roots and reuse the soil for a new batch of microgreens.
Give it a little fluff and maybe add some fresh compost or potting mix to keep it nutrient-rich. You’re now on your way to becoming a microgreen-growing machine!


