Finding a homemade treat that looks fancy enough to serve at a dinner party but doesn’t require professional pastry skills can feel nearly impossible. Between the complicated techniques and specialty equipment most chocolate recipes call for, it’s easy to convince yourself that store-bought is the only realistic option, especially when you’re already juggling a million other things.
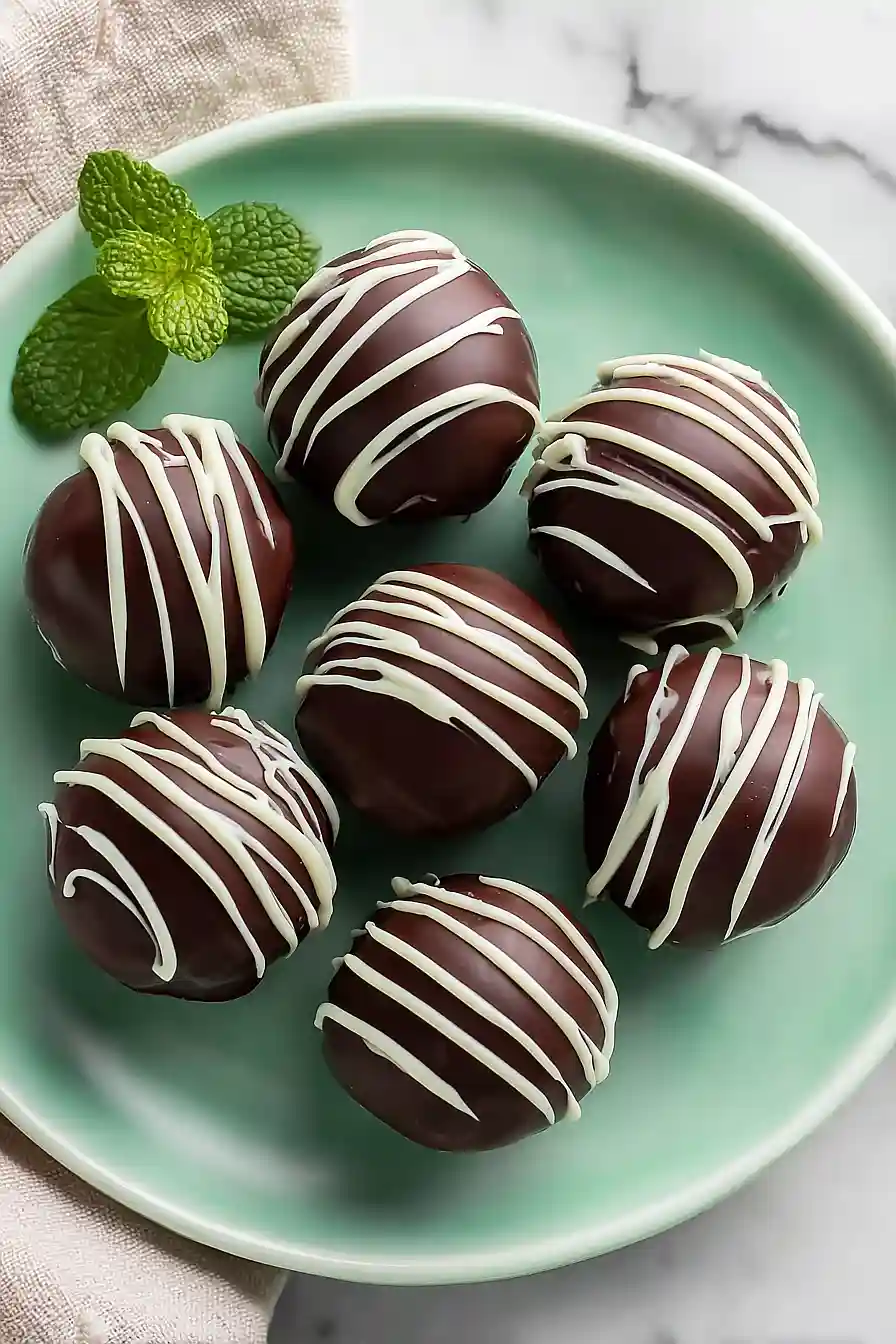
Thankfully, these mint chocolate truffles prove that impressive desserts don’t have to be complicated. They come together with just four simple ingredients, require no candy thermometer or special tools, and deliver that perfect balance of rich chocolate and refreshing mint that everyone loves.
Why You’ll Love These Mint Chocolate Truffles
- Simple ingredients – You only need four basic ingredients to make these truffles, and chances are you might already have chocolate and cream in your kitchen.
- Perfect for gifting – These homemade truffles look fancy and taste amazing, making them ideal for holidays, parties, or as thoughtful gifts for friends and family.
- Make-ahead friendly – You can prepare these truffles a few days in advance and store them in the fridge, which takes the stress out of last-minute entertaining.
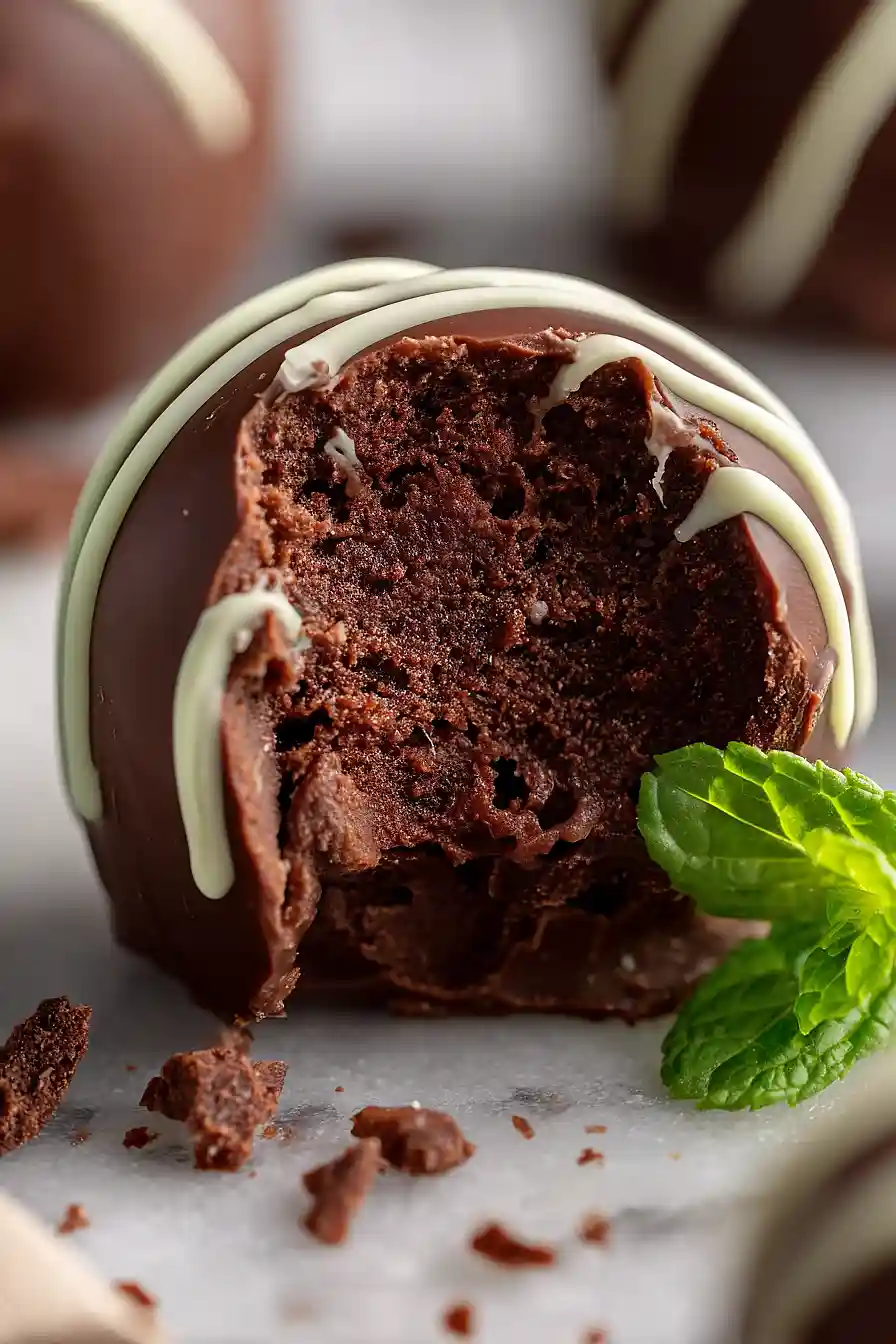
- Restaurant-quality dessert at home – The smooth, creamy ganache center with a refreshing mint flavor rivals anything you’d find at a chocolate shop, but costs a fraction of the price.
What Kind of Chocolate Should I Use?
For these mint chocolate truffles, semi-sweet chocolate is your best bet since it provides a nice balance between sweetness and that rich chocolate flavor. You can find semi-sweet chocolate in bars or chips at any grocery store, and either form will work just fine for this recipe. If you’re a dark chocolate fan, feel free to swap in bittersweet chocolate instead – it’ll give you a more intense, less sweet truffle that really lets the mint shine through. Just avoid using milk chocolate for the truffle base, as it tends to be too soft and won’t hold its shape as well when you’re rolling them into balls.
Options for Substitutions
These truffles are simple, but here are a few swaps you can make if needed:
- Semi-sweet chocolate: You can use dark chocolate for a richer, less sweet truffle, or milk chocolate if you prefer something sweeter. Bittersweet chocolate works great too. Just keep in mind that milk chocolate will give you a softer ganache, so you might need to chill it a bit longer before rolling.
- Heavy whipping cream: If you’re out of heavy cream, you can use half-and-half, though your truffles will be slightly less rich. In a pinch, full-fat coconut cream works as a dairy-free option and adds a subtle coconut flavor that pairs nicely with mint.
- Peppermint extract: Mint extract gives a slightly different flavor profile than peppermint – it’s a bit more mellow. You can also use 1/4 teaspoon of peppermint oil for a stronger mint punch, but start small since it’s more concentrated than extract.
- Coating chocolate: While semi-sweet chocolate is traditional for coating, you can use white chocolate, dark chocolate, or even candy melts for easier handling. White chocolate with crushed candy canes on top makes for a pretty presentation.
Watch Out for These Mistakes While Cooking
The biggest mistake when making chocolate truffles is adding cream that’s too hot to the chopped chocolate, which can cause the mixture to separate and turn grainy instead of smooth – aim for cream that’s warm but not boiling.
Another common error is not chilling the ganache long enough before rolling, as soft ganache will stick to your hands and create misshapen truffles, so make sure it’s firm enough to hold its shape when scooped.
When dipping your truffles in the melted chocolate coating, overheating the chocolate can cause it to seize up and become thick and clumpy, so use short microwave bursts and stir frequently to keep it smooth and workable.
If you find the truffles are still too soft to work with after chilling, pop them in the freezer for 15-20 minutes before rolling, and keep your hands cool by running them under cold water between batches.
What to Serve With Mint Chocolate Truffles?
These truffles are perfect on their own as an after-dinner treat, but they really shine when paired with a hot cup of coffee or espresso – the bitterness balances out the sweetness beautifully. If you’re serving them at a party, arrange them on a platter alongside other desserts like brownies, cookies, or fresh berries for a nice variety. They also make a great addition to a dessert board with some nuts, dried fruit, and maybe a few pieces of dark chocolate. For a cozy night in, serve them with hot chocolate or peppermint tea to keep the minty theme going.
Storage Instructions
Store: Keep your mint chocolate truffles in an airtight container in the fridge for up to 2 weeks. I like to layer them between sheets of parchment paper so they don’t stick together. They taste amazing straight from the fridge when you want a cool, refreshing treat.
Freeze: These truffles freeze really well for up to 3 months. Just arrange them in a single layer on a baking sheet to freeze solid first, then transfer to a freezer-safe container. This way they won’t clump together and you can grab just one or two whenever a chocolate craving hits.
Serve: Let frozen truffles sit at room temperature for about 10-15 minutes before eating so the chocolate softens up a bit. If you prefer them less firm, you can also let refrigerated truffles sit out for 5 minutes or so before serving.
| Preparation Time | 30-40 minutes |
| Cooking Time | 20-30 minutes |
| Total Time | 230-280 minutes |
| Level of Difficulty | Medium |
| Servings | 28 truffles |
Estimated Nutrition
Estimated nutrition for the whole recipe (without optional ingredients):
- Calories: 1800-2100
- Protein: 18-22 g
- Fat: 120-140 g
- Carbohydrates: 200-240 g
Ingredients
For the ganache filling:
- 1/2 tsp peppermint extract (for intense mint flavor)
- 8 oz semi-sweet chocolate (chopped into small pieces for even melting)
- 1/2 cup heavy whipping cream (cold)
For the chocolate coating:
- 6 oz semi-sweet chocolate (chopped, for tempering and coating)
Step 1: Create the Mint Chocolate Ganache Base
- 8 oz semi-sweet chocolate, chopped into small pieces
- 1/2 cup heavy whipping cream, cold
- 1/2 tsp peppermint extract
Chop the 8 oz of semi-sweet chocolate into small, uniform pieces and place in a bowl—smaller pieces melt more evenly and smoothly.
Heat the cold heavy whipping cream in the microwave for 45 seconds to 1 minute until it’s steaming but not boiling.
Remove from the microwave and stir the peppermint extract directly into the warm cream until fully incorporated.
Pour the peppermint cream over the chopped chocolate and let it sit undisturbed for 4-5 minutes—this allows the residual heat to gently melt the chocolate.
Stir the mixture until completely smooth and glossy; if any chocolate pieces remain unmelted, microwave in 15-second intervals, stirring between each pulse, until fully combined.
I find that patience during this step pays off—rushing the melting can result in grainy texture, so I always take my time stirring until it’s silky.
Step 2: Chill and Set the Ganache
- mint chocolate ganache from Step 1
Cover the ganache mixture with plastic wrap or a lid and refrigerate for 3 hours until it becomes firm enough to scoop but still slightly soft—this is the ideal consistency for rolling.
The ganache will thicken considerably during chilling, making it easy to portion into uniform truffles.
Step 3: Shape the Truffles
- chilled mint chocolate ganache from Step 2
Line a baking sheet with parchment paper to prevent sticking.
Using a small cookie scoop, spoon, or melon baller, portion the chilled ganache from Step 2 into consistent-sized pieces and place them on the prepared baking sheet, spacing them about an inch apart.
Working quickly so the ganache doesn’t soften too much, gently roll each portion between your palms to create smooth, uniform balls.
I like to dip my hands in cold water between rolls to keep the ganache from sticking to my skin and help create smoother spheres.
Step 4: Firm Up the Rolled Truffles
- rolled truffles from Step 3
Refrigerate the tray of shaped truffles from Step 3 for at least 1 hour until they’re completely firm and hold their shape well.
This ensures they won’t fall apart or lose their shape when dipped in the chocolate coating.
Step 5: Prepare the Chocolate Coating
- 6 oz semi-sweet chocolate, chopped for coating
While the truffles chill, line another baking sheet with fresh parchment paper for the finished coated truffles.
Chop the 6 oz of semi-sweet chocolate into small pieces and place in a microwave-safe bowl.
Melt the chocolate in 20-30 second intervals, stirring thoroughly between each pulse, until completely smooth and pourable.
The key to good tempering texture is controlled, gentle heat—overheating will make the chocolate thick and dull rather than glossy and snappy.
Step 6: Coat and Final Chill the Truffles
- firm truffles from Step 4
- melted chocolate coating from Step 5
Remove the firm truffles from Step 4 from the refrigerator.
Using a fork or dipping tool, quickly submerge each truffle into the melted chocolate from Step 5, allow excess to drip off, then place on the prepared parchment-lined baking sheet.
Work efficiently so the coating doesn’t set on the fork.
Once all truffles are coated, refrigerate the final baking sheet for at least 30 minutes until the chocolate coating is completely firm and set.
Store in an airtight container in the refrigerator or at cool room temperature for up to 2 weeks.

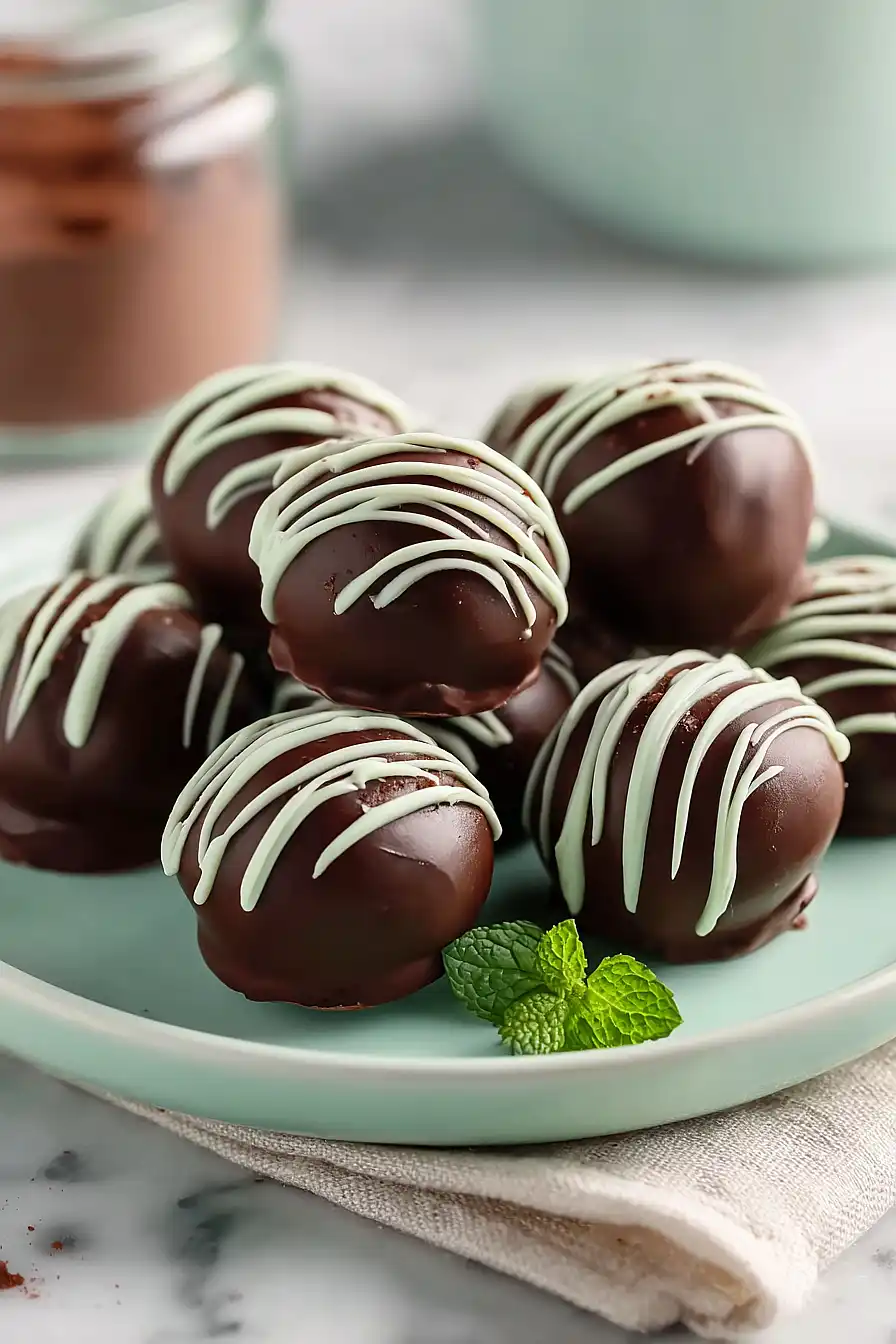
Homemade Mint Chocolate Truffles
Ingredients
For the ganache filling:
- 1/2 tsp peppermint extract (for intense mint flavor)
- 8 oz semi-sweet chocolate (chopped into small pieces for even melting)
- 1/2 cup heavy whipping cream (cold)
For the chocolate coating:
- 6 oz semi-sweet chocolate (chopped, for tempering and coating)
Instructions
- Chop the 8 oz of semi-sweet chocolate into small, uniform pieces and place in a bowl—smaller pieces melt more evenly and smoothly. Heat the cold heavy whipping cream in the microwave for 45 seconds to 1 minute until it's steaming but not boiling. Remove from the microwave and stir the peppermint extract directly into the warm cream until fully incorporated. Pour the peppermint cream over the chopped chocolate and let it sit undisturbed for 4-5 minutes—this allows the residual heat to gently melt the chocolate. Stir the mixture until completely smooth and glossy; if any chocolate pieces remain unmelted, microwave in 15-second intervals, stirring between each pulse, until fully combined. I find that patience during this step pays off—rushing the melting can result in grainy texture, so I always take my time stirring until it's silky.
- Cover the ganache mixture with plastic wrap or a lid and refrigerate for 3 hours until it becomes firm enough to scoop but still slightly soft—this is the ideal consistency for rolling. The ganache will thicken considerably during chilling, making it easy to portion into uniform truffles.
- Line a baking sheet with parchment paper to prevent sticking. Using a small cookie scoop, spoon, or melon baller, portion the chilled ganache from Step 2 into consistent-sized pieces and place them on the prepared baking sheet, spacing them about an inch apart. Working quickly so the ganache doesn't soften too much, gently roll each portion between your palms to create smooth, uniform balls. I like to dip my hands in cold water between rolls to keep the ganache from sticking to my skin and help create smoother spheres.
- Refrigerate the tray of shaped truffles from Step 3 for at least 1 hour until they're completely firm and hold their shape well. This ensures they won't fall apart or lose their shape when dipped in the chocolate coating.
- While the truffles chill, line another baking sheet with fresh parchment paper for the finished coated truffles. Chop the 6 oz of semi-sweet chocolate into small pieces and place in a microwave-safe bowl. Melt the chocolate in 20-30 second intervals, stirring thoroughly between each pulse, until completely smooth and pourable. The key to good tempering texture is controlled, gentle heat—overheating will make the chocolate thick and dull rather than glossy and snappy.
- Remove the firm truffles from Step 4 from the refrigerator. Using a fork or dipping tool, quickly submerge each truffle into the melted chocolate from Step 5, allow excess to drip off, then place on the prepared parchment-lined baking sheet. Work efficiently so the coating doesn't set on the fork. Once all truffles are coated, refrigerate the final baking sheet for at least 30 minutes until the chocolate coating is completely firm and set. Store in an airtight container in the refrigerator or at cool room temperature for up to 2 weeks.
