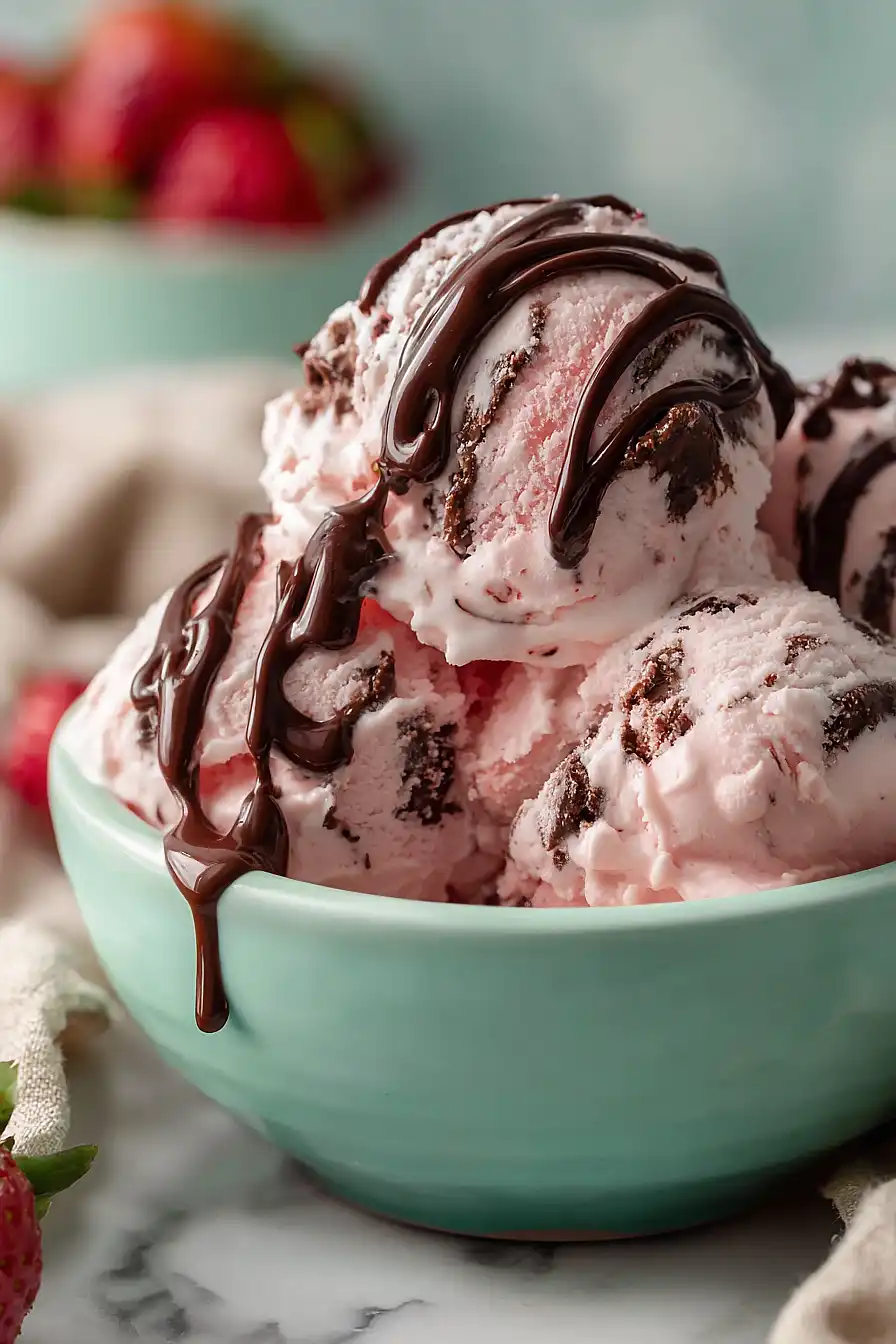
I didn’t realize until my late twenties that chocolate-covered strawberries could be anything other than a Valentine’s Day splurge. They always felt too fancy to make at home—like something you had to order from a special shop and pay way too much for.
Then one summer, I had leftover strawberries that were getting a little too soft for snacking, and it hit me: why not turn them into ice cream? The chocolate-covered version, obviously, because why stop at just strawberry? This recipe combines that classic flavor combo into a creamy, tangy ice cream base with real fruit chunks and crispy chocolate pieces throughout. It tastes expensive, but it’s actually pretty simple to pull off in your own kitchen.
Why You’ll Love This Chocolate Covered Strawberry Ice Cream
- No ice cream maker needed – You can whip up this creamy treat without any special equipment, making it accessible for anyone who wants homemade ice cream.
- Ready in under an hour – Unlike traditional ice cream recipes that take hours or require overnight freezing, this one comes together quickly for a same-day dessert.
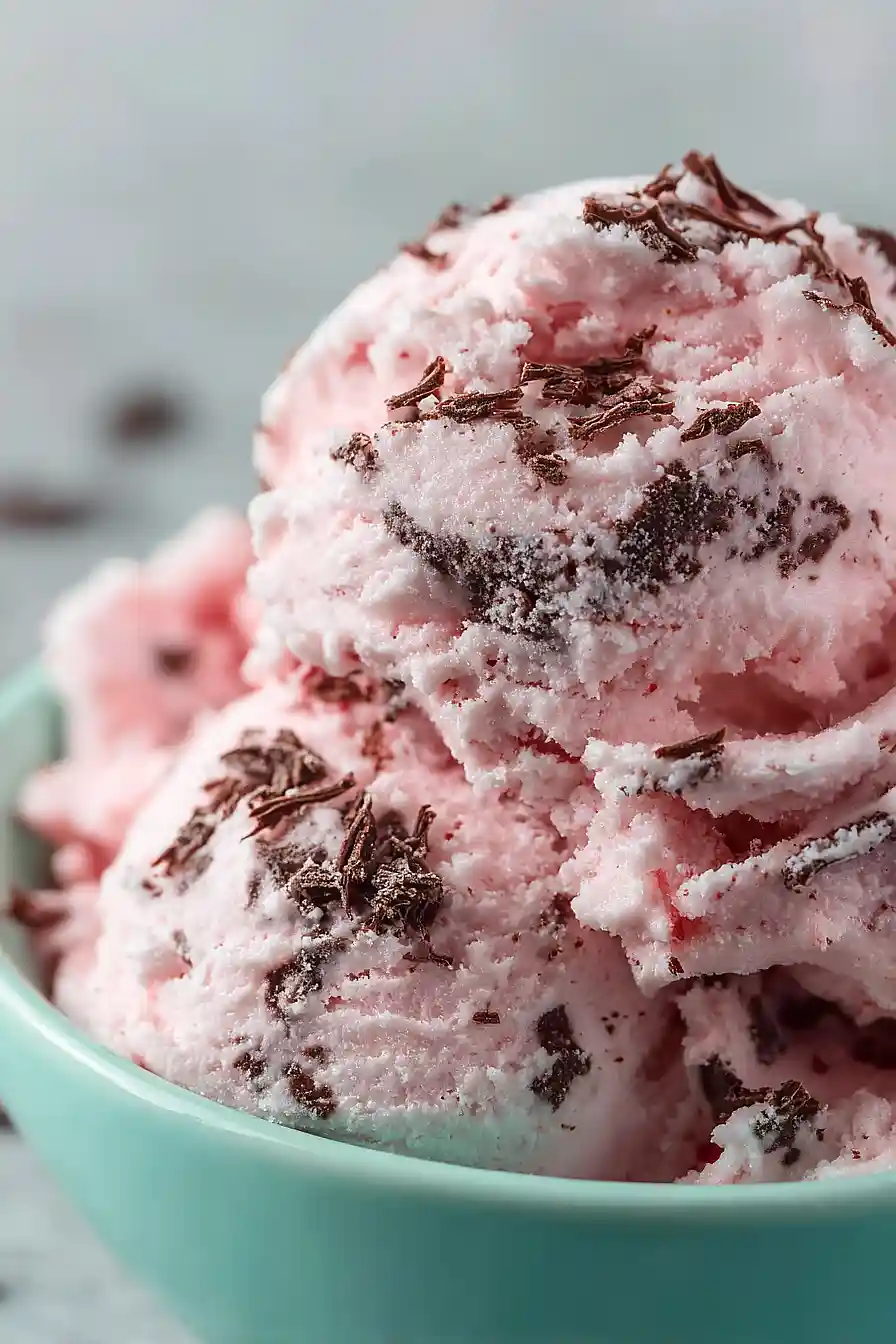
- Classic flavor combination – The sweet strawberries paired with rich chocolate chunks taste just like your favorite chocolate covered strawberries, but in ice cream form.
- Simple ingredients – You probably have most of these items in your kitchen already, and fresh strawberries are easy to find year-round.
- Creamy, tangy base – The cream cheese and sour cream create a luxurious texture with a slight tang that balances the sweetness perfectly.
What Kind of Strawberries Should I Use?
Fresh strawberries are always your best bet for this ice cream, and you’ll want to look for berries that are bright red all the way through with no white or green shoulders. Smaller to medium-sized strawberries tend to be sweeter and more flavorful than those giant ones you sometimes see at the store. If strawberries aren’t in season and the fresh ones look sad, you can absolutely use frozen strawberries instead – just make sure to thaw them completely and drain off any excess liquid before adding them to your ice cream base. Give your berries a good rinse and hull them before using, and if they seem a bit tart, don’t worry because the cream and sugar in the recipe will balance that out nicely.
Options for Substitutions
This ice cream recipe is pretty forgiving when it comes to swaps:
- Cream cheese: You can use mascarpone cheese for a richer, smoother texture, or Greek yogurt if you want a tangier, lighter version. Just make sure everything is at room temperature before mixing.
- Sour cream: Plain Greek yogurt works great here and gives you the same creamy tang. You can also use crème fraîche if you have it on hand.
- Heavy cream: While heavy cream gives the best texture, you can use half-and-half if needed, though your ice cream will be slightly less rich and creamy.
- Fresh strawberries: Frozen strawberries work fine – just thaw and drain them well before using. You can also try raspberries or mixed berries for a different flavor.
- Chocolate chips: Any chocolate works here – dark chocolate, milk chocolate, or even white chocolate chips. You can also chop up a chocolate bar instead.
- Coconut oil: This helps the chocolate stay crispy when frozen, but you can swap it with butter or even a neutral oil like vegetable oil if that’s what you have.
Watch Out for These Mistakes While Making
The biggest mistake when making homemade ice cream is not chilling your mixture before churning, which can lead to icy crystals instead of a smooth, creamy texture – pop your blended base in the fridge for at least 2 hours or overnight for best results.
When melting chocolate with coconut oil, avoid using full power in the microwave as this can cause the chocolate to seize up and become grainy; stick with 50% power and stir every 30 seconds until just melted.
Make sure your chocolate sauce has cooled to room temperature before layering it with the ice cream, otherwise the warm chocolate will melt your freshly churned ice cream and create a soupy mess.
Finally, don’t skip the 20-minute rest at room temperature before serving – ice cream straight from the freezer is rock-hard and impossible to scoop, but those few minutes will give you perfect, scoopable consistency.
What to Serve With Chocolate Covered Strawberry Ice Cream?
This ice cream is pretty much a dessert all on its own, but I love serving it with some crispy waffle cones or sugar cookies for a little crunch. If you’re feeling fancy, you can make it into an ice cream sundae by adding some extra fresh strawberries, a drizzle of chocolate sauce, and a dollop of whipped cream on top. It also pairs really well with a slice of pound cake or angel food cake if you want to turn it into more of a plated dessert. For a fun party idea, set up an ice cream bar with toppings like chopped nuts, sprinkles, and extra chocolate chips so everyone can customize their own bowl.
Storage Instructions
Store: Keep your ice cream in an airtight, freezer-safe container for up to 2 weeks. Press a piece of parchment paper directly on the surface before sealing to prevent ice crystals from forming on top. It tastes best within the first week when the texture is at its creamiest.
Scoop: Homemade ice cream can get pretty hard in the freezer, so let it sit on the counter for about 5-10 minutes before scooping. This makes it way easier to serve and gives you that perfect creamy texture you’re looking for.
| Preparation Time | 20-30 minutes |
| Cooking Time | 25-35 minutes |
| Total Time | 45-65 minutes |
| Level of Difficulty | Medium |
| Servings | 5 servings |
Estimated Nutrition
Estimated nutrition for the whole recipe (without optional ingredients):
- Calories: 1300-1450
- Protein: 10-14 g
- Fat: 90-105 g
- Carbohydrates: 120-135 g
Ingredients
For the ice cream:
- 4 oz cream cheese (softened to room temperature, about 70°F)
- 1/2 cup sour cream (I prefer Daisy for a thicker consistency)
- 1/2 cup sugar
- 1/2 tbsp lemon zest
- 1 1/4 cups cream
- 1/2 tsp vanilla
- 1/8 tsp salt
- 12 strawberries (hulled and sliced into 1/2-inch pieces)
For the chocolate drizzle:
- 1/2 cup chocolate chips (I always use Ghirardelli semi-sweet)
- 3/4 tbsp coconut oil
Step 1: Create the Ice Cream Base
- 4 oz cream cheese
- 1/2 cup sour cream
- 1/2 cup sugar
- 1/2 tbsp lemon zest
- 1 1/4 cups cream
- 1/2 tsp vanilla
- 1/8 tsp salt
Combine the softened cream cheese, sour cream, sugar, lemon zest, cream, vanilla, and salt in a blender.
Blend for 1-2 minutes until the mixture is completely smooth and well combined—this creates an emulsion that will give the ice cream a creamy texture.
I like using lemon zest here because it brightens the strawberry flavor without making it taste citrusy.
Step 2: Incorporate the Strawberries
- 12 strawberries
- ice cream base from Step 1
Add the hulled and sliced strawberries to the blended base and blend until smooth.
This ensures the strawberry flavor is evenly distributed throughout the ice cream rather than just settling at the bottom.
Blend just until you don’t see any strawberry chunks—over-blending can make the mixture lose its fresh berry quality.
Step 3: Churn the Ice Cream
- strawberry ice cream base from Step 2
Pour the strawberry mixture into your ice cream machine and churn according to the manufacturer’s instructions (typically 20-30 minutes).
The churning process freezes the mixture while incorporating air, which gives the ice cream its light, creamy texture.
Stop when the ice cream reaches a soft-serve consistency.
Step 4: Prepare the Chocolate Coating
- 1/2 cup chocolate chips
- 3/4 tbsp coconut oil
While the ice cream is churning, combine the chocolate chips and coconut oil in a microwave-safe bowl.
Heat at 50% power for 1 minute, then stir until completely smooth.
If needed, heat for 15-30 second intervals until fully melted—the coconut oil helps the chocolate flow smoothly and set with a nice snap.
Let the chocolate cool for 2-3 minutes until it’s still warm but no longer hot, so it will set quickly when layered but won’t melt the ice cream.
Step 5: Layer and Freeze
- churned ice cream from Step 3
- chocolate coating from Step 4
Transfer the churned ice cream and cooled chocolate to a freezer-safe container.
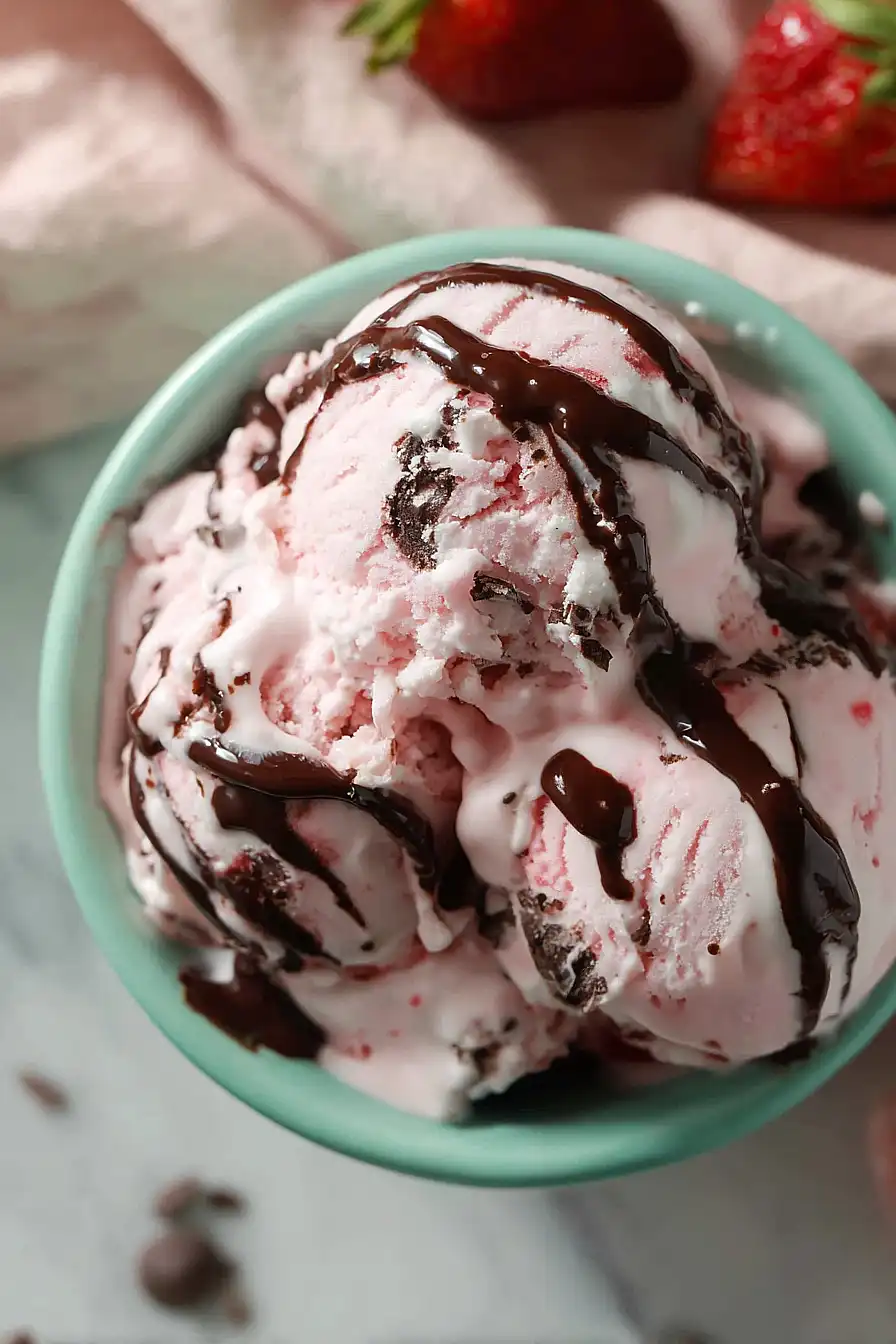
Layer them three times: start with a portion of ice cream on the bottom, drizzle with chocolate, add another layer of ice cream, drizzle with more chocolate, finish with ice cream and a final chocolate drizzle.
I like making three distinct layers rather than mixing them together because it creates lovely ribbons of chocolate throughout when you scoop.
Freeze for at least 2 hours until completely solid.
Step 6: Rest and Serve
Remove the ice cream from the freezer and let it rest at room temperature for 15-20 minutes before scooping.
This softens it just enough to scoop easily without it becoming too melty.
The chocolate coating will provide a satisfying snap when you bite into each spoonful.
Mouthwatering Chocolate Covered Strawberry Ice Cream
Ingredients
For the ice cream::
- 4 oz cream cheese (softened to room temperature, about 70°F)
- 1/2 cup sour cream (I prefer Daisy for a thicker consistency)
- 1/2 cup sugar
- 1/2 tbsp lemon zest
- 1 1/4 cups cream
- 1/2 tsp vanilla
- 1/8 tsp salt
- 12 strawberries (hulled and sliced into 1/2-inch pieces)
For the chocolate drizzle::
- 1/2 cup chocolate chips (I always use Ghirardelli semi-sweet)
- 3/4 tbsp coconut oil
Instructions
- Combine the softened cream cheese, sour cream, sugar, lemon zest, cream, vanilla, and salt in a blender. Blend for 1-2 minutes until the mixture is completely smooth and well combined—this creates an emulsion that will give the ice cream a creamy texture. I like using lemon zest here because it brightens the strawberry flavor without making it taste citrusy.
- Add the hulled and sliced strawberries to the blended base and blend until smooth. This ensures the strawberry flavor is evenly distributed throughout the ice cream rather than just settling at the bottom. Blend just until you don't see any strawberry chunks—over-blending can make the mixture lose its fresh berry quality.
- Pour the strawberry mixture into your ice cream machine and churn according to the manufacturer's instructions (typically 20-30 minutes). The churning process freezes the mixture while incorporating air, which gives the ice cream its light, creamy texture. Stop when the ice cream reaches a soft-serve consistency.
- While the ice cream is churning, combine the chocolate chips and coconut oil in a microwave-safe bowl. Heat at 50% power for 1 minute, then stir until completely smooth. If needed, heat for 15-30 second intervals until fully melted—the coconut oil helps the chocolate flow smoothly and set with a nice snap. Let the chocolate cool for 2-3 minutes until it's still warm but no longer hot, so it will set quickly when layered but won't melt the ice cream.
- Transfer the churned ice cream and cooled chocolate to a freezer-safe container. Layer them three times: start with a portion of ice cream on the bottom, drizzle with chocolate, add another layer of ice cream, drizzle with more chocolate, finish with ice cream and a final chocolate drizzle. I like making three distinct layers rather than mixing them together because it creates lovely ribbons of chocolate throughout when you scoop. Freeze for at least 2 hours until completely solid.
- Remove the ice cream from the freezer and let it rest at room temperature for 15-20 minutes before scooping. This softens it just enough to scoop easily without it becoming too melty. The chocolate coating will provide a satisfying snap when you bite into each spoonful.
