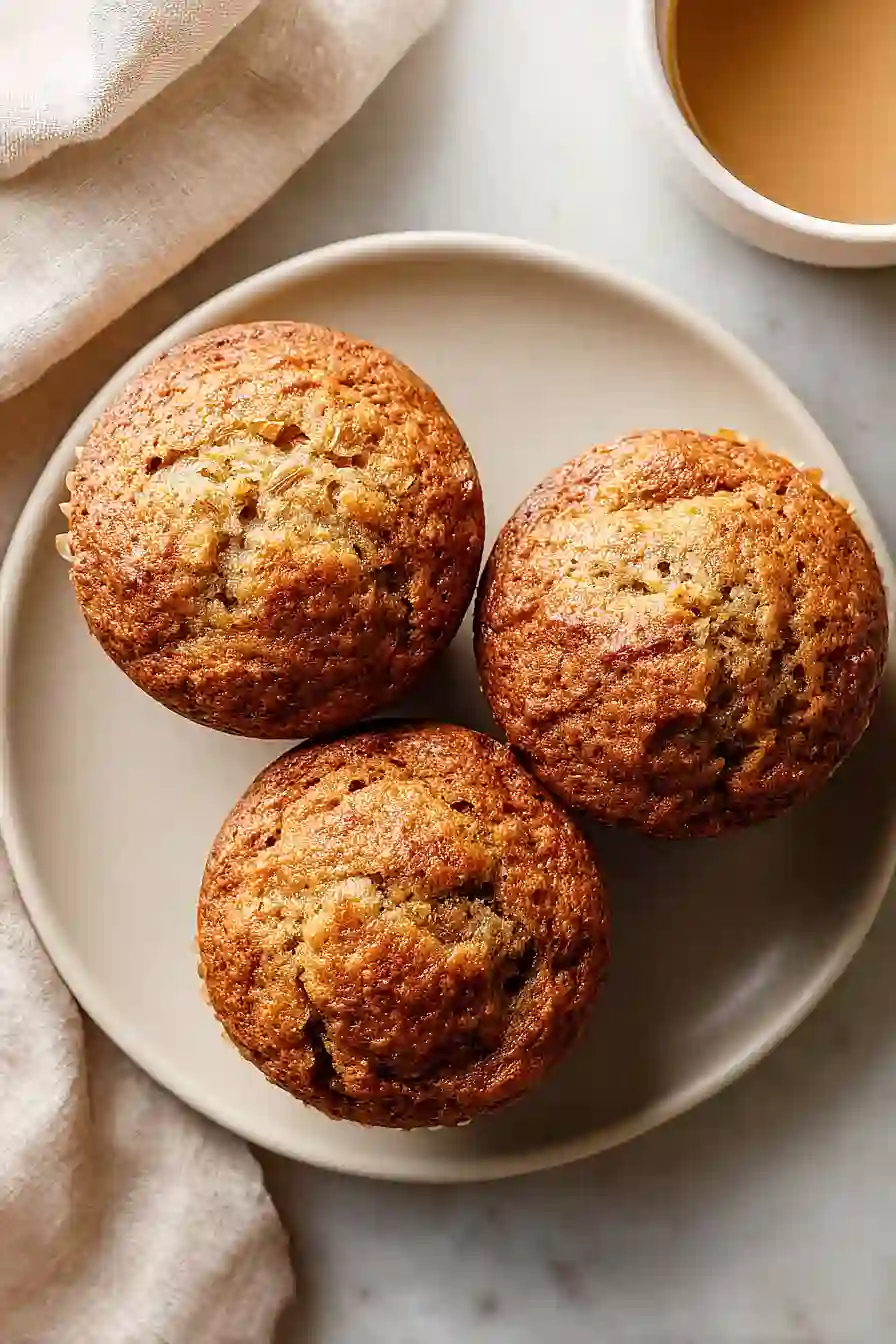
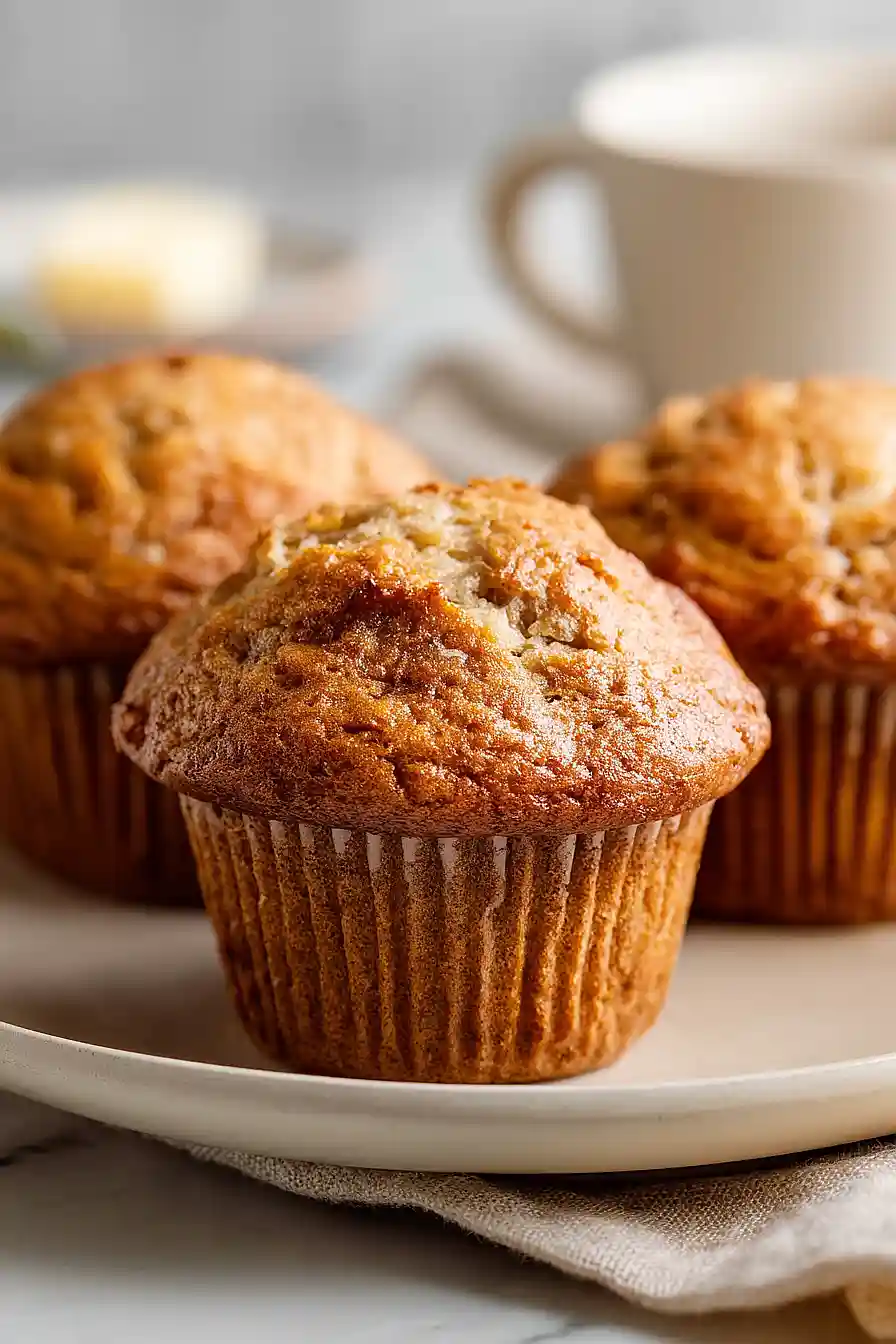
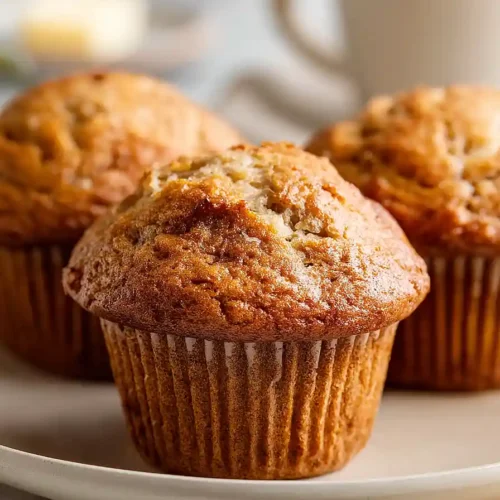
I used to think banana bread and banana bread muffins were basically the same thing—just different shapes. Then I realized muffins are actually way more practical. You don’t need to slice them, they’re already portion-controlled, and they’re easier to grab when you’re running out the door in the morning.
The best part? They use up those overripe bananas sitting on your counter that are too mushy to eat but too good to throw away. You know the ones I’m talking about—covered in brown spots and getting softer by the hour. Those are exactly what you want for this recipe. The riper they are, the sweeter and more flavorful your muffins will be, which means you get all that banana taste without having to add extra sugar.
Why You’ll Love These Banana Bread Muffins
- Quick and easy – These muffins come together in just 30-40 minutes, making them perfect for busy mornings or when you need a last-minute snack.
- Perfect way to use ripe bananas – Got brown bananas sitting on your counter? This recipe turns them into something delicious instead of letting them go to waste.
- Simple pantry ingredients – You probably have most of these items in your kitchen already, so no special shopping trip required.
- Great for meal prep – Make a batch on Sunday and you’ll have grab-and-go breakfasts or snacks ready for the whole week.
- Kid-friendly treat – These muffins taste like dessert but have the goodness of bananas and walnuts, making them a win for parents and kids alike.
What Kind of Bananas Should I Use?
The best bananas for banana bread muffins are the ones sitting on your counter that have turned brown and spotty – yes, the ones you might be tempted to toss! Those overripe bananas are actually perfect because they’re sweeter and mash up more easily, giving your muffins that classic banana bread flavor. If your bananas are still yellow and firm, you can speed up the ripening process by placing them in a paper bag for a day or two, or even baking them in their peels at 300°F for about 15 minutes until they turn black. Just make sure to let them cool before peeling and mashing them into your batter.
Options for Substitutions
These banana bread muffins are pretty forgiving when it comes to swaps:
- Flour: You can replace up to half the all-purpose flour with whole wheat flour for a nuttier flavor and more fiber. Just know your muffins will be a bit denser.
- Butter: Coconut oil or vegetable oil work great here. Use the same amount, but if using oil, your muffins might be slightly more moist and less rich-tasting.
- Brown sugar: White sugar works fine, though you’ll lose some of that caramel-like flavor. You can also use honey or maple syrup (reduce to 1/2 cup and decrease other liquids slightly).
- Walnuts: Pecans, almonds, or chocolate chips make excellent substitutes. Or leave them out completely if you prefer plain muffins or have nut allergies.
- Bananas: This is the one ingredient you really shouldn’t substitute – ripe bananas are what make these muffins moist and give them that signature flavor.
- Eggs: For each egg, you can use 1/4 cup applesauce or a flax egg (1 tablespoon ground flaxseed mixed with 3 tablespoons water, let sit for 5 minutes).
Watch Out for These Mistakes While Baking
The biggest mistake when making banana bread muffins is overmixing the batter once you combine the wet and dry ingredients, which activates too much gluten and creates tough, dense muffins instead of tender ones – mix just until the flour disappears and you still see a few lumps.
Using bananas that aren’t ripe enough will leave you with muffins that lack sweetness and that signature banana flavor, so wait until your bananas have plenty of brown spots or even look a bit past their prime.
Don’t skip the step of lowering the oven temperature after putting the muffins in, as starting at 400°F helps them rise quickly and develop nice domed tops, while the lower temperature finishes baking them through without burning the edges.
Finally, resist the urge to leave them in the pan too long after baking – transfer them to a cooling rack after 5 minutes to prevent the bottoms from getting soggy from trapped steam.
What to Serve With Banana Bread Muffins?
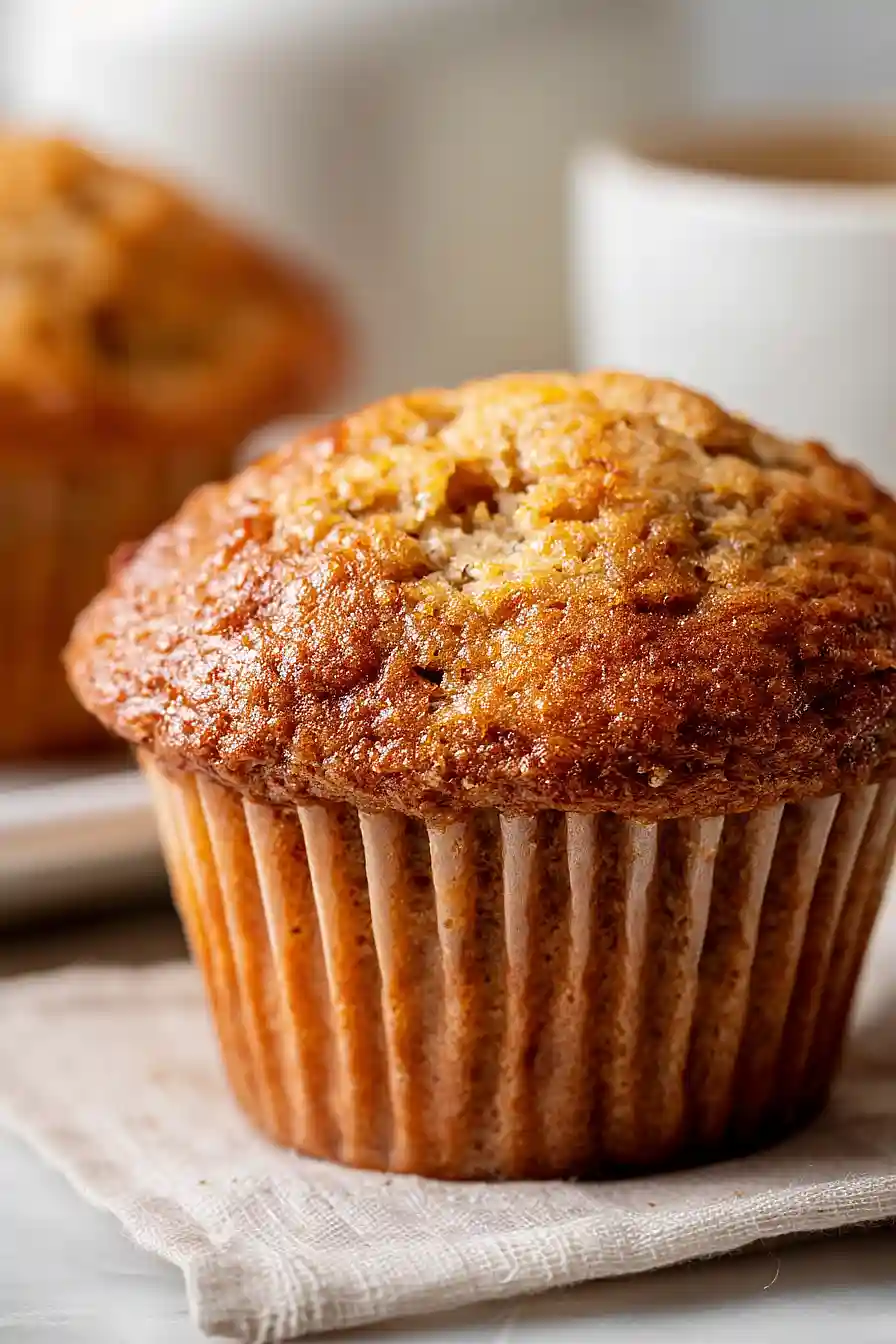
These muffins are perfect for breakfast or an afternoon snack with a hot cup of coffee or tea. I love spreading a little butter or cream cheese on a warm muffin – it melts right in and takes them to the next level. They’re also great alongside a bowl of Greek yogurt and fresh berries for a more filling breakfast, or you can pack them in lunchboxes with some sliced apples and cheese for a balanced snack. If you’re serving them for brunch, they pair nicely with scrambled eggs and crispy bacon.
Storage Instructions
Store: Keep your banana bread muffins in an airtight container at room temperature for up to 3 days, or in the fridge for about a week. They actually taste even better the next day once all the flavors have had time to meld together!
Freeze: These muffins are perfect for freezing! Let them cool completely, then wrap each one individually in plastic wrap and store in a freezer bag for up to 3 months. It’s great to have a stash ready for quick breakfasts or snacks.
Thaw: Just leave a frozen muffin on the counter for about 30 minutes to thaw, or microwave it for 20-30 seconds if you’re in a hurry. You can also warm them in the oven at 300°F for about 10 minutes for that fresh-baked feel.
| Preparation Time | 10-15 minutes |
| Cooking Time | 20-25 minutes |
| Total Time | 30-40 minutes |
| Level of Difficulty | Easy |
| Servings | 12 muffins |
Estimated Nutrition
Estimated nutrition for the whole recipe (without optional ingredients):
- Calories: 2300-2500
- Protein: 38-44 g
- Fat: 110-120 g
- Carbohydrates: 310-330 g
Ingredients
For the dry mix:
- 1.75 cups flour (I always use King Arthur all-purpose flour)
- 1 tsp baking soda
- 1/2 tsp baking powder
- 3/4 tsp salt
- 1/4 tsp ground cinnamon
For the wet mix:
- 3.5 bananas (very ripe with brown spots for natural sweetness)
- 1/2 cup butter (I like Kerrygold unsalted butter for this)
- 1 cup brown sugar (packed firmly to ensure moisture)
- 2 eggs
- 1.5 tsp vanilla
For the addition:
- 1 cup walnuts (chopped into 1/4-inch pieces for better distribution)
Step 1: Prepare Pan and Mise en Place
- 1.75 cups flour
- 1 tsp baking soda
- 1/2 tsp baking powder
- 3/4 tsp salt
- 1/4 tsp ground cinnamon
- 1 cup walnuts, chopped
Preheat your oven to 350°F and line a 12-cup muffin pan with paper liners.
While the oven heats, measure out all your dry ingredients—flour, baking soda, baking powder, salt, and cinnamon—into a small bowl and whisk them together to distribute the leavening agents evenly.
Chop your walnuts into roughly 1/4-inch pieces and set aside.
This prep work ensures everything is ready when you need it, preventing overmixing of the batter later.
Step 2: Create the Wet Mixture Base
- 3.5 bananas, very ripe
- 1/2 cup butter
- 1 cup brown sugar, packed
- 2 eggs
- 1.5 tsp vanilla
In a large mixing bowl, mash the very ripe bananas until mostly smooth with just a few small lumps remaining—this texture keeps the muffins moist and tender.
Add the softened butter to the warm bananas and stir until well combined and creamy.
Mix in the packed brown sugar, then add the eggs one at a time, stirring well after each addition.
Finish by adding the vanilla extract and mix until everything is fully incorporated.
I like to use very ripe bananas with plenty of brown spots because they provide natural sweetness and moisture, reducing the need for additional sugar.
Step 3: Combine Wet and Dry Ingredients
- wet mixture from Step 2
- dry ingredient mixture from Step 1
- chopped walnuts from Step 1
Pour the wet mixture from Step 2 into the bowl with your dry ingredient mixture from Step 1.
Using a spatula or wooden spoon, fold the ingredients together with just 15-20 gentle strokes until the flour is barely incorporated—you should still see a few streaks of flour.
Stop mixing immediately once no dry flour is visible; overmixing develops gluten and creates tough, dense muffins.
Gently fold in the chopped walnuts from Step 1 until evenly distributed.
Step 4: Fill and Bake the Muffins
Divide the batter evenly among the 12 lined muffin cups, filling each about two-thirds to three-quarters full.
Place the pan in your preheated 350°F oven and bake for 20-22 minutes, until a toothpick inserted into the center of a muffin comes out with just a few moist crumbs—not completely dry.
The muffins are done when the tops are golden brown and spring back slightly when lightly touched.
I always insert the toothpick in the center muffin first, as it takes longest to bake.
Step 5: Cool and Serve
Remove the muffin pan from the oven and let it cool in the pan for 5 minutes—this allows the muffins to set without becoming dry.
Gently turn the muffins out onto a wire rack to cool further, or serve them warm directly from the pan with a pat of butter if desired.
These muffins are best enjoyed fresh but will keep in an airtight container for up to 3 days.
Walnut Banana Bread Muffins
Ingredients
For the dry mix::
- 1.75 cups flour (I always use King Arthur all-purpose flour)
- 1 tsp baking soda
- 1/2 tsp baking powder
- 3/4 tsp salt
- 1/4 tsp ground cinnamon
For the wet mix::
- 3.5 bananas (very ripe with brown spots for natural sweetness)
- 1/2 cup butter (I like Kerrygold unsalted butter for this)
- 1 cup brown sugar (packed firmly to ensure moisture)
- 2 eggs
- 1.5 tsp vanilla
For the addition::
- 1 cup walnuts (chopped into 1/4-inch pieces for better distribution)
Instructions
- Preheat your oven to 350°F and line a 12-cup muffin pan with paper liners. While the oven heats, measure out all your dry ingredients—flour, baking soda, baking powder, salt, and cinnamon—into a small bowl and whisk them together to distribute the leavening agents evenly. Chop your walnuts into roughly 1/4-inch pieces and set aside. This prep work ensures everything is ready when you need it, preventing overmixing of the batter later.
- In a large mixing bowl, mash the very ripe bananas until mostly smooth with just a few small lumps remaining—this texture keeps the muffins moist and tender. Add the softened butter to the warm bananas and stir until well combined and creamy. Mix in the packed brown sugar, then add the eggs one at a time, stirring well after each addition. Finish by adding the vanilla extract and mix until everything is fully incorporated. I like to use very ripe bananas with plenty of brown spots because they provide natural sweetness and moisture, reducing the need for additional sugar.
- Pour the wet mixture from Step 2 into the bowl with your dry ingredient mixture from Step 1. Using a spatula or wooden spoon, fold the ingredients together with just 15-20 gentle strokes until the flour is barely incorporated—you should still see a few streaks of flour. Stop mixing immediately once no dry flour is visible; overmixing develops gluten and creates tough, dense muffins. Gently fold in the chopped walnuts from Step 1 until evenly distributed.
- Divide the batter evenly among the 12 lined muffin cups, filling each about two-thirds to three-quarters full. Place the pan in your preheated 350°F oven and bake for 20-22 minutes, until a toothpick inserted into the center of a muffin comes out with just a few moist crumbs—not completely dry. The muffins are done when the tops are golden brown and spring back slightly when lightly touched. I always insert the toothpick in the center muffin first, as it takes longest to bake.
- Remove the muffin pan from the oven and let it cool in the pan for 5 minutes—this allows the muffins to set without becoming dry. Gently turn the muffins out onto a wire rack to cool further, or serve them warm directly from the pan with a pat of butter if desired. These muffins are best enjoyed fresh but will keep in an airtight container for up to 3 days.
