If you ask me, corn on the cob is one of those summer staples that never gets old.
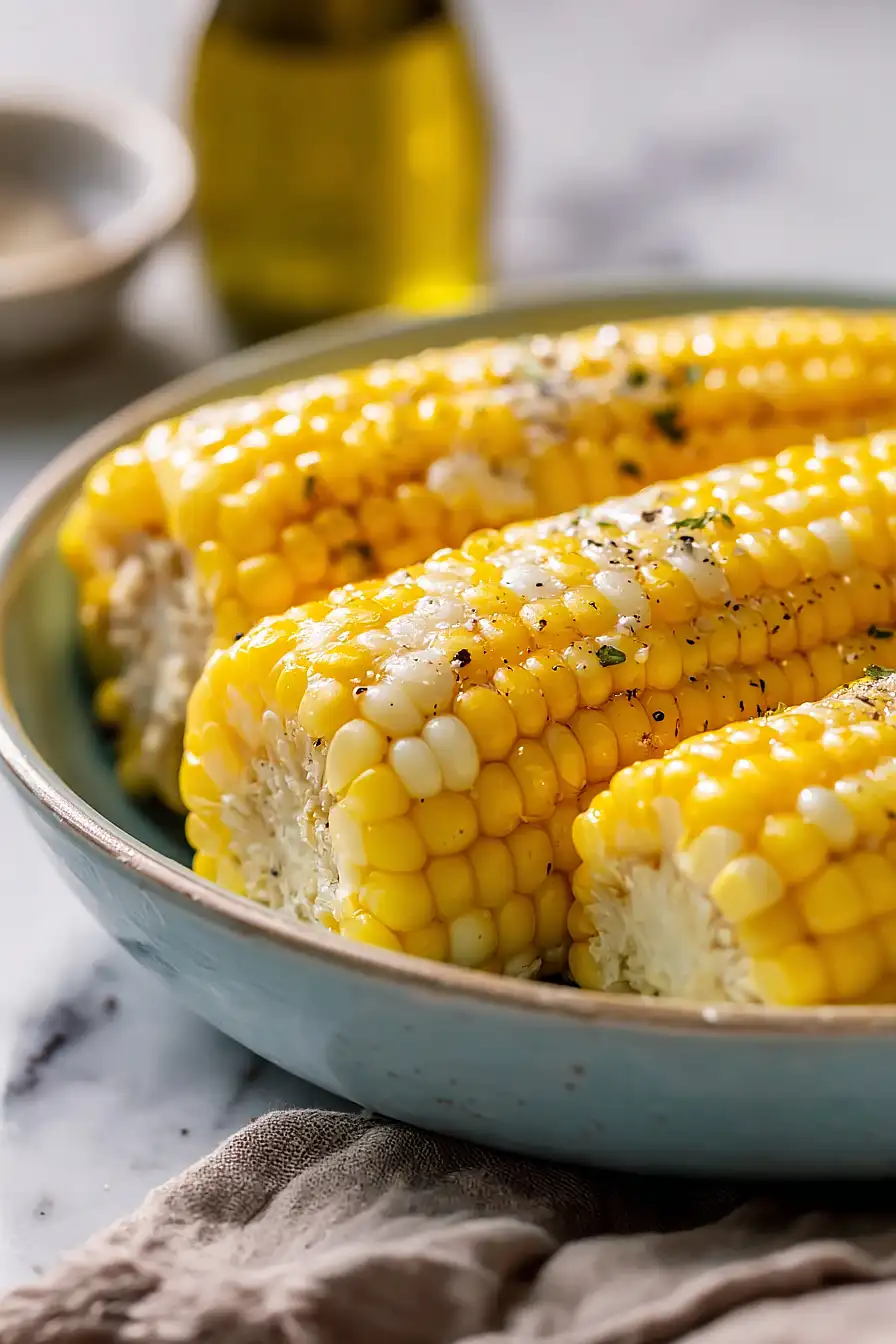
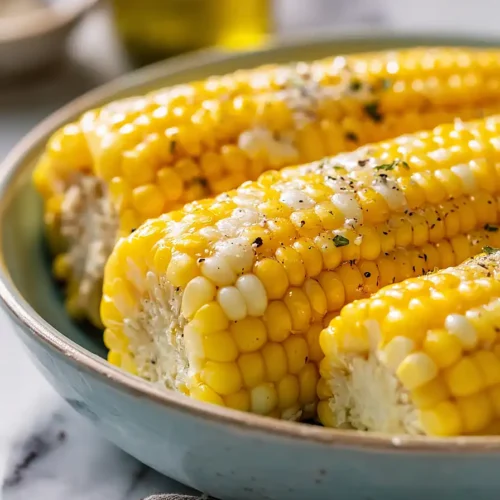
This butter and milk boiled corn takes a simple side dish and turns it into something worth talking about at the dinner table. Sweet corn simmers in a milk and butter bath that makes each kernel taste extra rich and creamy.
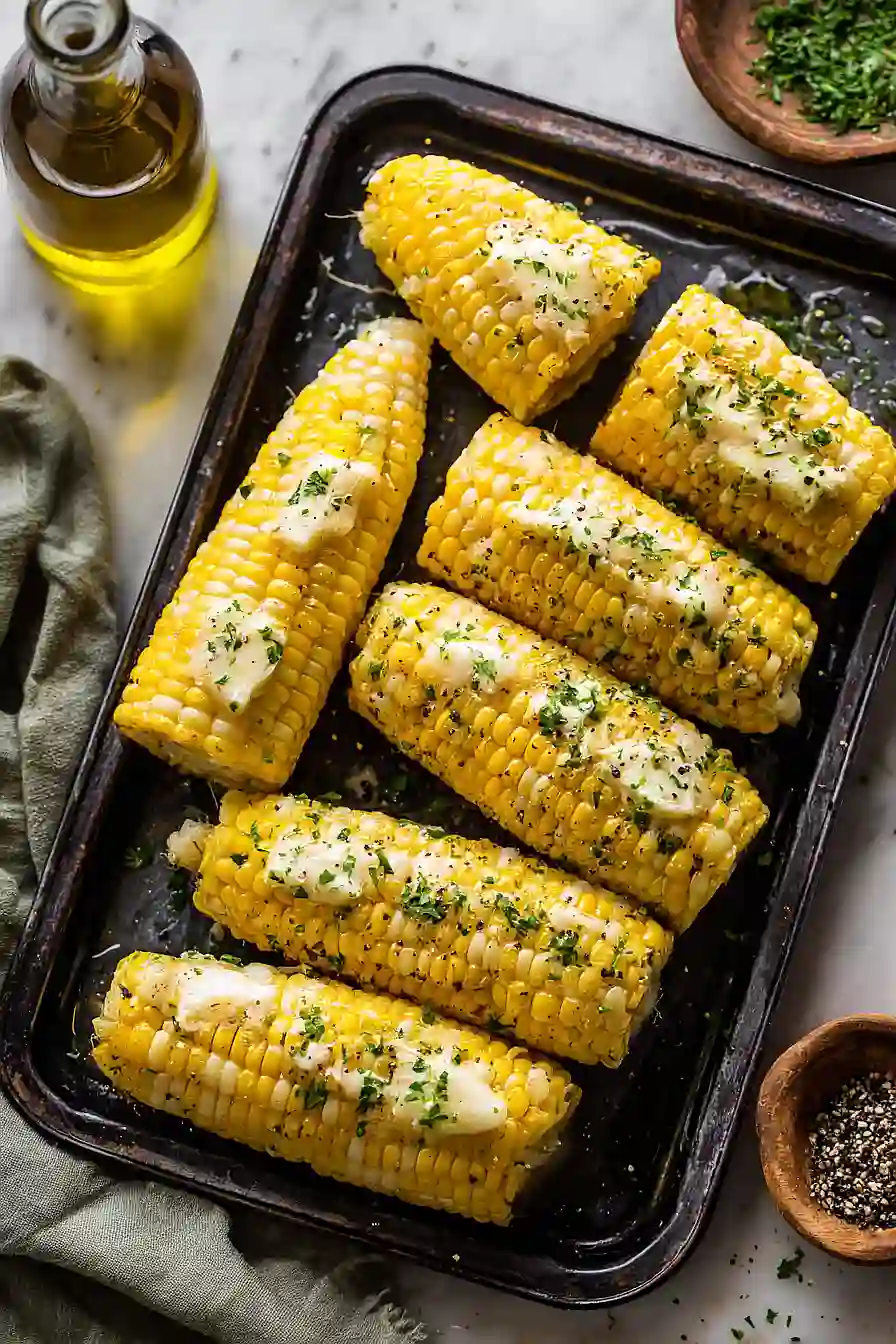
It’s finished with an herb butter that’s loaded with fresh thyme, parsley, and a hint of lemon. Garlic powder and smoked paprika round out the flavors without making things too complicated.
It’s an easy side dish that feels a bit fancy, perfect for backyard cookouts or weeknight dinners when you want something special.
Why You’ll Love This Corn on the Cob
- Quick and easy – This recipe takes just 25-35 minutes from start to finish, making it perfect for busy weeknights or last-minute side dishes.
- Incredibly tender and flavorful – Boiling corn in milk and butter creates the most tender, sweet kernels you’ve ever tasted. It’s a game-changer compared to plain water boiling.
- Customizable herb butter – The garlic, thyme, and lemon butter topping adds a restaurant-quality finish, but you can easily adjust the herbs to your liking or keep it simple.
- Perfect for gatherings – This recipe makes corn that looks and tastes impressive enough for cookouts and dinner parties, but it’s easy enough for any day of the week.
What Kind of Corn Should I Use?
Fresh corn on the cob is always your best bet for this recipe, especially if you can grab it during peak summer season when it’s at its sweetest. Look for ears with bright green husks that feel slightly damp, and kernels that are plump and tightly packed together. If fresh corn isn’t available, frozen corn on the cob can work in a pinch – just make sure to thaw it completely before cooking and adjust your boiling time since it’s already been blanched. When you’re at the store or farmer’s market, give the corn a gentle squeeze through the husk to check that the kernels feel full from top to bottom, and avoid any ears with brown or dried-out silk.

Options for Substitutions
This corn recipe is pretty straightforward, but here are some swaps you can make if needed:
- Whole milk: You can use 2% milk or even half-and-half if that’s what you have. Heavy cream works too, though it’ll make the cooking liquid richer. I’d skip skim milk though – you want some fat content to help flavor the corn.
- Salted butter: Unsalted butter works fine, but you’ll need to add a bit more salt to the water and the herb butter to make up for it. Start with an extra 1/2 teaspoon of salt and adjust to taste.
- Fresh herbs: Don’t have fresh thyme and parsley? Use dried herbs instead – about 1/2 teaspoon dried thyme and 2 teaspoons dried parsley. Just remember that dried herbs are more concentrated than fresh.
- Lemon: If you’re out of fresh lemon, you can use about 1/2 teaspoon of bottled lemon juice. Skip the zest if you don’t have a fresh lemon – it’s nice but not essential.
- Sugar: The sugar helps bring out the corn’s natural sweetness, but if your corn is super fresh and sweet, you can reduce it to 1 tablespoon or leave it out completely.
Watch Out for These Mistakes While Cooking
The biggest mistake when boiling corn is overcooking it, which turns those sweet, crisp kernels into mushy, flavorless mush – stick to the 6-8 minute cooking time and check for tenderness at the 6-minute mark by piercing a kernel with a fork.
Another common error is adding the corn to cold or lukewarm liquid, so make sure your water-milk mixture is at a rolling boil before dropping in the corn to ensure even cooking.
Don’t skip the sugar in the boiling liquid, as it helps bring out the natural sweetness of the corn, especially if your corn isn’t super fresh from the farm.
Finally, let your herb butter sit at room temperature for about 15 minutes before serving so it melts beautifully over the hot corn instead of sitting in cold clumps.
What to Serve With Corn on the Cob?
Corn on the cob is a natural sidekick to any backyard barbecue, so think grilled burgers, hot dogs, or BBQ chicken as your main dish. I love serving it alongside coleslaw and baked beans for a full summer cookout spread that everyone goes crazy for. If you’re keeping things simple, corn pairs really well with grilled steak or pork chops, and don’t forget to throw some extra butter on the table for people who want to go all in. For a lighter meal, try it with a tomato and cucumber salad or some grilled zucchini to round out your plate.
Storage Instructions
Store: Leftover corn on the cob keeps well in the fridge for up to 3 days. Just wrap each piece tightly in plastic wrap or aluminum foil, or store them together in an airtight container. The butter mixture can be stored separately in a small container in the fridge for about a week.
Freeze: You can freeze cooked corn on the cob for up to 2 months. Wrap each piece individually in plastic wrap, then place them all in a freezer bag. I usually skip freezing the herb butter since it’s so quick to make fresh, but you can freeze that too if you want.
Reheat: To warm up your corn, you can microwave it for about 2 minutes, or wrap it in foil and heat it in a 350°F oven for 10-15 minutes. If you froze it, let it thaw in the fridge overnight first for the best texture.
| Preparation Time | 15-20 minutes |
| Cooking Time | 10-15 minutes |
| Total Time | 25-35 minutes |
| Level of Difficulty | Easy |
| Servings | 8 pieces of corn |
Estimated Nutrition
Estimated nutrition for the whole recipe (without optional ingredients):
- Calories: 1300-1450
- Protein: 24-28 g
- Fat: 110-120 g
- Carbohydrates: 85-100 g
Ingredients
For the boiling liquid:
- 8 cups water
- 2 1/2 cups milk (I prefer Horizon Organic for a richer taste)
- 3/4 cup butter
- 2 tbsp sugar
For the corn:
- 4 ears corn (husked and snapped in half)
- 1/2 tsp salt
- 1/4 tsp freshly cracked black pepper
For the compound butter:
- 1/2 cup butter (I use Kerrygold unsalted for this)
- 1/2 tbsp fresh thyme
- 2 1/2 tbsp fresh parsley (finely chopped, about 1/8-inch pieces)
- 2 tsp garlic powder
- 1 tsp lemon zest
- 1 tbsp lemon juice
- 1/4 tsp smoked paprika
Step 1: Prepare the Herb Butter
- 1/2 cup butter
- 1/2 tbsp fresh thyme
- 2 1/2 tbsp fresh parsley
- 2 tsp garlic powder
- 1 tsp lemon zest
- 1 tbsp lemon juice
- 1/4 tsp smoked paprika
While you’re about to start boiling water, make the herb butter so it’s ready when the corn finishes cooking.
Add the softened butter, fresh thyme, finely chopped parsley, garlic powder, lemon zest, lemon juice, and smoked paprika to a food processor and blend until the herbs are fully incorporated and the mixture is uniform.
Transfer to a small bowl and set aside.
I like to make this first so it’s at room temperature and spreadable right when you need it.
Step 2: Build the Cooking Liquid and Boil Corn
- 8 cups water
- 2 1/2 cups milk
- 3/4 cup butter
- 2 tbsp sugar
- 4 ears corn
Bring 8 cups of water to a rolling boil in a large pot.
Once boiling, add the milk, 3/4 cup butter, and sugar, stirring to combine and allowing the mixture to return to a boil—this creates a rich, slightly sweet cooking environment for the corn.
Reduce the heat to a gentle simmer, then add the husked corn that’s been snapped in half.
Cover the pot and cook for 6-8 minutes until the corn is tender but still has a slight bite to it.
Step 3: Finish and Serve
- cooked corn from Step 2
- 1/2 tsp salt
- 1/4 tsp freshly cracked black pepper
- herb butter mixture from Step 1
Carefully remove the corn from the pot with tongs and transfer to a serving platter.
Season each piece lightly with salt and freshly cracked black pepper.
Top each piece generously with the herb butter from Step 1, allowing it to melt over the warm corn.
Serve immediately while everything is hot.
Easy Butter and Milk Boiled Corn on the Cob
Ingredients
For the boiling liquid
- 8 cups water
- 2 1/2 cups milk (I prefer Horizon Organic for a richer taste)
- 3/4 cup butter
- 2 tbsp sugar
For the corn
- 4 ears corn (husked and snapped in half)
- 1/2 tsp salt
- 1/4 tsp freshly cracked black pepper
For the compound butter
- 1/2 cup butter (I use Kerrygold unsalted for this)
- 1/2 tbsp fresh thyme
- 2 1/2 tbsp fresh parsley (finely chopped, about 1/8-inch pieces)
- 2 tsp garlic powder
- 1 tsp lemon zest
- 1 tbsp lemon juice
- 1/4 tsp smoked paprika
Instructions
- While you're about to start boiling water, make the herb butter so it's ready when the corn finishes cooking. Add the softened butter, fresh thyme, finely chopped parsley, garlic powder, lemon zest, lemon juice, and smoked paprika to a food processor and blend until the herbs are fully incorporated and the mixture is uniform. Transfer to a small bowl and set aside. I like to make this first so it's at room temperature and spreadable right when you need it.
- Bring 8 cups of water to a rolling boil in a large pot. Once boiling, add the milk, 3/4 cup butter, and sugar, stirring to combine and allowing the mixture to return to a boil—this creates a rich, slightly sweet cooking environment for the corn. Reduce the heat to a gentle simmer, then add the husked corn that's been snapped in half. Cover the pot and cook for 6-8 minutes until the corn is tender but still has a slight bite to it.
- Carefully remove the corn from the pot with tongs and transfer to a serving platter. Season each piece lightly with salt and freshly cracked black pepper. Top each piece generously with the herb butter from Step 1, allowing it to melt over the warm corn. Serve immediately while everything is hot.
