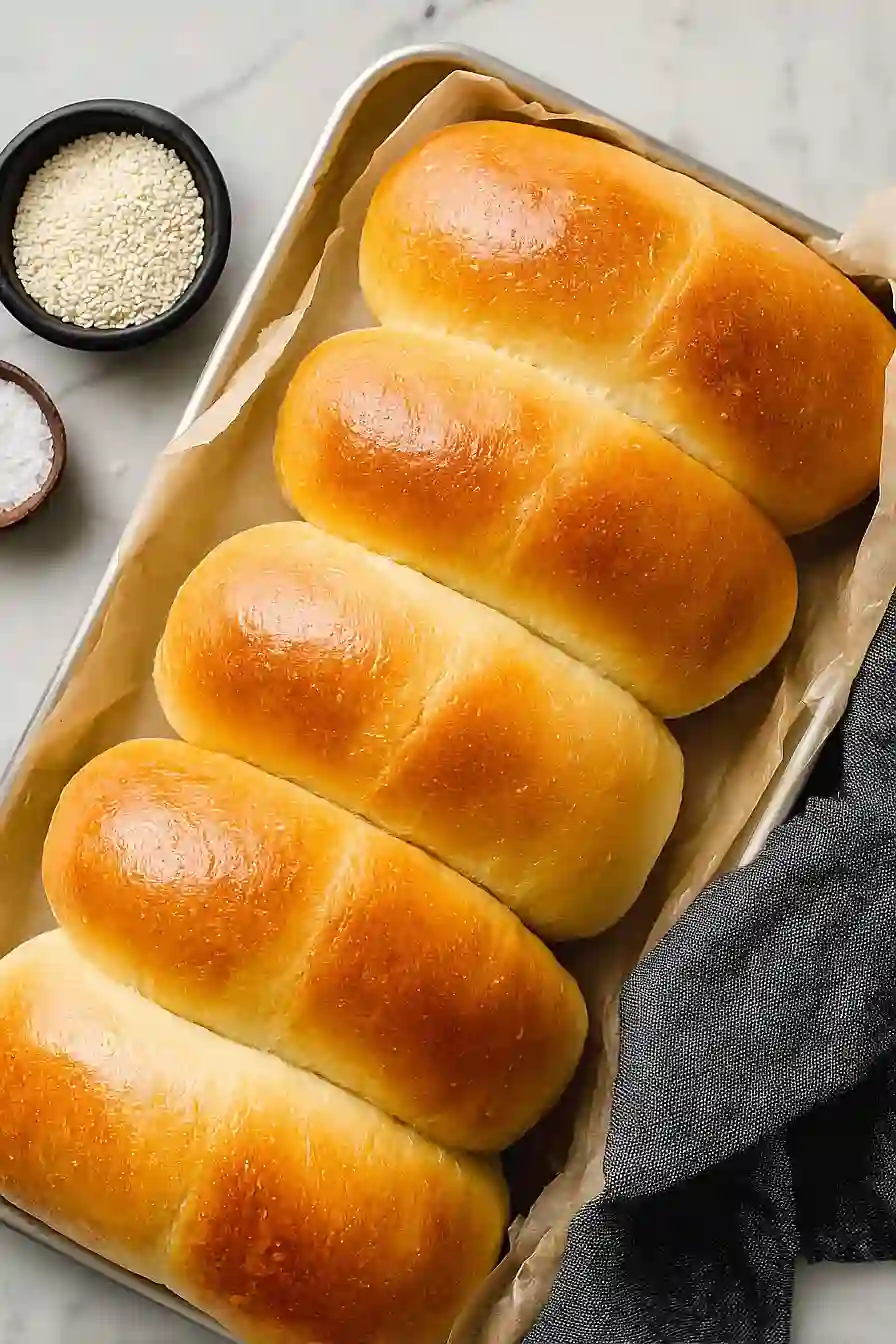
Here is my favorite homemade hot dog buns recipe, with a soft, slightly sweet dough made with milk, butter, and honey that’s perfect for summer cookouts and way better than store-bought.
These hot dog buns are what I make whenever we’re grilling in the backyard. My kids love helping me shape them, and the smell of fresh-baked bread always brings the neighbors over. Once you try making your own, you’ll never want to go back to the packaged ones.
Why You’ll Love These Hot Dog Buns
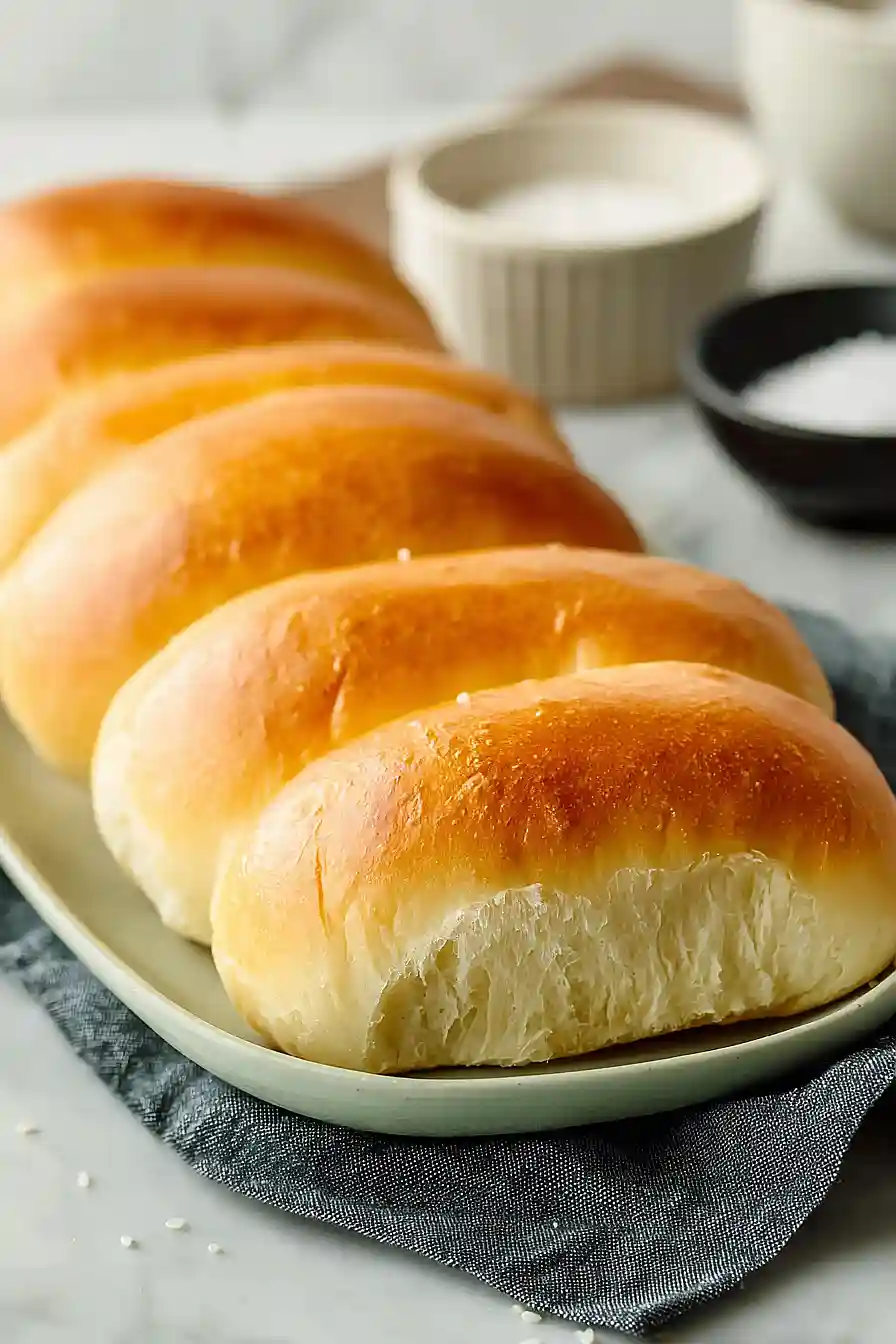
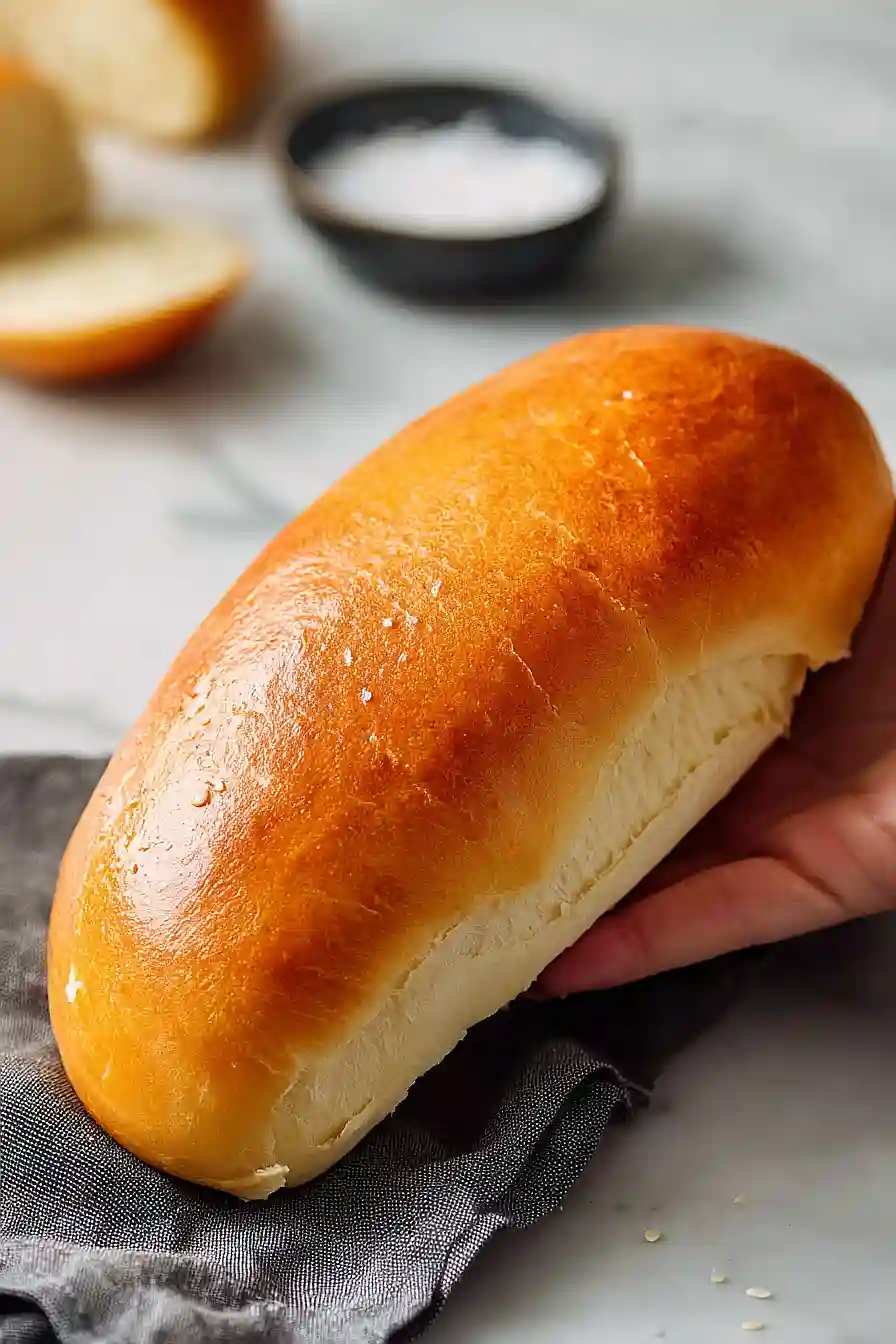
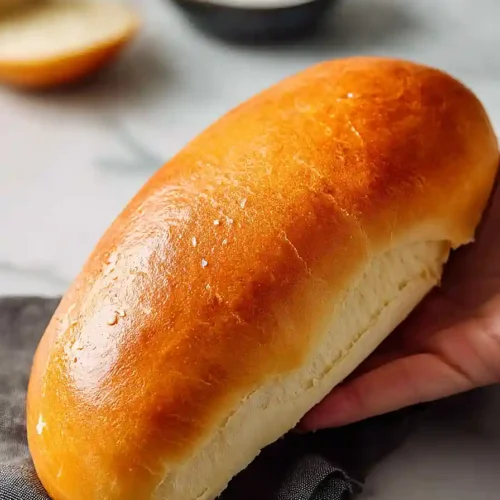
- Soft, pillowy texture – These homemade buns are so much better than store-bought ones. They’re fresh, fluffy, and hold up perfectly to your favorite toppings without falling apart.
- Simple ingredients – You probably already have everything you need in your pantry – just basic baking staples like flour, yeast, milk, and butter.
- Perfect for summer cookouts – Impress your guests at your next barbecue with fresh-baked buns that taste like they came from a bakery.
- Budget-friendly – Making your own buns costs less than buying premium ones from the store, and you get better quality and flavor.
- Customizable size – You can shape these to fit regular hot dogs or make them bigger for bratwurst and sausages.
What Kind of Flour Should I Use?
Bread flour is really your best bet for homemade hot dog buns because it has a higher protein content that creates that nice chewy texture you want in a good bun. If you only have all-purpose flour in your pantry, don’t worry – you can absolutely use it and your buns will still turn out great, just slightly softer and less chewy. Some people actually prefer the lighter texture that all-purpose flour gives, so it’s really a matter of personal preference. Just make sure your flour is fresh and hasn’t been sitting in the back of your cupboard for years, as old flour can affect how well your dough rises.
Options for Substitutions
This recipe is pretty straightforward, but here are some swaps you can make if needed:
- Bread flour: All-purpose flour works fine here, though your buns might be slightly less chewy. Use the same amount and follow the recipe as written.
- Milk: You can use water instead of milk, but the buns won’t be quite as soft or rich. For a dairy-free option, try oat milk or almond milk – they work pretty well in bread recipes.
- Butter: Swap melted butter with vegetable oil or coconut oil if you need a dairy-free version. The texture will be similar, though you’ll lose a bit of that buttery flavor.
- Eggs: For the egg in the dough, you can use a flax egg (1 tablespoon ground flaxseed mixed with 3 tablespoons water, let sit for 5 minutes). For the egg wash, brush the tops with milk or melted butter instead.
- Yeast: Active dry yeast and instant yeast are interchangeable here – just use the same amount. If using active dry, make sure to proof it in the warm milk with sugar first.
Watch Out for These Mistakes While Baking
The biggest mistake when making homemade hot dog buns is using milk that’s too hot, which can kill the yeast – aim for around 110°F, or warm enough that it feels comfortable on your wrist but not hot.
Another common error is skipping the resting periods, which are crucial for developing the right texture and allowing the dough to rise properly, so resist the urge to rush through those 5-minute and 30-minute rest times.
Overworking the dough during kneading can lead to tough, dense buns instead of soft, fluffy ones, so knead just until the dough is smooth and elastic, about 5-7 minutes.
Finally, overbaking is a real concern with these buns – start checking at 12 minutes and look for a light golden brown color rather than waiting the full 15 minutes, since they can dry out quickly.
What to Serve With Homemade Hot Dog Buns?
These homemade buns are perfect for your next backyard cookout or game day spread. I love loading them up with classic beef hot dogs and all the toppings – mustard, ketchup, relish, and sauerkraut – but they also work great for bratwurst or Italian sausages. Serve them alongside some crispy potato chips, coleslaw, and baked beans for a complete meal that everyone will enjoy. You can also use these buns for pulled pork sandwiches or even lobster rolls if you’re feeling fancy.
Storage Instructions
Store: Keep your homemade hot dog buns in an airtight container or zip-top bag at room temperature for up to 3 days. They’ll stay soft and fresh, which is way better than store-bought buns that get stale so quickly.
Freeze: These buns freeze really well for up to 3 months. Just let them cool completely, then wrap them individually in plastic wrap before putting them all in a freezer bag. This way you can pull out just what you need for your next cookout.
Thaw: When you’re ready to use frozen buns, just leave them on the counter for about an hour to thaw at room temperature. If you’re in a hurry, you can microwave them for about 15-20 seconds, but be careful not to overdo it or they’ll get tough.
| Preparation Time | 90-100 minutes |
| Cooking Time | 10-15 minutes |
| Total Time | 100-120 minutes |
| Level of Difficulty | Medium |
| Servings | 8 buns |
Estimated Nutrition
Estimated nutrition for the whole recipe (without optional ingredients):
- Calories: 1400-1600
- Protein: 38-44 g
- Fat: 38-44 g
- Carbohydrates: 220-240 g
Ingredients
For the dough:
- 2 1/4 tsp yeast (active dry or instant)
- 2 tbsp sugar
- 1 tbsp honey
- 1 cup lukewarm milk (105°F to 115°F)
- 2.75 cups King Arthur all-purpose flour
- 1 tsp salt
- 1 large egg
- 4 tbsp unsalted butter, softened
For the egg wash:
- 1 egg
- 1 tbsp water
Step 1: Activate Yeast and Mix Wet Ingredients
- 2 1/4 tsp active dry or instant yeast
- 1 tsp sugar
- 1 cup lukewarm milk
- 1 tbsp sugar
- 1 tbsp honey
Combine the yeast, 1 teaspoon of sugar, and lukewarm milk in a small bowl and let it sit for 5 minutes—you should see it become foamy, which confirms your yeast is active and alive.
While the yeast blooms, whisk together the remaining sugar and honey in a separate small bowl to combine them evenly.
This blooming step is crucial because it wakes up the yeast and ensures it will properly leaven your buns.
Step 2: Build the Dough Base
- foamy yeast mixture from Step 1
- honey-sugar mixture from Step 1
- 2.5 cups King Arthur all-purpose flour
- 1 tsp salt
- 1 large egg
- 4 tbsp unsalted butter, softened
In a large mixing bowl, combine 2.5 cups of flour with the salt and stir to distribute it evenly.
Create a well in the center of the flour mixture and pour in the foamy yeast mixture from Step 1, along with the honey-sugar mixture, the egg, and softened butter.
Mix everything together with a wooden spoon or your hands until a shaggy dough forms—don’t worry if it looks rough and slightly sticky at this point.
Step 3: Knead and Develop the Dough
- shaggy dough from Step 2
- 0.25 cups King Arthur all-purpose flour
Let the dough rest in the bowl for 5 minutes to allow the flour to fully hydrate—this makes kneading easier and more effective.
Turn the shaggy dough onto a lightly floured work surface and knead for about 8-10 minutes, gradually adding the remaining 0.25 cups of flour as needed.
The dough should become smooth, elastic, and slightly tacky but not sticky; I like to knead until it springs back when I poke it with my finger, which signals proper gluten development.
Step 4: First Rise and Bulk Fermentation
- kneaded dough from Step 3
Place the kneaded dough into a clean, lightly oiled bowl, turning it to coat all sides with oil to prevent drying.
Cover the bowl with plastic wrap or a damp kitchen towel and let it rise at room temperature for 30 minutes—the dough should increase in volume but doesn’t need to double at this stage.
This bulk fermentation develops flavor and makes the dough easier to shape.
Step 5: Shape the Buns
- risen dough from Step 4
Turn the risen dough onto a lightly floured surface and gently press it down to release excess gas.
Divide the dough into 8 equal pieces (I weigh mine for consistency, but eyeballing works too), then roll each piece into a smooth 6-inch log by gently stretching and rolling it under your palms.
Place the shaped logs on a parchment-lined baking sheet, spacing them about 2 inches apart to allow room for expansion.
Step 6: Second Rise and Egg Wash
- shaped buns from Step 5
- 1 egg
- 1 tbsp water
Cover the shaped buns with plastic wrap or a kitchen towel and let them proof for 15 minutes at room temperature—they should increase in volume and feel slightly springy when gently poked.
While the buns proof, beat together the second egg and 1 tablespoon of water to create an egg wash.
After the 15-minute rest, brush the egg wash generously over the top and sides of each bun to create a beautiful golden shine when baked.
Step 7: Bake Until Golden
- proofed buns from Step 6
Preheat your oven to 350°F and bake the buns for 12 to 15 minutes, until they’re deep golden brown on top.
The buns are done when they sound hollow if you tap the bottom and the internal temperature reaches about 190°F.
Remove from the oven and let them cool on the baking sheet for a few minutes before serving—they’re best enjoyed warm with your favorite hot dog and toppings!
Golden Homemade Hot Dog Buns
Ingredients
For the dough
- 2 1/4 tsp yeast (active dry or instant)
- 2 tbsp sugar
- 1 tbsp honey
- 1 cup lukewarm milk (105°F to 115°F)
- 2.75 cups King Arthur all-purpose flour
- 1 tsp salt
- 1 large egg
- 4 tbsp unsalted butter, softened
For the egg wash
- 1 egg
- 1 tbsp water
Instructions
- Combine the yeast, 1 teaspoon of sugar, and lukewarm milk in a small bowl and let it sit for 5 minutes—you should see it become foamy, which confirms your yeast is active and alive. While the yeast blooms, whisk together the remaining sugar and honey in a separate small bowl to combine them evenly. This blooming step is crucial because it wakes up the yeast and ensures it will properly leaven your buns.
- In a large mixing bowl, combine 2.5 cups of flour with the salt and stir to distribute it evenly. Create a well in the center of the flour mixture and pour in the foamy yeast mixture from Step 1, along with the honey-sugar mixture, the egg, and softened butter. Mix everything together with a wooden spoon or your hands until a shaggy dough forms—don't worry if it looks rough and slightly sticky at this point.
- Let the dough rest in the bowl for 5 minutes to allow the flour to fully hydrate—this makes kneading easier and more effective. Turn the shaggy dough onto a lightly floured work surface and knead for about 8-10 minutes, gradually adding the remaining 0.25 cups of flour as needed. The dough should become smooth, elastic, and slightly tacky but not sticky; I like to knead until it springs back when I poke it with my finger, which signals proper gluten development.
- Place the kneaded dough into a clean, lightly oiled bowl, turning it to coat all sides with oil to prevent drying. Cover the bowl with plastic wrap or a damp kitchen towel and let it rise at room temperature for 30 minutes—the dough should increase in volume but doesn't need to double at this stage. This bulk fermentation develops flavor and makes the dough easier to shape.
- Turn the risen dough onto a lightly floured surface and gently press it down to release excess gas. Divide the dough into 8 equal pieces (I weigh mine for consistency, but eyeballing works too), then roll each piece into a smooth 6-inch log by gently stretching and rolling it under your palms. Place the shaped logs on a parchment-lined baking sheet, spacing them about 2 inches apart to allow room for expansion.
- Cover the shaped buns with plastic wrap or a kitchen towel and let them proof for 15 minutes at room temperature—they should increase in volume and feel slightly springy when gently poked. While the buns proof, beat together the second egg and 1 tablespoon of water to create an egg wash. After the 15-minute rest, brush the egg wash generously over the top and sides of each bun to create a beautiful golden shine when baked.
- Preheat your oven to 350°F and bake the buns for 12 to 15 minutes, until they're deep golden brown on top. The buns are done when they sound hollow if you tap the bottom and the internal temperature reaches about 190°F. Remove from the oven and let them cool on the baking sheet for a few minutes before serving—they're best enjoyed warm with your favorite hot dog and toppings!
