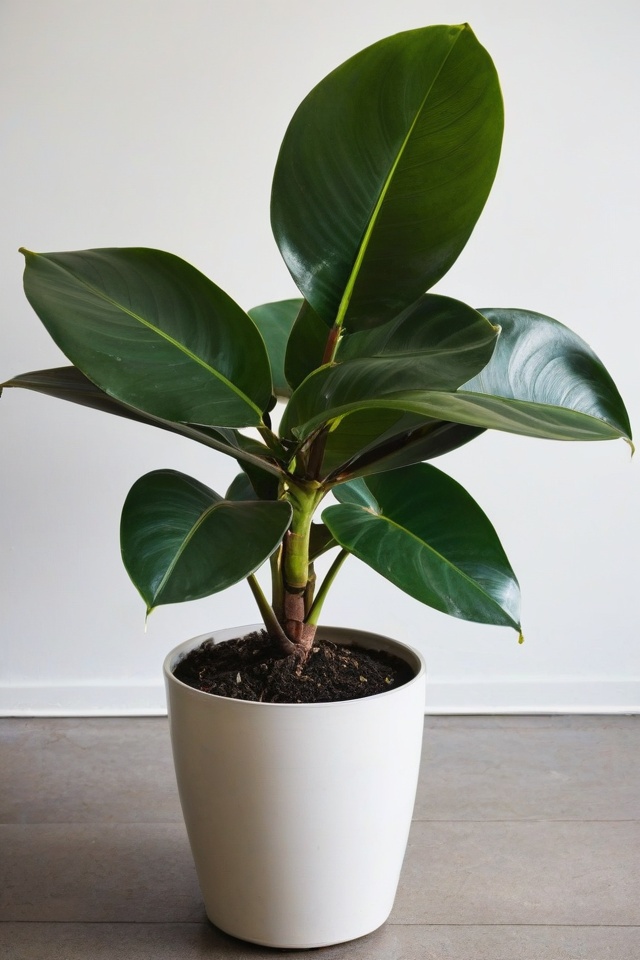
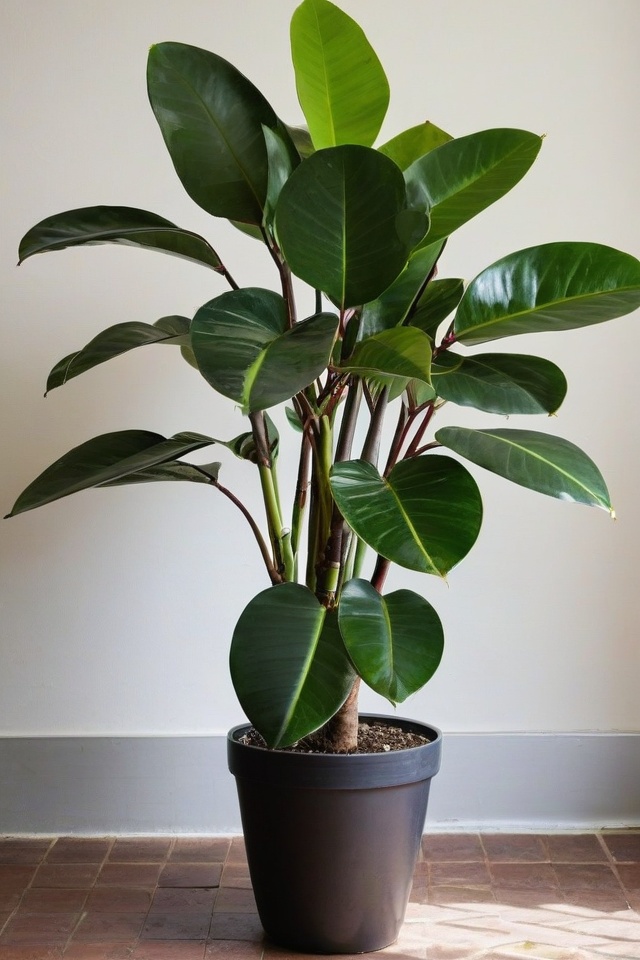
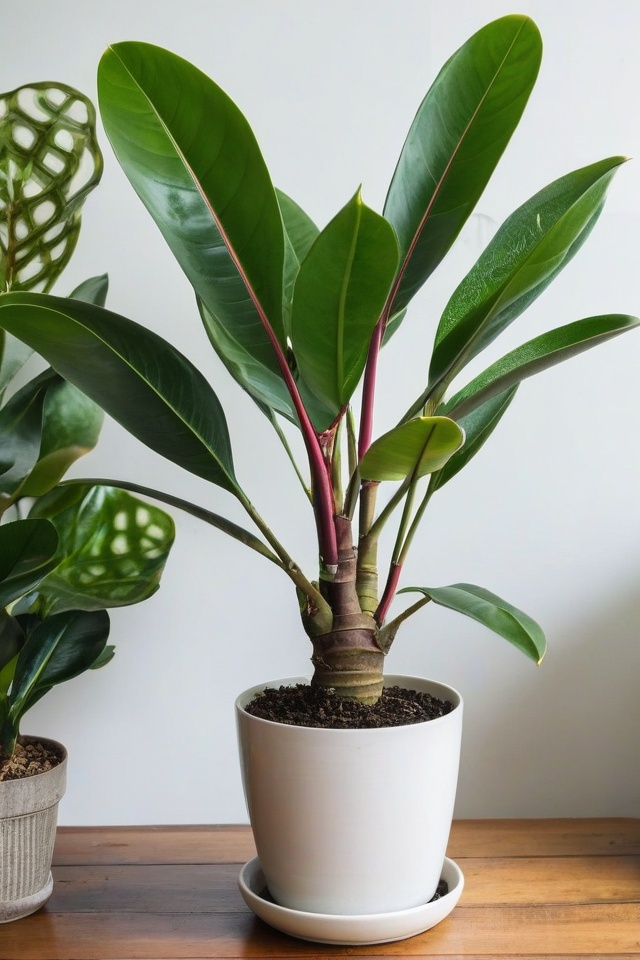
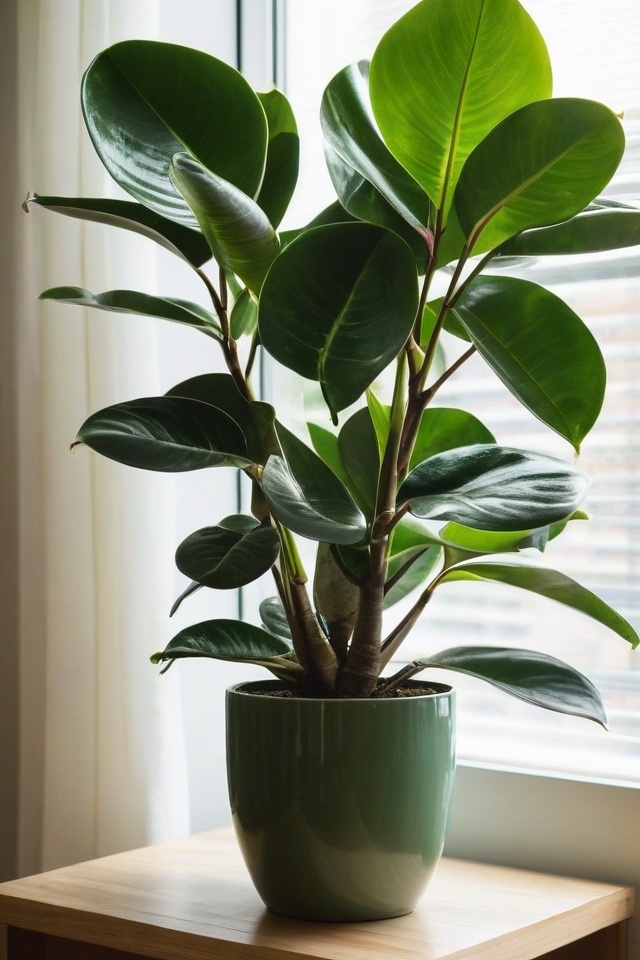
Want more rubber plants?
It’s easier than you think!
Growing them from cuttings is simple. Discover 10 effective tactics to get started.
Your green space will love it! Ready to learn more?
Let’s go!
Get Your Tools Ready

Before you dive into growing rubber plants from cuttings, gather all your tools. You’ll need a sharp knife or pruning shears, a small pot, potting soil, rooting hormone (optional but helpful!), and a clear plastic bag.
Having everything ready before you start makes the whole process so much smoother.
Choose the Right Stem
Look for a healthy stem on your rubber plant that’s about 6 inches long, with a few leaves on it. The best stems come from newer growth, so don’t go for the older, woody parts.
Make sure the stem is free from any disease or damage for the best chance to root and grow well!
Make the Cut

Using your sharp knife or pruning shears, cut the stem at a 45-degree angle. This angle helps the plant absorb more water.
Try to cut just below a node, which is the part of the stem where leaves grow. This area is more likely to sprout roots.
Prep the Cutting
Remove any leaves from the lower half of the cutting. If you’re using rooting hormone, dip the cut end into the powder.
This step is optional but can give your cutting a little boost by encouraging root growth faster. It’s like a little magic trick for plants!
Plant the Cutting

Fill your small pot with potting soil, and make a hole in the center with your finger. Insert the cutting into the hole and gently press the soil around it to secure it.
Make sure the node is buried under the soil since that’s where roots will start to grow.
Create a Humid Environment
To help your cutting retain moisture, cover it with a clear plastic bag. This will create a humid environment, which is perfect for rooting.
Just make sure the bag doesn’t touch the leaves by using sticks or small stakes to prop it up. Your cutting will thank you!
Find the Perfect Spot

Place your potted cutting in a warm spot with indirect sunlight. Too much direct sunlight can be harsh on a new cutting.
Somewhere with good light but not full sun works best. Make sure the area isn’t too drafty because steady temps will help the cutting root faster.
Keep an Eye on Moisture
Check the soil regularly to make sure it stays moist but not soggy. Water the cutting gently when the top inch of soil feels dry.
Overwatering can lead to rot, so be careful not to drown your new plant buddy!
Wait and Watch
Now comes the hard part: waiting! It can take several weeks for roots to form.
As long as the leaves look healthy and the cutting stays upright, you’re on the right track. Patience is key, so resist the urge to check the roots too often.
They’ll grow, promise!
Transplant to a Bigger Pot
Once you see new growth, it’s a sign that roots have formed. At this point, you can transplant your cutting into a larger pot.
Carefully move it to its new home with some fresh potting soil. Make sure to keep up with regular watering and give it lots of love!

