Ever wonder why professional landscapers’ gardens always look so good while yours needs constant work? Turns out, they’re not just blessed with green thumbs. They use specific tricks and shortcuts that make everything easier and help plants thrive with less effort.
The best part? These aren’t secret techniques that require fancy tools or years of training. They’re simple methods you can start using today to make your garden healthier and cut your maintenance time in half.
1.) Layer Mulch Three Inches Deep
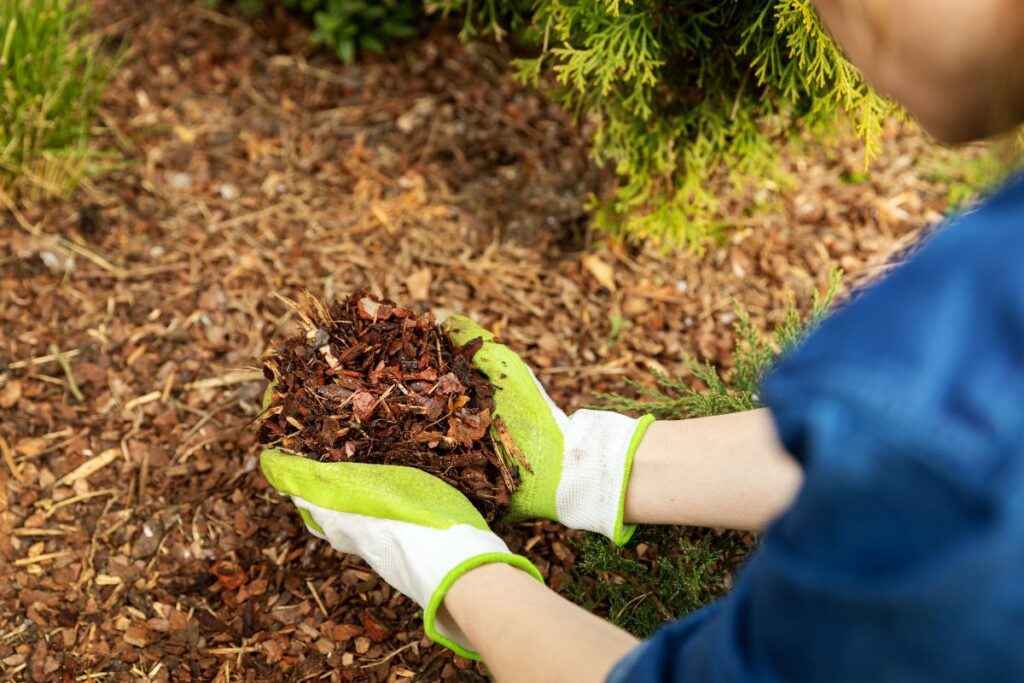
Professional landscapers stick to the three-inch rule when applying mulch, and there’s good science behind it. This depth prevents weeds from pushing through while keeping soil temperatures steady and moisture locked in. Go thinner and weeds take over. Pile it deeper and you risk root rot and pest problems.
Spread your mulch in spring after the soil warms up, or in fall to protect roots through winter. Keep it pulled back a few inches from plant stems and tree trunks to prevent disease and give everything room to breathe.
2.) Water Early Morning Only

Professional landscapers set their irrigation timers for the pre-dawn hours, typically between 4 and 8 a.m. Watering during this window gives plants time to absorb moisture before the day heats up, and any water on the leaves dries quickly once the sun rises.
Evening watering might seem convenient, but it leaves plants sitting in moisture overnight. That’s when fungal diseases and mildew problems develop. Morning watering also means less evaporation, so you’re using water more efficiently and your plants actually get what they need.
3.) Prune at 45-Degree Angles
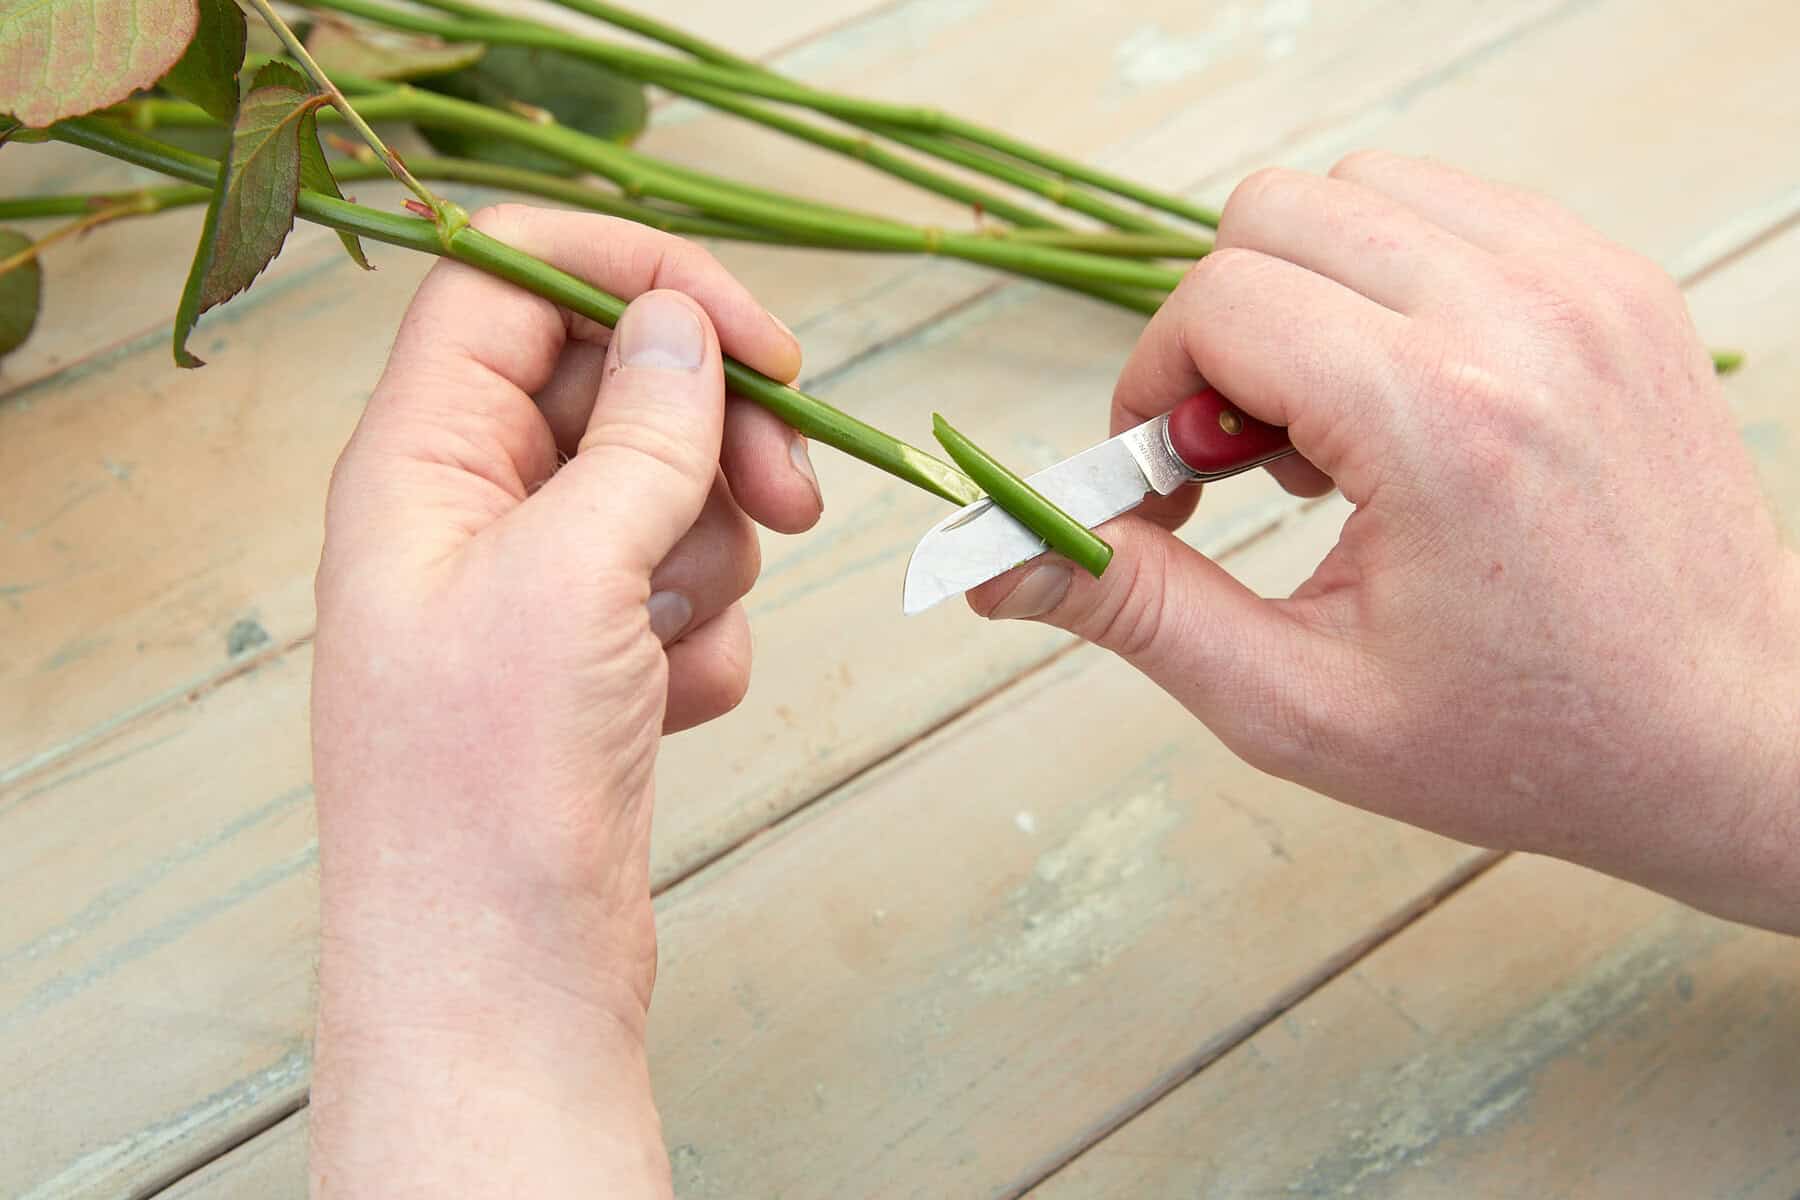
When you’re trimming branches, always make your cuts at a 45-degree angle instead of straight across. The slanted cut helps rainwater run off instead of pooling on the cut surface, which can lead to rot and disease.
Angle your cut about a quarter-inch above an outward-facing bud. This encourages the plant to grow away from the center, giving it better air circulation. Sharp, clean pruning shears make all the difference here.
Most woody plants benefit from this technique during their dormant season in late winter or early spring.
4.) Group Plants by Water Needs
Professional landscapers save time by organizing plants according to how much water they need. Put your thirsty plants like ferns and hydrangeas together in one area, and group drought-tolerant varieties like lavender and sedum elsewhere. This simple trick means you’re not overwatering succulents while trying to keep moisture-loving hostas happy.
Your irrigation becomes more efficient too. You can set up different watering zones or simply remember which garden beds need attention. Less time spent watering means more time enjoying your garden, and your plants will actually grow better when they get just the right amount of moisture.
5.) Use Compost as Top Dressing
Spreading a layer of compost on top of your soil works like a slow-release fertilizer that feeds your plants over time. Professional landscapers apply a 1-2 inch layer around established plants in spring and fall, keeping it a few inches away from stems to prevent rot.
The compost breaks down gradually, adding nutrients and improving soil structure without the need for chemical fertilizers. It also helps the soil hold moisture better during hot summer months.
You can use homemade or bagged compost—both work great for flower beds, vegetable gardens, and around trees and shrubs.
6.) Deadhead Flowers Weekly

Removing spent blooms might seem like extra work, but it’s one of the easiest ways to keep your plants producing more flowers. When you snip off faded flowers before they form seeds, the plant redirects its energy into making new buds instead.
Professional landscapers set aside time each week during the growing season to walk through gardens with pruning shears. Focus on repeat bloomers like petunias, roses, and marigolds for the best results.
The process takes just 15-20 minutes for most gardens and keeps everything looking fresh through fall.
7.) Edge Beds for Clean Lines

Sharp edges between your lawn and garden beds make everything look more polished and intentional. Pros use a flat-bladed edging tool or half-moon edger to cut a clean line about 2-3 inches deep along bed borders. Do this in spring and touch it up once or twice during the growing season.
The vertical edge stops grass from creeping into your beds and gives you a nice border for mulch. It takes about 15 minutes per bed and makes a bigger visual difference than most people expect.
8.) Test Soil pH Annually

Your soil’s pH level controls how well plants absorb nutrients, even if you’re fertilizing regularly. Most vegetables and flowers prefer a pH between 6.0 and 7.0, while acid-lovers like blueberries want it closer to 4.5 to 5.5.
Pick up an inexpensive test kit from any garden center and check your soil each spring before planting. If your pH is off, you can adjust it with lime to raise it or sulfur to lower it.
Testing takes five minutes and prevents months of struggling with plants that just won’t thrive.
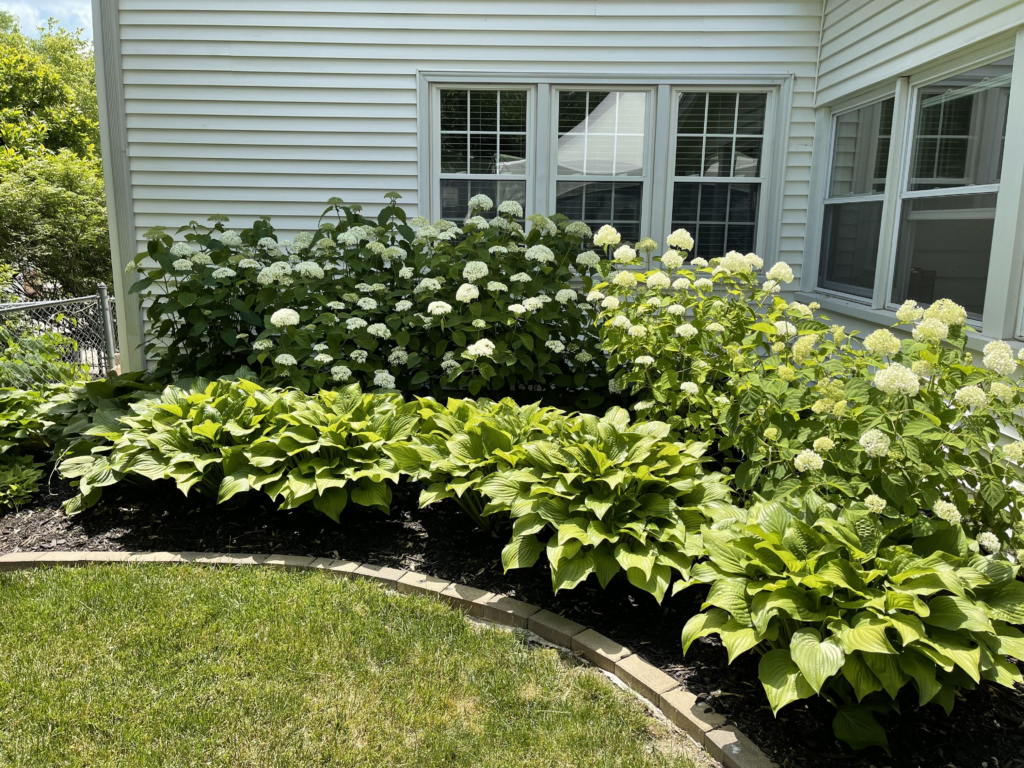
9.) Plant in Odd-Numbered Groups

Professional landscapers know that grouping plants in odd numbers—like threes, fives, or sevens—creates a more natural look that’s easier on the eyes. Even-numbered groups can feel too formal or symmetrical, while odd numbers give your garden that relaxed, organic feel.
This trick works for everything from perennials to shrubs. Three hostas look better than two, and five ornamental grasses make a stronger statement than four.
The rule applies to any season and works in all hardiness zones. Just remember to space your plants properly based on their mature size to avoid overcrowding.
10.) Sharpen Tools Before Each Use

A sharp blade makes cleaner cuts that heal faster, reducing the risk of disease in your plants. Dull tools crush and tear plant tissue, leaving ragged wounds that invite pests and infection.
Keep a sharpening stone or file in your tool shed and run it along pruner blades, hoe edges, and mower blades before you start working. It only takes a minute or two.
Professional landscapers swear by this habit because it saves time in the long run and keeps plants healthier throughout the growing season.
11.) Add Drainage Layers First

Pros know that proper drainage can make or break your container gardens. Before adding soil, put down a layer of rocks, broken pottery pieces, or packing peanuts at the bottom of your pots. This keeps roots from sitting in water, which leads to rot and unhappy plants.
The drainage layer should take up about an inch or two of space, depending on your pot size. Make sure your containers have drainage holes too—without them, even the best layering system won’t help much.
12.) Stagger Bloom Times Strategically

Planning your garden so different plants bloom throughout the season is a trick that keeps your yard looking good from spring through fall. Pros mix early bloomers like crocuses and daffodils with summer performers like coneflowers, then add fall favorites like asters and mums.
The key is mapping out bloom windows before you plant. Check plant tags for their flowering months and spread them across your beds. This way, as one plant finishes, another one starts up, and you’ll never have a bare spot in your garden.
13.) Create Focal Points Intentionally

Every good garden needs somewhere for your eye to land when you first walk in. Pro landscapers pick one or two spots to feature something special—maybe a Japanese maple, a neat stone bench, or even a birdbath surrounded by black-eyed Susans.
The trick is keeping these focal points simple and not overdoing it. Too many attention-grabbers just create chaos. Place them at natural stopping points along paths or at the end of sight lines.
Your focal point should look good year-round, so evergreens or hardscaping often work better than plants that only bloom for two weeks.
14.) Use Native Plants Primarily

Professional landscapers know that native plants are the secret to a garden that practically takes care of itself. These local species have already adapted to your area’s rainfall, soil type, and temperature swings, which means less watering and fertilizing for you.
Native plants also support local wildlife like butterflies and birds that depend on them for food. Check with your local extension office to find out which plants are native to your region.
Once established, most native species only need occasional watering during extreme dry spells and maybe an annual trim to keep their shape.
15.) Install Drip Irrigation Systems
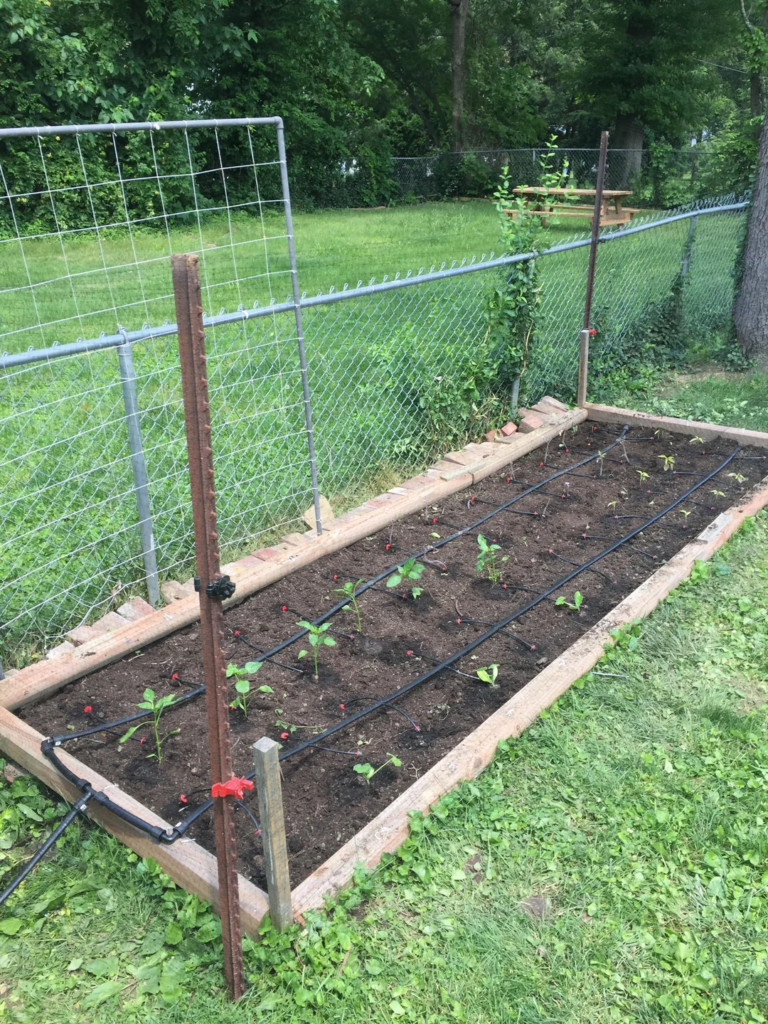
Professional landscapers know that drip irrigation saves time and keeps plants healthier than hand-watering. These systems deliver water directly to plant roots, reducing waste and preventing fungal diseases that spread through wet leaves.
You can set up a basic drip system in an afternoon using a timer, main line tubing, and individual emitters. The timer handles watering while you’re at work or on vacation.
Most professionals run drip systems early morning for 20-30 minutes, adjusting frequency based on season and rainfall.
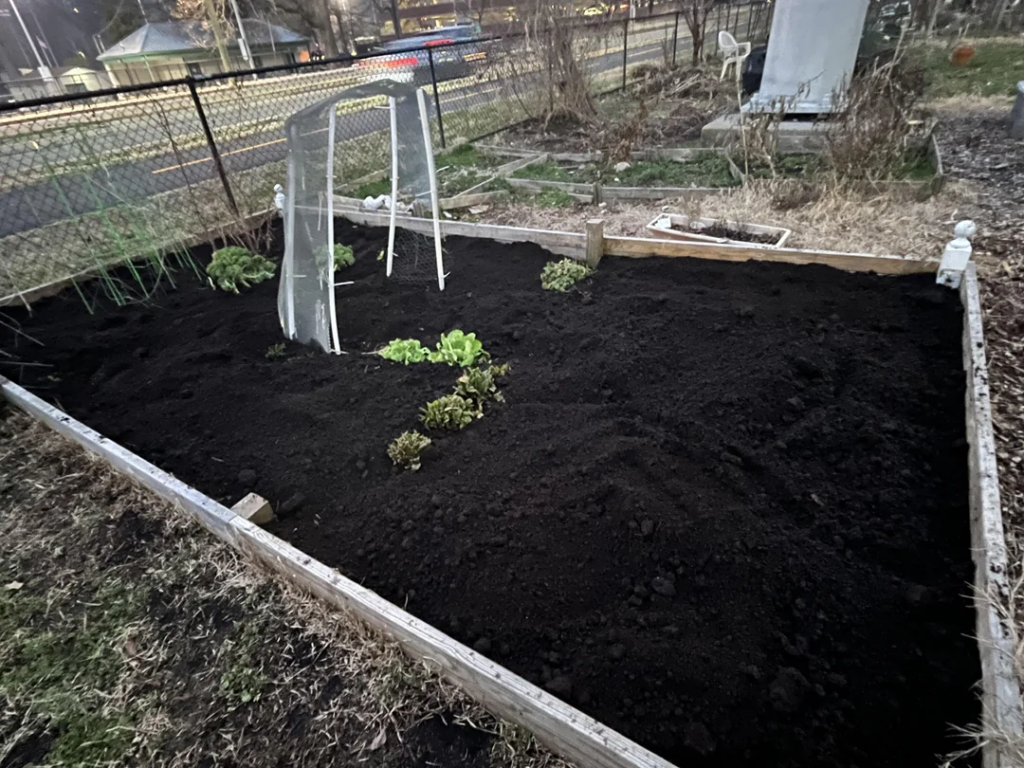
16.) Amend Soil Before Planting

Professional landscapers know that healthy soil creates healthy plants, so they always improve their soil before putting anything in the ground. Mix in 2-3 inches of compost or aged manure to boost nutrients and improve drainage. Clay soil gets lighter, sandy soil holds water better.
Test your soil’s pH too—most plants like it between 6.0 and 7.0. Add lime to raise pH or sulfur to lower it. Doing this work in fall gives amendments time to break down before spring planting season arrives.
