Ever wonder why your neighbor’s garden always looks so put-together while yours feels like it’s missing something? It’s not luck, and it’s definitely not a bigger budget. Most of the time, it comes down to a few simple tricks that professional landscapers quietly use every single day.
The good news is these secrets aren’t complicated once you know them. Keep reading, because a few of these might completely change how you think about your garden.
1.) Layer Mulch in Spring Only

Most homeowners throw mulch down whenever they feel like it, but pros know spring is the sweet spot. Laying it down after the soil warms up — but before summer heat hits — helps lock in moisture and keep weeds from taking over early in the season.
Aim for a 2-3 inch layer, and keep it pulled back from plant stems so you don’t cause rot. Skip fall mulching unless you’re protecting tender roots from a hard freeze.
2.) Plant in Odd-Numbered Groups
Here’s a trick designers use without even thinking about it: odd numbers just look more natural to the human eye. Groups of 3, 5, or 7 plants create a relaxed, flowing look, while even numbers tend to feel stiff and formal.
Try planting three ornamental grasses or five coneflowers together in a loose cluster rather than a straight row. It works with almost any plant in any zone.
Your garden will look like it grew that way on purpose — and honestly, that’s the whole goal.
3.) Edge Before You Mulch

Before you dump a single bag of mulch, grab your edger and define the borders of your beds first. It sounds simple, but most homeowners skip this step and end up with mulch spilling onto the lawn.
Clean edges act like a wall, keeping mulch where it belongs and giving your beds a sharp, finished look. A half-moon edger or a spade works fine for this.
Do this every spring before mulching, and your yard will look noticeably more put-together with very little extra effort.
4.) Water Deeply but Infrequently
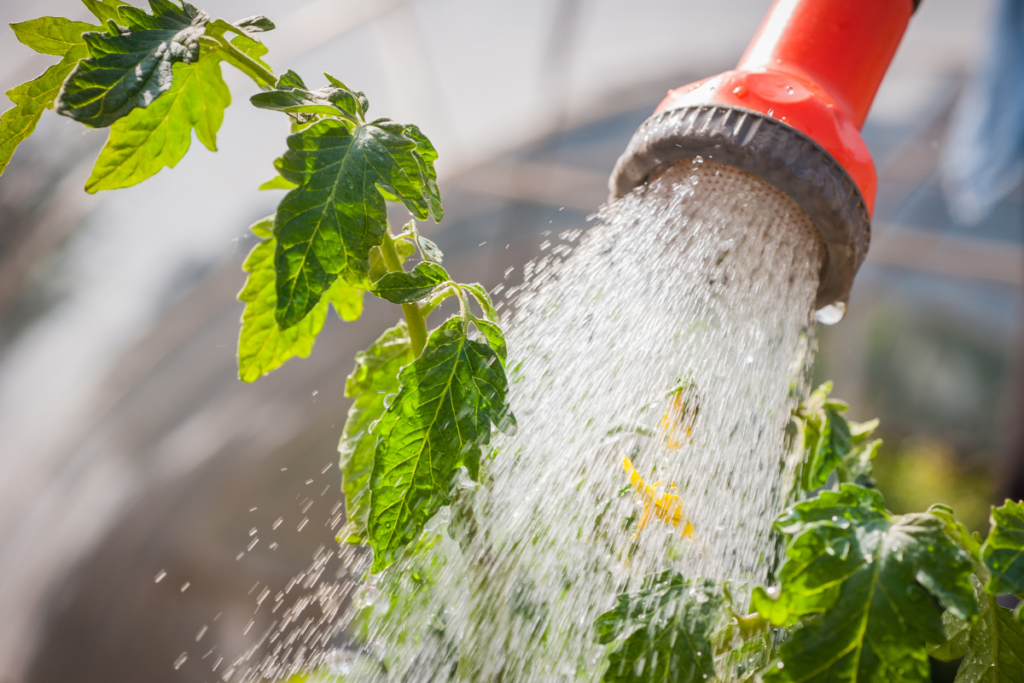
Most homeowners water their lawns and gardens a little bit every day, thinking that’s the safe route. But pros know that shallow, frequent watering actually trains roots to stay near the surface, where they dry out fast and struggle during heat or drought.
Instead, water deeply once or twice a week so moisture reaches 6–8 inches down. This pushes roots deeper into the soil, where they find more consistent moisture. Your plants end up tougher and far less needy overall.
5.) Create Sight Lines Intentionally

Most homeowners just plop plants wherever there’s an open spot. Pros think differently — they plan where your eye travels when you look at the yard. Pick a focal point, like a tree or a bold shrub, then arrange lower plants in a line that guides attention straight to it.
You can use a row of ornamental grasses, a curved garden bed edge, or even a simple garden path. The goal is to give the eye somewhere to go, so the yard feels organized and thought-out.
6.) Use Repetition for Cohesion

One trick pros swear by is planting the same species in multiple spots across your yard. It sounds simple, but repeating a plant — like ornamental grasses or a particular shrub — ties the whole space together visually.
Think of it like a pattern that leads your eye from one area to the next. Pick something easy to maintain, like Karl Foerster grass (zones 5–9), which thrives in full sun with minimal watering once established, and dot it throughout your beds for a pulled-together look.
7.) Install Landscape Fabric Correctly

Landscape fabric works best when you install it *before* adding mulch, not after. Pros always overlap the edges by at least six inches and secure it with garden staples every foot or so. Skipping this step lets weeds push through the gaps.
Cut X-shaped slits when planting through the fabric, then fold the flaps back neatly around the base of each plant. This keeps soil moisture in and weeds out without smothering your plants over time.
8.) Prune at Optimal Times

Timing your pruning can make a big difference in how well your plants grow. Most flowering shrubs should be pruned right after they bloom — cut them too early and you’ll lose that season’s flowers. Trees are usually best pruned in late winter while they’re still dormant.
The general rule is simple: spring bloomers get pruned after flowering, summer bloomers get pruned in early spring. Avoid pruning in fall, since new growth won’t harden before the first frost hits.
9.) Match Plants to Microclimates

Every yard has hot spots, shady corners, low areas that stay damp, and dry patches near the house foundation. Pro landscapers read these microclimates before they ever buy a single plant.
Once you know where water collects or where reflected heat bakes the soil, you can match plants that actually want those conditions. Hostas love that shady wet corner. Sedums thrive in the dry, sunny strip by the driveway.
Stop fighting your yard’s quirks. Work with them instead.
10.) Build Berms for Drainage

If your yard turns into a soggy mess every time it rains, berms might be the fix you didn’t know you needed. A berm is basically a raised mound of soil that redirects water away from your home, garden beds, or low spots that tend to flood.
Building one isn’t complicated — just pile up a mix of soil and fill material, then taper the edges so it blends in naturally. Plant it with deep-rooted shrubs or grasses to hold everything in place.
11.) Stagger Bloom Times Strategically

Most homeowners plant everything that blooms at the same time, then wonder why their yard looks bare for months. Pros think ahead by layering plants that bloom in early spring, mid-summer, and fall so something is always going on.
Try pairing early tulips (zones 3–8) with summer coneflowers and fall asters. Keep each plant’s sun and water needs in mind so they actually thrive together. A little planning upfront saves a lot of disappointment later.
12.) Incorporate Hardscape First

Before you plant a single flower or shrub, get your hardscape in place first. Patios, walkways, retaining walls, and edging should all go in before the soil gets disturbed by plants. Pros always work this way because heavy equipment and foot traffic can crush roots and compact soil around established plants.
Think of hardscape as the bones of your yard. Once it’s set, you fill in the living pieces around it, making the whole process cleaner and way less stressful.
13.) Amend Soil Before Planting

Most pros won’t even put a single plant in the ground without checking the soil first. Skipping this step is probably the number one reason backyard gardens fail, and homeowners rarely suspect it.
Before planting anything, mix in compost, aged manure, or a balanced slow-release fertilizer. Test your pH if you can — most plants prefer a range of 6.0 to 7.0. Loose, nutrient-rich soil means stronger roots, better drainage, and way less trouble keeping things alive season after season.
14.) Use Professional Grade Edging

Professional-grade edging tools are what separate a clean, polished yard from one that just looks “meh.” The kind pros use aren’t the flimsy plastic stuff from big-box stores — they’re heavier, sharper, and built to cut through tough soil and grass roots without breaking a sweat.
Look for steel half-moon edgers or powered rotary edgers for longer borders. Run them along beds and walkways once a month during the growing season to keep edges crisp and grass from creeping in.
15.) Design in Layers and Tiers

Layering your plants by height — tall in the back, medium in the middle, short up front — is one of those tricks that makes a yard look like a professional designed it. It creates depth and keeps everything visible instead of hidden behind taller plants.
Think ornamental grasses or shrubs in the back, perennials in the middle, and groundcovers or edging plants up front. This works in most hardiness zones and looks good from early spring through fall with the right plant choices.
