If you ask me, chickpea waffles are one of breakfast’s best-kept secrets.
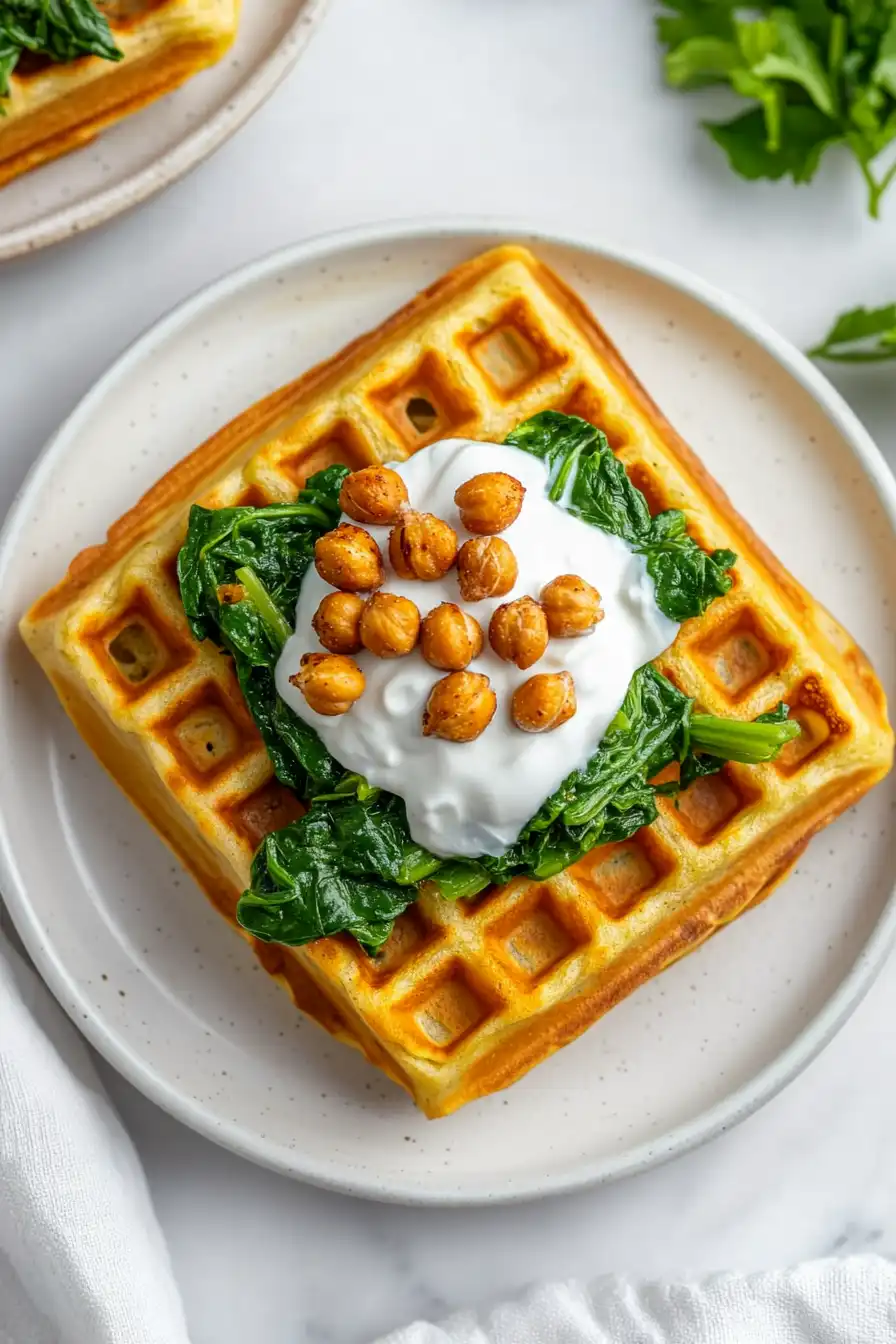
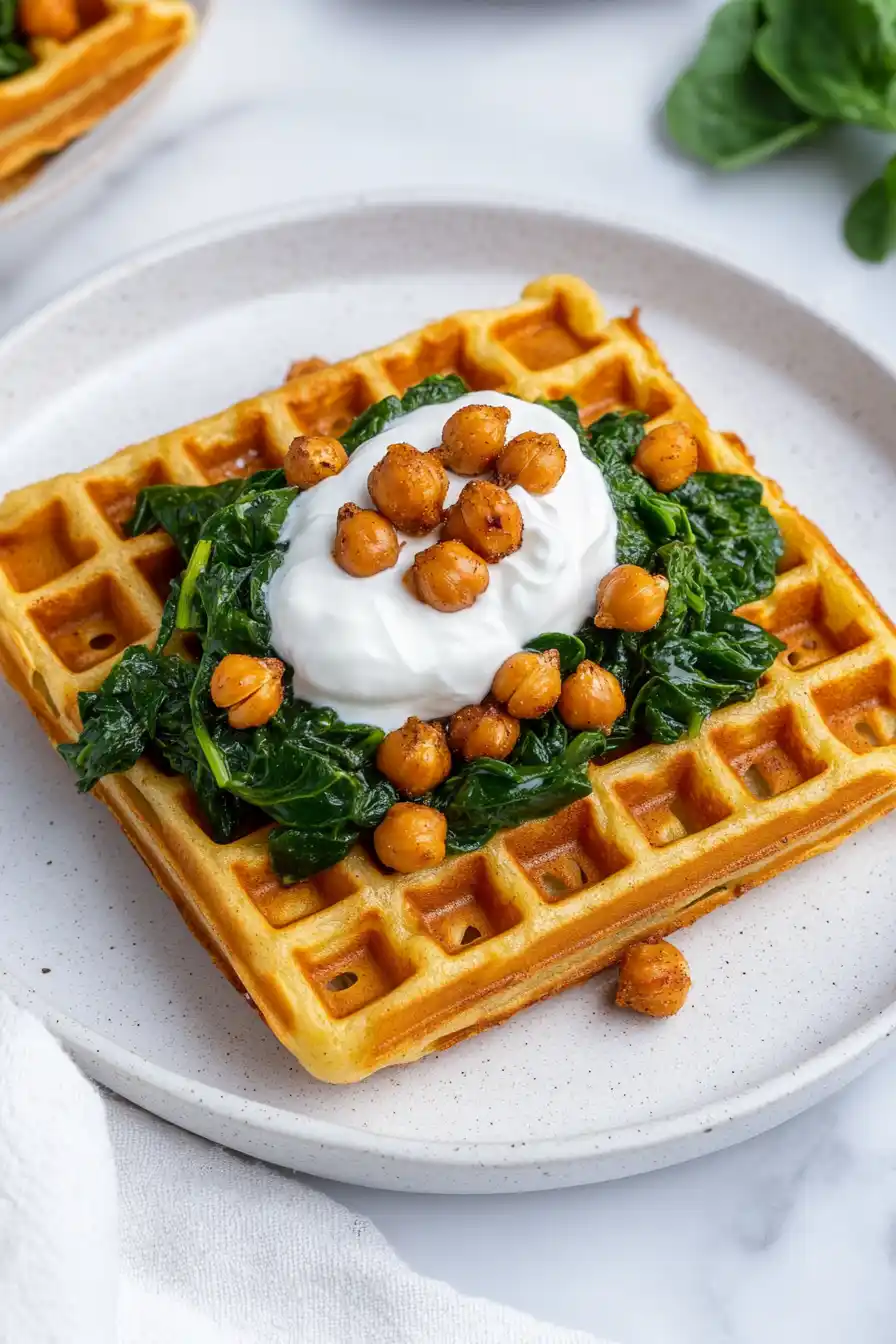
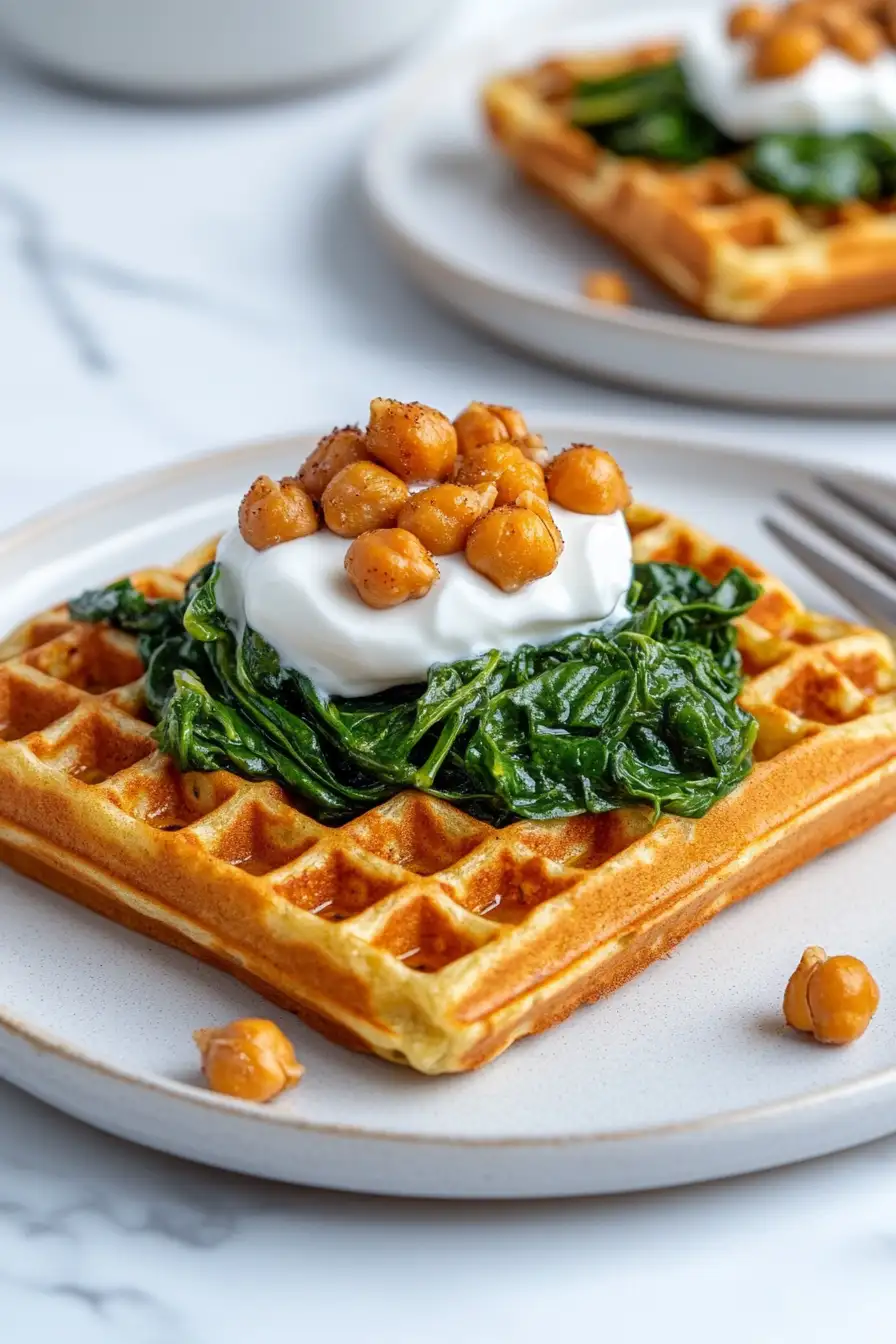
These golden, crispy squares are a fun twist on regular waffles, packed with protein and naturally gluten-free. The nutty chickpea flour gives them a slightly earthy taste that pairs perfectly with both sweet and savory toppings.
I like to top mine with a runny egg and some fresh herbs, but my kids love them drizzled with maple syrup and a handful of berries. The outside gets nice and crispy while the inside stays tender and light.
It’s a breakfast option that feels special but comes together in minutes – perfect for busy mornings when you want something a little different.
Why You’ll Love These Chickpea Waffles
- Naturally gluten-free – Made with chickpea flour instead of wheat flour, these waffles are perfect for anyone avoiding gluten or looking to try something different.
- 5-ingredient recipe – You only need chickpea flour, water, olive oil, salt, and a touch of sugar to make these waffles – ingredients that are easy to keep in your pantry.
- High in protein – Thanks to the chickpea flour, these waffles pack more protein than traditional wheat-based waffles, making them a filling breakfast or brunch option.
- Budget-friendly – With just a handful of basic ingredients, these waffles are an affordable way to make a satisfying meal that’s good for you.
What Kind of Chickpea Flour Should I Use?
Chickpea flour, also known as garbanzo bean flour or besan, can be found in different varieties at your local grocery store or international market. The most common types you’ll find are either Indian besan (made from split chickpeas) or garbanzo flour (made from whole chickpeas) – both will work great for these waffles. If you’re buying from an Indian grocery store, look for besan that’s labeled as “fine ground” rather than “coarse” for the smoothest texture in your waffles. You can even make your own chickpea flour by grinding dried chickpeas in a high-powered blender or food processor until you get a fine powder, though store-bought will give you the most consistent results.
Options for Substitutions
Let’s talk about what you can swap in this recipe – though keep in mind some ingredients are pretty important for the right texture:
- Chickpea flour: This is the star ingredient and can’t really be substituted with regular flour since it’s what gives these waffles their unique taste and protein content. You might find it labeled as ‘besan’ or ‘gram flour’ in stores.
- Olive oil: You can easily swap this with any neutral oil like canola, vegetable, or even melted coconut oil. Each will work fine for both the batter and greasing the waffle iron.
- Sugar: Since it’s optional already, you can skip it entirely or use any sweetener you like – honey, maple syrup, or agave will all work. Just use the same amount.
- Kosher salt: If using table salt instead of kosher salt, reduce the amount by half to avoid making your waffles too salty.
- Water: Water is key for the right consistency, but you could use unflavored plant-based milk (like almond or soy) for a slightly richer taste.
Watch Out for These Mistakes While Cooking
The biggest challenge when making chickpea waffles is getting the batter consistency right – it should be similar to regular waffle batter, so let it rest for at least 30 minutes to thicken naturally instead of adding more flour if it seems too thin at first. A common error is not preheating your waffle iron long enough – these protein-rich waffles need a properly hot surface to develop their signature crispy exterior while maintaining a tender interior. To prevent sticking (a frequent issue with chickpea flour), make sure to brush both the top and bottom plates of your waffle iron generously with oil before each batch, even if your iron is non-stick. For the best texture, avoid overmixing the batter which can make your waffles dense and heavy – instead, whisk just until the ingredients are combined and any large lumps are gone.
What to Serve With Chickpea Waffles?
These savory chickpea waffles are super flexible and can work for any meal of the day! For breakfast, try topping them with a fried egg and some sliced avocado, or go the Mediterranean route with a dollop of hummus and fresh cucumber. At lunch or dinner, they’re great with roasted vegetables and a tahini drizzle, or you can treat them like flatbread and top with your favorite curry. I love serving them with a simple side salad dressed in lemon vinaigrette to keep things light and fresh.
Storage Instructions
Keep Fresh: These chickpea waffles are best enjoyed right after making, but if you have extras, let them cool completely and place them in an airtight container. They’ll stay good in the fridge for up to 3 days. Layer them with parchment paper to prevent them from sticking together.
Freeze: Want to make a bigger batch? These waffles freeze really well! Once they’re completely cool, place them in a freezer bag with parchment paper between each waffle to prevent sticking. They’ll keep in the freezer for up to 2 months – perfect for quick breakfasts or snacks.
Crisp Up: To get your stored waffles back to their crispy glory, pop them in the toaster or toaster oven for a few minutes. If they’re frozen, no need to thaw first – just add an extra minute to the toasting time. They’ll come out nice and crispy, almost like fresh-made!
| Preparation Time | 60-540 minutes |
| Cooking Time | 10-15 minutes |
| Total Time | 70-555 minutes |
| Level of Difficulty | Easy |
Estimated Nutrition
Estimated nutrition for the whole recipe (without optional ingredients):
- Calories: 900-1000
- Protein: 40-50 g
- Fat: 45-50 g
- Carbohydrates: 90-100 g
Ingredients
- 1 1/2 tsp kosher salt
- 2 tbsp olive oil (plus additional for greasing the waffle iron)
- 1/4 tsp sugar
- 2 cups chickpea flour
- 2 cups water
Step 1: Prepare the Batter
In a large bowl, whisk together chickpea flour, water, olive oil, salt, and sugar (if using) until you achieve a smooth, thin batter.
Cover the mixture and let it sit at room temperature for at least 1 hour, and up to 9 hours.
This resting period allows the flavors to meld and the batter to thicken slightly.
You can prepare the batter in advance, storing it at room temperature for convenience.
Step 2: Preheat the Waffle Iron
Begin by preheating your waffle iron to a medium-high setting.
Ensure it’s hot before you start cooking to achieve a crisp, golden texture on your waffles.
Step 3: Cook the Waffles
Lightly brush the heated waffle iron with olive oil or coat it with cooking spray to prevent sticking.
Pour a portion of the chickpea batter onto the waffle iron, working in batches if necessary.
Cook the waffles until they are golden brown and crisp.
Serve the waffles immediately for the best texture and flavor experience.
Step 4: Keep Waffles Warm and Store
If not serving right away, you can keep the waffles warm in an oven set to 200˚F for up to 15 minutes.
To store, allow the waffles to cool and place them between layers of parchment or wax paper.
They can be frozen for up to 2 months.
To reheat, use a toaster oven to bring back some of their original crispness.
