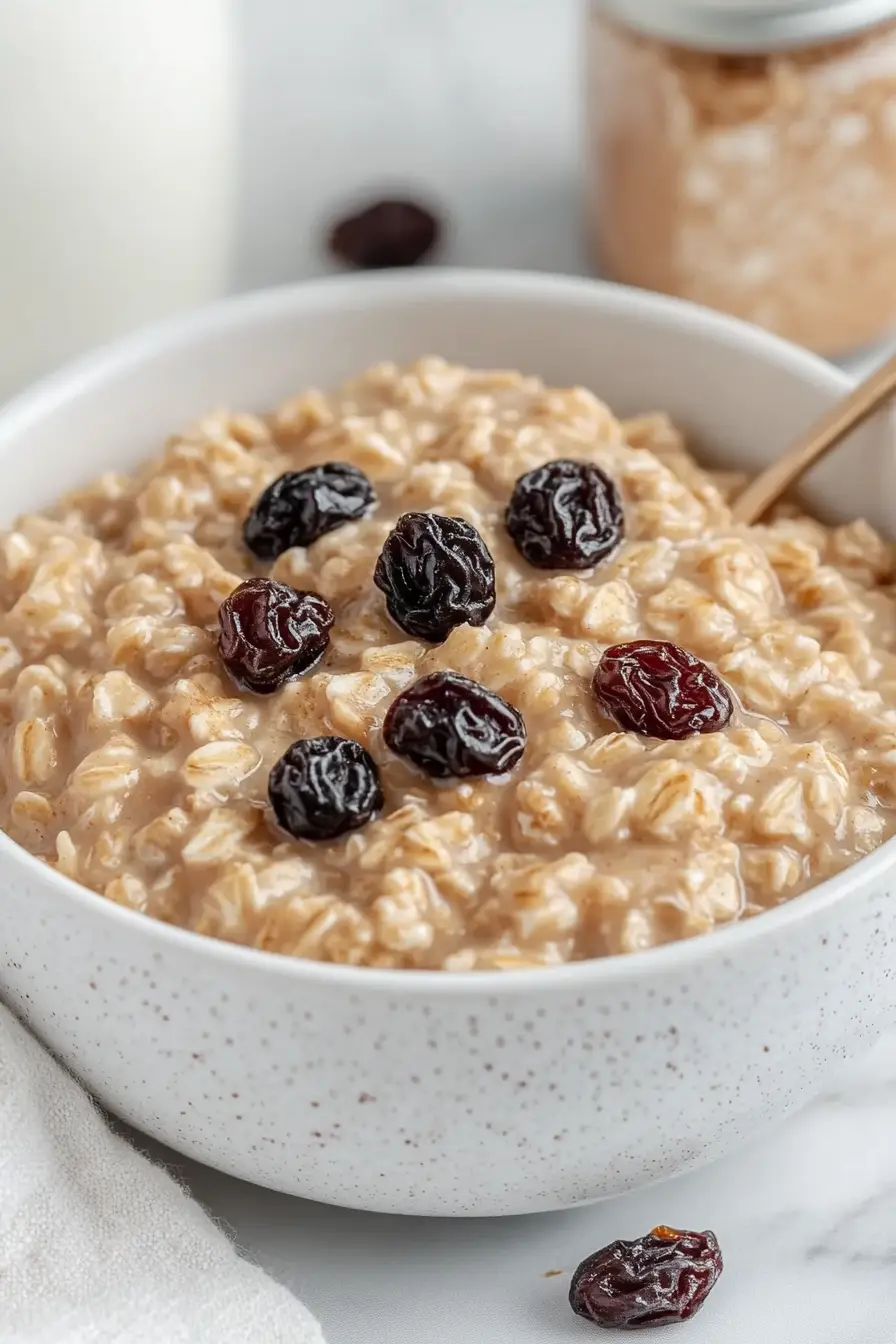
Growing up, my oatmeal always came from those little packets with dinosaur eggs or apple cinnamon dust. It wasn’t until college that my roommate showed me how to make real oatmeal on the stove, and honestly, I thought she was being fancy for no reason.
But here’s the thing – those instant packets just can’t compare to properly cooked stovetop oatmeal. The texture is completely different, and it actually keeps you full past 10 AM. Once you learn the basic method (which is really just about getting the timing right), you’ll wonder why you ever settled for the microwave version.
Why You’ll Love This Stovetop Oatmeal
- Quick breakfast option – Ready in just 15 minutes, this oatmeal is perfect for busy mornings when you need a warm, filling breakfast without much fuss.
- Budget-friendly – With just a few basic pantry ingredients, you can make a satisfying breakfast that costs just pennies per serving.
- Customizable base – This simple recipe works as a blank canvas – add your favorite toppings like fruit, nuts, or honey to make it exactly how you like it.
- Healthy start to your day – Packed with fiber and whole grains, this oatmeal will keep you full and energized all morning long.
What Kind of Rolled Oats Should I Use?
Traditional rolled oats (sometimes called old-fashioned oats) are the best choice for a classic bowl of stovetop oatmeal, giving you that perfect balance of texture and cooking time. While quick oats will work in a pinch, they tend to turn out mushier and don’t give you that nice, hearty texture that makes oatmeal so satisfying. Steel-cut oats are another option, but they’ll need a longer cooking time and more liquid – about 30 minutes instead of the usual 5-10 minutes for rolled oats. Just make sure to check the package label when shopping, as instant oats and quick oats might look similar to rolled oats on the shelf, but they’ll give you very different results.
Options for Substitutions
Making oatmeal is pretty straightforward, but there are several ways you can switch things up:
- Water: Feel free to swap the water with any kind of milk (dairy or non-dairy) for a creamier texture. You can also do half water, half milk. Just keep the same liquid ratio.
- Traditional rolled oats: While rolled oats give the best texture for stovetop cooking, you can use quick oats (reduce cooking time by half) or steel-cut oats (increase water to 4 cups and cooking time to 20-25 minutes). Instant oats aren’t recommended for stovetop cooking as they’ll turn mushy.
- Kosher salt: Regular table salt works fine – just use a bit less (about 1/8 teaspoon) since it’s more concentrated than kosher salt.
- Optional toppings: The sky’s the limit here! Try fresh or dried fruits, nuts, seeds, honey, maple syrup, brown sugar, nut butters, jam, or even a dash of cinnamon or nutmeg. For extra protein, stir in a spoonful of protein powder after cooking.
Watch Out for These Mistakes While Cooking
The biggest mistake when making stovetop oatmeal is using the wrong water-to-oats ratio, which can leave you with either a soupy mess or a thick, gluey mixture – stick to the 1.5:1 water-to-oats ratio for the perfect consistency. Another common error is cooking oatmeal over high heat, which can lead to boiling over and burnt spots on the bottom – instead, bring the water to a boil first, then reduce to a gentle simmer while stirring occasionally. To avoid bland, flavorless oatmeal, don’t skip the salt at the beginning of cooking, as it helps develop the natural nutty flavor of the oats and makes your toppings taste even better. For extra creamy results, try stirring your oatmeal frequently during the last minute of cooking, which helps release more starch and creates that silky texture everyone loves.

What to Serve With Oatmeal?
A warm bowl of oatmeal is the perfect canvas for all sorts of tasty add-ons that can turn it into a complete breakfast. Fresh fruits like sliced bananas, berries, or diced apples add natural sweetness and pair perfectly with a drizzle of maple syrup or honey. For extra protein and crunch, try adding a handful of chopped nuts, a spoonful of nut butter, or a sprinkle of seeds like chia or flax. If you’re serving breakfast for the family, you might want to put out a variety of toppings and let everyone customize their own bowl – kind of like an oatmeal bar!
Storage Instructions
Keep Fresh: Once your oatmeal has cooled down, you can keep it in an airtight container in the fridge for up to 5 days. The oatmeal might thicken up a bit as it sits, but that’s totally normal and easy to fix when you’re ready to eat it.
Make Ahead: This oatmeal is perfect for meal prep! Make a big batch on Sunday and portion it out into individual containers. In the morning, just grab and go – it’s that simple. Add your favorite toppings right before eating for the best texture.
Refresh: When you’re ready to enjoy your refrigerated oatmeal, add a splash of milk or water and give it a good stir. Heat it in the microwave for about 1-2 minutes, stirring halfway through. If it’s still too thick, just add a little more liquid until you get the consistency you like.
| Preparation Time | 5-10 minutes |
| Cooking Time | 8-10 minutes |
| Total Time | 13-20 minutes |
| Level of Difficulty | Easy |
Estimated Nutrition
Estimated nutrition for the whole recipe (without optional ingredients):
- Calories: 600-650
- Protein: 20-25 g
- Fat: 10-12 g
- Carbohydrates: 110-120 g
Ingredients
- 2 cups rolled oats
- 3 cups water
- 1/4 tsp kosher salt (Diamond Crystal preferred for less salinity)
Step 1: Boil Water and Salt
In a medium saucepan, bring 3 cups of water and 1/4 teaspoon of salt to a boil over medium-high heat.
This will prepare the liquid base for your oatmeal.
Step 2: Cook the Oats
Once the water is boiling, reduce the heat to a simmer.
Add 2 cups of old-fashioned rolled oats to the saucepan and stir to combine.
Allow the oats to simmer for 3 minutes, stirring occasionally to prevent sticking and ensure even cooking.
Step 3: Rest the Oats
After 3 minutes of cooking, remove the saucepan from the heat.
Cover it with a lid and let the oatmeal rest for 5 minutes.
This resting period allows the oats to absorb more water, resulting in a creamy texture.
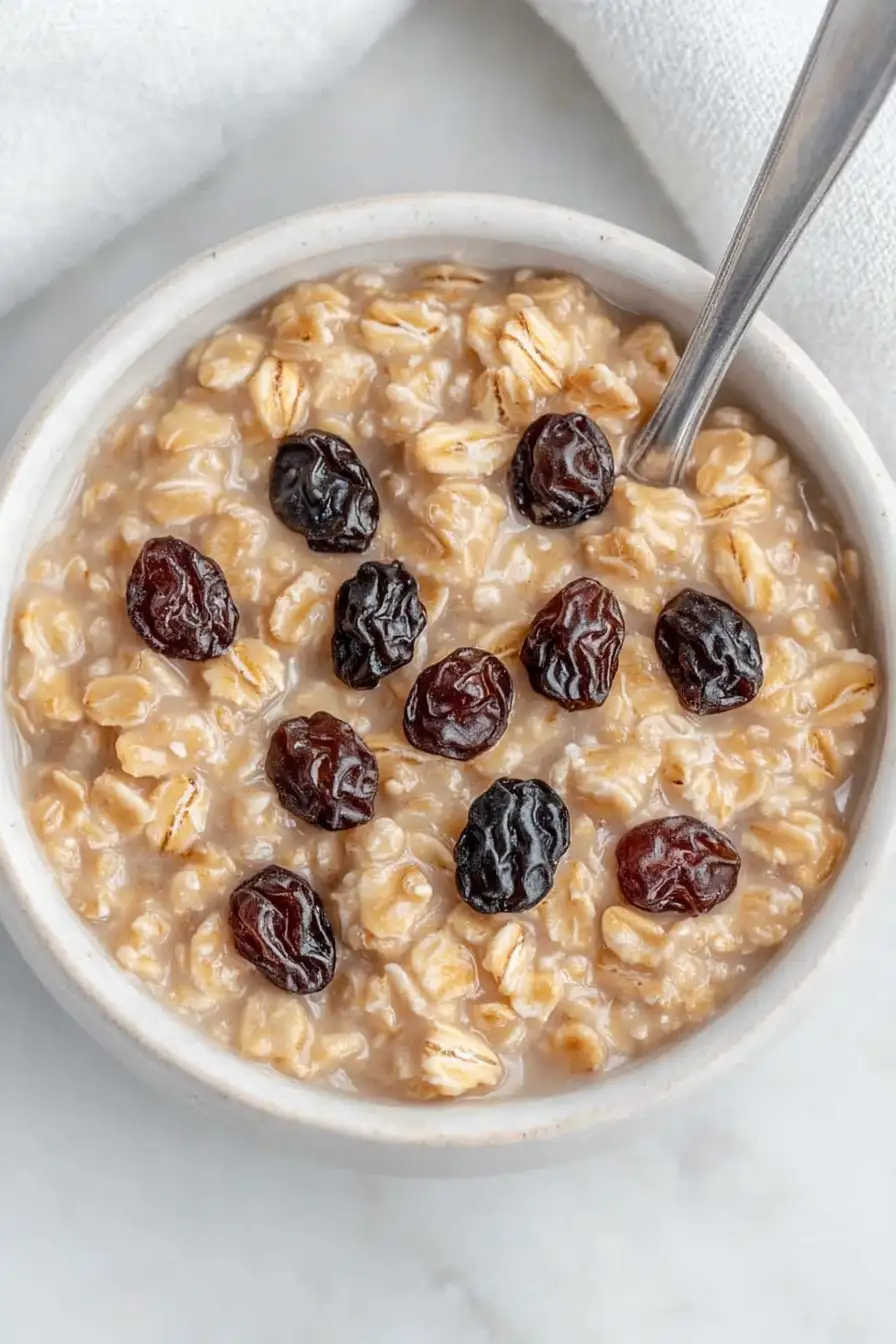
Step 4: Serve with Toppings
After the oats have rested, uncover the saucepan and give the oatmeal a gentle stir.
Serve the oatmeal hot, and add your choice of toppings, such as fresh fruits, nuts, honey, or cinnamon, to enhance the flavor.