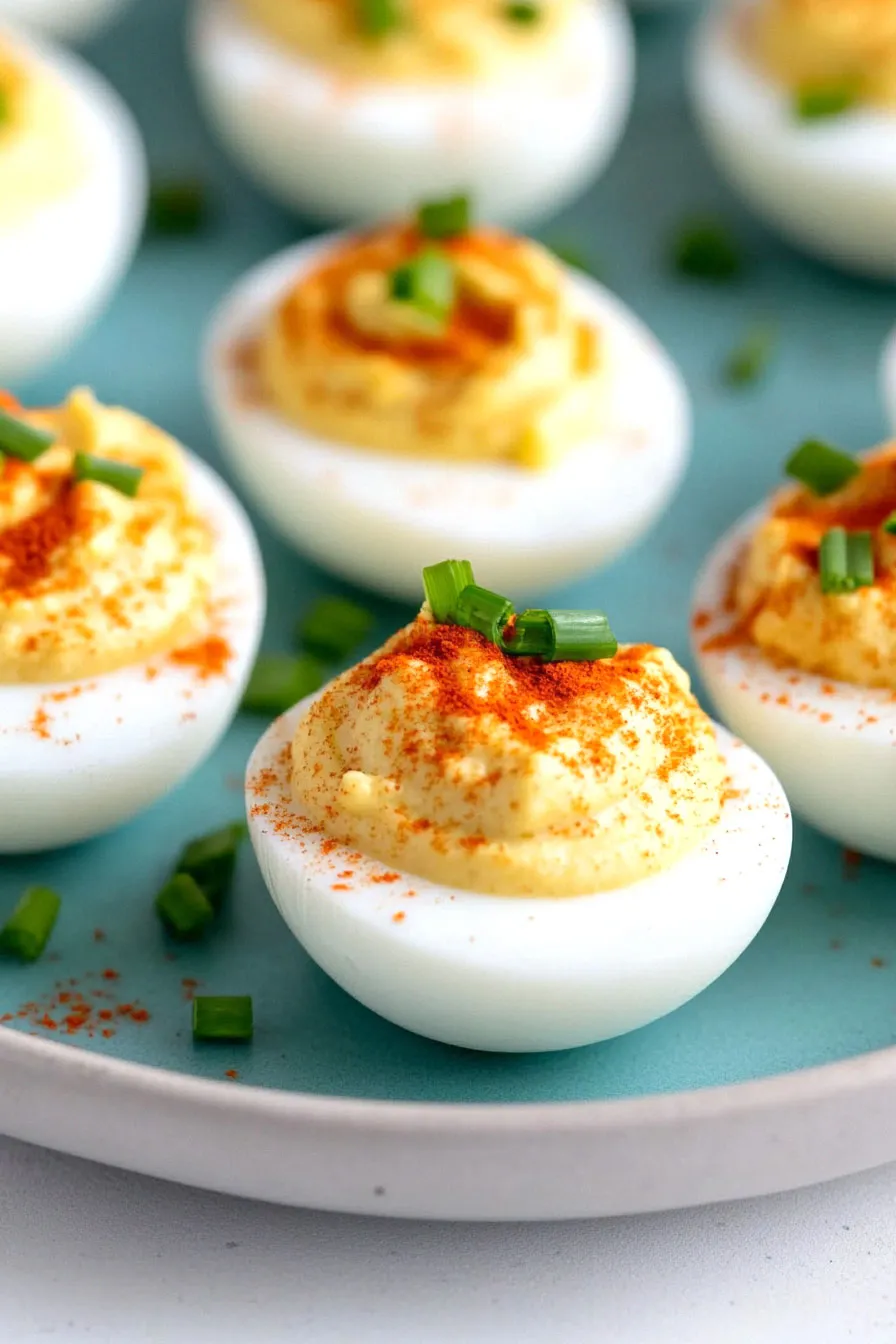
Here’s my take on classic deviled eggs, made with a Japanese twist using creamy kewpie mayo instead of regular mayonnaise. These little bites have a rich, tangy flavor that makes them impossible to resist.
These deviled eggs have become my go-to appetizer for parties and potlucks – I always come home with an empty plate! I usually make an extra batch to keep in the fridge because my kids snack on them before guests even arrive.
Why You’ll Love These Deviled Eggs
- Quick preparation – These deviled eggs come together in just 20-30 minutes, making them perfect for last-minute gatherings or when you need a quick appetizer.
- Japanese-inspired twist – The Kewpie mayo adds a rich, creamy texture and umami flavor that makes these deviled eggs stand out from traditional recipes.
- Simple ingredients – With just a handful of basic ingredients plus a couple of Japanese pantry staples, you can create these elevated deviled eggs.
- Make-ahead friendly – You can prepare these up to 24 hours in advance, which makes them perfect for party planning and entertaining.
- Perfect party food – These bite-sized treats are always a crowd favorite at gatherings, and they’re easy to transport and serve.
What Kind of Kewpie Mayo Should I Use?
When shopping for Kewpie mayo, you’ll want to look for the authentic Japanese version that comes in a soft plastic bottle with a red cap and distinctive Kewpie baby logo. While there are different varieties available, the original version (which has a richer egg yolk taste than American mayo) is perfect for deviled eggs. You can find it at Asian grocery stores or in the international aisle of many supermarkets. If you come across both the Japanese-made and U.S.-made versions, go for the Japanese one – it has a slightly different formula that gives it that signature umami flavor. Just make sure to give the bottle a good squeeze before using, as the mayo can sometimes separate a bit in storage.

Options for Substitutions
Need to make some swaps for this Japanese-inspired deviled eggs recipe? Here are some helpful substitutions:
- Kewpie mayo: If you can’t find Kewpie mayo, use regular mayonnaise mixed with a tiny splash (about 1/4 teaspoon) of rice vinegar and a pinch of MSG. The texture will be slightly different, but you’ll get a similar taste.
- Togarashi: No togarashi? Mix a pinch each of red pepper flakes, black pepper, and sesame seeds. Or simply use paprika for a more traditional deviled egg look and flavor.
- Dijon mustard: Yellow mustard works fine here, though you might want to use a bit less since it’s stronger. Whole grain mustard is another good option.
- Honey: Any liquid sweetener will do – try maple syrup or agave nectar in the same amount.
- Chives: Green onions (just the green parts) make a good substitute, or you can use finely chopped parsley for a different but still fresh flavor.
Watch Out for These Mistakes While Cooking
The biggest challenge with deviled eggs is getting perfectly cooked yolks – overcooked eggs will develop that unpleasant grayish-green ring around the yolk and make your filling look unappealing, so place your eggs in cold water, bring to a boil, then remove from heat and let sit covered for exactly 10 minutes.
When peeling your eggs, another common mistake is using super fresh eggs, which tend to stick to their shells – eggs that are 7-10 days old will peel much more easily, especially if you crack them gently all over and peel under running cold water.
The filling can become too loose if you add all the Kewpie mayo at once, so start with half the amount and gradually add more until you reach your desired consistency – you can always add more, but you can’t take it out.
For the smoothest filling, make sure your egg yolks are completely cooled before mixing, and try pressing them through a fine-mesh strainer first to remove any lumps that could clog your piping bag.
What to Serve With Deviled Eggs?
These Japanese-inspired deviled eggs make a great addition to any appetizer spread or party platter! They pair really nicely with other finger foods like cucumber sandwiches, fresh veggies and dip, or crispy wontons. Since they’re on the rich side, I like to balance them out with something light and fresh – try serving them alongside a simple green salad or some pickled vegetables. For a fun party spread, set them out with other classic appetizers like cheese and crackers, fresh fruit, or even some BBQ meatballs for a mix of flavors and textures.
Storage Instructions
Keep Fresh: These tasty deviled eggs can hang out in your fridge for up to 2 days when stored in an airtight container. For the best results, keep the filling and egg whites separate until you’re ready to serve – this prevents the whites from getting soggy and keeps everything fresh longer.
Make Ahead: Want to prep these in advance? You can make the filling up to 24 hours ahead and store it in a piping bag or container in the fridge. The egg whites can also be prepped a day ahead – just keep them covered. When you’re ready to serve, simply pipe the filling and add your toppings!
Transport: Taking these to a party? Place the filled eggs in a container with a tight-fitting lid, and avoid stacking them to keep the presentation looking nice. A deviled egg carrier works great, but any container with high sides will do the trick. Keep them cold with an ice pack if you’re traveling more than 30 minutes.
| Preparation Time | 10-15 minutes |
| Cooking Time | 10-15 minutes |
| Total Time | 20-30 minutes |
| Level of Difficulty | Easy |
Estimated Nutrition
Estimated nutrition for the whole recipe (without optional ingredients):
- Calories: 600-700
- Protein: 30-35 g
- Fat: 50-60 g
- Carbohydrates: 10-15 g
Ingredients
For the deviled eggs:
- 1/8 tsp black pepper
- 1/3 cup Kewpie mayonnaise (the original Japanese mayo for unmatched flavor)
- 6 large eggs
- kosher salt (to taste)
- 1/4 tsp honey
- 1/2 tsp togarashi
- 1 tsp dijon mustard
For the garnish:
- togarashi
- 10 fresh chives (finely minced)
Step 1: Prepare the Eggs
Start by peeling and slicing 6 hard-boiled large eggs in half lengthwise.
Carefully pop out the yolks or scoop them out with a small spoon into a medium bowl.
Arrange the egg whites, cut side up, on a large plate or serving platter, ready for filling.
Step 2: Prepare Chives and Egg Yolk Filling
Finely chop 10 fresh chives, aiming for about 1/2 teaspoon once chopped.
In the medium bowl with the egg yolks, mash them with a fork until they are very finely crumbled with no chunks remaining.
Add to this mixture 1/3 cup Kewpie mayonnaise, 1 teaspoon Dijon mustard, 1/2 teaspoon togarashi, 1/4 teaspoon honey, 1/8 teaspoon black pepper, and a pinch of kosher salt.
Step 3: Mix the Filling
Mix all the ingredients together with a spoon until the filling is completely smooth and uniform in texture.
Taste the mixture and add more kosher salt or black pepper according to your preference for flavor balance.
Step 4: Fill the Egg Whites
Use a small spoon to carefully spoon the filling into the egg whites.
For a more aesthetic presentation, you can use a piping bag: fill the bag with the egg yolk mixture, cut a 1/2-inch opening at the tip, and pipe the filling into the egg whites.
This will give your stuffed eggs a neat, decorative look.
Step 5: Garnish and Serve
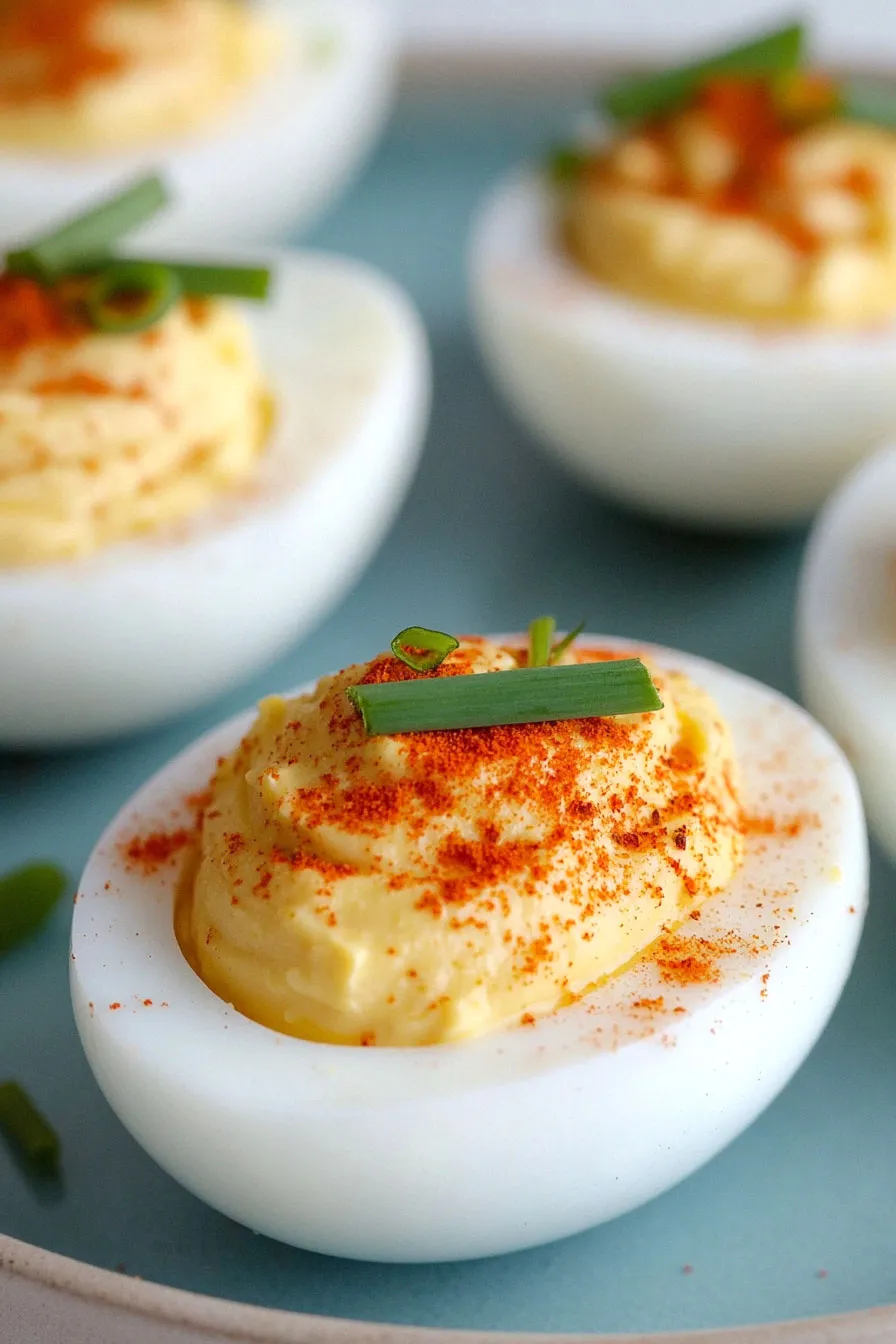
Once the egg whites are filled, garnish them with a sprinkle of additional togarashi for a bit of color and spice.
Add the chopped chives over the top for a fresh, flavorful finish.
Serve these delicious deviled eggs to guests or enjoy them as a satisfying snack.
