I used to think kettle corn was something you could only get at fairs and festivals. The sweet and salty mix always seemed like some kind of carnival magic that couldn’t be recreated at home. My first few attempts were either burnt or barely popped, leaving me with a sad bowl of mostly kernels.
Turns out, I was making it way harder than it needed to be. The secret? Coconut oil and the right temperature. While regular vegetable oil works fine, coconut oil gives the popcorn this subtle sweetness that makes the whole snack taste better. And once you get the heat right, you’ll wonder why you ever waited in those long fair lines in the first place.
Why You’ll Love This Kettle Corn
- Quick snack – Ready in just 15 minutes, this kettle corn is perfect when you need a fast snack for movie night or unexpected guests.
- 4-ingredient recipe – With just coconut oil, popcorn kernels, sugar, and salt, you can make this treat using pantry staples you likely already have.
- Healthier alternative – Using coconut oil instead of traditional butter or vegetable oil adds a subtle sweetness while keeping this snack lighter than store-bought versions.
- Budget-friendly – Making kettle corn at home costs a fraction of what you’d pay at fairs or stores, and tastes just as good (if not better!).
What Kind of Coconut Oil Should I Use?
For kettle corn, refined (or processed) coconut oil is actually your best bet since it has a higher smoke point and a neutral flavor that won’t overpower your popcorn. While unrefined coconut oil has its place in many recipes, its lower smoke point and stronger coconut taste aren’t ideal for this snack. Most grocery stores carry refined coconut oil right next to the regular cooking oils, and it usually comes in both jar and liquid forms – either type will work fine here. Just make sure your coconut oil is fresh by checking for any off smells or discoloration, and store it in a cool, dark place to keep it from going rancid.
Options for Substitutions
Looking to make some changes to this kettle corn recipe? Here are some helpful swaps:
- Coconut oil: While coconut oil gives a nice subtle flavor, you can use other high-heat oils like canola, vegetable, or peanut oil. Avoid olive oil as it has a lower smoke point and might burn.
- Raw sugar: Regular granulated sugar works perfectly fine here. You could also try coconut sugar for a slightly caramel-like taste, but keep in mind it might make your kettle corn a bit darker in color.
- Popcorn seeds: This is the one ingredient you can’t substitute – you need real popcorn kernels for this recipe to work. Any brand will do, but avoid the pre-flavored microwave varieties.
- Fine salt: Regular table salt works great, but if you only have kosher salt, use about 3/4 teaspoon since its crystals are larger. You can also try seasoned salt for a different flavor profile.
Watch Out for These Mistakes While Making
The biggest challenge when making kettle corn is burning the sugar, which can happen in seconds and leave you with bitter, inedible popcorn – keep the pot moving constantly and listen carefully for the popping sounds to slow down.
Temperature control is crucial: if your heat is too low, the kernels won’t pop properly, but if it’s too high, the coconut oil and sugar will burn before the popping is complete – medium-high heat is your sweet spot, and you’ll know it’s right when kernels start popping within 30 seconds.
A common mistake is lifting the lid too early to check on the popcorn, which allows the steam to escape and results in tough, chewy kernels – wait until the popping slows to about 2-3 seconds between pops before removing from heat.
For the perfect balance of sweet and salty, add the salt immediately after removing from heat while the sugar coating is still slightly tacky, allowing it to stick evenly to each kernel.

What to Serve With Kettle Corn?
Kettle corn makes a perfect snack on its own, but it’s even better when you’re serving it alongside other fun munchies for movie night or game day! I love setting up a snack board with this sweet and salty popcorn as the star, surrounded by things like mixed nuts, dark chocolate pieces, and maybe some dried fruit. For drinks, try pairing it with something refreshing like sparkling water with lime or your favorite soda – the fizzy drinks help cut through the sweetness of the kettle corn. If you’re hosting a party, you can portion the popcorn into paper cones or individual bags to make serving super easy.
Storage Instructions
Keep Fresh: Once your kettle corn has cooled completely, place it in an airtight container or zip-top bag. It’ll stay crunchy and tasty at room temperature for up to 3 days. Just make sure to keep it away from humidity to prevent it from getting stale or sticky.
Pack: This kettle corn makes a great snack on the go! Pack individual portions in small bags or containers. If you notice it getting a bit soft after a day, don’t worry – that’s totally normal with homemade kettle corn since it doesn’t have any preservatives.
Note: I don’t recommend freezing kettle corn as the sugar coating can become sticky when thawed. It’s best to make this treat fresh when you’re craving something sweet and salty!
| Preparation Time | 5-10 minutes |
| Cooking Time | 10-15 minutes |
| Total Time | 15-25 minutes |
| Level of Difficulty | Easy |
Estimated Nutrition
Estimated nutrition for the whole recipe (without optional ingredients):
- Calories: 500-550
- Protein: 4-6 g
- Fat: 30-35 g
- Carbohydrates: 60-65 g
Ingredients
- 1/2 tsp fine salt (such as Morton fine sea salt)
- 2 tbsp refined coconut oil (I use Nutiva refined coconut oil)
- 1/4 cup popcorn kernels (not microwave popcorn)
- 2 tbsp raw sugar
Step 1: Prepare the Sheet Pan
Line a large sheet pan with parchment paper and set it aside.
This will be used to spread out the popcorn after popping to ensure it cools evenly and doesn’t clump together.
Step 2: Heat the Oil and Test Kernels
Add the oil along with 3 or 4 popcorn kernels to a 3-quart heavy-bottomed saucepan.
Cover the saucepan and place it on medium-high heat until the test kernels begin to pop.
This helps gauge when the oil is hot enough for popping.
Step 3: Pop the Kernels
Once the test kernels pop, immediately add the rest of the popcorn kernels to the pan.
Shake the pan to ensure the kernels are well-coated with oil.
It’s best to use an oven mitt on one hand to hold the lid in place, while the other hand carefully shakes the pan by the handle.
Sprinkle the sugar and salt evenly over the kernels, then cover the pan once more and continue to shake it to mix the ingredients well.
Step 4: Monitor and Shake While Popping
Keep the pan on the heat, giving it a quick and vigorous shake every 5 seconds or so to help the kernels pop evenly and prevent burning.
Continue until you hear a consistent 2-second interval between pops, indicating most of the kernels have popped.
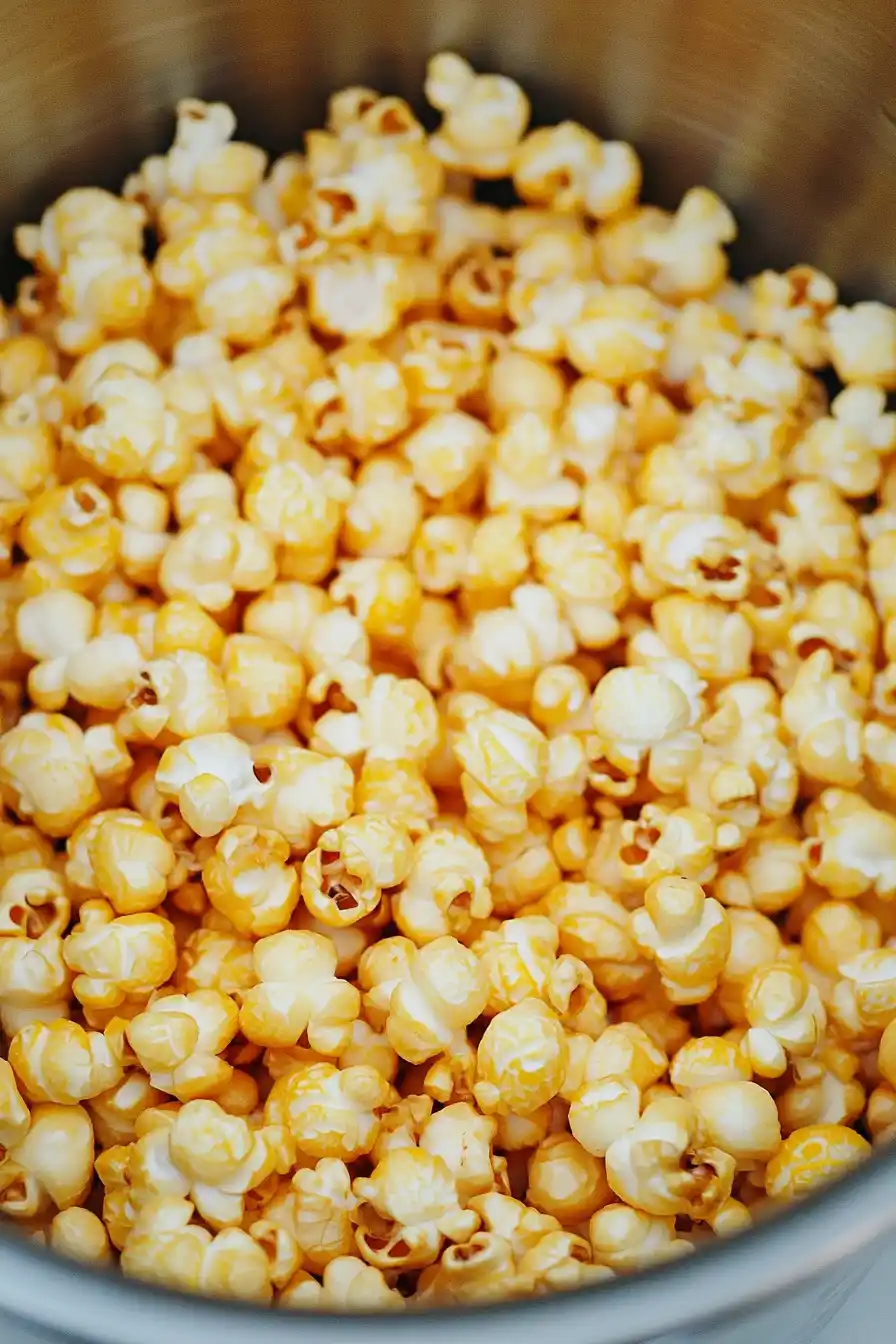
Step 5: Cool and Remove Unpopped Kernels
Immediately remove the saucepan from the stove, uncover it, and pour the popcorn onto the prepared baking sheet.
Use a wooden spoon to gently break up any clumps and spread the popcorn out into an even layer.
Allow it to cool slightly, then remove any unpopped kernels.
Let the popcorn cool further until it reaches room temperature.
Step 6: Serve and Enjoy
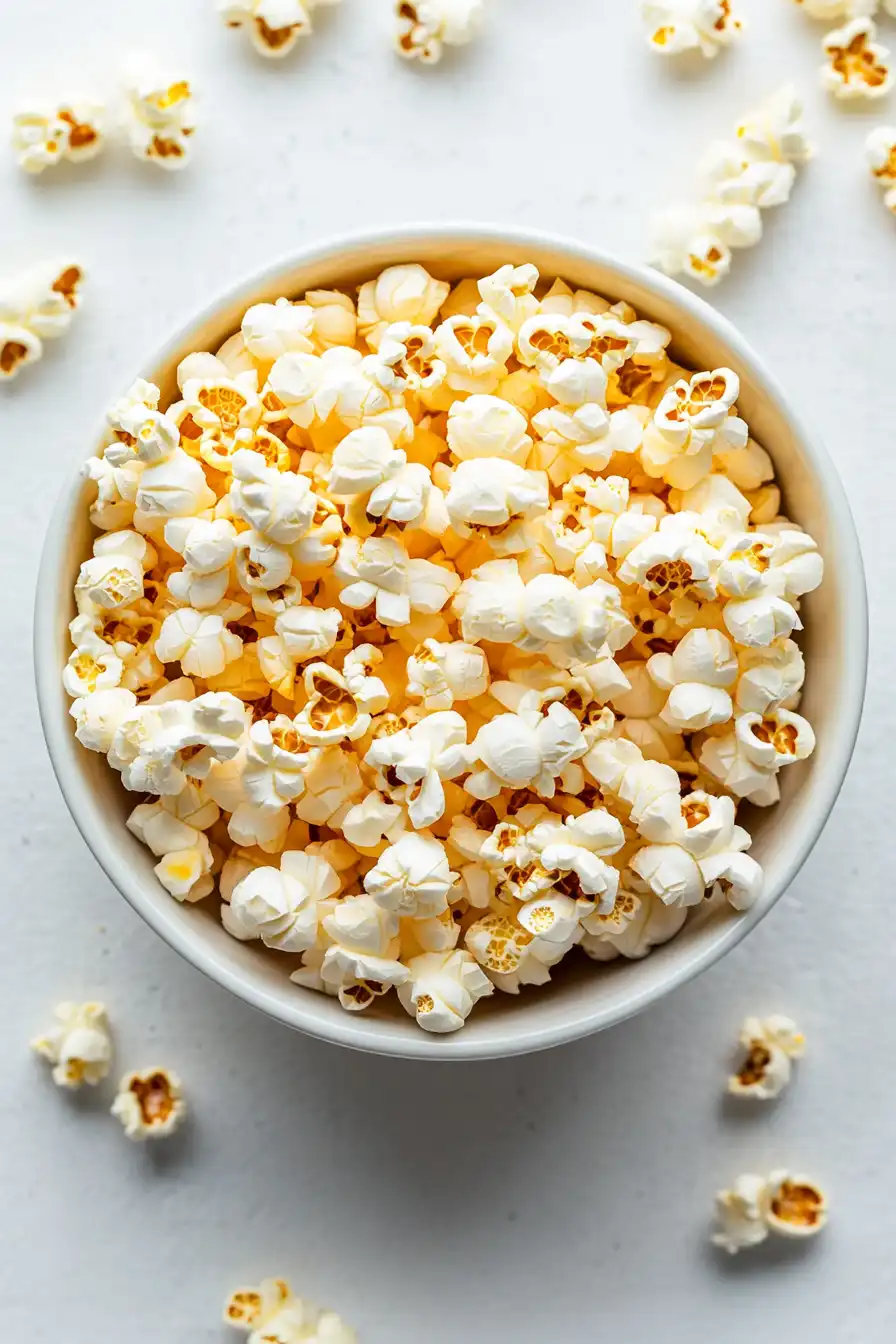
Once the popcorn has cooled completely, transfer it to a serving bowl.
Serve immediately and enjoy your delicious, homemade popcorn!
