I never thought regular chocolate-covered strawberries needed any improvement until my daughter came home begging for “zebra ones” she saw on social media. Kids these days and their food trends, right? My first attempt looked more like spotted cow print than zebra stripes.
But after some trial and error (and a lot of melted chocolate), I figured out the tricks to getting those perfect black and white stripes. It turns out the secret isn’t in the chocolate itself – it’s all about the temperature and timing. Now these zebra strawberries are my go-to whenever we need something fun for a party or school event.
Why You’ll Love These Zebra Print Strawberries
- Quick and easy – These fancy-looking treats come together in just 30-40 minutes, making them perfect for last-minute party prep or dessert cravings.
- Three ingredients only – With just strawberries and two types of chocolate, you can create these eye-catching treats without any fancy ingredients or special tools.
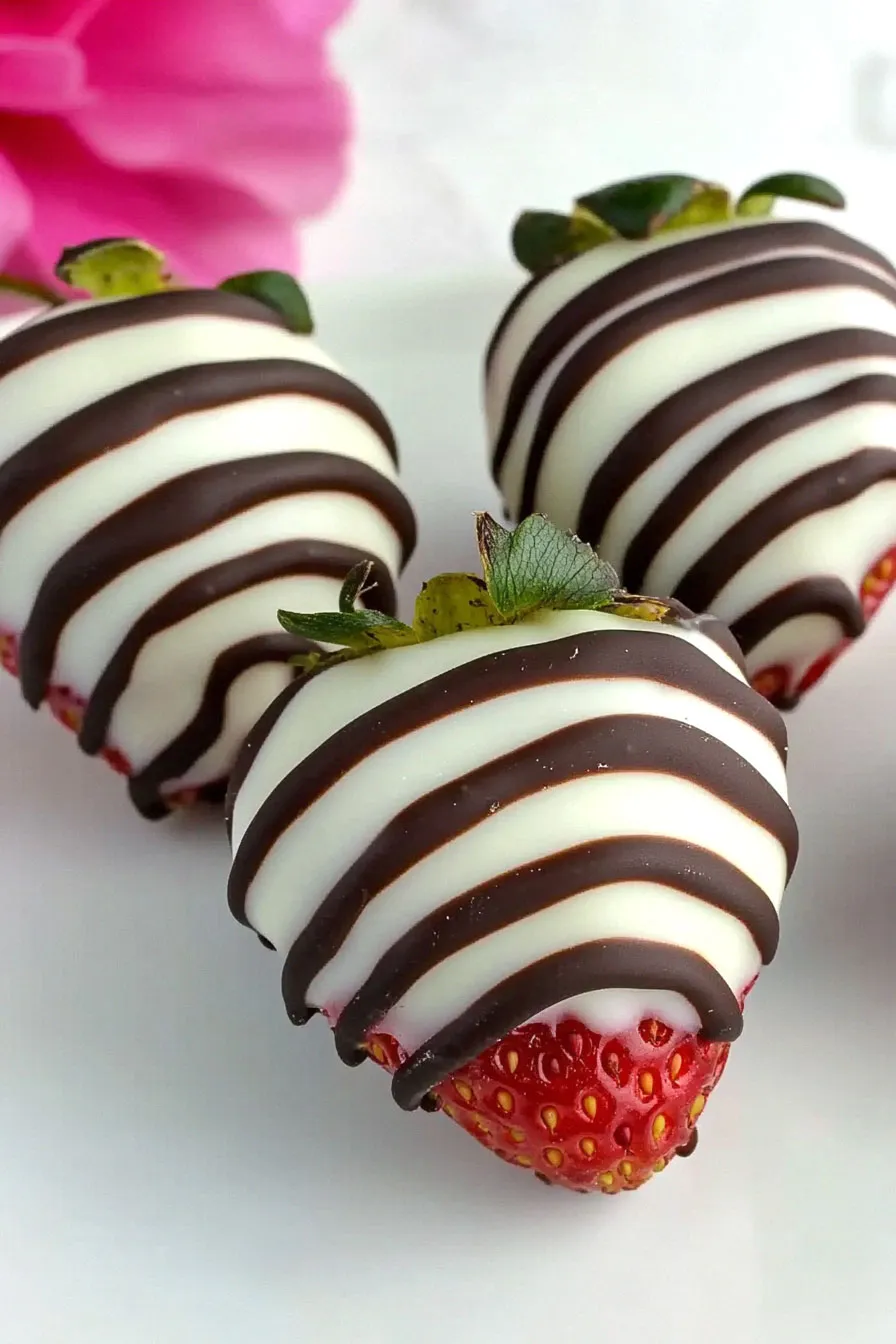
- Perfect for parties – These black-and-white striped berries look like they came from a high-end chocolate shop, but cost a fraction of the price to make at home.
- No baking required – Just melt, dip, and drizzle – there’s no need to turn on the oven or deal with complicated techniques.
What Kind of Strawberries Should I Use?
For chocolate-covered strawberries, you’ll want to look for large, firm berries with bright red coloring and fresh, green leaves still attached. Regular strawberries from your grocery store work perfectly fine, but avoid using frozen ones since they’ll release too much moisture when thawed and prevent the chocolate from sticking properly. When picking your berries, make sure they’re completely dry and at room temperature before dipping – any water droplets will cause the chocolate to seize up. The best strawberries for dipping are ones that are ripe but not overly soft, as they need to be sturdy enough to hold up to the dipping process.
Options for Substitutions
Looking to make these fun zebra-striped treats but need to switch things up? Here are some helpful substitutions:
- White chocolate wafers: If you can’t find white chocolate wafers, you can use white chocolate chips or bars chopped into small pieces. Just be careful when melting – white chocolate can be tricky! Add a teaspoon of coconut oil or shortening to help it melt more smoothly.
- Milk chocolate wafers: Feel free to use milk chocolate chips, dark chocolate, or even semi-sweet chocolate instead. Like with the white chocolate, adding a tiny bit of coconut oil or shortening helps achieve the right consistency for dipping.
- Strawberries: While strawberries are classic, you can try this zebra pattern on other fruits too! Large raspberries, banana chunks (frozen works best), or even apple slices work well. Just make sure whatever fruit you choose is completely dry before dipping.
- Alternative coating options: If you’re avoiding chocolate altogether, you can try colored candy melts or even yogurt coating (though the zebra pattern might be trickier to achieve with these alternatives).
Watch Out for These Mistakes While Making
The biggest challenge when making zebra print chocolate covered strawberries is working with wet strawberries – make sure to thoroughly dry each berry with paper towels, as even a single drop of water can cause your chocolate to seize up and become grainy.
Temperature control is crucial – if your chocolate is too hot it will become thin and runny, making it impossible to create clean stripes, so aim to keep it around 88-90°F for milk chocolate and 86-88°F for white chocolate.
Working too slowly can cause the first chocolate layer to set before adding the stripes, so have both chocolates ready and warm at the same time, and try doing a practice stripe on parchment paper first to get comfortable with the piping motion.
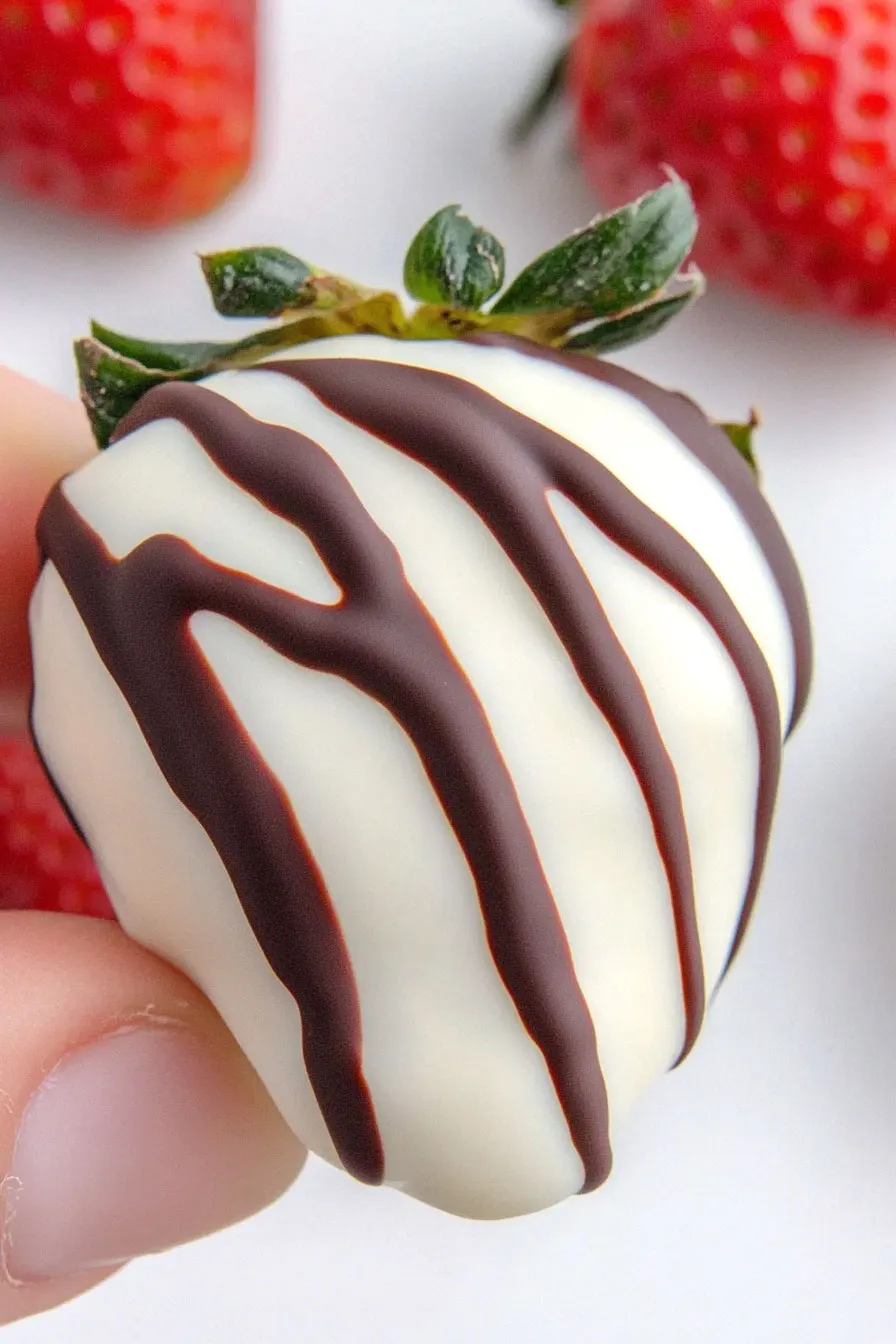
For the cleanest zebra pattern, hold your piping bag at a 45-degree angle and use quick, confident strokes while the base chocolate is still wet.

What to Serve With Chocolate Covered Strawberries?
These zebra-striped chocolate covered strawberries make a great dessert on their own, but they’re even better as part of a sweet spread! I love serving them alongside other finger-friendly desserts like chocolate truffles, fresh fruit, or small cookies. For a fun dessert party setup, try pairing them with some champagne or prosecco – the bubbles work so well with the chocolate-dipped fruit. If you’re making these for a special occasion, consider adding some simple vanilla ice cream on the side to make it an extra special treat.
Storage Instructions
Keep Fresh: These pretty zebra-striped strawberries are best enjoyed within 24 hours of making them. Keep them in an airtight container in the refrigerator, arranged in a single layer to prevent the chocolate from sticking together. The cold temperature helps the chocolate stay firm and glossy.
Prepare Ahead: If you’re planning for a party, you can make these up to 2 days in advance, but the strawberries might start releasing some moisture after that. Line your container with paper towels to absorb any excess moisture and keep the chocolate coating looking fresh.
Serve: Take them out of the fridge about 15 minutes before serving to let them come closer to room temperature – this is when they taste best! The chocolate will still be set but the strawberries won’t be too cold, giving you the perfect bite.
| Preparation Time | 15-20 minutes |
| Cooking Time | 10-20 minutes |
| Total Time | 30-40 minutes |
| Level of Difficulty | Easy |
Estimated Nutrition
Estimated nutrition for the whole recipe (without optional ingredients):
- Calories: 1400-1600
- Protein: 20-25 g
- Fat: 70-80 g
- Carbohydrates: 180-190 g
Ingredients
For the strawberries:
- 1 container strawberries (about 1 lb, rinsed and thoroughly dried)
For the white chocolate coating:
- 1 package white chocolate wafers (such as Ghirardelli, for easy melting and a smooth finish)
For the milk chocolate design:
- 1 cup milk chocolate wafers (high quality like Guittard for best flavor and melt)
Step 1: Prepare the Baking Sheet
Start by spreading a piece of parchment paper on a small baking sheet.
This will create a non-stick surface for your chocolate-dipped strawberries, ensuring they can be easily removed once set.
Step 2: Dip Strawberries in White Chocolate
Melt the white chocolate candy melts according to the package directions until they are smooth and creamy.
Holding each strawberry by the stem, dip them into the melted white chocolate about two-thirds of the way up.
Carefully set the dipped strawberries onto the prepared parchment paper.
Repeat this process with all the strawberries until each one is coated in white chocolate.
Step 3: Anchor Strawberries with Milk Chocolate
Melt the milk chocolate candy melts as directed on the package.
Place a small dab of melted milk chocolate (about the size of a nickel) directly onto the parchment paper.
Quickly set one of the white chocolate-dipped strawberries onto this circle of milk chocolate to create an anchor.
Repeat this step for all the strawberries, ensuring each one is securely placed on a milk chocolate base.
Step 4: Create Zebra Stripes
Using a fork dipped in the melted milk chocolate, drizzle the chocolate over each strawberry in a zigzag pattern to create decorative ‘zebra stripes.’ Continue until all strawberries are adorned with these chocolate stripes.
Step 5: Chill and Serve
Once all the strawberries are decorated, slide the entire baking sheet into the refrigerator for about 30 minutes or until the chocolate is well chilled and firm.
Serve the strawberries once set.
For any leftovers, store them in an airtight container in the refrigerator for 3 to 4 days.
