Halloween baking has become a fun tradition in our house. I find myself looking forward to making spooky treats almost as much as carving pumpkins with the kids. But let’s be honest – not every Halloween dessert needs to be complicated to look impressive. That’s exactly why these chocolate lava skull cakes have become my go-to October treat.
I especially love that these cakes look tricky but are actually pretty simple to make. The magic happens when you cut into them – that warm, gooey chocolate center flows out like something from a haunted house! I usually prep the batter while I’m cleaning up after dinner, then pop them in the oven right before serving. No stress, just fun.
Want something chocolatey that’ll make everyone at your Halloween party smile? These skull cakes are perfect. Need a dessert that looks spooky but tastes heavenly? Same idea. Trust me, once you try these, they’ll become your Halloween tradition too.
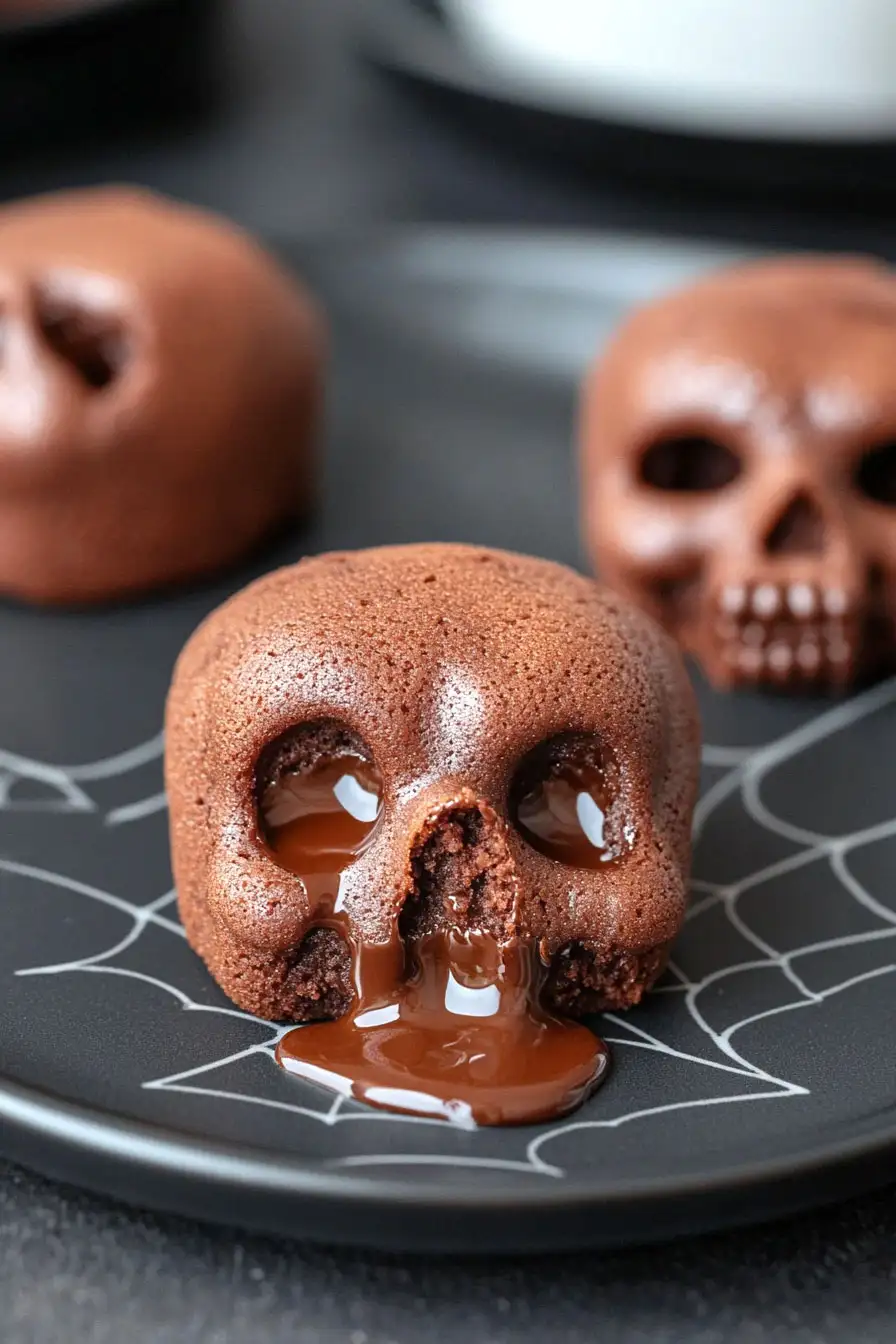
Why You’ll Love These Chocolate Lava Cakes
- Quick dessert – Ready in less than 30 minutes from start to finish, these lava cakes are perfect when you need a quick chocolate fix or last-minute dessert.
- Simple ingredients – You only need 6 basic ingredients that you probably already have in your pantry – no fancy or hard-to-find items required.
- Restaurant-quality results – That warm, gooey chocolate center flowing out when you cut into the cake gives you the same experience as a high-end restaurant dessert, but at a fraction of the cost.
- Perfect for special occasions – These individual-sized cakes make any dinner feel extra special, whether it’s date night or a dinner party with friends.
What Kind of Chocolate Chips Should I Use?
Semi-sweet chocolate chips are the classic choice for lava cakes, but you’ve got some room to play around here. While the recipe calls for semi-sweet, you could swap in bittersweet chocolate chips if you prefer a darker, less sweet cake, or milk chocolate chips if you’re craving something sweeter. Just make sure you’re using real chocolate chips rather than candy melts or chocolate-flavored baking chips – the real stuff melts better and creates that perfect molten center. For the best results, look for chocolate chips that contain around 60% cacao, and check the ingredient list to make sure cocoa butter is listed (this helps create that smooth, flowing center when the cake is cut open).
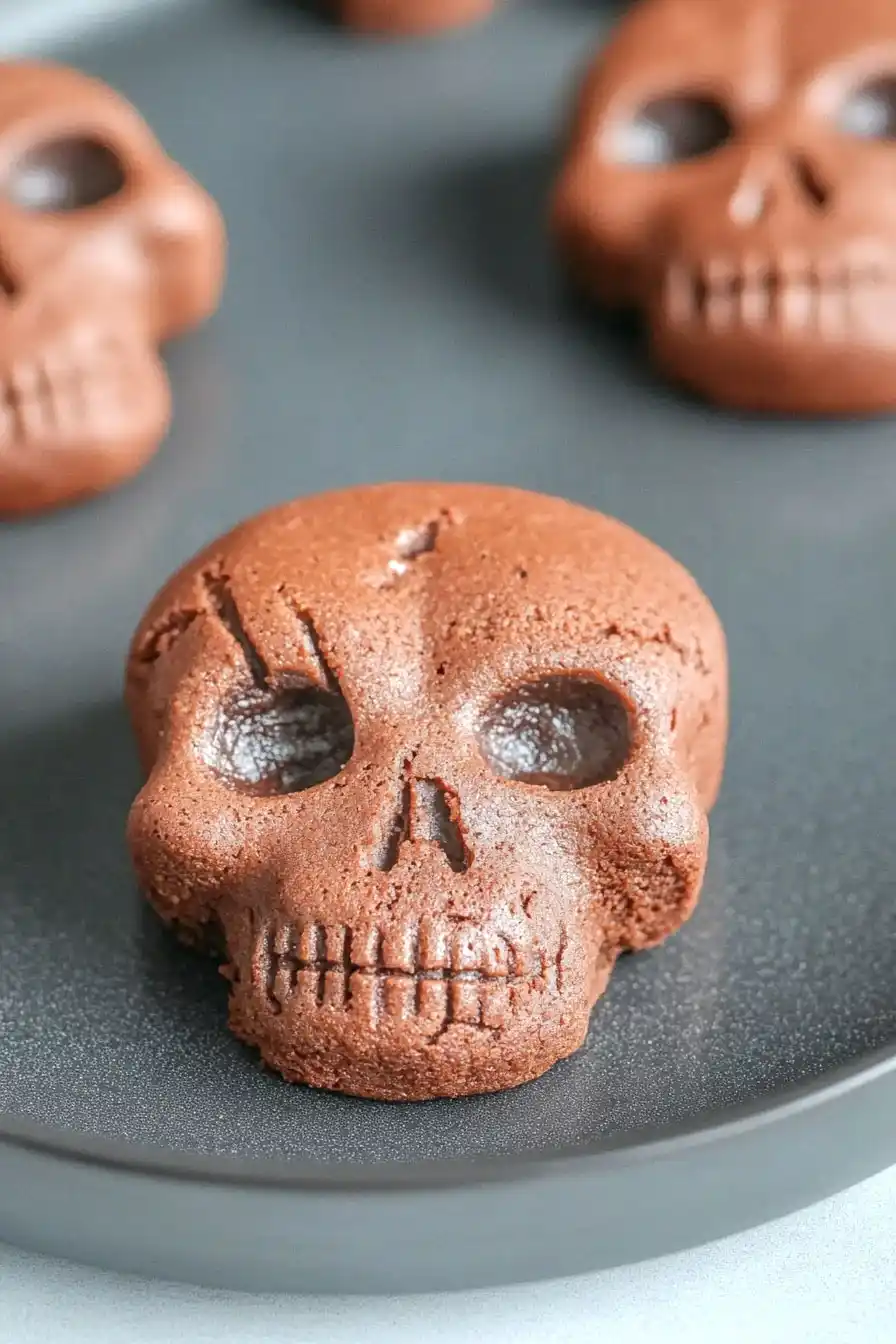
Options for Substitutions
When making these gooey chocolate lava cakes, some ingredients are essential while others can be swapped. Here’s what you need to know:
- Chocolate chips: Semi-sweet chocolate chips can be replaced with dark chocolate chips or chopped chocolate bars. Milk chocolate works too, but will make the cakes sweeter, so consider reducing the sugar by ¼ cup.
- Butter: This is a key ingredient for texture, but you can use salted butter instead of unsalted – just skip any additional salt in the recipe. Margarine isn’t recommended as it can affect the texture and melting center.
- Eggs: The eggs are crucial for the structure and that classic molten center – there’s no good substitute that will give you the same result. They’re essential for this recipe.
- Confectioners’ sugar: If you’re out of confectioners’ sugar, blend regular granulated sugar in a food processor until powdered. You’ll need about 1¼ cups of granulated sugar to make 1½ cups of powdered sugar.
- Flour: Regular all-purpose flour can be swapped with cake flour for an even more tender cake. For a gluten-free version, use a 1:1 gluten-free flour blend that contains xanthan gum.
Watch Out for These Mistakes While Baking
The trickiest part of making lava cakes is getting that perfect molten center – baking even one minute too long will leave you with chocolate cake instead of the gooey, flowing center everyone craves. When melting the chocolate and butter, be careful not to overheat or rush the process, as this can cause the chocolate to seize up or become grainy – instead, use low heat and stir frequently, or melt in 30-second intervals in the microwave. Another common mistake is not properly greasing your skull molds – make sure to coat them thoroughly with butter and cocoa powder (not flour, which can leave white marks on your dark cakes). For the best results, chill your filled molds for at least 30 minutes before baking, as this helps the cakes hold their shape and creates that perfect contrast between the cooked exterior and liquid center.
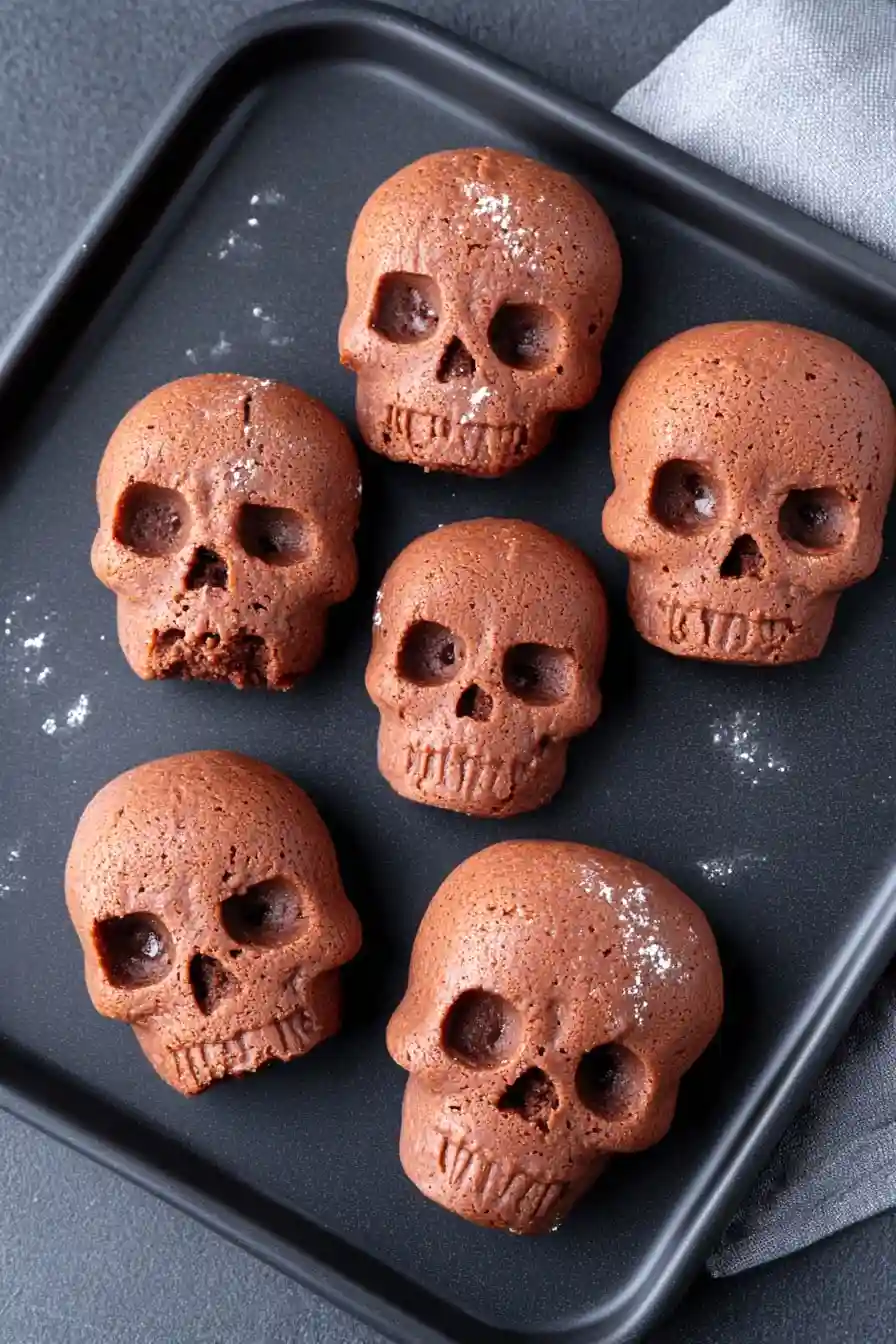
What to Serve With Chocolate Lava Cakes?
These warm, gooey chocolate lava cakes are begging for some cool, creamy companions to balance out all that rich chocolate goodness! A scoop of vanilla ice cream is the classic choice – it melts perfectly into all that warm chocolate sauce and creates the most amazing temperature contrast. If you’re feeling fancy, try adding some fresh raspberries or strawberries on the side, which add a nice pop of freshness and cut through the richness. You can also dust the plate with a little extra powdered sugar or add a dollop of whipped cream to make the presentation extra special.
Storage Instructions
Prepare Ahead: You can make the batter up to 24 hours in advance and keep it covered in the fridge. Just remember to bring it back to room temperature about 30 minutes before baking – this helps ensure you get that perfect molten center!
Keep: These lava cakes are best enjoyed fresh and warm, right after baking when the center is perfectly gooey. While you can keep leftover baked cakes in the fridge for up to 2 days, they won’t have that same magical molten center when reheated.
Unbaked Storage: Pour the batter into your greased skull molds, cover with plastic wrap, and pop them in the fridge for up to 24 hours. This is super handy when you’re planning a Halloween party or special dinner and want to prep ahead!
| Preparation Time | 10-15 minutes |
| Cooking Time | 11-13 minutes |
| Total Time | 24-28 minutes |
| Level of Difficulty | Medium |
Estimated Nutrition
Estimated nutrition for the whole recipe (without optional ingredients):
- Calories: 2000-2200
- Protein: 25-30 g
- Fat: 130-150 g
- Carbohydrates: 230-250 g
Ingredients
- 3 whole eggs (large, at room temperature for better emulsification)
- 1/2 cup all-purpose flour
- 1.5 cups confectioners’ sugar (sifted to prevent lumps)
- 10 tbsp butter
- 3 egg yolks
- 1 cup semi-sweet chocolate chips (I use Ghirardelli semi-sweet for richness)
Step 1: Preheat the Oven and Prepare the Cake Pan
Preheat your oven to 450ºF (232ºC).
Generously grease a Skull Cake Pan with both shortening and cooking spray, ensuring every nook and cranny is well-coated.
This will help your cake release easily from the pan after baking.
Step 2: Melt Chocolate and Butter
In a saucepan over low heat, melt your chocolate chips and butter together.
Stir the mixture frequently until melted and smooth.
Once melted, remove the saucepan from heat and set aside to cool slightly.
Step 3: Prepare the Batter
In a separate bowl, whisk together whole eggs and egg yolks until well combined.
Gradually beat in the powdered sugar.
Once smooth, add the cooled chocolate mixture to the egg and sugar mixture.
Stir in the flour and mix everything until you have a smooth batter.
Step 4: Pour and Bake
Pour the prepared batter into the greased Skull Cake Pan, making sure it’s distributed evenly.
Bake the cake in your preheated oven for 11 to 13 minutes, until it’s set but still slightly soft in the center.
Step 5: Cool and Unmold
Remove the cake from the oven and allow it to cool in the pan for about 3 minutes.
Then, turn the pan over onto a parchment-lined baking rack.
Carefully lift the pan away, revealing your deliciously spooky skull cake.
Step 6: Serve
Serve the skull cakes warm, paired with whipped cream and/or vanilla ice cream for a delectable treat.
Enjoy the rich and indulgent flavor in every bite!