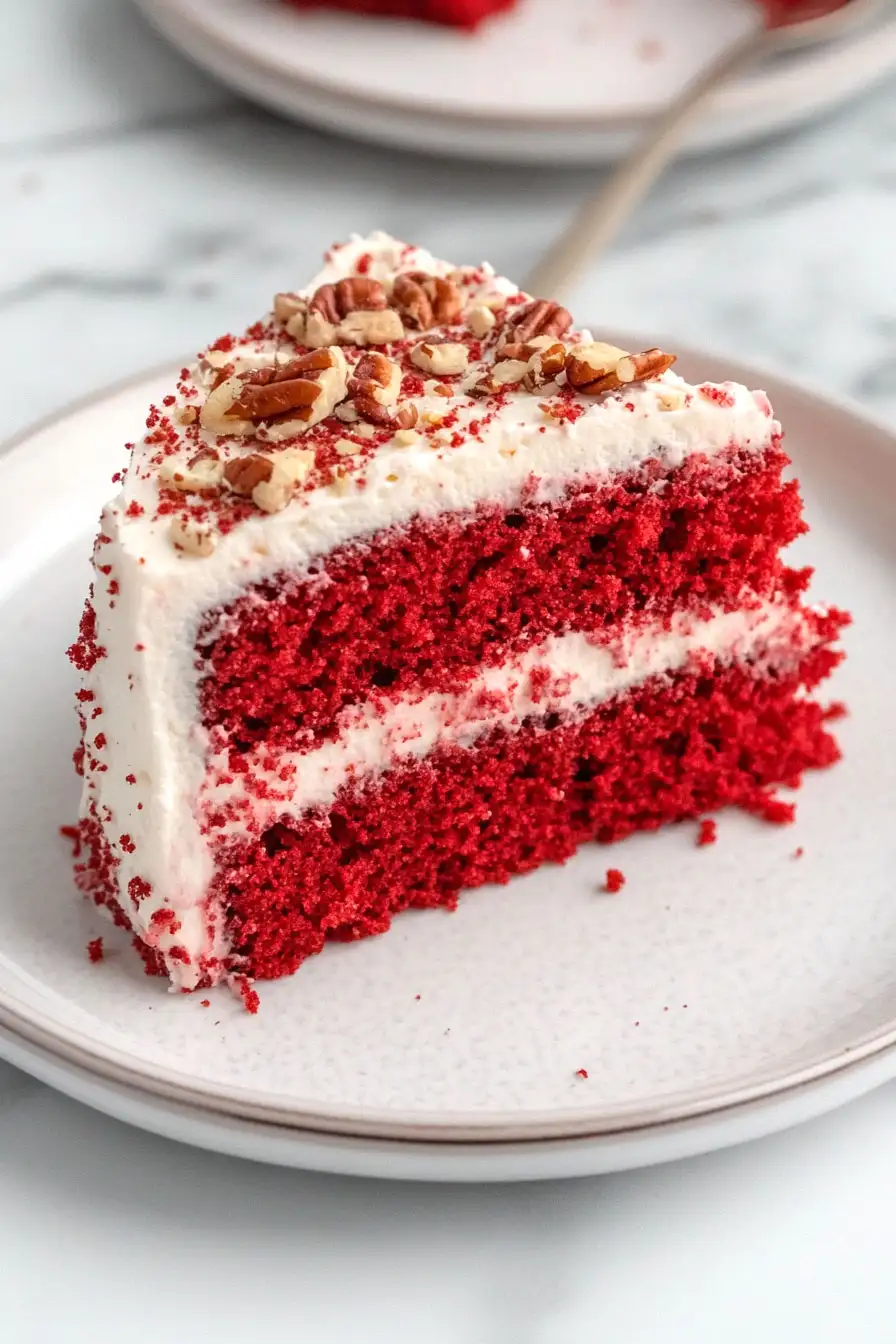
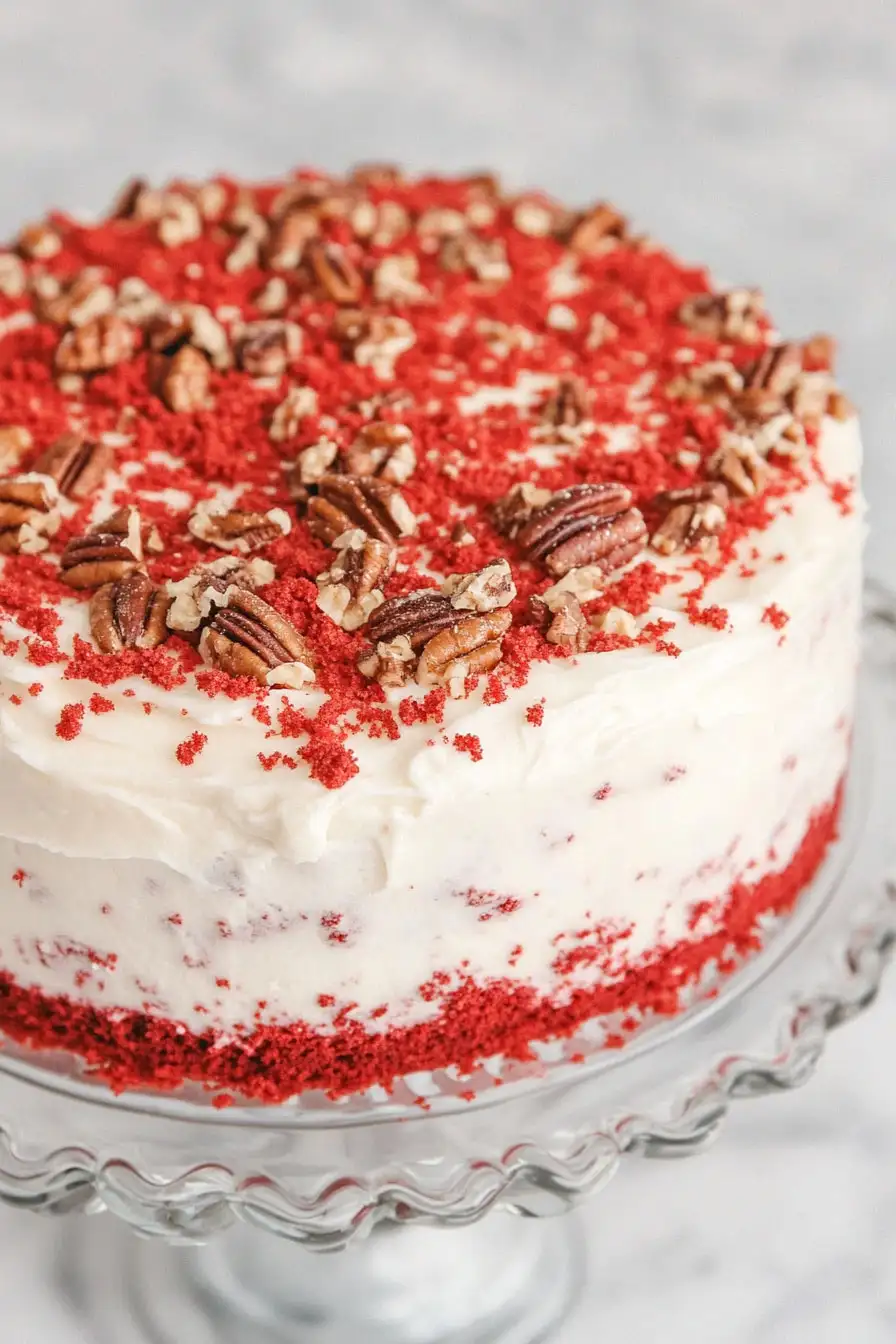
Finding the perfect dessert for special occasions can feel like a real challenge. Between balancing everyone’s tastes and wanting something that looks impressive without requiring professional baking skills, it’s easy to get overwhelmed by all the options out there.
That’s why this red velvet cake with pecans has become my go-to celebration cake: it’s a crowd-pleasing classic that’s easier to make than you might think, and those crunchy pecans add just the right touch to make it feel extra special without any complicated techniques.

Why You’ll Love This Red Velvet Cake
- Classic homemade taste – This recipe gives you that authentic red velvet flavor with the perfect balance of subtle cocoa and vanilla, just like the cakes from high-end bakeries.
- Rich cream cheese frosting – The combination of butter and cream cheese creates a silky-smooth frosting that’s not too sweet and perfectly complements the cake layers.
- Added crunch – The chopped pecans add a wonderful texture contrast to the soft cake and creamy frosting, making each bite more interesting than traditional red velvet cake.
- Foolproof recipe – Using self-rising flour and simple mixing methods means you’ll get consistent results, even if you’re new to baking layer cakes.
- Perfect for special occasions – This cake’s deep red color and nutty garnish make it ideal for holidays, birthdays, or any celebration where you want to impress your guests.
What Kind of Pecans Should I Use?
Fresh pecans are key for this recipe since they’ll be a prominent part of your cake’s texture and flavor. Raw pecans work best here, rather than the already roasted ones, since you want them to maintain their natural oils and fresh taste when mixed into the cake. When shopping, look for pecans that are plump and uniform in color – avoid any that look shriveled or have dark spots. If you’re buying them pre-chopped, make sure they’re labeled as “fresh” or check the packaging date, since chopped nuts can go rancid more quickly than whole ones. And here’s a handy tip: if you’re chopping them yourself, pop them in the freezer for about 10 minutes first – this makes them easier to chop finely without turning them into pecan dust.
Options for Substitutions
Let’s talk about what you can swap in this red velvet cake recipe if you’re missing something:
- Self-rising flour: If you only have all-purpose flour, no worries! For each cup of self-rising flour, use 1 cup all-purpose flour plus 1½ teaspoons baking powder and ¼ teaspoon salt.
- Buttermilk: No buttermilk? Make your own by adding 1 tablespoon of lemon juice or white vinegar to 1 cup of regular milk. Let it sit for 5 minutes before using.
- Vegetable oil: You can use canola oil, sunflower oil, or even melted coconut oil (though this might add a slight coconut taste).
- Red food dye: For a natural option, try 2 tablespoons of beetroot powder mixed with 2 tablespoons of water. Note that the color won’t be as bright, but it’s a good natural alternative.
- Cream cheese: For the frosting, mascarpone cheese works well as a substitute, though it’s a bit pricier. The texture will be slightly different but still good!
- Pecans: Feel free to swap these with walnuts, toasted almonds, or even macadamia nuts. You can also leave them out if you prefer a nut-free cake.
Watch Out for These Mistakes While Baking
The biggest challenge when making red velvet cake is achieving that perfect, moist texture – room temperature ingredients are absolutely crucial, so remember to take your eggs, buttermilk, and cream cheese out of the fridge at least an hour before starting. A common mistake is overmixing the batter, which can lead to a tough, dense cake – instead, fold the wet and dry ingredients together just until combined, and stop as soon as you no longer see flour streaks. To prevent your cake layers from sticking, don’t just grease your pans – line them with parchment paper on the bottom and sides, and let the cakes cool completely before attempting to frost them. For the smoothest cream cheese frosting, beat the butter and cream cheese until completely lump-free before gradually adding the powdered sugar, and avoid frosting your cake in a warm kitchen as cream cheese frosting can become too soft quickly.
What to Serve With Red Velvet Cake?
This rich, Southern-style cake pairs wonderfully with a hot cup of coffee or tea to balance out its sweetness. If you’re serving it for dessert after dinner, try adding a scoop of vanilla ice cream on the side – the cold, creamy texture works really well with the cake’s moistness. For a morning or afternoon treat, I like to serve it with fresh berries like strawberries or raspberries, which add a nice tartness that complements the cream cheese frosting. A glass of cold milk is always welcome too, especially for kids who might find the cake a bit rich on its own.
Storage Instructions
Keep Fresh: Your red velvet cake will stay moist and tasty for up to 5 days when stored in an airtight container in the fridge. The cream cheese frosting needs refrigeration to stay fresh, so don’t leave it sitting out at room temperature for more than 2 hours.
Freeze: Want to save some for later? You can freeze unfrosted cake layers wrapped tightly in plastic wrap and aluminum foil for up to 3 months. For frosted cake, freeze individual slices on a baking sheet until firm, then wrap them well – they’ll keep for about 2 months.
Thaw & Serve: When you’re ready to enjoy your frozen cake, let it thaw overnight in the refrigerator. Before serving, allow it to sit at room temperature for about 30 minutes – this helps the cake reach the perfect texture and lets those pecan flavors really come through.
| Preparation Time | 30-45 minutes |
| Cooking Time | 22 minutes |
| Total Time | 1-2 hours |
| Level of Difficulty | Medium |
Estimated Nutrition
Estimated nutrition for the whole recipe (without optional ingredients):
- Calories: 6000-6500
- Protein: 60-70 g
- Fat: 400-450 g
- Carbohydrates: 700-750 g
Ingredients
- 2 1/2 cups self-rising flour
- 1 cup buttermilk
- 1 1/2 cups vegetable oil
- 1 teaspoon baking soda
- 1 teaspoon vanilla essence
- 1/4 cup red food dye (two 1 oz. bottles)
- 1 1/2 cups white sugar
- 1 teaspoon cocoa powder, unsweetened
- 1 teaspoon white vinegar
- 2 eggs (at room temperature)
- 19 tablespoons softened butter
- 10 ounces soft cream cheese
- 16 ounces icing sugar
- 2 cups finely chopped pecans
Step 1: Prepare the Baking Environment
Preheat your oven to 350°F.
While the oven is heating, prepare your baking pans by spraying three 9-inch round cake pans with a non-stick cooking spray.
Alternatively, you can coat the bottoms and sides of the pans with butter and a light dusting of flour to prevent sticking.
Step 2: Mix the Cake Batter
Combine all the cake mix ingredients in a large bowl.
Using a standing mixer or handheld electric mixer, beat the mixture on medium speed for about 3 minutes until smooth and well combined.
Ensure that the batter is evenly mixed for the best baking results.
Step 3: Divide and Bake the Cake
Pour the prepared cake batter equally into the three greased pans.
Place the pans in the preheated oven and bake for 22 minutes.
Once baked, remove the pans from the oven and allow them to cool on a wire rack for 10-20 minutes.
Carefully remove the cakes from the pans and place them directly on the cooling rack to finish cooling completely.
Step 4: Prepare the Frosting
In a large bowl, combine the butter, cream cheese, and powdered sugar.
Begin mixing slowly on low speed and gradually increase to medium speed, mixing for 2-3 minutes until the frosting is well combined and slightly fluffy.
If adding in chopped pecans, slowly incorporate 1 ¼ cup of pecans after 1 minute of mixing, ensuring they are evenly distributed in the frosting.
Step 5: Assemble the Cake Layers
Once the cakes are completely cool, place one layer directly onto a cake stand.
Using a spatula or butter knife, gently spread a layer of frosting onto the top of this layer.
Then, place the second layer of cake on top and repeat the process by spreading another layer of frosting.
Follow by adding the third layer on top, and evenly spread the cream cheese frosting over the top and sides of the entire cake.
Step 6: Chill and Serve
After assembling and frosting the cake, allow it to cool for an additional hour for the flavors to set.
When ready to serve, cut into the cake and enjoy the moist layers within each slice.

