Here’s my go-to chicken thigh katsu recipe, with a crispy panko coating that stays crunchy, juicy meat that’s perfectly cooked, and a simple method that gives you restaurant-style results at home.
This Japanese-style fried chicken has become my kids’ most requested weeknight dinner. I usually make extra cutlets so we can turn them into katsu sandwiches for lunch the next day. Nothing better than crispy katsu with rice and tonkatsu sauce, right?
Why You’ll Love This Chicken Katsu
- Crispy exterior – The panko breadcrumb coating creates an incredibly crunchy outer layer that stays crispy long after cooking – much better than regular breadcrumbs.
- Juicy chicken – Using chicken thighs instead of breast means you’ll get naturally moist, tender meat that’s nearly impossible to overcook.
- Quick preparation – This restaurant favorite comes together in just 30-40 minutes, making it perfect for weeknight dinners when you’re craving something special.
- Simple ingredients – You only need a handful of basic ingredients that are easy to find at any grocery store – chicken, flour, eggs, and panko breadcrumbs are the main stars here.
- Kid-friendly meal – The crispy coating and tender chicken make this a hit with children, while adults can dress it up with different dipping sauces.
What Kind of Chicken Thighs Should I Use?
For katsu, boneless skinless chicken thighs are the way to go since they stay juicier and more flavorful than chicken breasts. You’ll want to look for thighs that are roughly the same size (about 6 ounces each) so they cook evenly. Fresh chicken thighs are ideal, but if you’re using frozen ones, just make sure they’re completely thawed and patted dry before breading. While most grocery stores sell pre-trimmed boneless skinless thighs, you can also buy bone-in thighs and debone them yourself – just be sure to trim away any excess fat or gristly bits for the best texture in your katsu.
Options for Substitutions
Looking to make this katsu but need to switch things up? Here are some helpful substitutions:
- Chicken thighs: While chicken thighs give the best flavor and moisture, you can use chicken breasts – just be careful not to overcook them as they dry out faster. Pound them to even thickness first.
- Panko breadcrumbs: Panko really makes katsu special with its extra crunch, but in a pinch, you can use regular breadcrumbs. The texture won’t be quite the same, but it’ll work. Just avoid seasoned breadcrumbs as they’ll change the traditional flavor.
- Tonkatsu sauce: Can’t find tonkatsu sauce? Mix Worcestershire sauce with ketchup, soy sauce, and a touch of sugar for a quick substitute. Or try it with BBQ sauce mixed with a bit of soy sauce.
- Eggs: If you’re out of eggs, you can use milk or buttermilk as your wet coating. Just dip the chicken pieces twice in the liquid and flour to ensure good coverage.
- Cooking oil: Any neutral oil with a high smoke point works well – try canola, vegetable, or peanut oil. Avoid olive oil as its low smoke point isn’t ideal for this type of frying.
Watch Out for These Mistakes While Cooking
The biggest challenge when making chicken katsu is maintaining the perfect oil temperature – if it’s too hot, you’ll burn the coating before the chicken cooks through, and if it’s too cool, your katsu will end up greasy. Keep your oil between 330-350°F using a thermometer, and don’t overcrowd the pan, as this will cause the temperature to drop dramatically. A common mistake is not pounding the chicken thighs to an even thickness, which can lead to uneven cooking – aim for about 1/2 inch thickness throughout by using a meat mallet or rolling pin between two pieces of plastic wrap. The breading process requires attention too – make sure to shake off excess flour, then eggs, and finally press the panko firmly onto the chicken to create a coating that won’t fall off during frying. For the crispiest results, let your breaded chicken rest in the refrigerator for 15-30 minutes before frying, which helps the coating adhere better to the meat.

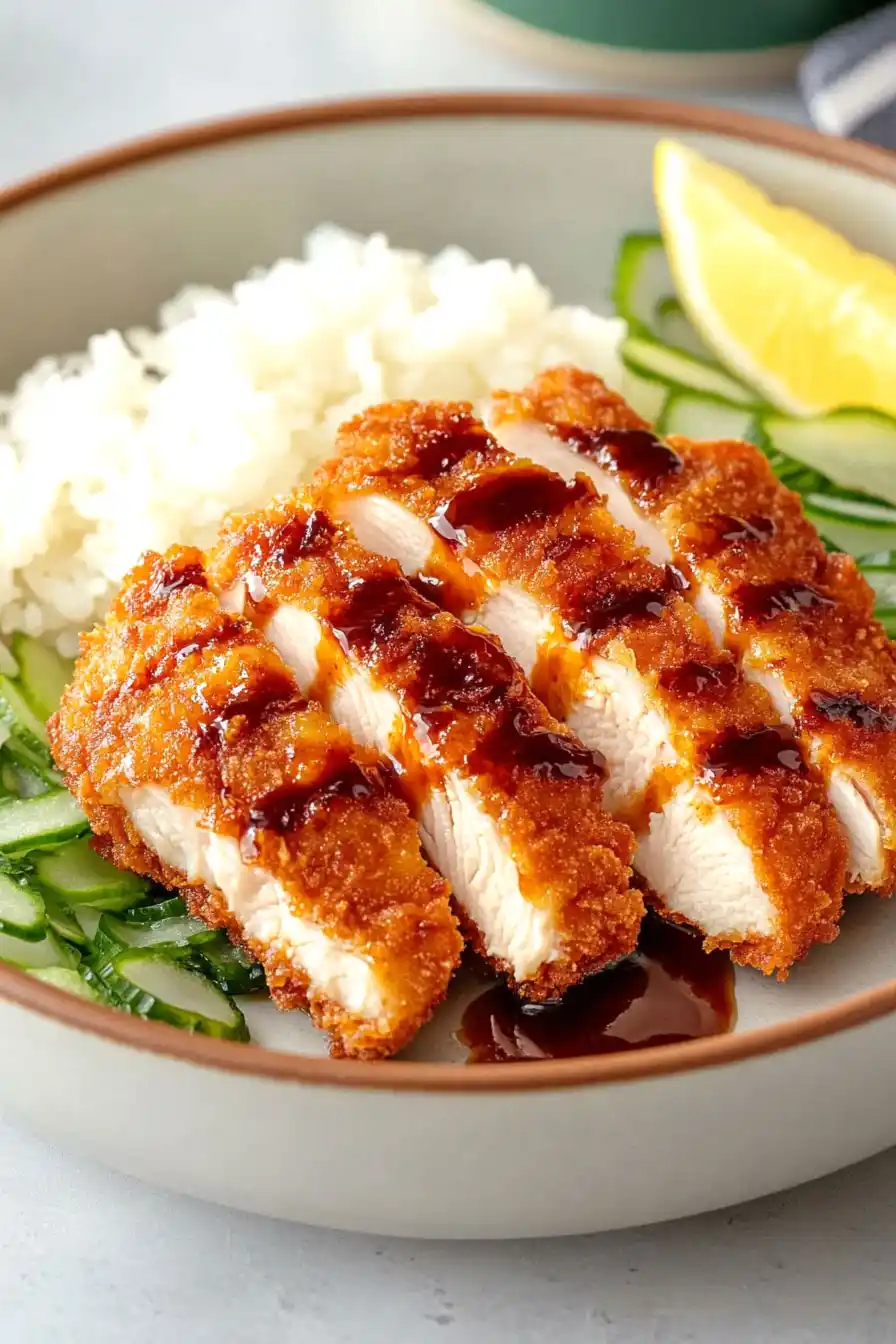
What to Serve With Chicken Katsu?
The most traditional way to serve chicken katsu is with steamed white rice and shredded cabbage – this combo is a staple at Japanese restaurants for good reason! A drizzle of tonkatsu sauce over the crispy chicken adds the perfect sweet and tangy flavor, while the cabbage adds a fresh crunch to balance out the richness. If you want to round out your meal, consider adding some miso soup on the side, or try a simple cucumber salad dressed with rice vinegar and sesame seeds. For an extra pop of color and flavor, pickled vegetables (like Japanese fukujinzuke or simple pickled daikon) make a great addition to your plate.
Storage Instructions
Keep Fresh: Once your chicken katsu has cooled down, place it in an airtight container and pop it in the fridge. It’ll stay good for up to 3 days. Pro tip: place a paper towel in the container to help absorb any excess moisture and keep that crispy coating from getting soggy.
Freeze: These crispy cutlets freeze really well! Let them cool completely, then place them in a freezer bag with parchment paper between each piece. They’ll keep in the freezer for up to 2 months. It’s super handy to have a few stored away for quick dinners.
Reheat: To get that crispy coating back, pop your katsu in a preheated 350°F oven for about 10-15 minutes until heated through. If reheating from frozen, add an extra 5-10 minutes. Avoid using the microwave as it can make the breading soggy – trust me, the oven method is worth the extra few minutes!
| Preparation Time | 20-30 minutes |
| Cooking Time | 6-10 minutes |
| Total Time | 30-40 minutes |
| Level of Difficulty | Medium |
Estimated Nutrition
Estimated nutrition for the whole recipe (without optional ingredients):
- Calories: 3000-3200
- Protein: 120-130 g
- Fat: 220-240 g
- Carbohydrates: 250-270 g
Ingredients
For the chicken:
- 8 boneless, skinless chicken thighs (6 oz each)
- salt (to taste, preferably Diamond Crystal kosher salt)
For the breading:
- 3 large eggs (beaten lightly with a fork)
- 3 cups panko crumbs (for extra crispiness, I use Kikkoman brand)
- 3 tbsp water
- 1 cup plain flour
For frying and serving:
- steamed sticky rice
- tonkatsu sauce (store-bought or homemade)
- dijon mustard
- 3 cups cooking oil (vegetable or canola oil works well for deep frying)
Step 1: Prepare the Ingredients
Begin by gathering all your ingredients required for the recipe.
Lightly pound the chicken thighs until they are about 1/2 inch thick.
Season the pounded chicken thighs with a sprinkle of salt to enhance their flavor.
Step 2: Set Up the Breading Stations
In three separate pie plates, place the flour, beaten eggs, and panko breadcrumbs.
Season each station lightly with salt to ensure each layer of the breading has flavor.
Step 3: Bread the Chicken
Dredge each piece of chicken in the flour, ensuring to tap off any excess.
Next, dip the floured chicken into the egg, letting any excess drip off.
Finally, coat the chicken thoroughly with the panko breadcrumbs, pressing gently to help them adhere to the chicken.
Once breaded, transfer the chicken to a wax paper-lined baking sheet.
Repeat the process for all chicken pieces.
Step 4: Fry the Chicken
Divide the cooking oil between two large skillets and heat over moderately high heat until it shimmers.
Carefully add the breaded chicken to the skillets, frying until golden and crispy, about 3 minutes per side.
Be sure to turn them once for even cooking.
Once cooked, drain the chicken on paper towels to remove any excess oil.
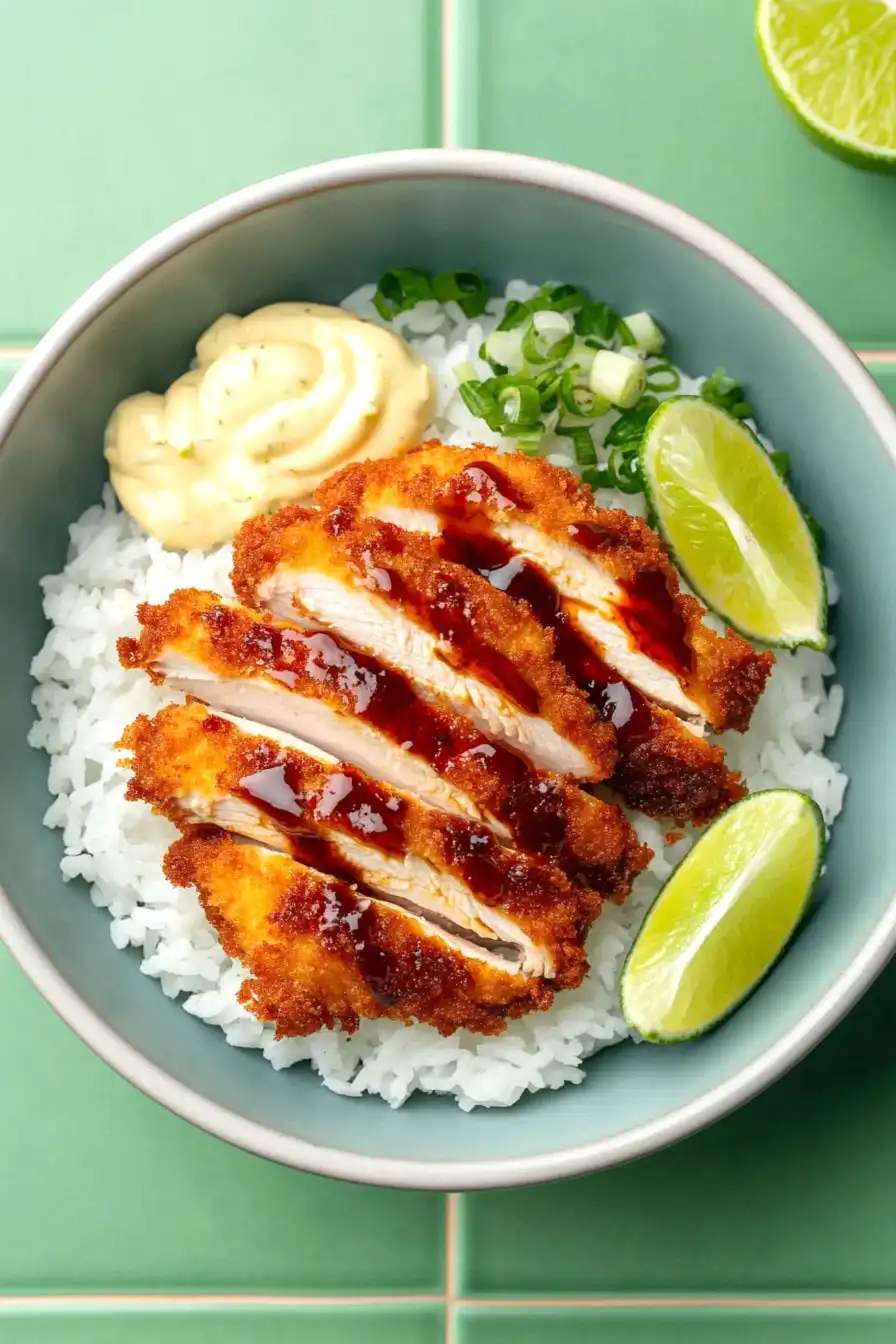
Step 5: Serve and Enjoy
Serve the crispy and delicious fried chicken with tonkatsu sauce and mustard for dipping.
Pair it with a side of steamed rice to complete the meal.
Enjoy your savory and satisfying dish!
