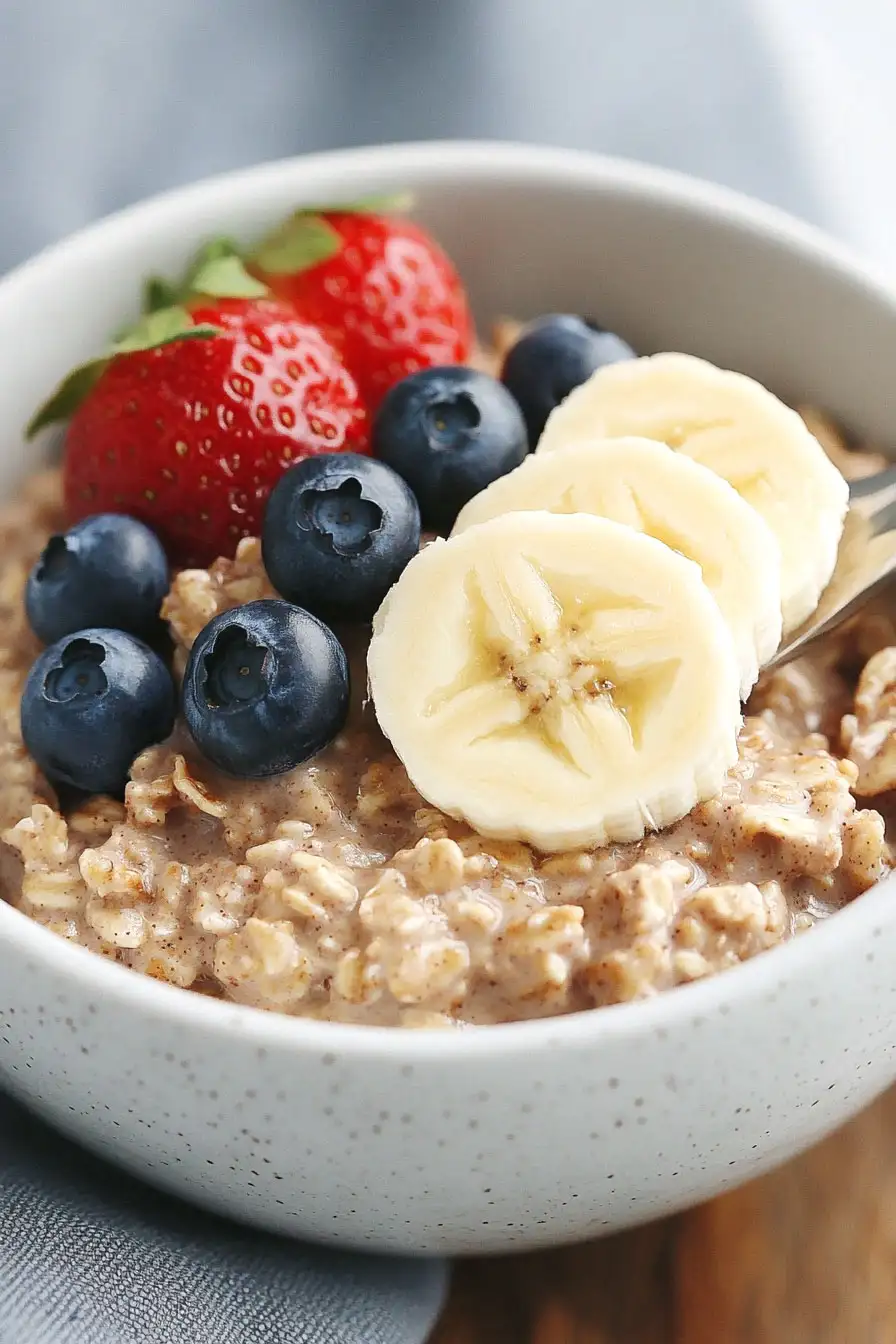
Here’s my go-to vegan oatmeal recipe, with simple pantry ingredients, natural sweeteners, and your choice of toppings – perfect for those cozy morning meals.
This breakfast has become my morning ritual, and even my kids ask for it regularly. I usually make a big batch on Sunday nights so we have some ready for busy weekday mornings. Nothing better than starting your day with a warm, comforting bowl of oatmeal, right?
Why You’ll Love This Vegan Oatmeal
- Quick breakfast option – Ready in just 7-15 minutes, this oatmeal is perfect for busy mornings when you need a filling breakfast but don’t have much time.
- Customizable recipe – You can mix and match toppings like fresh fruits, nuts, seeds, and nut butter to create your perfect bowl – never get bored with the same breakfast twice!
- Diet-friendly – This recipe is naturally vegan, can be made gluten-free, and provides a healthy dose of fiber and plant-based protein to keep you satisfied all morning.
- Budget-friendly ingredients – The base ingredients are affordable pantry staples you likely already have, making this a wallet-friendly breakfast option.
- Meal prep friendly – You can easily double or triple the recipe and store portions in the fridge for quick reheating throughout the week.
What Kind of Oats Should I Use?
For a classic bowl of oatmeal, rolled oats (also called old-fashioned oats) are your best bet. They cook up perfectly in about 5 minutes and give you that traditional, creamy texture everyone loves. Quick oats will work in a pinch, but they tend to get a bit mushy, while steel-cut oats need much more cooking time and liquid – about 20-30 minutes on the stovetop. If you’re following a gluten-free diet, just make sure to pick up oats that are specifically labeled “gluten-free,” since regular oats might be processed in facilities that also handle wheat. For the freshest taste, check the expiration date and store your oats in an airtight container in a cool, dry place.
Options for Substitutions
This oatmeal recipe is super adaptable and easy to customize based on what you have in your pantry:
- Rolled oats: While rolled oats give the best texture, you can use quick oats (reduce cooking time by 1-2 minutes) or steel-cut oats (increase liquid and cooking time by about 10 minutes). Just avoid instant oats as they can get mushy.
- Coconut milk: Any plant-based milk works great here – try almond, oat, soy, or cashew milk. Keep in mind that coconut milk makes it creamier, so you might want to add a splash more of other milk alternatives.
- Maple syrup: Feel free to swap with agave nectar, date syrup, or mashed banana for natural sweetness. If you’re not strictly vegan, honey works too.
- Almond butter: Any nut or seed butter will work – try peanut, cashew, or sunflower seed butter. You can skip it altogether if you prefer.
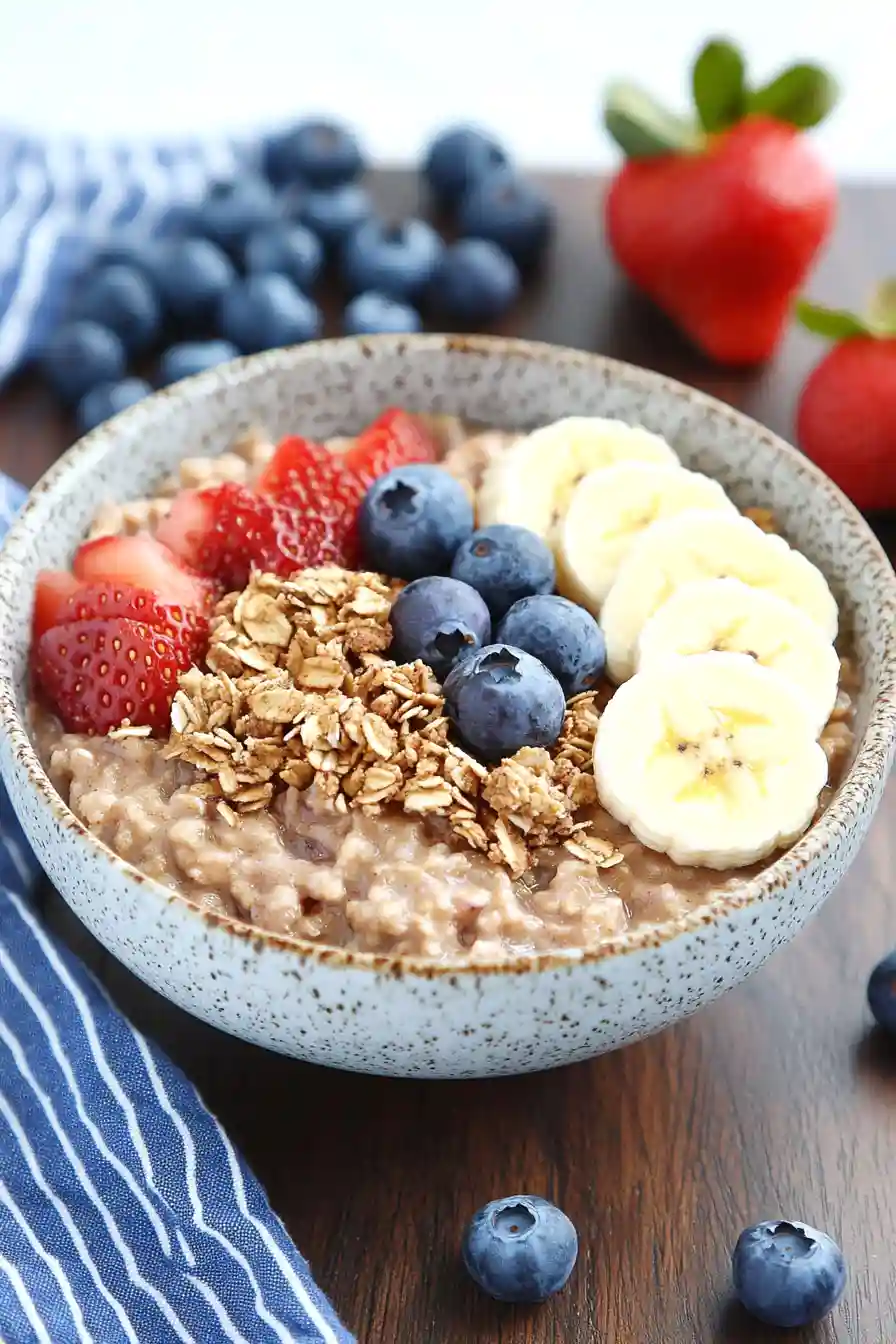
- Toppings: The fun part! Mix and match with whatever you have – any fresh or dried fruits, nuts, seeds, or even granola. For chocolate chips, you can use cacao nibs for a sugar-free option.
Watch Out for These Mistakes While Cooking
The biggest mistake when making oatmeal is using too little liquid, which results in a thick, gluey texture – stick to the 2:1 ratio of liquid to oats for the perfect consistency. Another common error is cooking your oats at too high a temperature; instead, keep the heat at medium-low and stir occasionally to prevent the bottom from sticking and burning. To make your oatmeal extra creamy, try toasting the oats in the dry pan for 2-3 minutes before adding your liquid – this simple step adds a wonderful nutty flavor and helps prevent mushiness. For the best results, don’t add your toppings too early; wait until the oats are fully cooked and have rested for 1-2 minutes, allowing the oatmeal to thicken naturally and your additions to maintain their texture.

What to Serve With Vegan Oatmeal?
A warm bowl of vegan oatmeal makes a perfect breakfast, and there are so many great sides you can pair with it! I love serving this with a glass of cold plant-based milk or a hot cup of coffee to balance out the warm, cozy oatmeal. For extra protein, try adding a smoothie made with plant-based protein powder and frozen fruit, or serve it alongside some crispy tempeh bacon for a savory contrast. If you’re having this as a weekend breakfast, fresh-squeezed orange juice and a side of roasted breakfast potatoes can turn it into a filling brunch spread.
Storage Instructions
Keep Fresh: Once your oatmeal has cooled down, pop it in an airtight container and keep it in the fridge for up to 5 days. This makes it perfect for meal prep – you can make a big batch on Sunday and have breakfast ready all week!
Make Ahead: Want to save time in the morning? Mix your dry ingredients in a jar the night before, then just add your liquid ingredients when you’re ready to cook. Or prep several jars at once for grab-and-go breakfast planning. Just remember to add fresh toppings like fruit and nuts right before eating.
Enjoy Later: When you’re ready to eat your refrigerated oatmeal, add a splash of plant-based milk and warm it up in the microwave or on the stovetop. Give it a good stir, and feel free to add extra toppings to freshen it up. Cold oatmeal can also be enjoyed straight from the fridge – it’s like a breakfast pudding!
| Preparation Time | 5-10 minutes |
| Cooking Time | 2-5 minutes |
| Total Time | 7-15 minutes |
| Level of Difficulty | Easy |
Estimated Nutrition
Estimated nutrition for the whole recipe (without optional ingredients):
- Calories: 350-400
- Protein: 7-10 g
- Fat: 15-20 g
- Carbohydrates: 50-55 g
Ingredients
- 1 tbsp maple syrup (grade A for a rich flavor)
- 1/4 tsp vanilla extract
- 1/2 cup rolled oats (old-fashioned preferred for chewier texture)
- 1 tbsp almond butter (creamy or crunchy)
- 1/4 tsp ground cinnamon
- 1 pinch sea salt
- 2/3 cup light coconut milk
Step 1: Heat and Stir
Add your chosen ingredients into a pot set over medium-low heat.
Stir continuously to ensure even cooking and to prevent any sticking or burning.
Continue stirring gently until the mixture begins to thicken, which should take approximately 2-3 minutes.
Step 2: Transfer and Serve
Once the mixture has reached your desired thickness, remove the pot from the heat.
Carefully pour the thickened mixture into a serving bowl.
Top with your favorite ingredients or toppings, then serve immediately.
Enjoy your creation with the chosen toppings, which can complement and enhance the flavors of the dish!
