I never thought I’d make hard-boiled eggs any other way than on the stovetop. That’s how everyone I knew did it. When I tried other methods, they either came out undercooked or with that dreaded green ring around the yolk.
Turns out, I was overcomplicating things. Using an air fryer for hard-boiled eggs might sound strange at first, but it’s as simple as setting a timer and walking away. For busy mornings or meal prep days, it’s become my go-to method – no pot of water required.
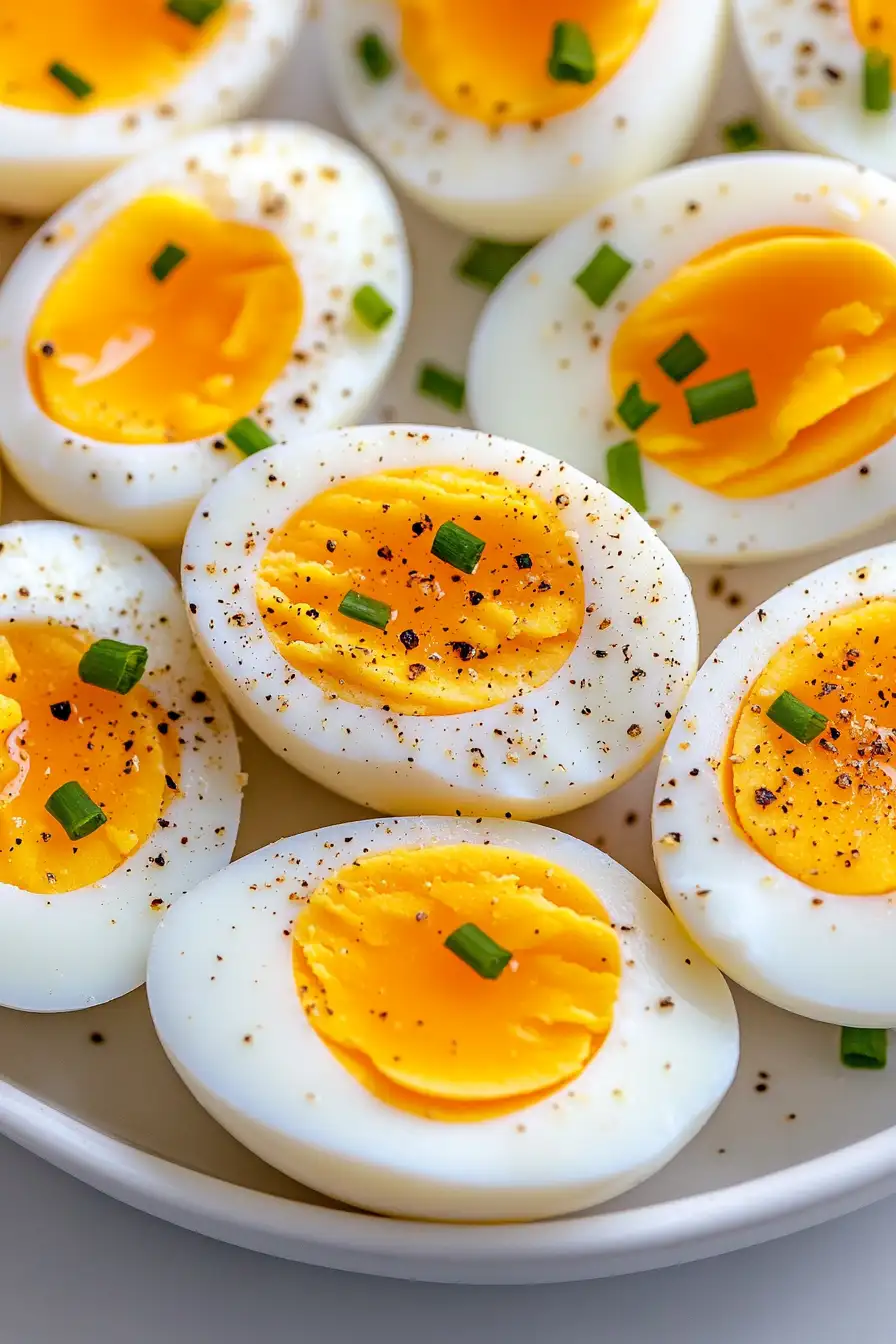
Why You’ll Love These Air Fryer Hard-Boiled Eggs
- No water needed – Unlike traditional boiling methods, you don’t need to wait for water to boil or deal with hot water splashes – just pop them in the air fryer and you’re good to go.
- Perfectly cooked every time – The air fryer’s consistent temperature gives you reliable results – no more guessing if your eggs are done or dealing with grey yolks.
- Super easy cleanup – There’s no pot to wash or boiling water to dump – just wipe down your air fryer basket and you’re done.
- Two-ingredient simplicity – All you need are eggs and your air fryer – it doesn’t get any simpler than that.
What Kind of Eggs Should I Use?
For air fryer hard-boiled eggs, you’ll want to start with large eggs straight from the refrigerator – there’s no need to bring them to room temperature first. Regular white or brown eggs from the grocery store work perfectly fine, and there’s no difference in how they cook or taste. If you’re using farm-fresh eggs, you might want to wait a week or so before boiling them, as very fresh eggs can be harder to peel. Just make sure your eggs don’t have any cracks and check the expiration date on your carton. A helpful tip is to choose eggs that are all similar in size so they cook evenly in your air fryer basket.
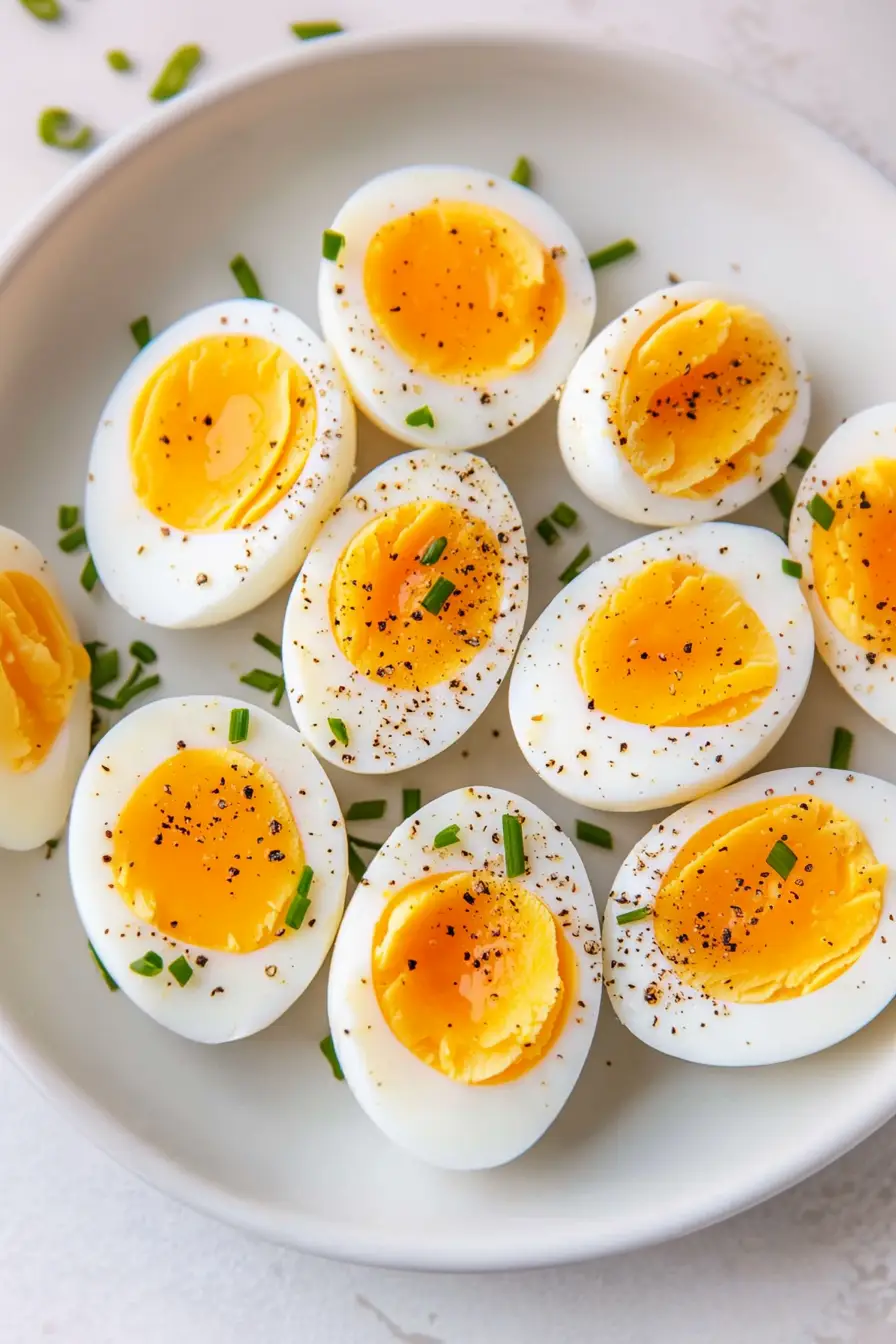
Options for Substitutions
When it comes to making hard-boiled eggs in the air fryer, there’s not much room for substitutions, but here are some helpful notes:
- Eggs: You can use any type of eggs – large, medium, or jumbo, but cooking times will need slight adjustments. For medium eggs, reduce cooking time by 1 minute, and for jumbo eggs, add 1 minute. Both fresh and older eggs will work, though slightly older eggs (about 1-2 weeks old) are usually easier to peel.
- Seasonings: While the recipe suggests kosher salt and black pepper, you can experiment with different seasonings after cooking. Try everything bagel seasoning, paprika, garlic powder, or even hot sauce for added flavor.
- Ice bath: While not listed in ingredients, you’ll need cold water and ice for the ice bath after cooking. If you’re out of ice, very cold running water can work in a pinch, though it might take a bit longer to cool the eggs.
Watch Out for These Mistakes While Air Frying
The biggest challenge when making hard-boiled eggs in an air fryer is timing – cooking them too long will result in that dreaded green ring around the yolk and a rubbery texture, so set a timer for exactly 15 minutes at 250°F for perfect results.
Another common mistake is skipping the ice bath after cooking – this crucial step stops the cooking process immediately and makes peeling much easier, so have a bowl of ice water ready before your eggs are done.
Not preheating your air fryer can lead to inconsistent results, so always give it a quick 3-minute warm-up, and remember to place your eggs in a single layer with space between them for even cooking.
For the easiest peeling experience, gently crack the cooled eggs all over and roll them on your counter before peeling them under a gentle stream of running water.
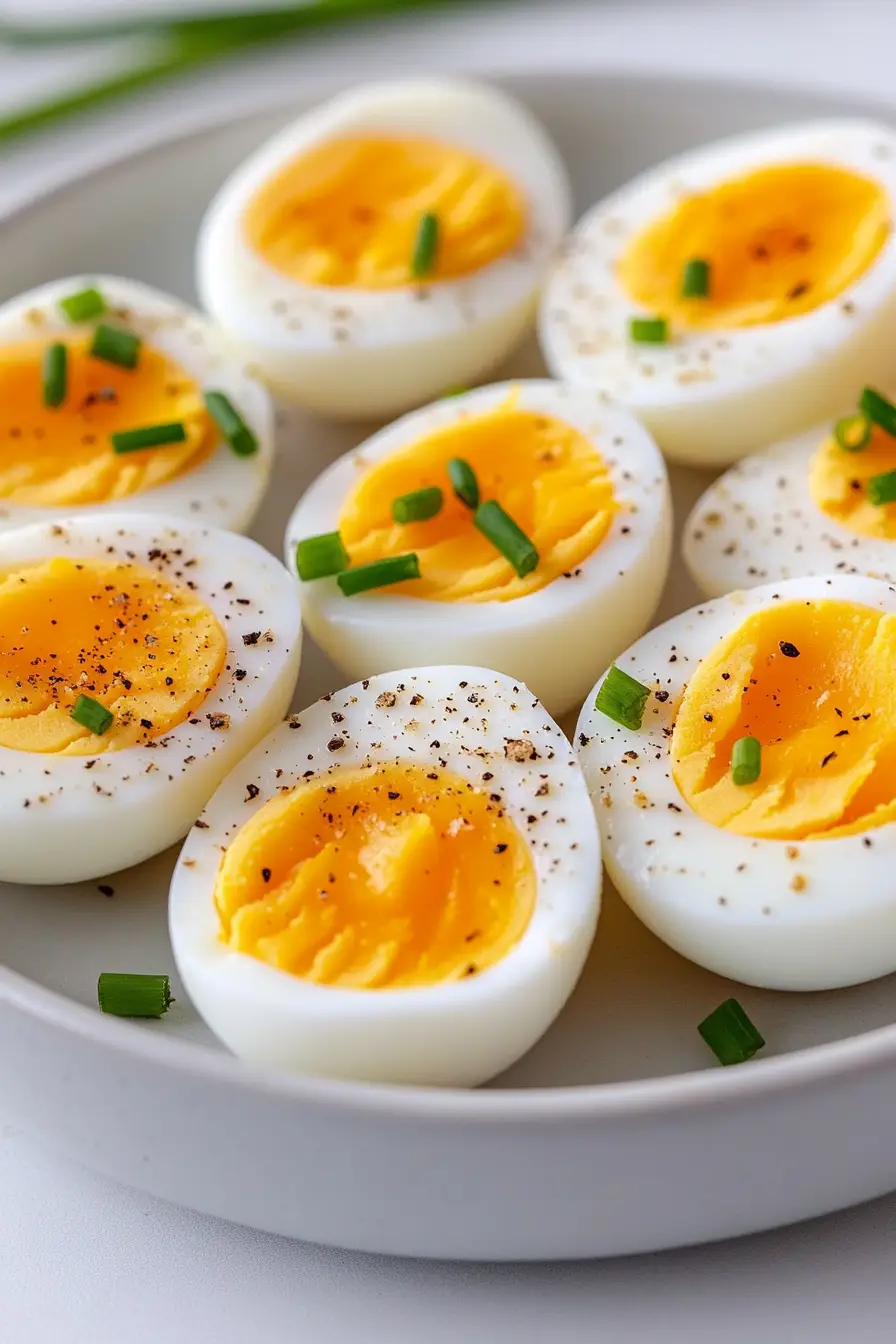
What to Serve With Hard-Boiled Eggs?
Hard-boiled eggs are super versatile and work great as part of so many different meals! For breakfast, I love serving them alongside whole grain toast and fresh fruit, or chopped up on top of avocado toast. They’re perfect for adding protein to a lunch salad – just slice them up and toss them over mixed greens with some cherry tomatoes and your favorite dressing. If you’re making them for snacks, try serving the eggs with a sprinkle of everything bagel seasoning, or turn them into quick deviled eggs by mixing the yolks with mayo and mustard for an easy appetizer.
Storage Instructions
Keep Fresh: Once your air fryer hard-boiled eggs have cooled completely, you can store them either peeled or unpeeled in an airtight container in the fridge. They’ll stay good for up to 7 days. Pro tip: keeping them in their shells helps them stay fresh longer!
Prep Ahead: These eggs are perfect for meal prep! Make a batch on Sunday, and you’ll have an easy protein-rich snack or quick breakfast ready to go all week. I like to keep a few peeled ones ready for grab-and-go situations.
Serving: When you’re ready to eat your refrigerated eggs, you can enjoy them cold straight from the fridge, or let them sit at room temperature for about 15 minutes if you prefer them less chilled. If they’re still in their shells, just give them a gentle crack and peel when you’re ready to eat.
| Preparation Time | 5-10 minutes |
| Cooking Time | 15-17 minutes |
| Total Time | 20-30 minutes |
| Level of Difficulty | Easy |
Estimated Nutrition
Estimated nutrition for the whole recipe (without optional ingredients):
- Calories: 280-320
- Protein: 24-28 g
- Fat: 20-24 g
- Carbohydrates: 0-4 g
Ingredients
- 4 eggs (large, preferably organic for best flavor)
- kosher salt (Diamond Crystal is my favorite) and black pepper (freshly ground for better aroma)
Step 1: Prepare and Cook the Eggs
Place the eggs into the air fryer basket in a single layer.
It’s perfectly fine to use them cold from the fridge—there’s no need to preheat the air fryer.
Insert the basket and set the air fryer to 250°F.
Air fry the eggs for 15 minutes if you prefer softer yolks or 17 minutes for firmer, dryer yolks.
If this is your first time using your air fryer for eggs, it’s wise to test with just one egg first.
Different air fryer models might have varying power levels, which can affect the cook time.
Once you’ve determined the right time for your device, you can confidently cook larger batches of eggs.
Step 2: Prepare the Ice Bath
While the eggs are cooking, fill a big bowl with ice cubes and add water to create an ice bath.
This will be used to immediately cool the eggs and halt the cooking process as soon as they are done air frying.
Step 3: Cool and Peel the Eggs
Once the eggs finish air frying, promptly transfer them into the ice bath to stop further cooking.
To peel the eggs, gently tap each egg on a hard surface using the back of a spoon to crack the shell.
Submerge the cracked eggs back into the ice bath briefly, allowing water to seep between the shell and the egg.
This technique makes peeling easier.
Eggs are easiest to peel right after chilling and can be stored in an airtight container in the refrigerator for up to 5 to 7 days.
Step 4: Serve and Enjoy
Slice the peeled eggs and season with salt and/or pepper to taste.
Enjoy them on their own or incorporate them into your favorite recipes.
These air-fried eggs are versatile and delicious!