Growing up, I thought beets only belonged in salads or maybe as a side dish. That’s just how we ate them at home. The one time my sister tried something different – pickled beets – it didn’t go over well with anyone at the dinner table.
But here’s the thing about beets – they’ve got this natural sweetness that actually makes them perfect for desserts. When I first heard about beet ice cream, I was skeptical. But after trying it at a local ice cream shop, I realized we’d all been missing out on something really good. This recipe is super easy, and trust me, even the beet-haters might change their minds.
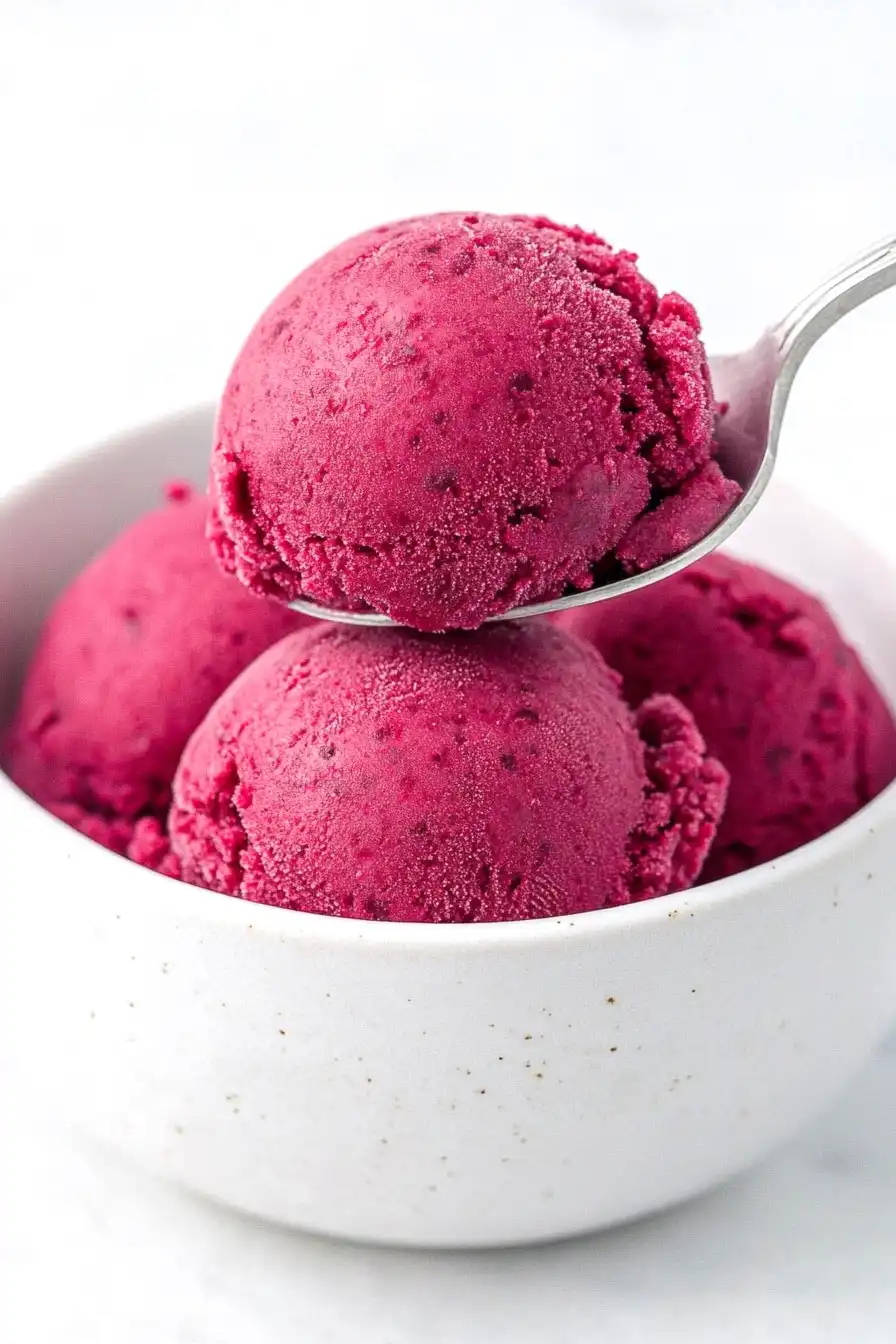
Why You’ll Love This Beet Ice Cream
- Naturally sweet and healthy – Made with just bananas, avocado, and beets, this ice cream contains no added sugars and packs a nutritious punch while satisfying your dessert cravings.
- Quick preparation – With just 3 ingredients and 15-30 minutes of prep time, you can whip up this unique frozen treat faster than a trip to the ice cream shop.
- Dairy-free and vegan – Perfect for those following a plant-based diet or dealing with dairy sensitivities, this ice cream alternative lets everyone enjoy a cool, creamy dessert.
- Simple ingredients – You only need three whole foods to make this recipe – no artificial colors, preservatives, or complicated ingredients required.
What Kind of Beetroot Should I Use?
For this ice cream recipe, you’ll want to look for medium-sized red beets that feel firm and heavy for their size. Regular red beets are the most common and work perfectly here, though you could also use golden beets for a milder, less earthy flavor (just keep in mind this will change the color of your ice cream). Fresh beets are best for this recipe, rather than pre-cooked or canned versions, since they’ll give you the cleanest flavor. When picking your beet, check that the skin is smooth without any deep cuts or bruises, and if the leaves are still attached, they should look fresh and crisp – this is a good sign that the beet is fresh too.
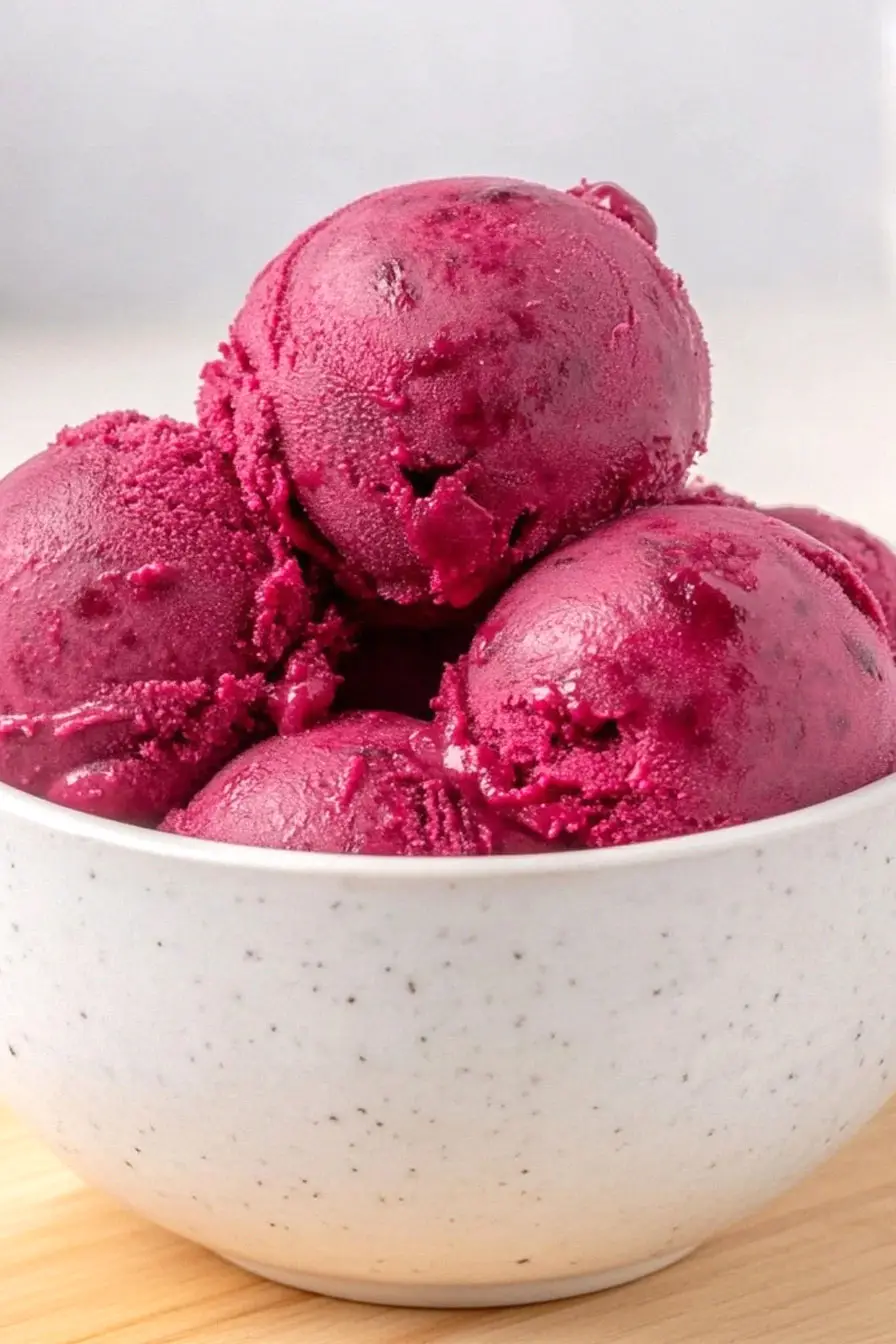
Options for Substitutions
This creative ice cream recipe can be adapted with a few simple swaps if needed:
- Bananas: Bananas are key for the creamy texture and natural sweetness, but if you’re running short, you can use 3 bananas plus 1/2 cup of mango or 1 cup of soaked cashews. Just make sure the bananas are really ripe for the best results.
- Avocado: The avocado adds creaminess, but you can replace it with 1 cup of coconut cream or 1 cup of soaked cashews blended until smooth. If using coconut cream, your ice cream might have a slight coconut flavor.
- Beetroot: The beetroot gives this ice cream its lovely color and earthy sweetness. You could swap it with 1/2 cup of strawberries or raspberries for a different take, though you’ll lose that unique beetroot flavor. If using canned beets, make sure to drain them well.
Watch Out for These Mistakes While Making
The biggest challenge when making beet ice cream is preventing ice crystals from forming, which can happen if you don’t blend the ingredients until completely smooth – take your time with the blending process and scrape down the sides of your blender several times. A common mistake is using warm or room temperature ingredients, so make sure your bananas, avocado, and cooked beet are thoroughly chilled before blending to help achieve that creamy ice cream texture. To avoid any earthy undertones overpowering your dessert, be sure to properly cook your beet until it’s tender (you should be able to easily pierce it with a fork) and let it cool completely before using. For the smoothest results, freeze your ice cream in a shallow container and give it a good stir every hour for the first 2-3 hours to break up any ice crystals that might form.
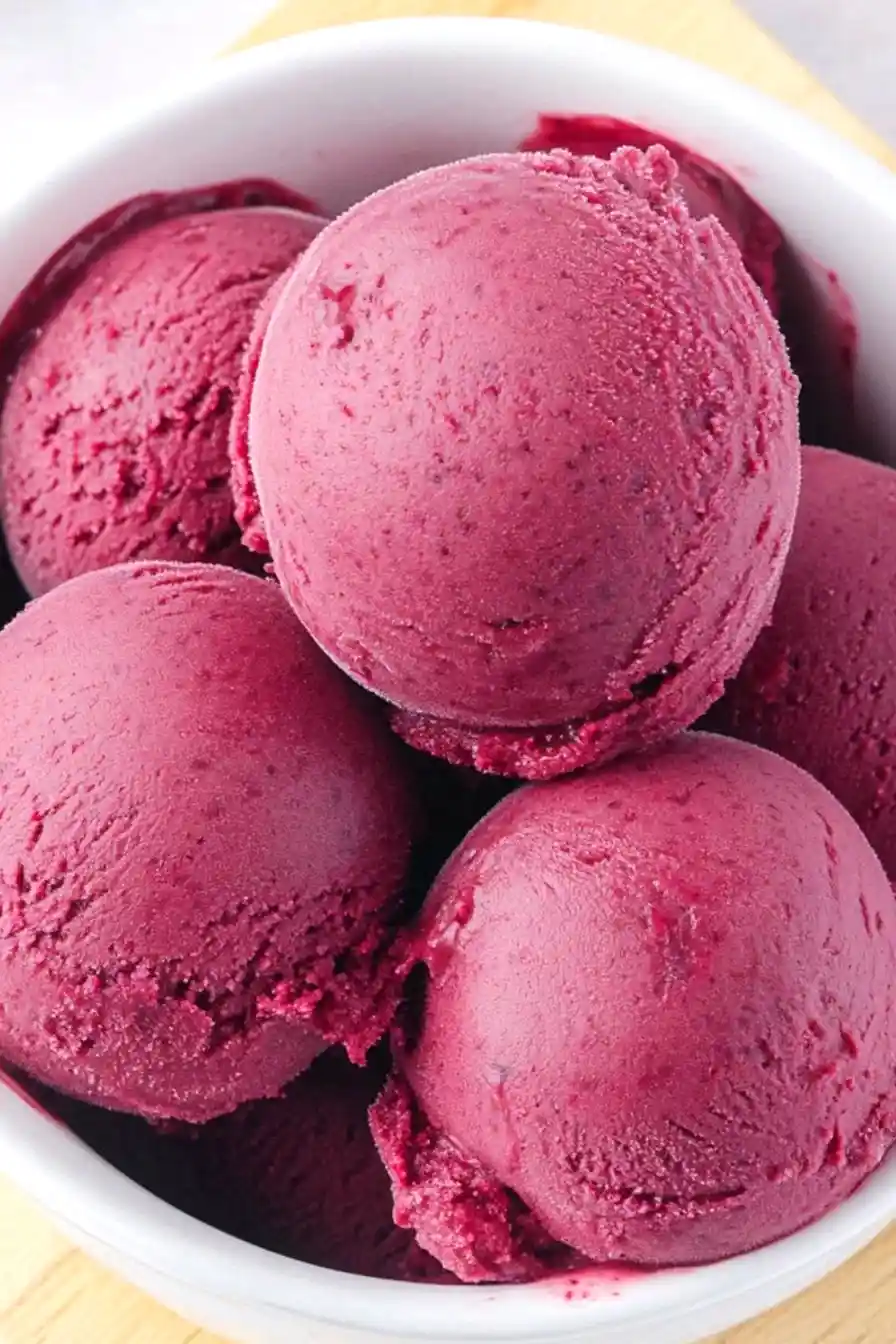
What to Serve With Beet Ice Cream?
This unique pink ice cream deserves some thoughtful pairings that complement its earthy-sweet flavor profile! A slice of dark chocolate cake works really well with the natural sweetness of the beets and bananas, while bringing out their deeper notes. If you’re keeping things simple, try topping your scoop with some crushed pistachios or candied walnuts for a nice crunch that plays off the smooth, creamy texture. For a fun breakfast-inspired dessert, serve this ice cream over warm waffles or between two soft snickerdoodle cookies – the subtle spice adds a nice contrast to the natural flavors in the ice cream.
Storage Instructions
Keep Frozen: This beet ice cream needs to stay in the freezer to maintain its creamy texture. Keep it in an airtight, freezer-safe container and it’ll stay good for up to 2 months. Pro tip: press a piece of plastic wrap directly onto the surface of the ice cream to prevent ice crystals from forming.
Scoop & Serve: When you’re ready to enjoy your ice cream, let it sit on the counter for about 5-10 minutes to soften slightly. This will make it easier to scoop and give you that perfect creamy consistency. If it gets too soft, just pop it back in the freezer for a few minutes.
Portion: Want to make serving easier? Scoop your freshly made ice cream into individual portions before freezing. This way, you can grab exactly what you need without having to thaw the whole batch. Small mason jars or silicone molds work great for this!
| Preparation Time | 15-20 minutes |
| Cooking Time | 0-10 minutes |
| Total Time | 15-30 minutes |
| Level of Difficulty | Easy |
Estimated Nutrition
Estimated nutrition for the whole recipe (without optional ingredients):
- Calories: 400-450
- Protein: 6-8 g
- Fat: 15-20 g
- Carbohydrates: 80-90 g
Ingredients
- 4 medium bananas (peeled and sliced into 1-inch rounds)
- 1 large avocado (ripe, pitted, and peeled)
- 1 raw beet (peeled and coarsely chopped for easier blending)
Step 1: Prepare and Chop the Ingredients
Begin by peeling and chopping the ingredients as required by your recipe.
Make sure they are cut into small, manageable pieces to ensure easier blending later on.
Step 2: Freeze the Ingredients
Divide the prepared ingredients into two equal parts and place each portion into a separate plastic bag.
Seal the bags and move them into the freezer.
Allow the ingredients to freeze thoroughly for several hours, or until they are rock solid.
Step 3: Blend the Frozen Ingredients
Once the ingredients are frozen, remove them from the freezer and transfer them from the bags into a blender.
Let the frozen ingredients sit in the blender for 5-10 minutes to slightly soften, which will ease the blending process.
Step 4: Process into a Creamy Consistency
Using your blender’s pulse and high-speed settings, begin processing the ingredients.
Blend until you achieve a creamy, smooth consistency, similar to soft-serve ice cream.
Pause the blender occasionally to scrape down the sides and push the mixture toward the center to ensure even blending.
Step 5: Serve or Store the Ice Cream
Once the mixture has reached the desired texture, transfer it into a bowl.
Use an ice cream scoop to portion the ice cream into servings.
Enjoy immediately, or store any leftovers in the freezer for up to a week, or even longer.
Serve as desired, and savor your homemade creamy treat!