I never thought I’d be making pancakes in a rice cooker of all things. Growing up, pancakes meant standing at the stove, watching for those telltale bubbles, and often ending up with that dreaded first pancake that never quite turned out right. My kids used to joke about how many “practice pancakes” went straight to the dog’s bowl.
But here’s the thing about rice cooker pancakes – they’re basically impossible to mess up. No flipping required, no timing to master, and no watching the stove like a hawk. Just pour in the batter, press a button, and walk away. It’s the kind of cooking hack I wish I’d known about when my kids were little and weekend pancakes were a must.
Why You’ll Love This Rice Cooker Pancake
- Hands-free cooking – Just mix the ingredients, pour into your rice cooker, and walk away – no need to stand over a hot stove flipping pancakes one by one.
- Basic pantry ingredients – You probably already have everything you need in your kitchen – just flour, eggs, milk, and a few basic baking staples.
- Perfect for busy mornings – While it cooks, you can get ready for the day, help kids with homework, or enjoy your morning coffee without worrying about burning breakfast.
- Foolproof method – No more worrying about flipping pancakes at the right time or ending up with uneven cooking – your rice cooker ensures consistent results every time.
What Kind of Flour Should I Use?
For rice cooker pancakes, regular all-purpose flour is your best bet, though you’ve got some other options too. While the recipe calls for plain flour, you could swap in cake flour for an even fluffier texture, or use whole wheat flour if you’re looking to add some extra nutrition (just keep in mind this will make your pancakes a bit denser). The most important thing when measuring your flour is to avoid packing it down in the measuring cup – instead, try using the spoon-and-level method where you spoon the flour into your measuring cup and level it off with a straight edge. This prevents using too much flour, which can make your pancakes heavy and dry.
Options for Substitutions
Making this rice cooker pancake but missing something? Here are some handy swaps you can try:
- Plain flour: You can use whole wheat flour for a nuttier taste (though the pancake might be denser), or self-rising flour – just skip the baking powder if you do. For gluten-free options, try a 1:1 gluten-free flour blend.
- Baking powder: If you’re out of baking powder, use 1 teaspoon of baking soda plus 1 tablespoon of lemon juice or vinegar. This is crucial for the rise, so don’t skip it completely!
- White sugar: Brown sugar works fine here, or try honey or maple syrup (use 1.5 tablespoons instead of 2). For sugar-free options, substitute with your favorite sweetener according to its conversion ratio.
- Reduced-fat milk: Any milk works here – whole milk, almond milk, soy milk, or even water mixed with a bit of plain yogurt. If using plant-based milk, the texture might be slightly different but still good!
- Eggs: For each egg, you can use 1/4 cup of mashed banana, 1/4 cup of applesauce, or a flax egg (1 tablespoon ground flaxseed mixed with 3 tablespoons water, let sit for 5 minutes).
Watch Out for These Mistakes While Cooking
The biggest challenge when making rice cooker pancakes is getting the consistency right – adding all the liquid ingredients at once can lead to lumpy batter, so it’s best to gradually mix wet and dry ingredients until just combined. A common mistake is overmixing the batter, which creates tough, chewy pancakes instead of fluffy ones – stop mixing as soon as you no longer see dry flour, even if some small lumps remain. For the perfect texture, make sure to grease your rice cooker pot well and don’t open the lid during cooking, as the steam helps create that signature fluffy texture. If your rice cooker has multiple settings, use the regular rice or cake setting, and remember that you might need to run the cooking cycle twice to ensure the pancake is fully cooked through.
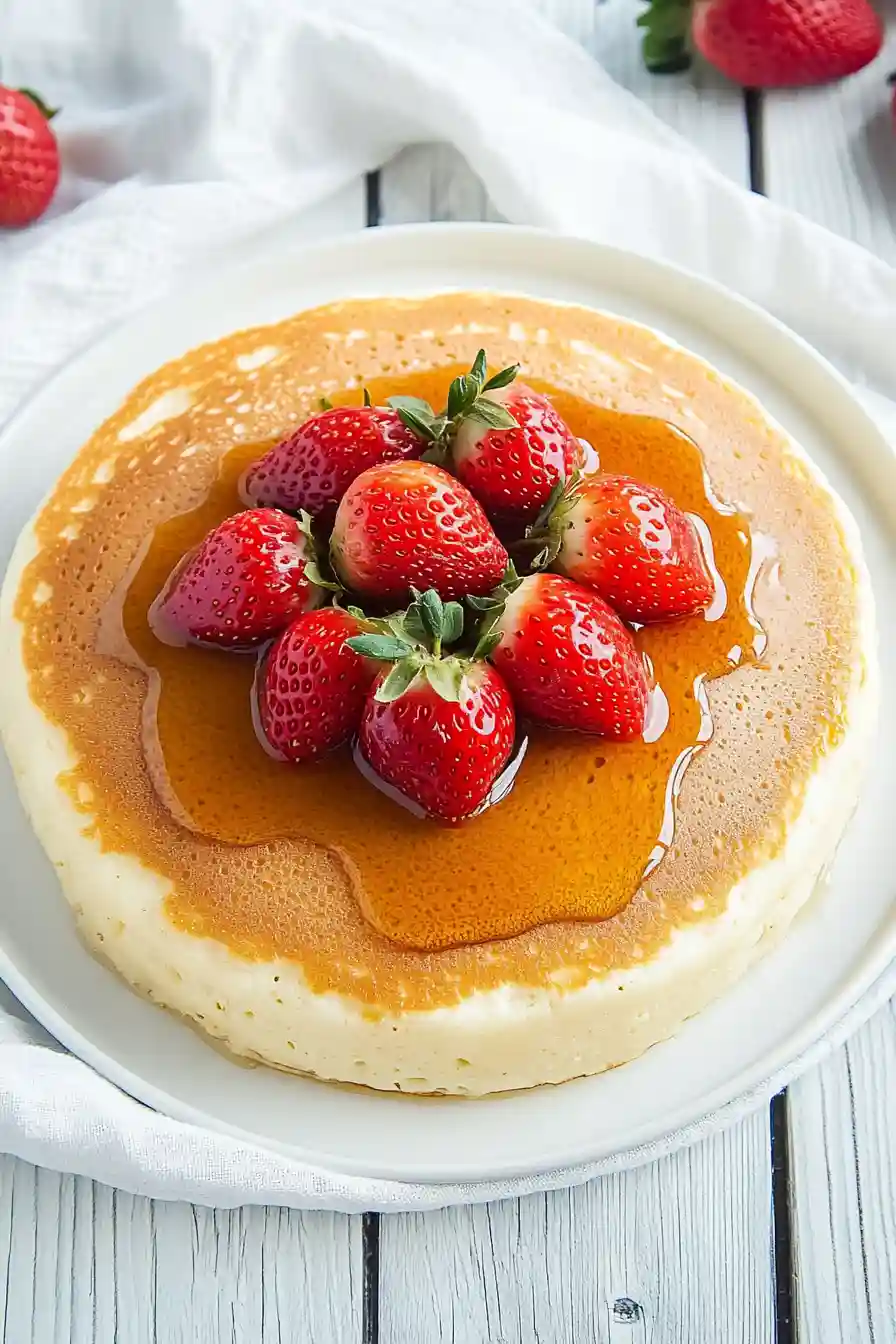
What to Serve With Rice Cooker Pancakes?
These fluffy rice cooker pancakes are just begging to be topped with your favorite breakfast goodies! The classic maple syrup is always a winner, but I like to set up a little pancake bar with fresh berries, sliced bananas, and a dollop of whipped cream for everyone to customize their stack. A side of crispy bacon or breakfast sausage adds that perfect sweet-and-salty combo that makes breakfast extra special. If you’re feeling fancy, try warming up some peanut butter to drizzle on top – it melts into all the nooks and crannies of the pancakes and tastes amazing with sliced apples on the side.
Storage Instructions
Keep Fresh: Once your rice cooker pancake has cooled down, wrap it in plastic wrap or place it in an airtight container. It’ll stay good in the fridge for up to 3 days. The texture might be a bit different from fresh-made, but it’s still yummy for breakfast or snack time!
Freeze: Want to save some for later? Cut your pancake into portions, place parchment paper between each slice, and pop them in a freezer bag. They’ll keep well for up to 2 months in the freezer. It’s super handy for busy mornings!
Warm Up: To enjoy your stored pancake, just pop it in the microwave for about 20-30 seconds if refrigerated, or 1-2 minutes if frozen. You can also warm it up in a toaster oven for a slightly crispy edge. Add your favorite toppings, and it’ll taste almost like fresh-made!
| Preparation Time | 10-15 minutes |
| Cooking Time | 45-60 minutes |
| Total Time | 55-75 minutes |
| Level of Difficulty | Easy |
Estimated Nutrition
Estimated nutrition for the whole recipe (without optional ingredients):
- Calories: 650-700
- Protein: 25-30 g
- Fat: 15-20 g
- Carbohydrates: 100-110 g
Ingredients
- 1 1/2 cups reduced-fat milk
- 2 tbsp granulated sugar
- 2 1/2 tsp baking powder (I use Rumford double-acting baking powder)
- 2 large eggs (at room temperature, about 70°F, for better emulsification)
- 2 cups all-purpose flour
Step 1: Prepare the Batter
In a large mixing bowl, whisk together eggs and milk until completely blended.
Once the eggs and milk are well incorporated, add in the remaining ingredients.
Continue whisking until the mixture is mostly smooth with only small lumps remaining.
Step 2: Prepare the Rice Cooker
Grease the interior of your rice cooker pot thoroughly to prevent the cake from sticking.
If using a 10-cup rice cooker with a cook/warm function, or a similar model, ensure that your batter does not exceed the halfway point of the pot, as the pancake will rise during cooking.
Pour the batter into the prepared rice cooker pot and close the lid securely.
Step 3: Cook the Pancake
If your rice cooker is equipped with a timer function, set it to cook for 45 minutes.
If the cooker lacks a timer, manually set a separate timer and press cook.
For rice cookers that automatically switch to warm, note that this may happen within 10-15 minutes.
If your rice cooker allows, you can press cook again.
However, if it doesn’t, keep it on warm, as the pancake should continue cooking and finish within the 45-minute timeframe.
Cooking times may vary depending on your rice cooker’s size and power, so check periodically for progress.
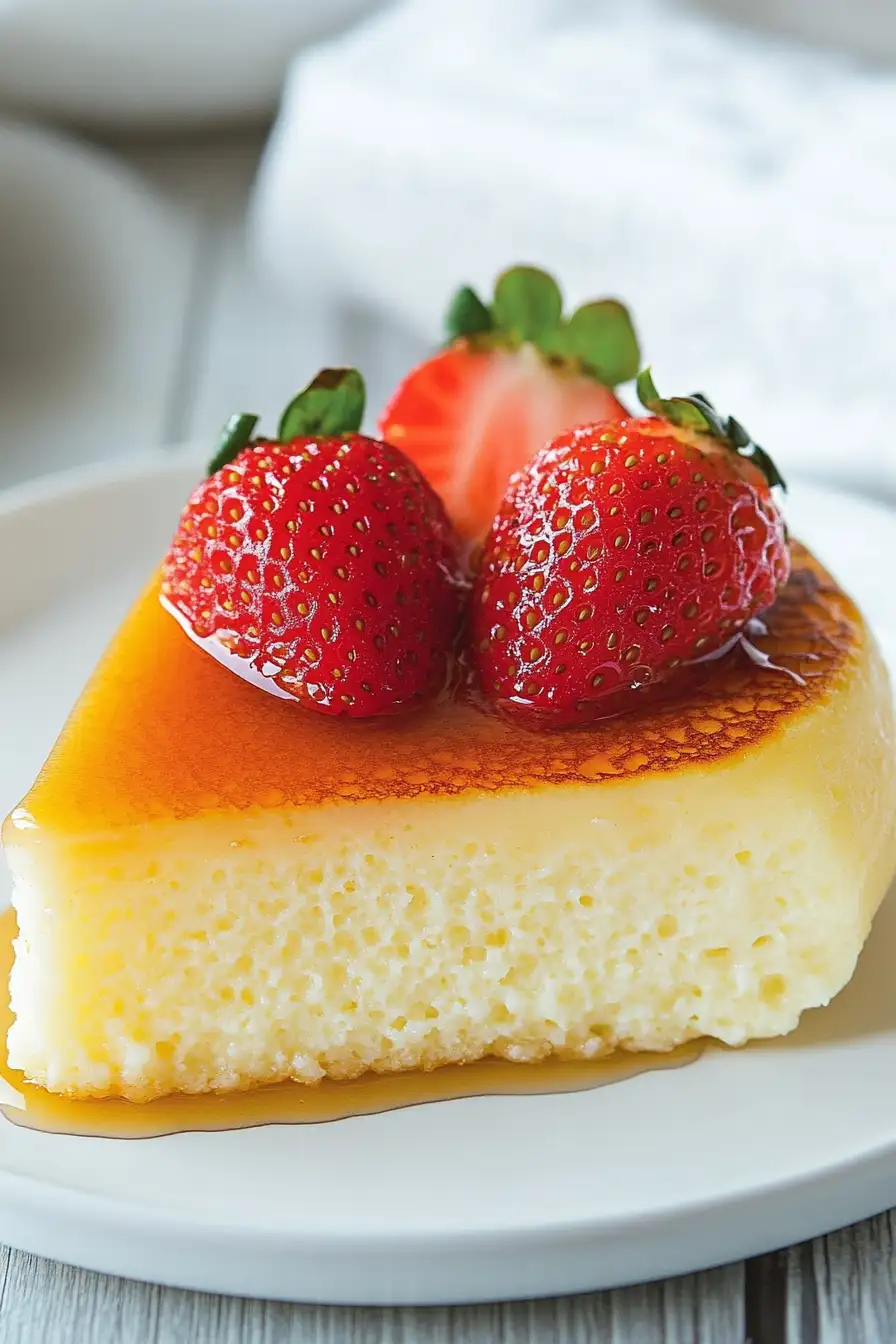
Step 4: Check for Doneness
When cooking is completed, the pancake will have pulled away slightly from the edges of the pot.
The surface may appear wet due to condensation, but this is normal.
Gently touch the cake; it should feel firm and spring back.
To ensure it’s done, insert a toothpick into the center and check that it comes out clean.
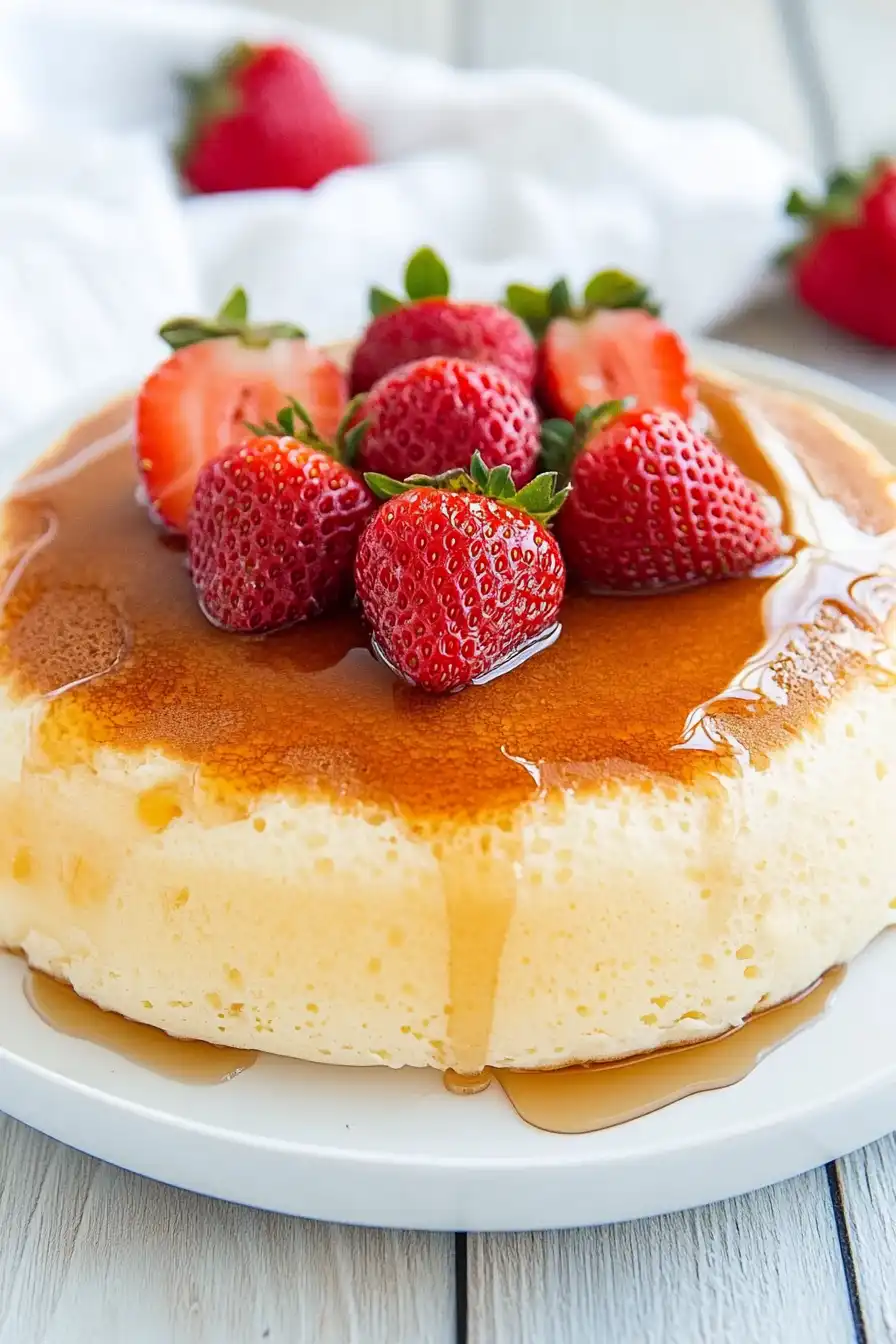
Step 5: Cool and Serve
Allow the pancake to cool for a few minutes in the rice cooker before attempting to remove it.
Once slightly cooled, invert the pot over a plate to release the pancake.
It should slide out easily, with a nicely browned surface.
Slice and serve your delicious rice cooker pancake warm.
Enjoy!
