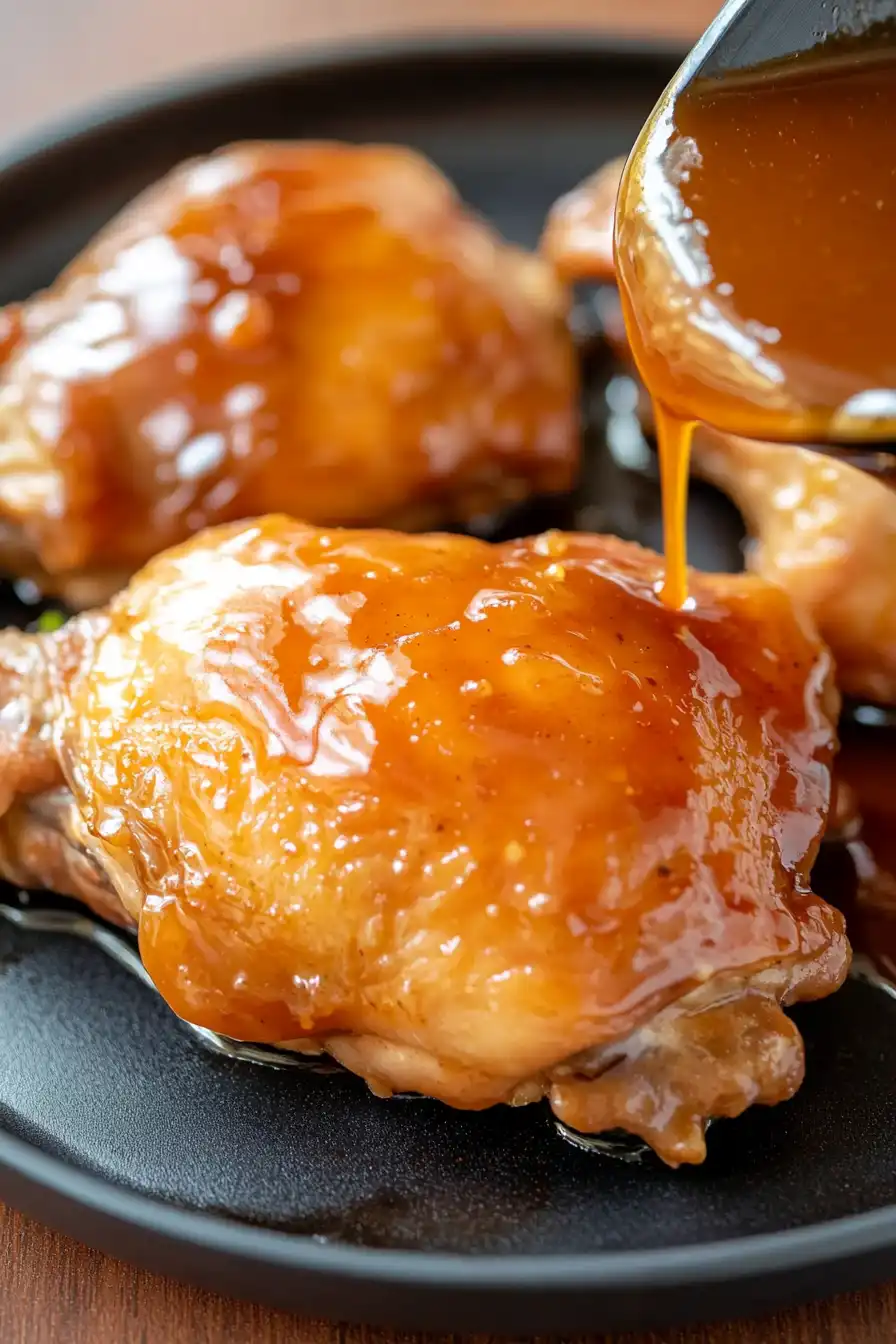
Let’s talk about one of my go-to weeknight dinner solutions: rice cooker teriyaki chicken. As a busy mom, I’m always looking for ways to make dinner prep easier, and this recipe has saved me on more nights than I can count. The best part? While your rice cooker works its magic, you can help with homework or catch up on other things around the house.
I discovered this method when my old stove broke down last year, and honestly, it’s become such a regular in our dinner rotation that my kids get excited when they smell that sweet teriyaki sauce wafting through the kitchen. It’s basically a “set it and forget it” kind of meal, which is exactly what we all need after a long day.
The great thing about making teriyaki chicken this way is that everything cooks together in one pot. No extra pans to scrub, no complicated timing to figure out – just simple, tasty dinner that practically makes itself. And if you’re new to rice cooker recipes, don’t worry – this one’s pretty much foolproof.
Why You’ll Love This Rice Cooker Teriyaki Chicken
- One-pot convenience – Your rice cooker does all the work – just add the ingredients and press start. No need to watch multiple pots or dirty extra dishes.
- Authentic flavors – The combination of sake, mirin, and soy sauce creates that classic teriyaki taste you love from Japanese restaurants, right in your own kitchen.
- Time-saving method – While it cooks, you’re free to do other things – no stirring or monitoring needed. Perfect for busy weeknights when you need dinner to cook itself.
- Basic pantry ingredients – Once you stock the Asian condiments, you’ll likely have most of these ingredients on hand for multiple meals. They’re staples in Japanese cooking.
What Kind of Chicken Should I Use?
Chicken thighs are definitely the way to go for this rice cooker recipe – they’re more forgiving than chicken breasts and stay juicy even with longer cooking times. You can use either boneless skinless thighs or bone-in thighs, though boneless ones are easier to eat and cook more evenly in the rice cooker. If you’re buying from the grocery store, look for thighs with a pink color and avoid any that have a gray tinge. While you could technically use chicken breast, it’s more likely to dry out during cooking, so stick with thighs for the best results.
Options for Substitutions
This rice cooker recipe can be adapted with several substitutions if you need them:
- Chicken thigh: While chicken thigh is best for its juiciness and flavor, you can use chicken breast if you prefer. Just note that it might turn out slightly drier and you may want to reduce cooking time by 2-3 minutes.
- Mirin: If you can’t find mirin, mix 90ml of sweet white wine or rice vinegar with 1 tablespoon of sugar. In a pinch, you could use 90ml of white grape juice with 1 teaspoon rice vinegar.
- Sake: Don’t have sake? Use dry white wine or rice vinegar. You can also use chicken broth, though you’ll lose some of that distinct flavor.
- Dried seaweed/MSG: These ingredients add umami flavor. You can skip them, or replace with 1 tablespoon of fish sauce or 1 teaspoon of mushroom powder.
- Cornstarch: Potato starch or all-purpose flour work well too. If using flour, you’ll need to use about 12g instead of 9g.
- Spring onion: Regular onions or chives can work in place of spring onions. If using regular onions, use about half the amount called for.
Watch Out for These Mistakes While Cooking
The biggest mistake when making rice cooker teriyaki chicken is overcrowding the rice cooker bowl, which prevents the sauce from reducing properly and results in watery chicken – arrange the chicken pieces in a single layer if possible. A common error is skipping the cornstarch slurry step at the end, but this thickener is crucial for achieving that signature glossy teriyaki coating that clings to the chicken. To prevent the sauce from becoming too salty, avoid lifting the rice cooker lid too frequently during cooking, as this releases steam and concentrates the soy sauce flavor more than intended. For the juiciest results, let the chicken rest for 5-10 minutes after cooking before slicing, and if your sauce ends up too thick, simply stir in a tablespoon of hot water at a time until you reach your desired consistency.

What to Serve With Rice Cooker Teriyaki Chicken?
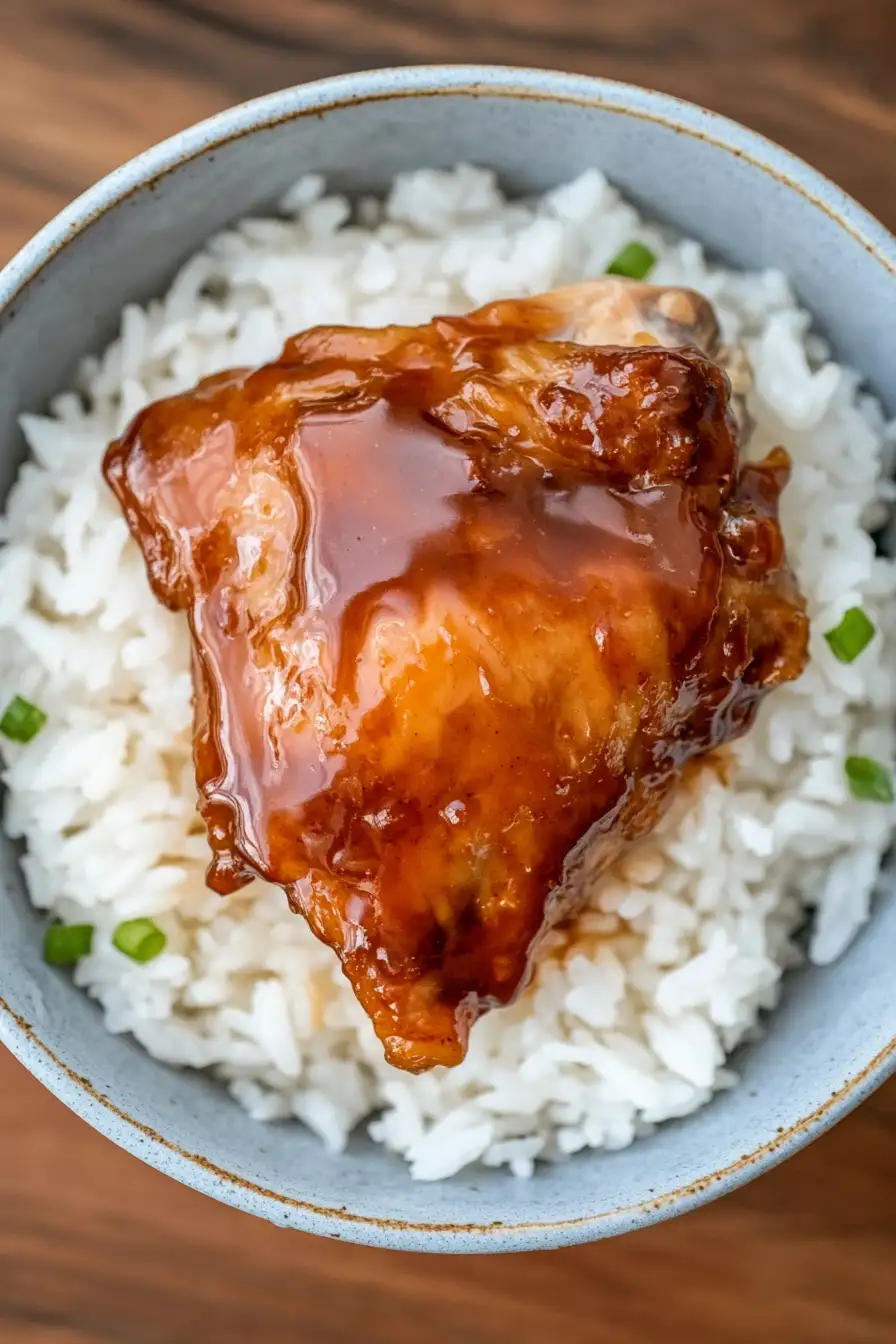
Since this teriyaki chicken is already packed with savory Asian flavors, I like to keep the sides simple and complementary. A bowl of steamed white rice is perfect for soaking up all that delicious teriyaki sauce – though brown rice works great too if you prefer it. For some green veggies, try steamed broccoli or quick-sautéed bok choy, which take just a few minutes to prepare while your chicken is cooking. If you want to round out the meal even more, a simple cucumber salad with rice vinegar and sesame seeds adds a nice crisp texture and cooling element to balance the rich chicken.
Storage Instructions
Keep Fresh: Got leftovers? Pack your teriyaki chicken in an airtight container and pop it in the fridge. It’ll stay good for up to 3 days, and honestly, the flavors get even better as they mingle! The sauce might thicken up a bit in the fridge, but that’s totally normal.
Freeze: This teriyaki chicken is perfect for meal prep! Let it cool completely, then portion it into freezer-safe containers. It’ll keep well in the freezer for up to 2 months. Just remember to label your containers with the date – future you will thank you!
Warm Up: When you’re ready to enjoy your leftover teriyaki chicken, heat it gently in the microwave or in a pan on the stove. If you’re reheating from frozen, thaw it overnight in the fridge first. Add a splash of water while reheating if the sauce seems too thick, and give it a good stir to make sure everything heats evenly.
| Preparation Time | 10-15 minutes |
| Cooking Time | 25-35 minutes |
| Total Time | 35-50 minutes |
| Level of Difficulty | Easy |
Estimated Nutrition
Estimated nutrition for the whole recipe (without optional ingredients):
- Calories: 900-1000
- Protein: 120-140 g
- Fat: 40-50 g
- Carbohydrates: 40-50 g
Ingredients
For the chicken:
- 800g chicken thigh
- 10g garlic (freshly minced)
- 5g ginger (freshly grated for best flavor)
- 4g salt
- 40g spring onion (finely sliced)
For the sauce:
- 90ml mirin
- 45ml water
- 60ml soy sauce (I use Kikkoman brand)
- 5g sugar
- 9g cornstarch
- 2g dried seaweed (crumbled nori works well)
- 30ml sake
Step 1: Prepare the Chicken
Begin by gently wiping the chicken with a paper towel to remove any excess moisture or impurities.
Sprinkle salt evenly over the chicken, then massage the salt into the meat to enhance the flavor and ensure even seasoning.
Step 2: Prepare Aromatics
Roughly crush the garlic cloves and grate them for easier mixing.
Cut and peel a piece of ginger, then grate it to maximize its flavor release.
Next, roughly break a green onion to add to the aromatic base of the dish.
Step 3: Assemble Ingredients in the Rice Cooker
Place the prepared chicken and aromatics (crushed garlic, grated ginger, and broken green onion) into the rice cooker.
These will infuse the chicken with a delicious aroma and flavors as it cooks.
Step 4: Cook the Chicken
Mix all the ingredients inside the rice cooker to ensure even distribution of flavors.
Set the rice cooker to cook on quick mode and let the dish cook through.
This setting will create a perfectly cooked dish, absorbing all the unique flavors of the ingredients.
Step 5: Finish and Serve
Once the cooking cycle is complete, carefully remove any excess fat from the chicken.
Let the chicken rest for a few minutes within the rice cooker to allow the flavors to settle and the juices to redistribute.
After resting, serve the chicken hot, and enjoy this simple yet flavorful meal.
