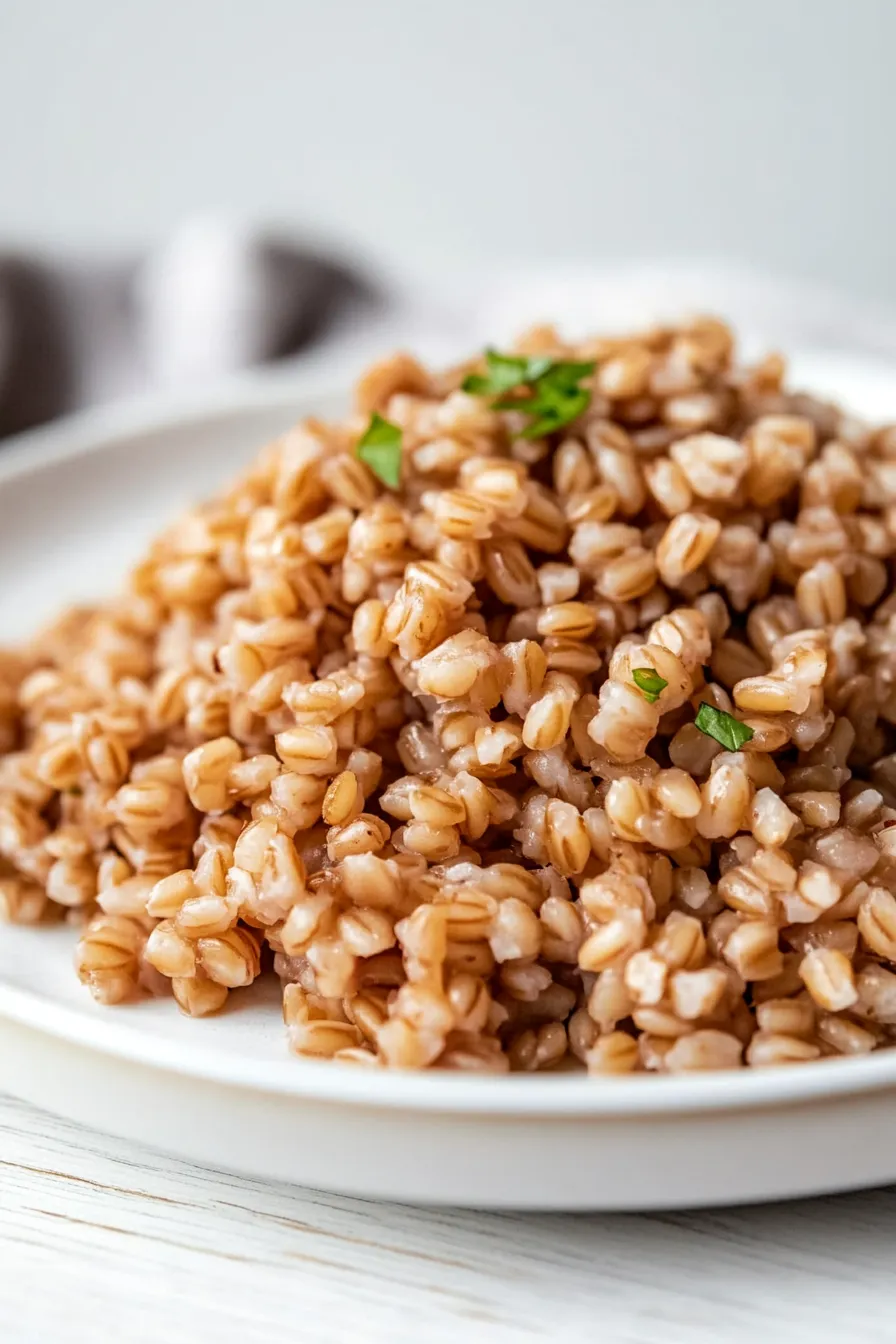
Here’s my go-to instant pot farro recipe, which gives you perfectly cooked, tender grains in a fraction of the time of stovetop cooking. The hands-off method means you can prep the rest of your meal while the farro does its thing.
I make this at least twice a month in our house because it’s so simple and reliable. Plus, the leftovers work great for quick lunches or grain bowls throughout the week. Who doesn’t love a recipe that makes meal prep easier?
Why You’ll Love This Farro
- Quick cooking time – This Instant Pot method cuts the traditional cooking time in half – you’ll have perfectly cooked farro in just 20 minutes instead of the usual 40 minutes on the stovetop.
- Hands-off preparation – Just add farro and water to your Instant Pot, set it, and walk away – no need to watch a pot or adjust the heat.
- Nutritious alternative to rice – Farro is packed with fiber, protein, and nutrients, making it a healthy base for any meal.
- Three-ingredient simplicity – With just farro, water, and your choice of seasonings, this recipe couldn’t be more straightforward to prepare.
What Kind of Farro Should I Use?
When shopping for farro, you’ll typically find three different types at the store: pearled, semi-pearled, and whole. Pearled farro is what you’ll want to use for this Instant Pot recipe since it cooks the fastest and most consistently. The pearled variety has had its outer bran layer removed, which not only speeds up cooking time but also gives it a more tender texture when cooked. If you happen to grab semi-pearled or whole farro instead, just know you’ll need to increase the cooking time and possibly add a bit more liquid. Most farro sold in U.S. supermarkets is pearled, even if it’s not labeled as such, so don’t stress too much about the selection.
Options for Substitutions
When making this simple Instant Pot farro recipe, here’s what you should know about possible substitutions:
- Pearled farro: While pearled farro gives the best results, you can use whole farro (increase cooking time by 5 minutes) or semi-pearled farro (add 2-3 minutes to cooking time). Other grains like barley or wheat berries can work too, but you’ll need to adjust cooking times – barley needs about the same time as pearled farro, while wheat berries need 5-7 minutes longer.
- Water: Feel free to swap water with vegetable or chicken broth for more flavor. You can also do a mix of water and broth. The liquid-to-grain ratio should stay the same regardless of what liquid you use.
- Spices and herbs: This is where you can get creative! Try adding bay leaves, thyme, or rosemary during cooking. A pinch of salt and pepper is always good, and you can even add garlic powder or dried herbs. Fresh herbs are best added after cooking.
Watch Out for These Mistakes While Cooking
The biggest mistake when cooking farro in an Instant Pot is using the wrong water-to-grain ratio, which can leave you with either a soupy mess or undercooked grains – stick to the 2:1 water-to-farro ratio for perfect results every time. Another common error is forgetting to rinse the farro before cooking, but this quick step removes excess starch and any debris that might affect the final texture. To get the best flavor and prevent the “bland grain” problem, try adding a pinch of salt and your favorite herbs to the pot before cooking, and remember to let the pressure release naturally for at least 10 minutes after cooking is complete – quick release can lead to chewy, unevenly cooked farro.
What to Serve With Farro?
This hearty grain makes a perfect base for so many different meals! I love using farro as a foundation for grain bowls topped with roasted vegetables and a protein like grilled chicken or chickpeas. You can also toss warm farro with cherry tomatoes, cucumber, and feta cheese for a Mediterranean-style side dish that goes great with fish or lamb. For a simple weeknight dinner, try mixing your cooked farro with sautéed mushrooms and spinach, then finishing with a drizzle of olive oil and fresh herbs – it’s such an easy way to round out any meal.
Storage Instructions
Keep Fresh: Once your farro has cooled down, pop it in an airtight container and keep it in the fridge for up to 5 days. It’s perfect for meal prep since cooked farro holds its texture really well throughout the week. I like to make a big batch on Sunday to use in salads and grain bowls.
Freeze: Cooked farro is super freezer-friendly! Let it cool completely, then portion it into freezer bags or containers. It’ll stay good for up to 3 months. This is such a time-saver when you need a quick side dish or base for your meals.
Revive: When you’re ready to use your stored farro, just give it a quick splash of water or broth and warm it up in the microwave or on the stovetop. If it’s frozen, thaw it overnight in the fridge first. The grains might stick together a bit, but a quick stir while reheating will break them right up.
| Preparation Time | 5-10 minutes |
| Cooking Time | 15 minutes |
| Total Time | 20-25 minutes |
| Level of Difficulty | Easy |
Estimated Nutrition
Estimated nutrition for the whole recipe (without optional ingredients):
- Calories: 600-700
- Protein: 15-20 g
- Fat: 1-3 g
- Carbohydrates: 130-140 g
Ingredients
- 2 cups water
- spices or herbs to taste (e.g., a bay leaf, thyme sprig, or a pinch of salt)
- 1 cup pearl farro (rinsed well under cold water)
Step 1: Prepare the Ingredients
Start by adding 2 cups of water and rinsed farro to the Instant Pot.
Include your preferred seasonings to enhance the flavor.
Some seasoning ideas might include a pinch of salt, pepper, or your favorite herbs and spices.
Step 2: Cook the Farro
Secure the lid on the Instant Pot and turn the vent knob to the “sealing” position to ensure proper pressure build-up.
Press the “Manual” button and adjust the time to 10 minutes for ideal cooking.
Step 3: Release the Pressure
Once the cooking cycle completes, allow the pressure to release naturally for 5 minutes.
After the initial release, perform a quick release by carefully turning the vent knob to let out any remaining pressure.
Be cautious of the hot steam.
Step 4: Finish and Serve
Open the lid and check for any remaining liquid.
If there is excess, drain it off.
You can enjoy the farro as it is, straight from the Instant Pot, or incorporate it into your favorite recipe for a nutritious grain addition.
