Let’s talk about what to do with that jar of sourdough discard sitting in your fridge. I used to feel guilty every time I had to throw out the excess starter during feeding time. But then I discovered these chocolate chip cookies, and now I get excited when it’s time to feed my starter.
These cookies have become a regular in our house, and for good reason. They have that slight tanginess from the discard that makes them different from your regular chocolate chip cookies, but in the best possible way. Plus, it feels good knowing I’m putting that discard to work instead of tossing it in the trash.
If you’re new to sourdough baking, don’t worry – these cookies are actually easier than maintaining your starter! They’re perfect for those days when you want something sweet but don’t want to wait for your dough to rise. And trust me, once you try them, you’ll start looking forward to discard day too.

Why You’ll Love These Sourdough Discard Cookies
- Zero waste baking – These cookies give your extra sourdough discard a delicious purpose, so you never have to throw away that precious starter.
- Quick preparation – Ready in less than 30 minutes, these cookies are perfect for when you want a fresh-baked treat without spending hours in the kitchen.
- Simple ingredients – You probably have most of these basic ingredients in your pantry already, making these cookies an easy choice for spontaneous baking.
- Unique flavor – The sourdough discard adds a subtle tang that perfectly balances the sweetness of the chocolate chips and brown sugar, creating cookies that are more interesting than your standard chocolate chip recipe.
What Kind of Sourdough Starter Should I Use?
For these cookies, you’ll want to use unfed sourdough discard – that’s the portion of starter you’d normally throw away during feeding. The starter can be straight from the fridge and doesn’t need to be at its peak activity since we’re not relying on it for leavening in this recipe. Any type of flour-based starter will work here, whether it’s made with all-purpose, whole wheat, or rye flour. Just make sure your discard isn’t too old – while it can be a bit sour, you don’t want to use discard that shows any signs of mold or has an overly strong, unpleasant smell. If you’re new to sourdough baking, don’t worry too much about the exact timing – as long as your starter has been fed within the last week or two, it’ll work great in these cookies.

Options for Substitutions
Let’s talk about what you can swap in these cookies while still keeping them tasty:
- Sourdough starter: This is a key ingredient that can’t be substituted since it’s the whole point of these cookies. Just make sure your starter is at room temperature before using.
- Brown sugar: You can use all light or all dark brown sugar, or even substitute with white sugar plus 1 tablespoon of molasses. In a pinch, plain white sugar works too, but you’ll lose some of that nice caramel flavor.
- Butter: While butter gives the best flavor, you can use margarine or coconut oil in equal amounts. Just note that the texture might be slightly different.
- Chocolate chips: Feel free to mix it up! Try milk chocolate chips, dark chocolate chunks, or even chopped nuts. White chocolate chips or butterscotch chips work great too.
- Vanilla essence: You can use vanilla extract, vanilla bean paste, or even skip it if you don’t have any – the cookies will still taste good!
Watch Out for These Mistakes While Baking
The biggest challenge when baking sourdough discard cookies is getting the texture right – using cold sourdough starter straight from the fridge can create uneven mixing and lumpy dough, so make sure your starter is at room temperature before beginning. Another common mistake is overbaking these unique cookies – they should be removed from the oven when the edges are just starting to turn golden but the centers still look slightly underdone, as they’ll continue to set while cooling on the baking sheet. Since sourdough starter can vary in hydration levels, pay attention to your dough consistency – if it feels too wet, add flour one tablespoon at a time until it reaches a typical cookie dough texture, and if it’s too dry, add a teaspoon of water at a time. For the best flavor development, try chilling your dough for at least 2 hours (or overnight) before baking, which allows the sourdough tang to develop and prevents the cookies from spreading too much.
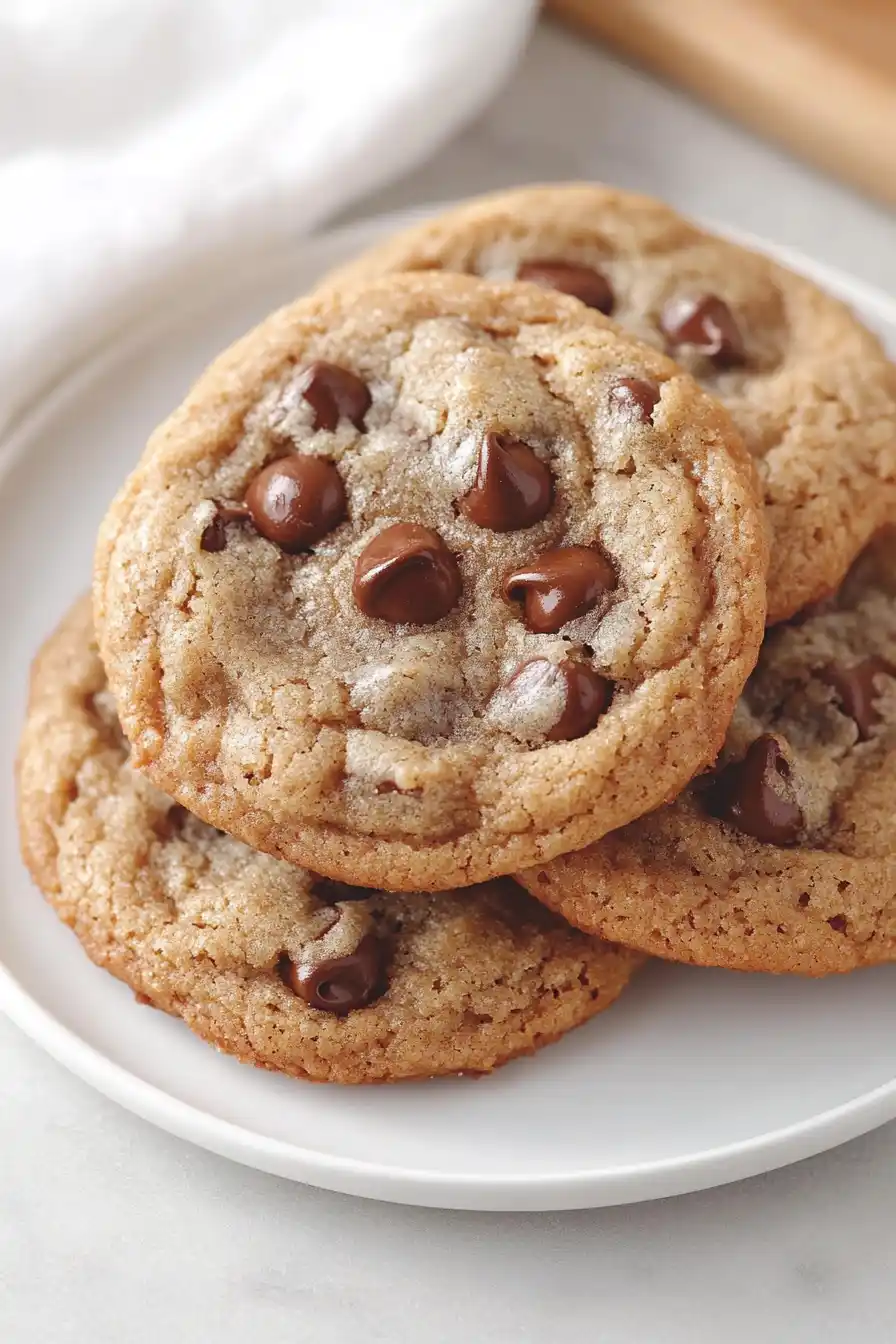
What to Serve With Sourdough Chocolate Chip Cookies?
These tangy-sweet cookies are perfect for serving with a cold glass of milk – it’s a classic combo that never gets old! If you’re feeling fancy, try them with a hot cup of coffee or tea, which brings out the subtle sourdough flavor and makes the chocolate chips taste even better. For dessert parties or afternoon snacks, I like to pair these cookies with vanilla ice cream to make little ice cream sandwiches, or serve them alongside other cookies to create a fun cookie platter. A bonus tip: these cookies taste amazing slightly warm, when the chocolate chips are still a bit melty!
Storage Instructions
Keep Fresh: These sourdough chocolate chip cookies stay fresh in an airtight container at room temperature for up to 5 days. I like to add a piece of bread to the container – it helps keep the cookies soft and chewy, just the way we love them!
Freeze Baked: Once your cookies are completely cool, you can freeze them in a freezer-safe container with parchment paper between layers for up to 3 months. They’re perfect for when unexpected guests drop by or when you need a quick sweet treat!
Freeze Dough: The cookie dough freezes really well too! Roll it into balls, place them on a baking sheet to freeze until solid, then transfer to a freezer bag. You can bake them straight from frozen – just add 1-2 minutes to the baking time. The dough keeps for up to 3 months in the freezer.
| Preparation Time | 10-15 minutes |
| Cooking Time | 8-11 minutes |
| Total Time | 18-26 minutes |
| Level of Difficulty | Easy |
Estimated Nutrition
Estimated nutrition for the whole recipe (without optional ingredients):
- Calories: 500-600
- Protein: 6-8 g
- Fat: 25-30 g
- Carbohydrates: 70-80 g
Ingredients
- 1 1/2 tsp vanilla extract (for best flavor and aroma)
- 1/2 cup packed brown sugar
- 1/3 cup semi-sweet chocolate chips
- 1/4 cup inactive sourdough starter
- 1/2 tsp salt (fine sea salt works best here)
- 3/4 cup all-purpose flour (I always use King Arthur all-purpose flour)
- 1/4 cup unsalted butter (melted and cooled to room temperature)
- 1 large egg yolk
- 1/2 tsp baking soda
Step 1: Preheat the Oven and Prep the Baking Sheet
Preheat your oven to 350°F (177°C).
Optionally, line a baking sheet with parchment paper to prevent the cookies from sticking and to make cleanup easier.
Step 2: Cream the Wet Ingredients
In a medium or large bowl, cream together the butter and brown sugar until the mixture is very well combined, which should take about 2-3 minutes.
After that, mix in the sourdough discard, followed by the egg yolk and vanilla extract.
Stir until everything is well incorporated.
Step 3: Combine Dry Ingredients and Mix
In a separate small bowl, whisk together the flour, baking soda, and salt.
Gradually add the dry ingredients into the wet ingredients, stirring just until there are no visible streaks of flour.
Then, mix in the chocolate chips until they are evenly distributed throughout the dough.
Step 4: Shape and Arrange the Cookies
Scoop out cookie dough balls, about 2 tablespoons each, and place them onto the prepared baking sheet, spacing them 2-3 inches apart.
If desired, top each cookie with a few extra chocolate chips for an added touch of chocolatey goodness.
Step 5: Bake the Cookies
Bake the cookies on the middle rack of your preheated oven until the edges are lightly golden, which should take about 8-11 minutes.
For perfectly round cookies, you can use a biscuit cutter or a large cup to “scoot” the cookies immediately after they come out of the oven.
Simply place the cutter over the cookie and gently swirl it around.
Optionally, sprinkle flaky salt over the warm cookies for added flavor.
Step 6: Cool and Serve
Allow the cookies to cool on the baking sheet for 5-10 minutes or until they are firm enough to transfer to a cooling rack.
Once cooled, enjoy your delicious homemade cookies!