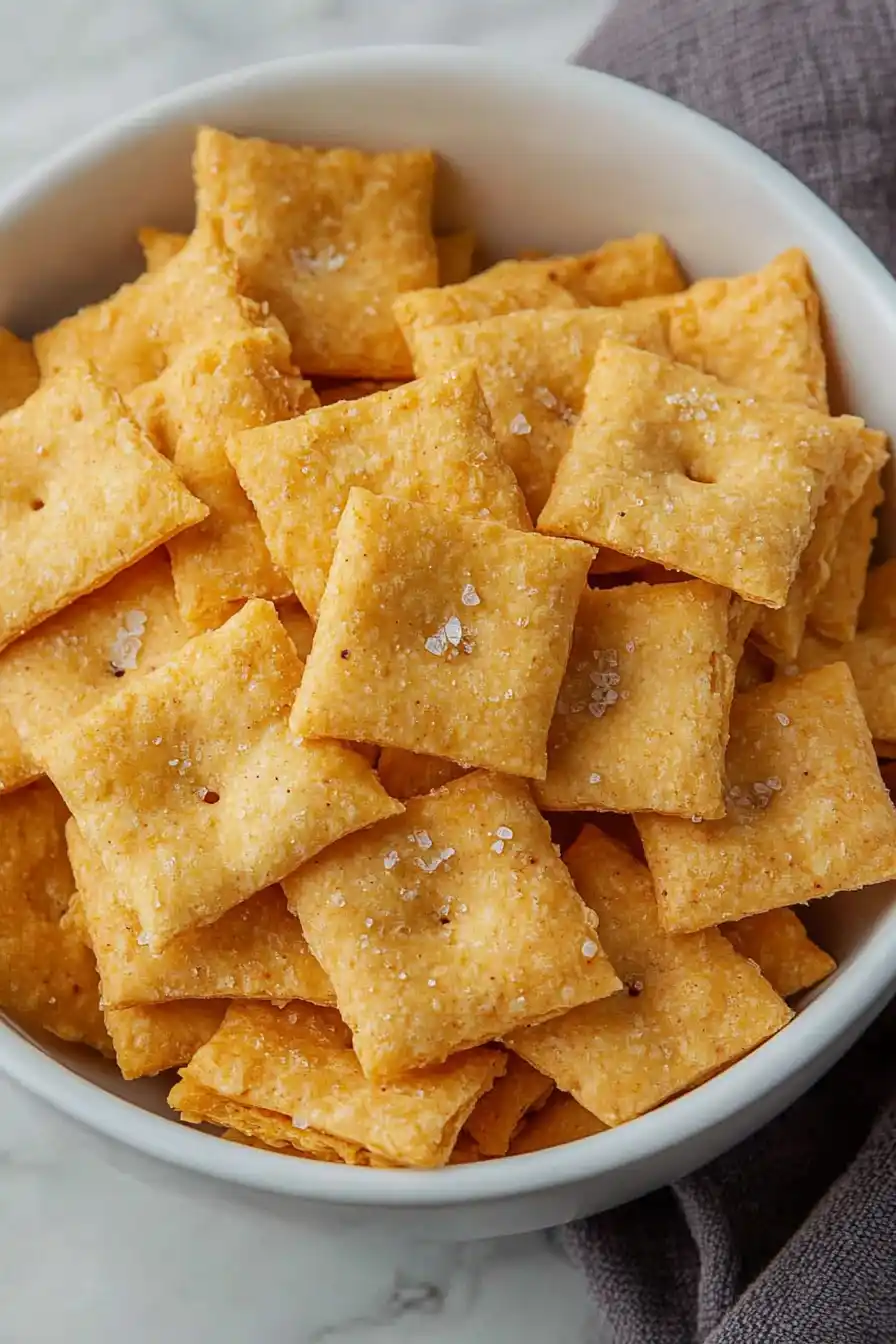
If you’re like me, finding creative ways to use up sourdough discard can feel like an endless puzzle. Between daily feedings and regular baking, the discard tends to pile up quickly in the fridge, and there are only so many pancakes one household can eat. That’s where these sourdough discard cheese crackers come in handy – they’re a simple, tasty solution that turns what would’ve been waste into a crispy, savory snack that’s perfect for lunch boxes or afternoon cravings.
Why You’ll Love These Cheese Crackers
- Zero-waste baking – These crackers are the perfect way to use up that sourdough discard that usually goes to waste – making you feel good about reducing kitchen waste while creating something delicious.
- Simple ingredients – With just 4 main ingredients that you likely already have if you’re a sourdough baker, these crackers come together without any special shopping trips.
- Customizable flavors – You can top these crackers with whatever seasonings you like – from simple sea salt to everything bagel seasoning – making them perfect for your specific taste preferences.
- Better than store-bought – These homemade crackers have a satisfying crunch and real cheese flavor that puts packaged crackers to shame, plus you know exactly what’s in them.
What Kind of Cheddar Cheese Should I Use?
Medium cheddar is called for in this recipe, but you’ve got plenty of room to play around with different aged cheddars to match your taste. Sharp cheddar will give you a more intense, tangy flavor in your crackers, while mild cheddar creates a more subtle, buttery taste. The most important thing is to shred your cheese fresh rather than using pre-shredded varieties, since packaged shredded cheese contains anti-caking agents that can affect how well it melts into your crackers. If you’re feeling adventurous, you could even try mixing different types of hard cheeses – just make sure they’re similar in moisture content to cheddar so your crackers maintain the right texture.
Options for Substitutions
Let’s talk about what you can swap in this recipe while still getting tasty results:
- Sourdough discard: This is the star ingredient that can’t be substituted – it’s what gives these crackers their special tang and texture. You’ll need to use actual sourdough discard for this recipe to work.
- Butter: You can swap the butter with olive oil or melted coconut oil. If using salted butter, just reduce the amount of fine sea salt in the recipe by half.
- Cheddar cheese: Feel free to experiment with different hard cheeses! Parmesan, Gruyere, or aged Gouda work great. Just make sure to use the same weight of cheese. Avoid soft cheeses as they contain too much moisture.
- Seasonings: This is where you can get creative! Try Italian herbs, garlic powder, cracked black pepper, or even a pinch of cayenne for heat. If using garlic or onion powder, start with ¼ teaspoon and adjust to taste.
Watch Out for These Mistakes While Baking
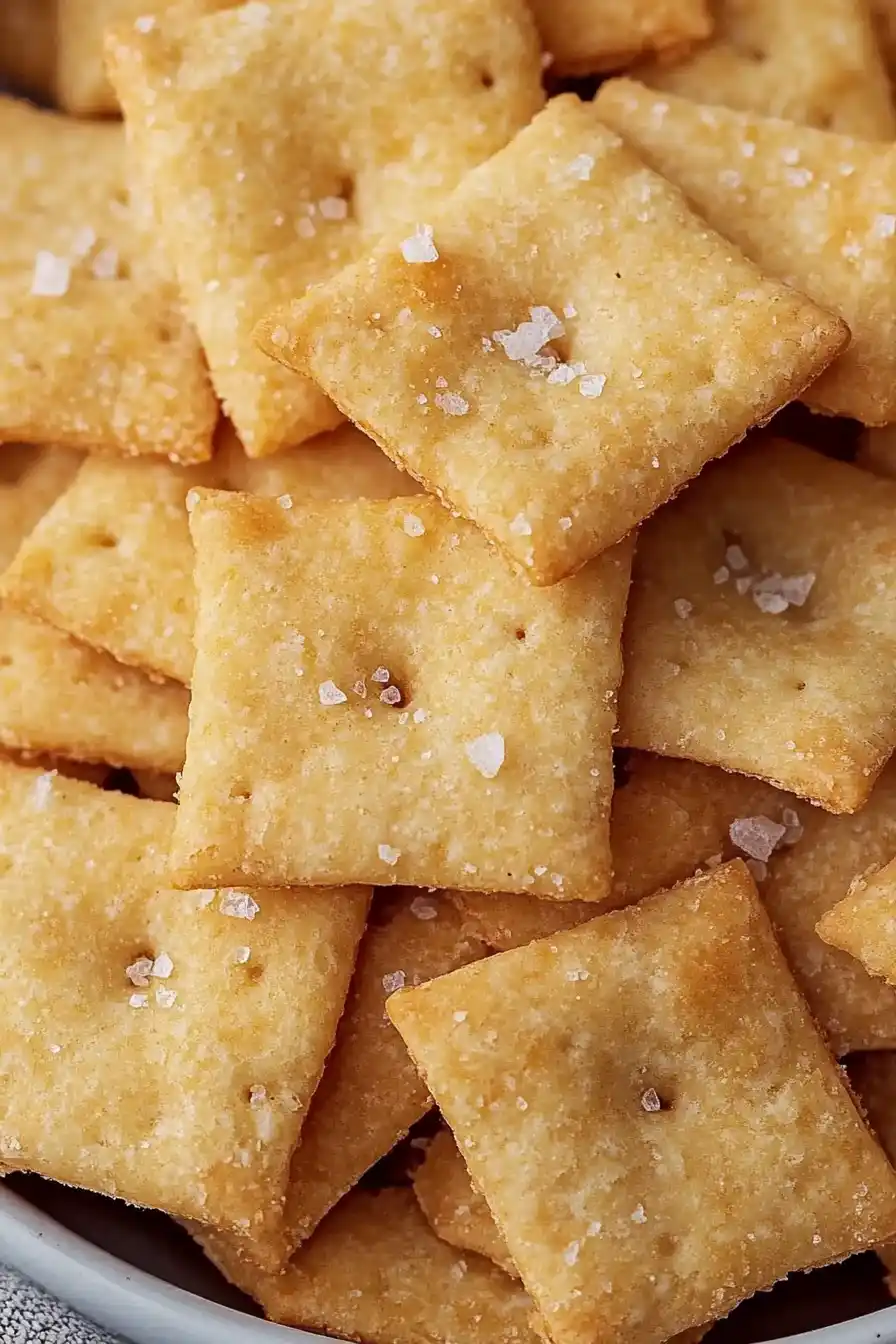
The biggest challenge when making sourdough discard crackers is rolling them too thick, which results in chewy rather than crispy crackers – aim for about 1/16 inch thickness (nearly paper-thin) for the perfect snap.
Temperature control is crucial: baking at too high a temperature can burn the cheese before the crackers crisp up properly, so stick to 325°F and watch them carefully during the last few minutes.
A common error is not scoring the dough deeply enough before baking – use a sharp knife or pizza cutter to cut all the way through, as this prevents the crackers from puffing up unevenly and ensures even baking.
For extra-crispy results, let the crackers cool completely in the turned-off oven with the door cracked open, and store them in an airtight container immediately after cooling to maintain their crunch.
What to Serve With Cheese Crackers?
These homemade sourdough cheese crackers are perfect for serving alongside your favorite dips and spreads! Try them with a classic hummus, French onion dip, or even a cream cheese-based spread for a tasty snack combo. They’re also great additions to cheese boards or charcuterie plates, where they can take the place of store-bought crackers and add a special homemade touch. If you’re packing lunch boxes or planning a picnic, these crackers pair wonderfully with fresh fruit, sliced veggies, or a handful of nuts for a satisfying mix of flavors and textures.
Storage Instructions
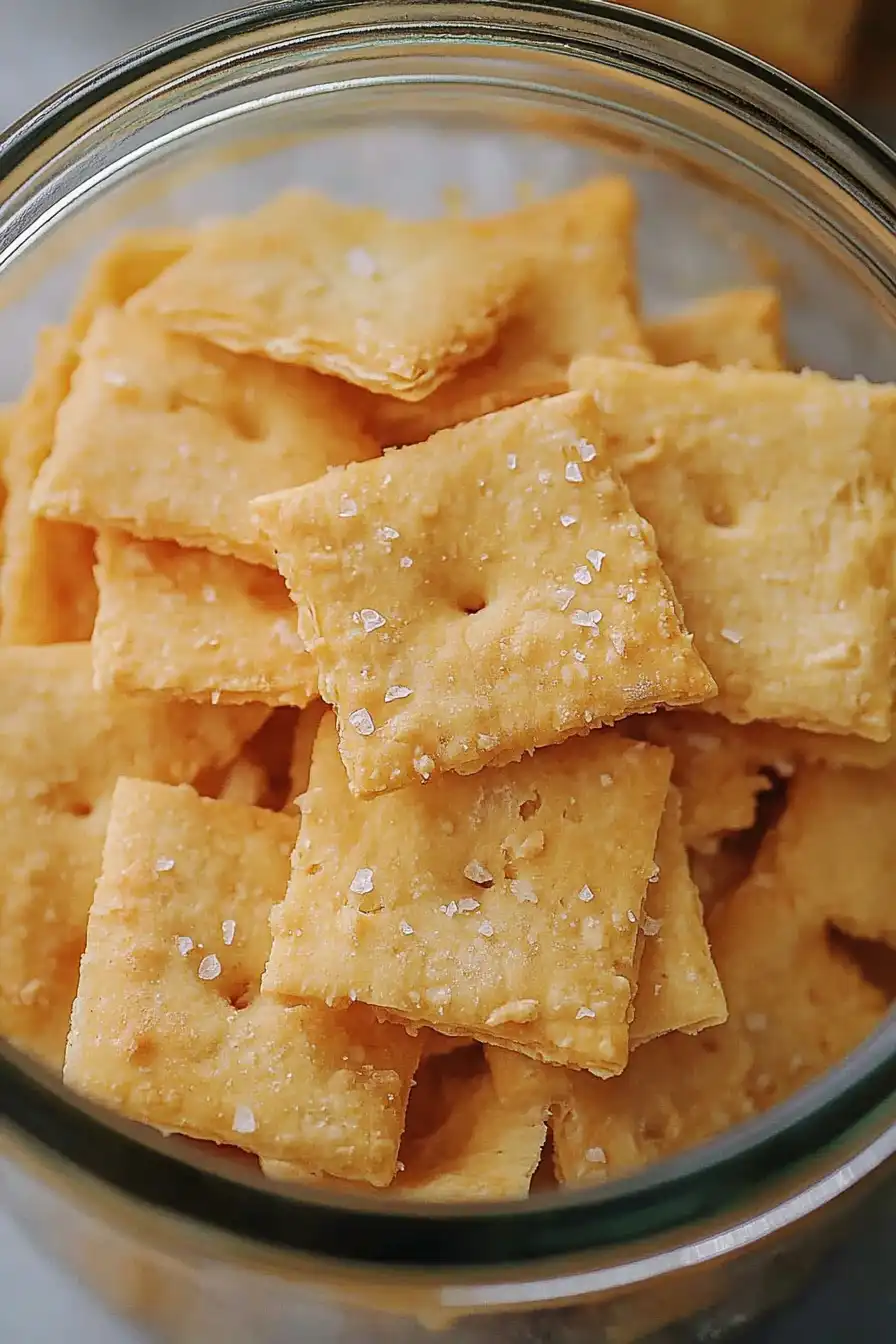
Keep Crispy: Once your crackers have cooled completely, pop them in an airtight container. They’ll stay nice and crunchy at room temperature for up to 5 days. Pro tip: toss a paper towel in the container to absorb any excess moisture and keep that crispy texture you worked so hard for!
Extend Shelf Life: Want to keep them around longer? Store them in the fridge in an airtight container for up to 2 weeks. Just remember that the cheese in these crackers might make them slightly less crispy over time, but they’ll still taste great!
Refresh: If your crackers lose their crunch, spread them on a baking sheet and pop them in a 350°F oven for about 5 minutes. This quick trick brings back that fresh-baked crispiness. Just keep an eye on them to prevent over-browning!
| Preparation Time | 10-15 minutes |
| Cooking Time | 30-35 minutes |
| Total Time | 40-50 minutes |
| Level of Difficulty | Easy |
Estimated Nutrition
Estimated nutrition for the whole recipe (without optional ingredients):
- Calories: 700-800
- Protein: 20-25 g
- Fat: 50-60 g
- Carbohydrates: 60-70 g
Ingredients
- 200 grams sourdough discard (1 cup of unfed, stirred starter)
- 2 tablespoons melted unsalted butter
- 1/4 teaspoon fine sea salt
- 1 cup loosely packed shredded medium cheddar cheese (approx. 60 grams)
- Seasonings to preference – flaky sea salt, everything bagel mix, sesame seeds, etc.
Step 1: Prepare the Ingredients
Preheat your oven to 350℉ and line a baking sheet with parchment paper.
Begin by melting the butter in a large measuring cup or mixing bowl and allow it to cool until it is just lukewarm.
Once cooled, measure in the sourdough discard and salt.
Stir together with a spatula until everything is well combined.
Next, add the cheese and stir until it is evenly distributed throughout the mixture.
Step 2: Spread the Mixture
Pour the cheese mixture onto the prepared parchment-lined baking sheet.
Using an offset spatula, spread it into a thin, even layer that is almost transparent.
For reference, aim for a rectangle measuring approximately 11×14 inches.
Lightly sprinkle the top with flaky salt, ensuring not to overseason.
Step 3: Initial Baking and Scoring
Bake the mixture in the preheated oven for 10 minutes.
After this time, remove from the oven and use a pizza cutter to score your soon-to-be crackers into bite-sized squares.
For an extra touch, use the back of a wooden skewer to poke a hole in the center of each square for that classic cheese cracker look.
This step is optional but gives a charming appearance.
Step 4: Finish Baking
Return the scored dough to the oven and continue baking for another 20 minutes, or until the crackers are golden and have hardened.
If the crackers have not firmed up sufficiently, it might be due to not spreading the mixture thinly enough; simply continue baking until they feel firm when you tap the tops.
Step 5: Cool and Store
Remove the crackers from the oven and let them cool completely on the baking sheet.
This allows them to fully dry out and achieve a crisp texture.
Once they have cooled entirely, store them in an airtight container or a zip bag to keep them fresh and crunchy.

Although these crackers taste great, they are very oily and look quite different from the picture. Should their be some flour in the recipe?