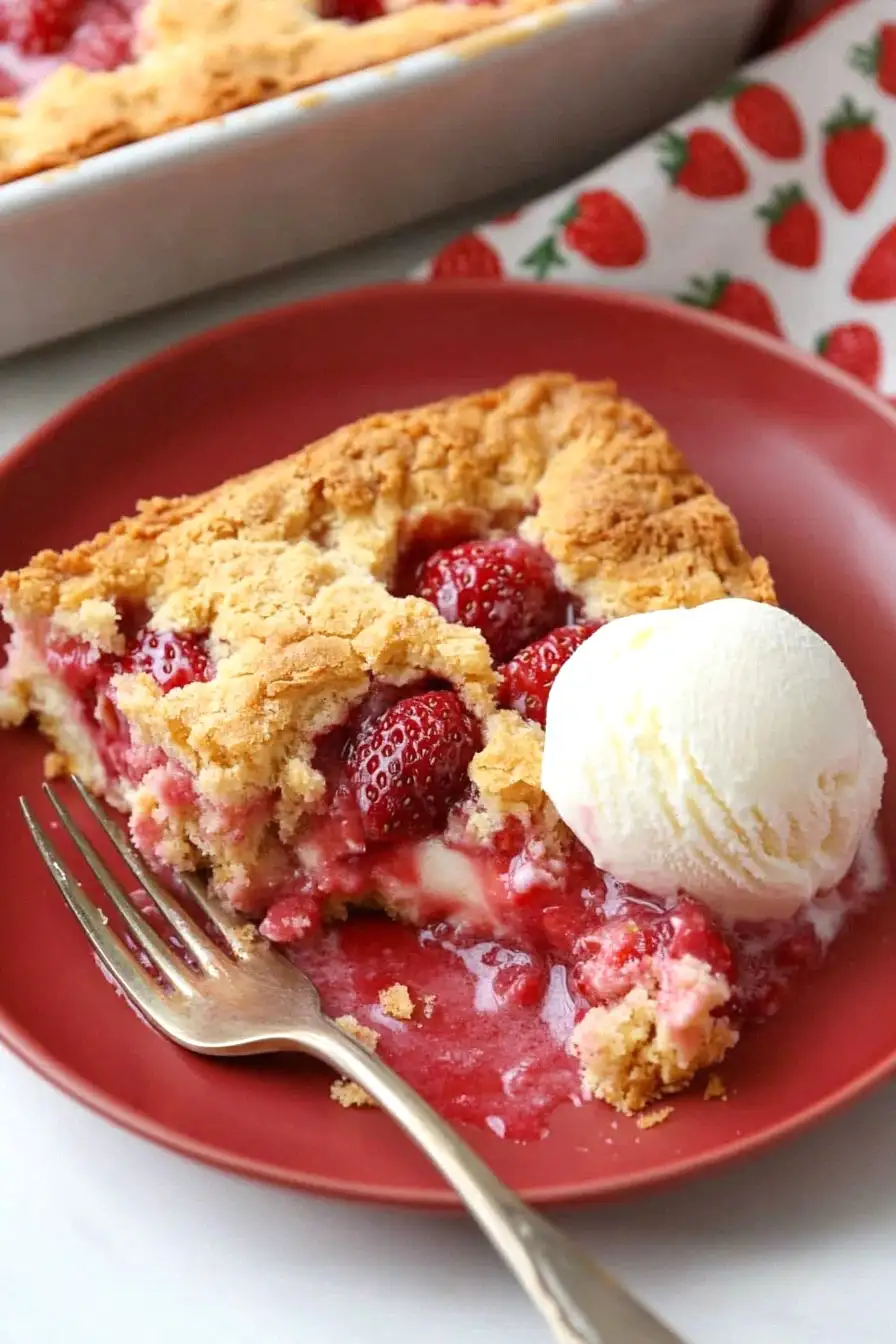
Here is my favorite strawberry dump cake recipe, with an easy three-ingredient base and a buttery cake topping that comes together in just minutes.
This strawberry dump cake is what I make when I need a quick dessert that everyone loves. I often bring it to summer potlucks and neighborhood gatherings, and the pan always comes home empty. Nothing better than a warm, fruity dessert that practically makes itself, right?
Why You’ll Love This Dump Cake
- 3-ingredient recipe – With just cake mix, pie filling, and butter, this recipe couldn’t be more simple – perfect for when you need a quick dessert but don’t want to make a grocery store run.
- No mixing required – True to its name, you just dump the ingredients in layers – no bowls, no mixing, and barely any cleanup needed.
- Foolproof preparation – Even if you’ve never baked before, this recipe is practically impossible to mess up – just layer and bake!
- Time-saving dessert – It takes less than 5 minutes to prepare, making it perfect for last-minute guests or when you need a quick sweet treat.
What Kind of Strawberry Pie Filling Should I Use?
You’ll find a few different brands of strawberry pie filling in the baking aisle of your grocery store, and any of them will work well in this recipe. The most common brands like Duncan Hines, Comstock, or Lucky Leaf are all good choices, and store brands can work just as well. If you’re looking at the can, you want to make sure it’s specifically pie filling and not strawberry sauce or preserves – pie filling is thicker and contains whole strawberry pieces suspended in a gel-like sauce. For the best results, give the can a gentle shake before opening to make sure the filling hasn’t separated, and check that there aren’t any major dents in the can that could have compromised the filling’s quality.

Options for Substitutions
This easy dump cake recipe is super adaptable! Here are some simple swaps you can try:
- Strawberry pie filling: Any fruit pie filling works great here – try cherry, apple, peach, or blueberry. You can even use 2 cans if you want more fruit. Fresh fruit won’t work as well since you need the syrup from the pie filling.
- Yellow cake mix: White cake mix is a perfect substitute. You could also try vanilla, french vanilla, or even chocolate cake mix for a different spin. Just make sure to use the same amount (15.25 oz).
- Butter: While butter gives the best flavor, you can use margarine instead. Coconut oil can work too, but it might change the taste slightly. Whatever you choose, make sure it’s cold when you add it.
- Non-stick spray: Any cooking spray works fine, or you can lightly grease the pan with butter or oil. Just don’t skip this step, as it prevents sticking.
Watch Out for These Mistakes While Baking
The biggest mistake when making dump cake is unevenly distributing the butter pieces, which can lead to dry, powdery patches of cake mix on top – make sure to space the butter squares about 1 inch apart for complete coverage.
Another common error is stirring or mixing the layers together, which defeats the purpose of this easy dessert – remember to simply layer the ingredients as directed, letting them work their magic during baking.
To prevent the fruit filling from bubbling over and creating a mess in your oven, place the baking dish on a larger sheet pan before putting it in the oven, and make sure to spray the entire baking dish with non-stick spray, including the sides, to avoid stubborn stuck-on spots.
For the perfect texture, check that the top is golden brown and the fruit filling is bubbling around the edges before removing from the oven – typically this takes about 45-50 minutes at 350°F.
What to Serve With Strawberry Dump Cake?
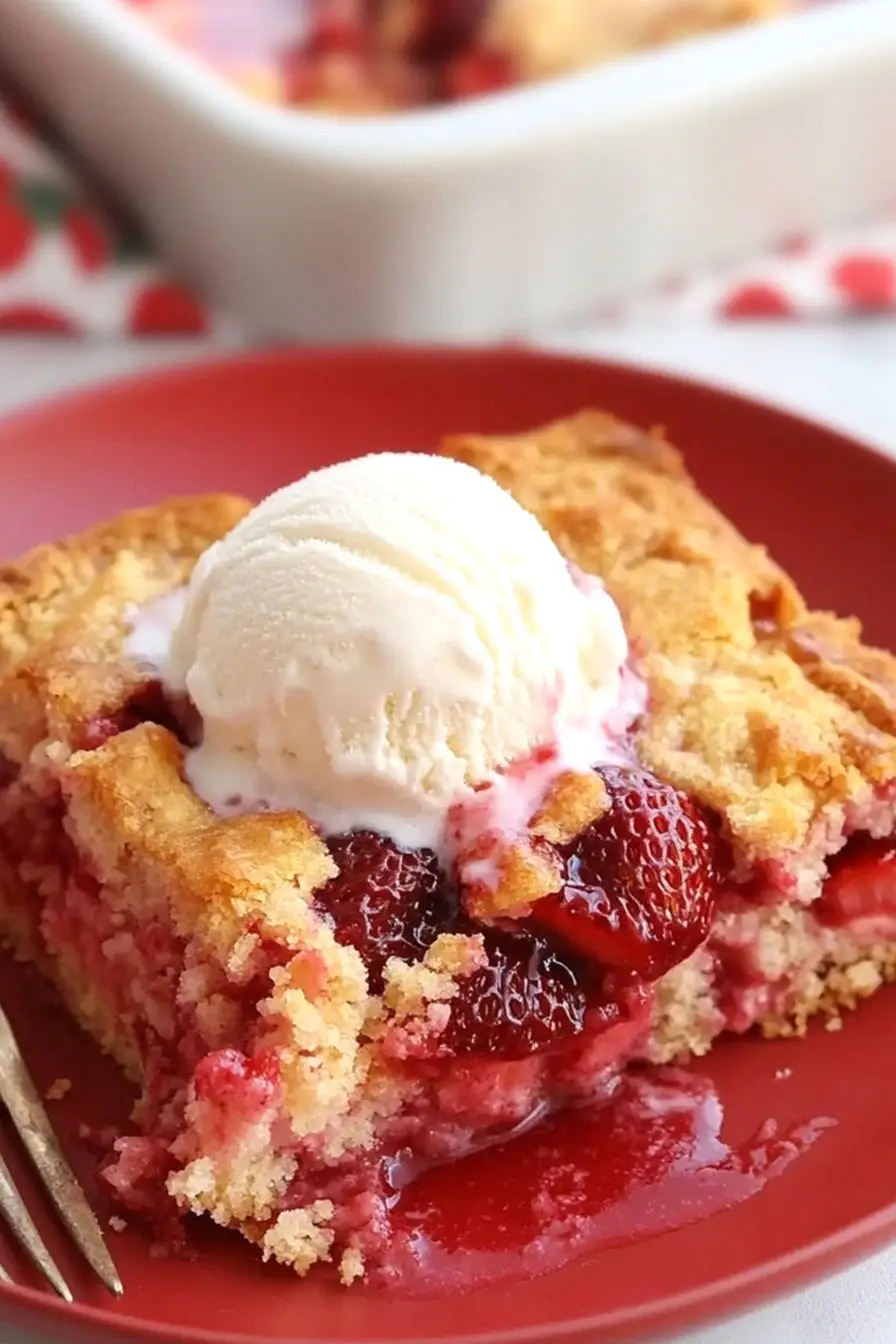
This warm, fruity dessert practically begs for a scoop of cold vanilla ice cream on top! For an extra special treat, I like to add a dollop of fresh whipped cream and maybe even a few sliced strawberries as garnish. If you’re serving this at a party, consider putting out some options like caramel sauce or chocolate syrup so people can dress up their portions however they like. Since this is such a sweet dessert, it pairs really well with a cup of black coffee or a mild tea to balance things out.
Storage Instructions
Keep Fresh: Once your strawberry dump cake has cooled down, cover it with plastic wrap or aluminum foil and keep it in the fridge. It’ll stay good for about 4-5 days, though I doubt it’ll last that long! The cake tends to get even better after a day as the flavors settle in.
Freeze: Want to save some for later? Cut the cake into portions, wrap them individually in plastic wrap, and place in a freezer bag. They’ll keep nicely for up to 3 months in the freezer. It’s super handy when you need a quick dessert!
Warm Up: If you’re craving a slice from the fridge, pop it in the microwave for about 20-30 seconds. For frozen pieces, let them thaw in the fridge overnight first. A warm slice pairs perfectly with a scoop of vanilla ice cream!
| Preparation Time | 10-15 minutes |
| Cooking Time | 50-60 minutes |
| Total Time | 60-75 minutes |
| Level of Difficulty | Easy |
Estimated Nutrition
Estimated nutrition for the whole recipe (without optional ingredients):
- Calories: 2600-2800
- Protein: 20-30 g
- Fat: 150-160 g
- Carbohydrates: 350-370 g
Ingredients
- non-stick spray
- 1 can strawberry pie filling (about 21 oz)
- 3/4 cup cold butter (cut into 12 tablespoons or small cubes)
- 1 box yellow cake mix (I use Duncan Hines Moist Deluxe)
Step 1: Prepare the Baking Dish
Preheat your oven to 350°F (175°C).
Take a 9-inch by 13-inch baking dish and grease it well with cooking spray or butter.
This will prevent the cake from sticking to the dish.
Step 2: Add Pie Filling to the Dish
Open your strawberry pie filling and dump it into the prepared baking dish.
Use a spatula or spoon to spread the filling into an even layer that covers the entire bottom of the dish.
Step 3: Sprinkle Cake Mix Over the Filling
Take a box of dry cake mix and scatter it evenly over the top of the strawberry pie filling.
Be sure to cover the filling completely with the cake mix for even baking.
Step 4: Add Butter to the Cake Mix
Slice pieces of butter and place them on top of the cake mix.
Distribute the butter as evenly as possible across the surface to ensure that the cake mix is well-moistened and bakes properly.
Step 5: Bake the Cake
Place the baking dish in the preheated oven and bake for about 50 to 60 minutes.
The cake is done when the top is golden brown and the filling is bubbly.
Remove from the oven and let cool slightly before serving.
Enjoy your delicious dessert!
