Coming up with budget-friendly dinner ideas that kids will actually eat can feel like an endless battle. Between busy after-school activities, picky eaters at the table, and trying to stretch those grocery dollars, sometimes it seems impossible to find meals that check all the boxes without spending hours in the kitchen.
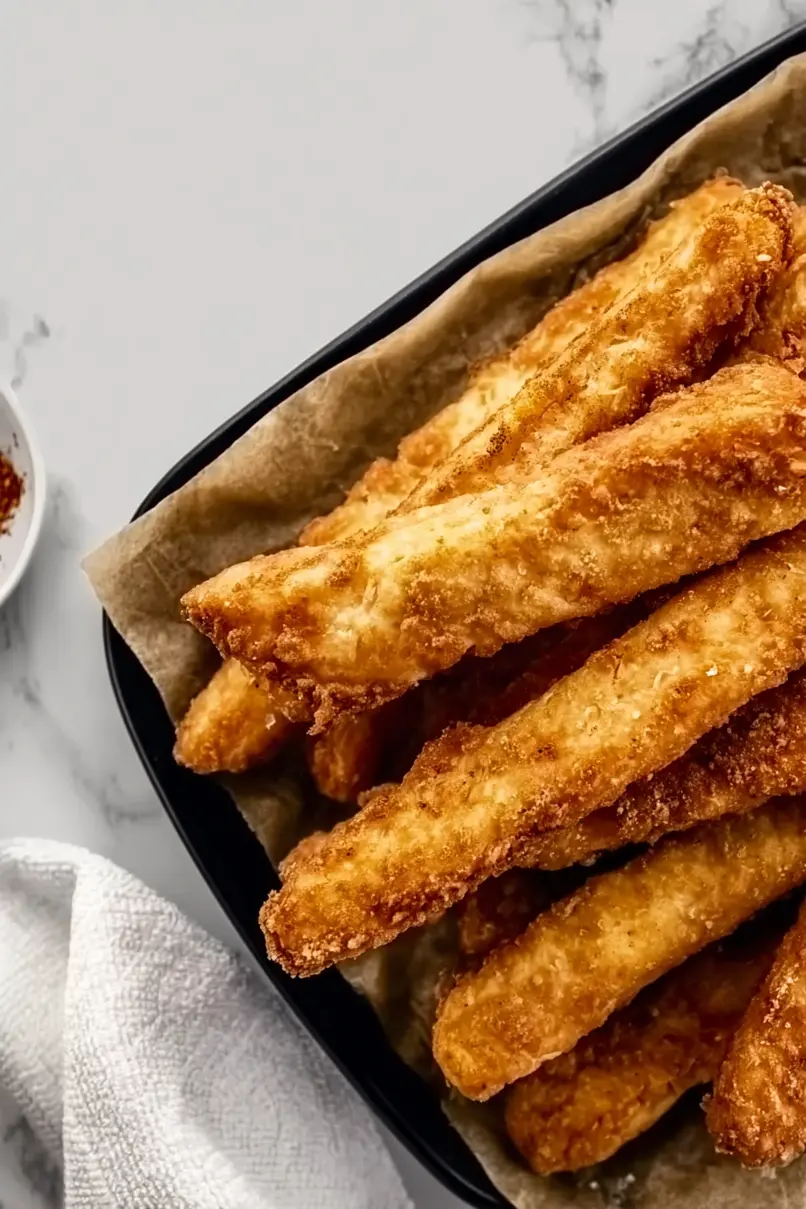
That’s why these canned tuna fish sticks have become such a lifesaver in our house – they’re affordable, quick to put together, and somehow manage to make canned tuna actually exciting for little ones. Plus, they’re easy to prep ahead and reheat when you need a quick dinner solution.
Why You’ll Love These Tuna Fish Sticks
- Low-carb and keto-friendly – Using crushed pork rinds instead of breadcrumbs makes these fish sticks perfect for anyone following a low-carb or keto diet.
- Budget-friendly protein – Canned tuna is an affordable way to get high-quality protein, making these fish sticks a wallet-friendly dinner option.
- Quick preparation – You can have these ready in just 30 minutes, making them perfect for busy weeknight dinners when you’re short on time.
- Customizable flavors – With different seasoning options and tuna varieties to choose from, you can easily switch up the taste to match your preferences.
What Kind of Tuna Should I Use?
When it comes to making tuna fish sticks, you’ve got several options in the canned tuna aisle. Chunk light tuna works great and is usually the most budget-friendly choice, while solid white albacore has a milder flavor and firmer texture. For this recipe, you’ll want to make sure you’re using tuna packed in water rather than oil, since we’re adding our own binding ingredients. The most important thing is to drain your tuna really well – nobody wants soggy fish sticks! If you’re concerned about mercury levels, skipjack tuna (usually labeled as “chunk light”) typically contains less mercury than albacore, making it a good choice for families.
Options for Substitutions
This easy recipe can be tweaked in several ways to match what you have in your pantry:
- Canned tuna: Any brand of canned tuna works here – you can even try canned salmon or canned chicken for a different twist. Just make sure to drain it well.
- Cheddar cheese: Feel free to swap cheddar with mozzarella, pepper jack for some heat, or even Mexican cheese blend. Just avoid soft cheeses like brie or cream cheese as they won’t give the right texture.
- Pork rinds: Not into pork rinds? Try crushed nuts, panko breadcrumbs, or even crushed cheese crackers for that needed crunch. Keep in mind that breadcrumbs will add some carbs if you’re watching those.
- Egg: The egg is pretty important as a binder here, but if you need an egg-free version, try 2 tablespoons of mayonnaise – it’ll help hold everything together and add moisture.
- Seasonings: The seasoning options are endless – try Old Bay for a seafood twist, Italian seasoning, or even taco seasoning. Just adjust the salt depending on what seasonings you choose.
Watch Out for These Mistakes While Cooking
The biggest challenge when making tuna fish sticks is dealing with excess moisture – be sure to drain your tuna thoroughly and pat it dry with paper towels, or you’ll end up with fish sticks that fall apart during cooking.
Getting the right texture depends on your binding ingredients, so don’t skip letting the mixture rest in the refrigerator for at least 15 minutes before shaping – this allows the cheese and egg to firm up, making the sticks easier to form and less likely to crumble.
Temperature control is crucial when cooking these fish sticks – if your pan or air fryer is too hot, the outside will burn before the inside is properly heated, so maintain a medium heat and flip them carefully using a flat spatula.
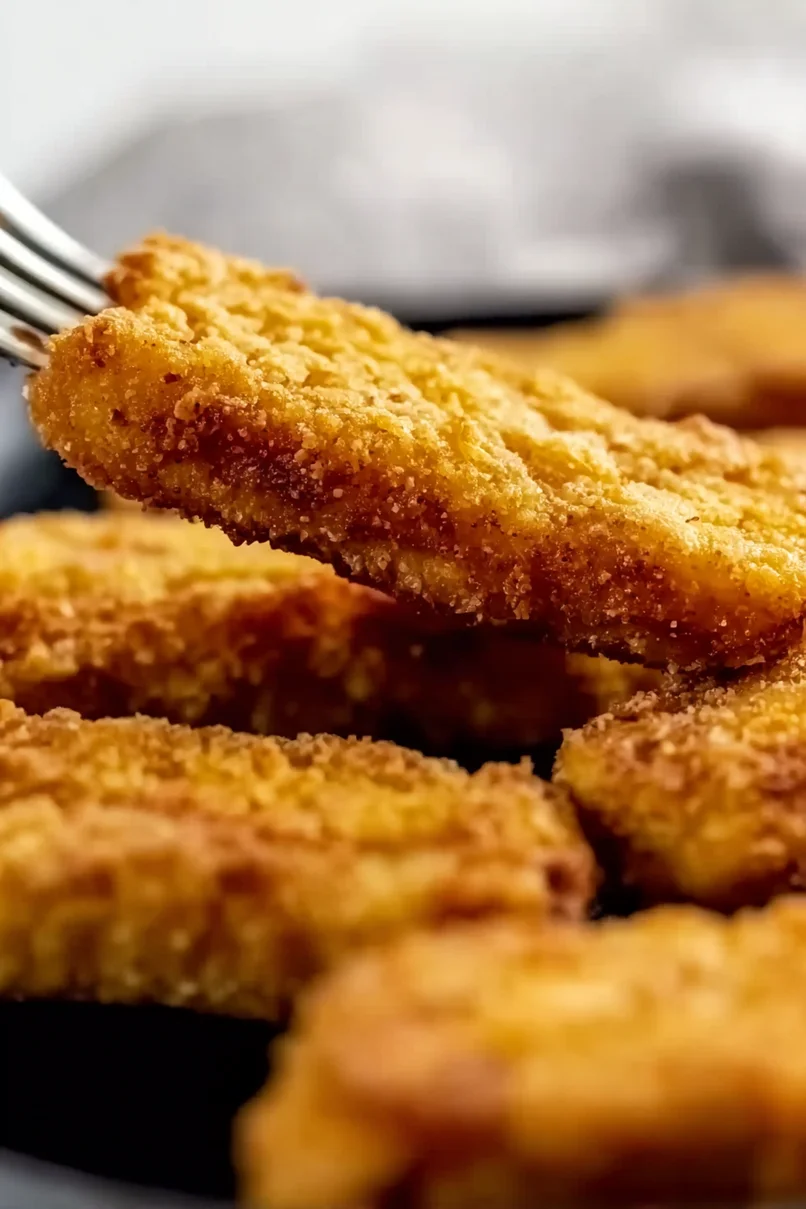
For the crispiest results, avoid overcrowding your cooking surface and make sure your crushed pork rinds are finely ground – larger pieces won’t stick well to the mixture and may fall off during cooking.
What to Serve With Tuna Fish Sticks?
These crispy tuna sticks are perfect for dipping, so I like to serve them with a variety of sauces – tartar sauce, ranch dressing, or even a spicy sriracha mayo work great. A simple side salad with mixed greens and lemon vinaigrette helps balance out the richness of the fish sticks, while some roasted vegetables like broccoli or asparagus make the meal more filling. For a fun appetizer spread, try serving these alongside some pickle spears, celery sticks, and carrot sticks – the fresh crunch of the vegetables pairs really well with the warm, cheesy tuna sticks.
Storage Instructions
Keep Fresh: These tuna fish sticks are best enjoyed right after cooking, but if you have leftovers, pop them in an airtight container and keep them in the fridge for up to 3 days. I like to place a paper towel in the container to help maintain their crispy texture.
Freeze: Want to make a bigger batch? These fish sticks freeze really well! Let them cool completely, then place them in a freezer-safe container with parchment paper between layers. They’ll stay good for up to 2 months in the freezer.
Crisp Up: To get your leftover fish sticks nice and crispy again, pop them in the air fryer at 350°F for 3-4 minutes, or bake them in the oven at 375°F for about 5-7 minutes. If you’re reheating from frozen, add a few extra minutes to the cooking time.
| Preparation Time | 10-15 minutes |
| Cooking Time | 20 minutes |
| Total Time | 30-35 minutes |
| Level of Difficulty | Easy |
Estimated Nutrition
Estimated nutrition for the whole recipe (without optional ingredients):
- Calories: 600-700
- Protein: 50-60 g
- Fat: 40-50 g
- Carbohydrates: 5-10 g
Ingredients
- 1 can tuna (drained very well to prevent sogginess)
- 1 cup shredded cheddar cheese (I like Tilamook shredded sharp cheddar)
- garlic powder, to taste
- 1 large egg
- salt, to taste
- pork rinds, crushed (about 1/2 cup, finely crushed to a breadcrumb-like consistency)
- black pepper, to taste (freshly ground for best flavor)
- paprika or cayenne pepper, to taste
Step 1: Preheat the Oven
Begin by preheating your oven to 400°F (200°C) to ensure it’s at the right temperature when you’re ready to bake.
Step 2: Prepare the Tuna Mixture
In a mixing bowl, combine canned tuna (drained), shredded cheddar cheese, an egg, and your choice of seasonings such as salt, pepper, and any other preferred spices.
Mix the ingredients thoroughly until they’re well incorporated and form a sticky consistency.
Step 3: Shape the Mixture
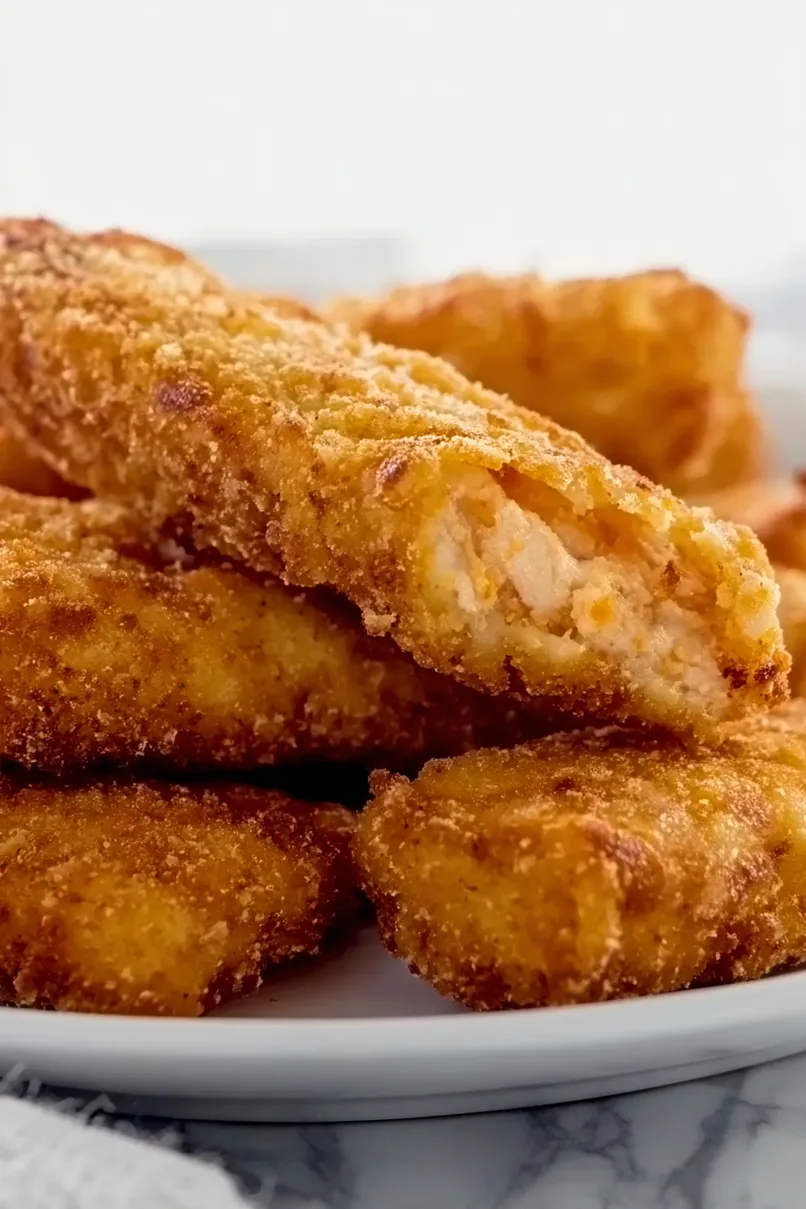
Using your hands, shape the tuna mixture into fry-like sticks.
Make sure they are similar in size for even baking.
This will help them cook uniformly and achieve a crispy exterior.
Step 4: Arrange and Bake
Place the shaped sticks onto a baking sheet lined with parchment paper, ensuring they are evenly spaced apart.
Bake in the preheated oven for 20 minutes or until the sticks turn golden brown and are firm to the touch.
Step 5: Serve and Enjoy
Once baked, remove the tuna sticks from the oven and let them cool slightly before serving.
Serve them hot with your favorite dipping sauce, such as ranch, marinara, or spicy mayo, for an extra burst of flavor.

Where do the pork rings come in? not in recipe?
Fried pork skin.
I noticed that too. I would crush them pretty fine and roll the tuna stick in it before baking. I’m gonna try crushing potato chips instead.