If you ask me, Bisquick jam bars are one of those perfect recipes that just makes sense.
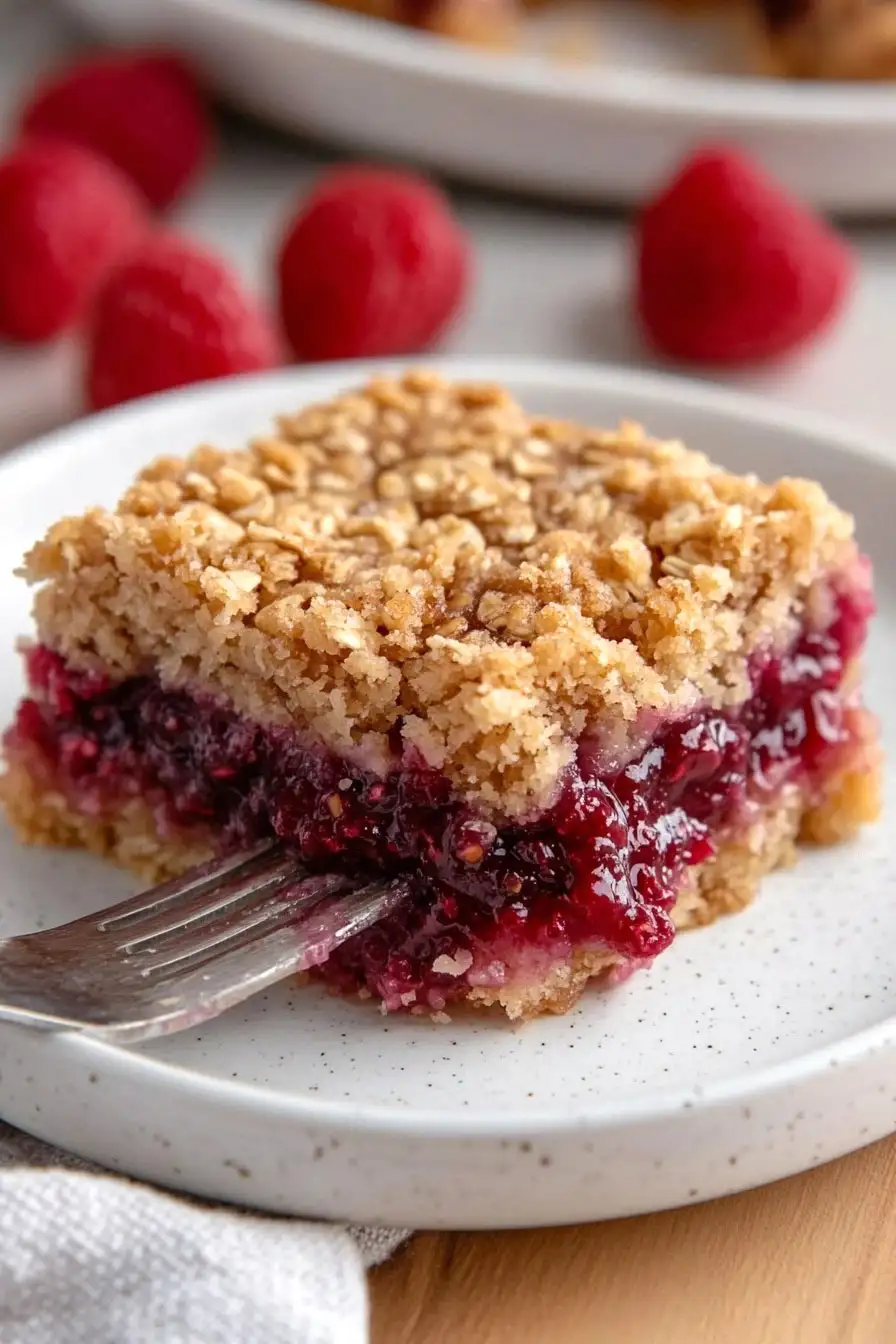
These sweet and simple treats combine the ease of Bisquick with your favorite jam for a homestyle dessert that’s both nostalgic and practical. The buttery base and crumbly topping sandwich a layer of fruity jam that bakes up just right.
The best part? They only need a handful of ingredients you probably already have in your pantry. Plus, they’re the kind of bars that work just as well for an after-school snack as they do for a weekend brunch spread.
They’re reliable comfort food that’s quick to make and always hits the spot – perfect for those times when you need something sweet without much fuss.
Why You’ll Love These Jam Bars
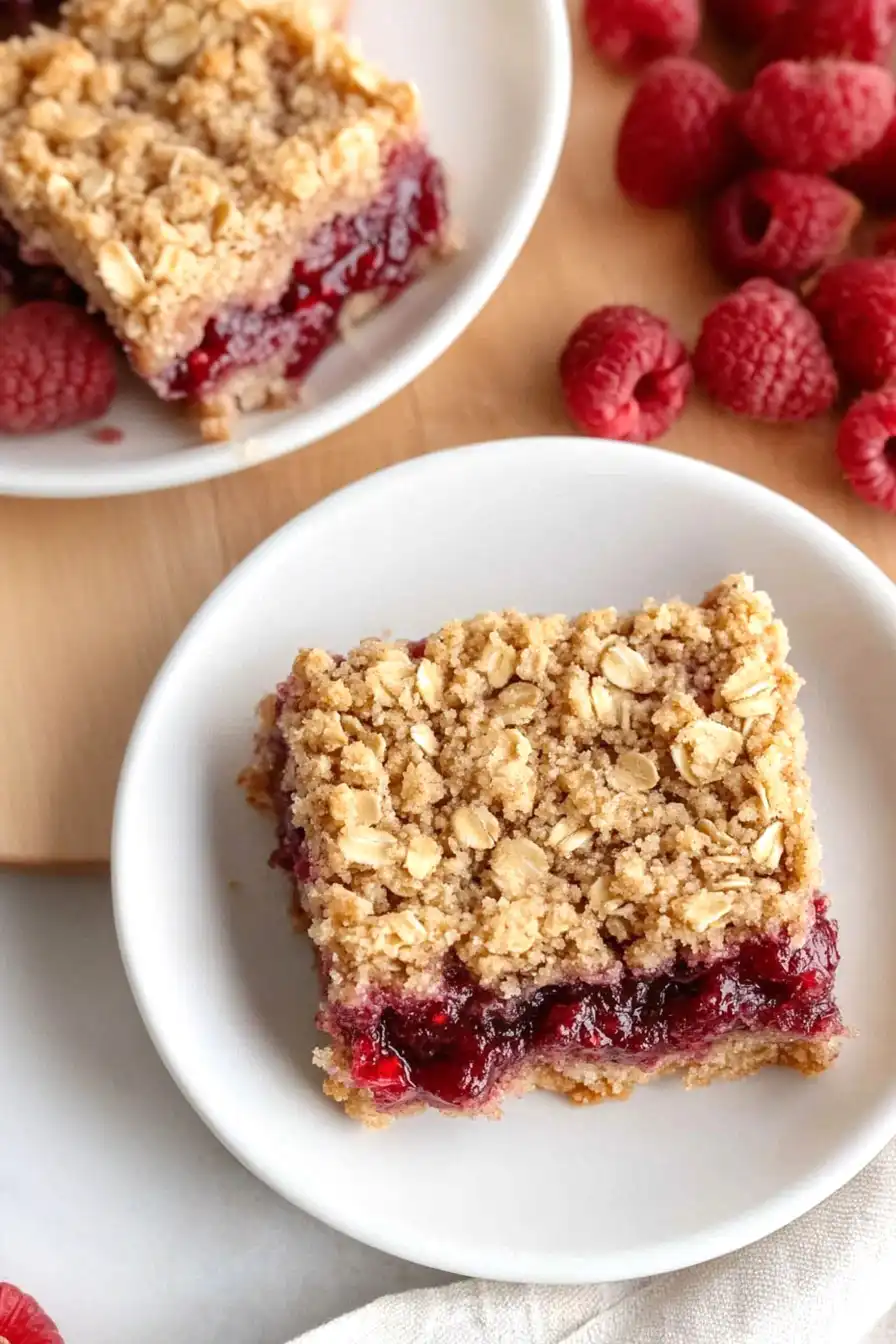
- 5-ingredient recipe – With just Bisquick, oats, brown sugar, butter, and jam, you can whip up these bars using basic pantry staples you likely already have on hand.
- Quick preparation – These bars come together in just 10 minutes of prep time, making them perfect for last-minute baking or when you need a quick dessert.
- Customizable filling – While this recipe calls for raspberry jam, you can use any flavor of preserves or fruit spread you prefer or have in your pantry.
- Perfect for beginners – Using Bisquick mix as the base means no complicated measuring of multiple dry ingredients – it’s practically foolproof baking at its best.
What Kind of Jam Should I Use?
While this recipe calls for raspberry jam, you’ve got plenty of options to make these bars your own. Seedless raspberry jam will give you a smoother texture, but traditional raspberry preserves add a nice bit of crunch from the seeds. If raspberry isn’t your thing, feel free to swap in strawberry, blackberry, or even mixed berry jam – they’ll all work great in this recipe. Just make sure you’re using a thicker jam or preserve rather than a runny jelly, as this will help your bars hold together better and prevent them from becoming soggy. For the best results, stick with room temperature jam since it spreads more easily over the base layer.
Options for Substitutions
Need to make some swaps? Here’s what you can do with this easy bar recipe:
- Bisquick mix: If you’re out of Bisquick, you can make your own by mixing 2 cups all-purpose flour with 1 tablespoon baking powder, 1 teaspoon salt, and 6 tablespoons cold butter cut into small pieces. Just pulse in a food processor until crumbly.
- Quick oats: Old-fashioned oats work too – just pulse them briefly in a food processor to break them down a bit. In a pinch, you could also use crushed graham crackers, though the texture will be different.
- Brown sugar: White sugar mixed with a tablespoon of molasses works great. Or use regular white sugar – the bars will be slightly less moist but still tasty.
- Raspberry jam: Any flavor jam, preserves, or fruit spread will work here! Try strawberry, blueberry, apricot, or even marmalade. Just make sure it’s thick enough to spread – if it’s too runny, your bars might get soggy.
- Butter: Margarine works fine as mentioned in the recipe. You can also use coconut oil, though it might add a slight coconut flavor to your bars.
Watch Out for These Mistakes While Baking
The biggest challenge when making Bisquick jam bars is overmixing the crumb mixture – stop mixing as soon as the butter is incorporated and the mixture looks like coarse crumbs, or you’ll end up with tough, dense bars instead of a tender, crumbly texture.
Another common mistake is spreading the jam too close to the edges of the pan, which can cause it to bubble over and stick to the sides during baking – leave about a 1/2 inch border around the edges and press the top crumb layer gently into the jam to help prevent this.
Temperature matters more than you might think – using butter that’s too soft or melted will make your crust greasy and dense, so stick with room temperature butter that’s just soft enough to mix.
For the best results, let these bars cool completely before cutting them, and if you’re storing them, place wax paper between layers to prevent sticking.
What to Serve With Jam Bars?
These sweet and buttery jam bars are perfect for afternoon tea or as an after-dinner treat! I love serving them with a scoop of vanilla ice cream while they’re still a bit warm – the contrast between hot and cold is so good. A cup of coffee or hot tea makes these bars even better, especially on chilly days. If you’re putting these out for a dessert spread, try adding some fresh berries on the side to complement the jam filling and make the plate look extra nice.
Storage Instructions
Keep Fresh: These yummy jam bars stay good at room temperature for up to 3 days when kept in an airtight container. I like to place a piece of parchment paper between layers to prevent them from sticking together. If your kitchen is warm, you might want to pop them in the fridge instead.
Refrigerate: Want them to last longer? Store these bars in the fridge in a sealed container for up to a week. They actually taste great chilled, especially on warm days! Just remember to let them sit at room temperature for about 10 minutes before serving if you prefer them softer.
Freeze: These bars freeze really well for up to 3 months. Just wrap them individually in plastic wrap, then place them in a freezer bag. When you’re ready for a treat, take out what you need and let them thaw at room temperature for about an hour.
| Preparation Time | 10-15 minutes |
| Cooking Time | 25-30 minutes |
| Total Time | 35-45 minutes |
| Level of Difficulty | Easy |
Estimated Nutrition
Estimated nutrition for the whole recipe (without optional ingredients):
- Calories: 2200-2400
- Protein: 20-25 g
- Fat: 100-110 g
- Carbohydrates: 300-320 g
Ingredients
- 1 cup quick oats (such as Quaker Quick 1-Minute Oats)
- 3/4 cup packed light brown sugar (ensure it’s fresh and soft)
- 2 cups Bisquick mix (original for best results)
- 1 cup raspberry jam (or a good quality fruit preserve)
- 1/2 cup softened butter
Step 1: Preheat Oven and Prepare Baking Pan
Begin by preheating your oven to 400°F (200°C).
While the oven is heating up, grease a 9x9x2-inch square pan to ensure the bars do not stick during baking.
Step 2: Create the Crumbly Mixture
In a large bowl, combine the Bisquick mix, oats, and brown sugar.
Using a fork or a pastry blender, cut in the butter until the mixture becomes crumbly.
The mixture should resemble coarse crumbs once fully integrated.
Step 3: Assemble the Bar Layers
Take half of the crumbly mixture and press it firmly into the bottom of the prepared baking pan to form an even base layer.
Spread your choice of fruit over this base layer, ensuring you leave a 1/4 inch gap from the edges.
Top the fruit layer with the remaining crumbly mixture, gently pressing it into the fruit for even coverage.
Step 4: Bake and Cool
Place the assembled pan in the preheated oven and bake for 25 to 30 minutes, or until the top is a light golden brown.
Once baked, remove the pan from the oven and allow it to cool completely before cutting.
Step 5: Cut and Serve
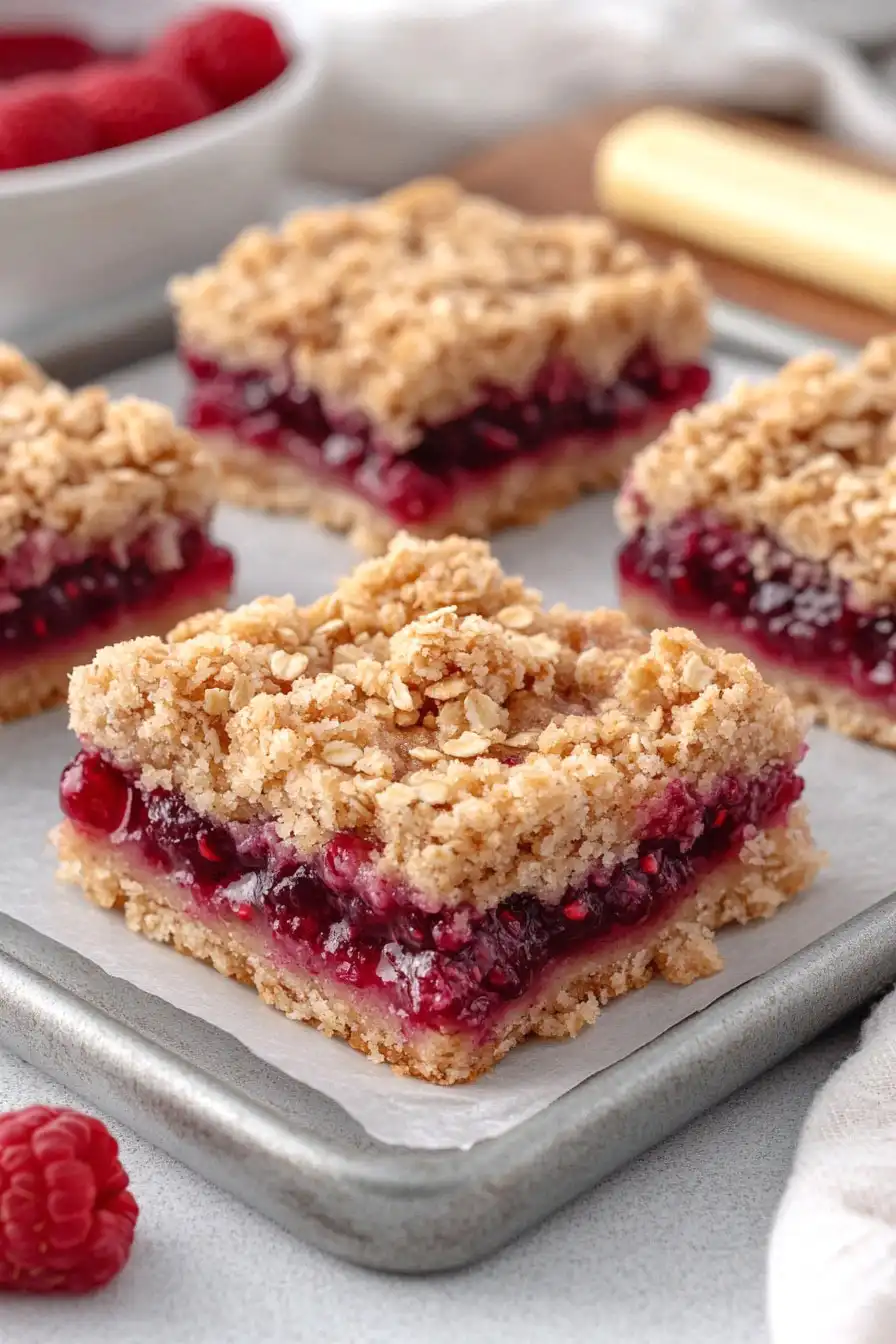
After the bars have cooled, cut them into 24 pieces by slicing the pan into 6 rows by 4 rows.
Serve the bars as a delicious snack or dessert, and enjoy their fruity, crumbly goodness!
