Getting tender, flavorful pork ribs doesn’t have to mean standing over a hot grill for hours or investing in expensive smoking equipment. After years of trying different methods, I’ve found that oven-baked country style pork shoulder ribs are a practical solution for busy families who still want that satisfying, home-cooked meal at the end of the day.
These ribs are perfect for those Sunday afternoon cooking sessions when you want something that mostly takes care of itself while you catch up on laundry or help the kids with homework. With just a few simple ingredients and basic prep work, you’ll end up with juicy, fall-off-the-bone ribs that’ll make everyone think you spent all day in the kitchen.
Why You’ll Love These Country Style Ribs
- Minimal ingredients – With just a handful of common spices and the meat itself, you can create an incredibly flavorful meal without a complicated shopping list.
- Set-it-and-forget-it cooking – Once you season the meat and pop it in the oven, you’re free to focus on other things while these ribs slowly cook to perfection.
- Budget-friendly meat option – Country-style ribs are typically less expensive than traditional ribs, giving you all the satisfaction of a meaty meal without the high price tag.
- No special equipment needed – Unlike smoking or grilling, these ribs only require your regular oven and a baking dish – perfect for any home cook regardless of their kitchen setup.
What Kind of Pork Shoulder Ribs Should I Use?
Country-style pork ribs can be a bit confusing since they’re not actually ribs at all – they’re cut from the shoulder area of the pig, which is why they’re so meaty. You’ll typically find them either bone-in or boneless at the meat counter, and both styles work great for this recipe. The bone-in version tends to have a bit more flavor and helps keep the meat moist during cooking, but boneless ones are easier to eat. Look for pieces that have good marbling (those white streaks of fat running through the meat) since this will help keep your ribs tender and juicy during the long cooking process. If you’re buying from the butcher counter, don’t be shy about asking them to cut the pieces to a similar size so they cook evenly.
Options for Substitutions
Here are some helpful substitutions you can make for this pork rib recipe:
- Country-style pork shoulder ribs: If you can’t find country-style ribs, you can use pork shoulder (Boston butt) cut into thick strips. Regular pork ribs will also work, but they’ll need less cooking time since they’re typically thinner.
- Smoked salt: Regular kosher salt works fine – just add an extra 1/2 teaspoon of smoked paprika to make up for the lost smoky flavor. You could also use regular salt and add a few drops of liquid smoke.
- Dried thyme: Fresh thyme works great (use 1 tablespoon instead of 1 teaspoon), or swap it with dried oregano or rosemary in the same amount.
- Smoked paprika: Regular paprika can work, but you’ll lose that nice smoky taste. Try adding a 1/4 teaspoon of chipotle powder along with regular paprika to get that smokiness back.
- Cayenne pepper: You can use red pepper flakes, hot paprika, or chili powder instead. If you’re not into heat, feel free to reduce the amount or skip it completely.
Watch Out for These Mistakes While Cooking
The biggest mistake when cooking pork shoulder ribs is rushing the cooking process – these tough cuts need low and slow cooking to break down the connective tissue and become tender, so plan for at least 2-3 hours of cooking time at 300°F. A common error is removing the ribs too early; they should reach an internal temperature of 195-205°F to achieve that perfect fall-off-the-bone texture, not just the safe eating temperature of 145°F. To get the most flavor from your dry rub, apply it at least 2 hours before cooking (or overnight if possible), and avoid opening the oven door frequently during cooking as this lets out heat and extends cooking time. For extra juicy results, let the ribs rest under loose foil for 15-20 minutes after cooking, allowing the meat to reabsorb its juices before serving.
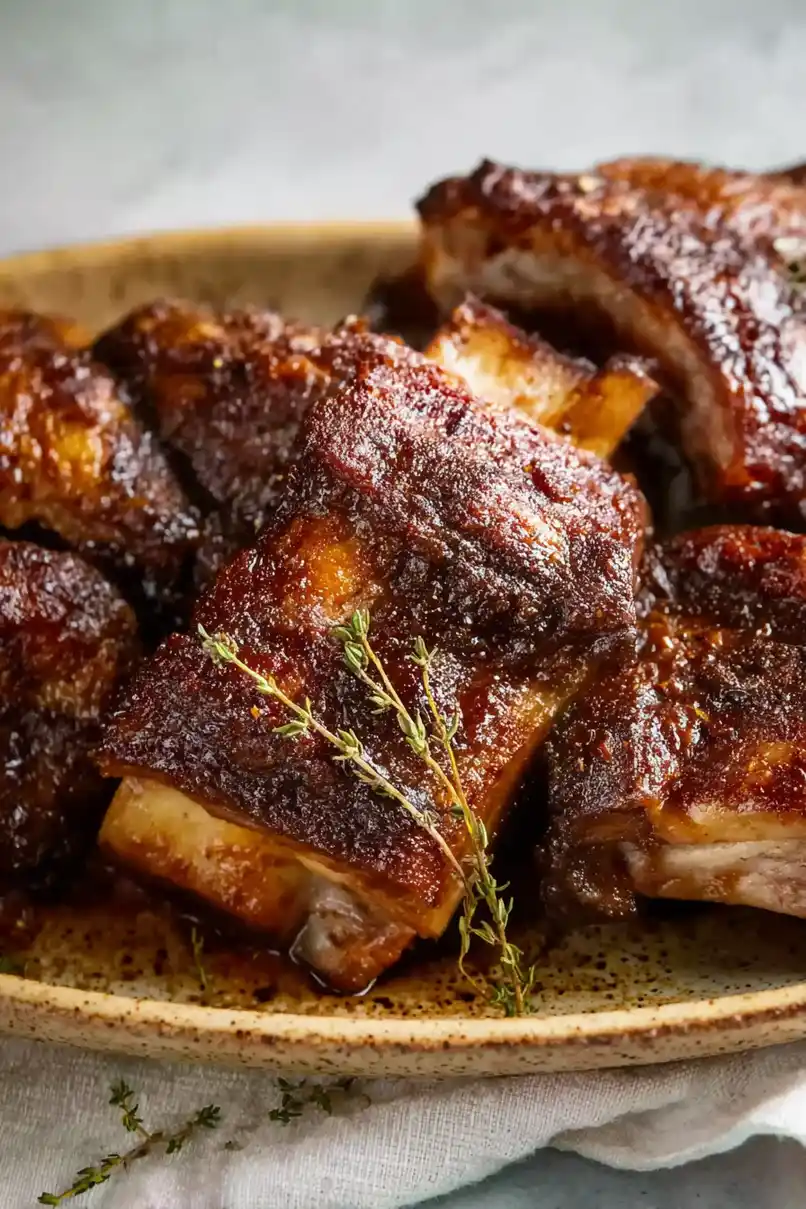
What to Serve With Country Style Ribs?
These smoky, tender pork ribs are begging to be paired with some classic BBQ sides that’ll make your meal complete! A creamy coleslaw or potato salad adds the perfect cool contrast to the warm, spiced meat. For something hot, try some baked beans or mac and cheese – both are crowd-pleasers that match the comfort food vibe of these ribs. I also love serving these with some warm cornbread or soft dinner rolls to soak up any extra sauce, plus they’re great for cleaning your plate (because you won’t want to leave any of that flavor behind!).
Storage Instructions
Keep Fresh: These tasty pork ribs will stay good in the fridge for up to 4 days when stored in an airtight container. I like to keep them whole rather than cutting them up, as this helps them stay juicy. The flavors actually get even better after a day or two!
Freeze: Got leftovers? These ribs freeze really well! Wrap them tightly in foil, then place in a freezer bag with the air squeezed out. They’ll keep their flavor for up to 3 months in the freezer. Perfect for when you want to meal prep or save some for later.
Warm Up: To bring back that fresh-from-the-oven taste, wrap the ribs in foil and heat them in a 300°F oven for about 20-25 minutes. You can also microwave them, but the oven method keeps them more tender. Add a splash of water or broth in the foil packet to keep them moist while reheating.
| Preparation Time | 15-20 minutes |
| Cooking Time | 120-130 minutes |
| Total Time | 135-150 minutes |
| Level of Difficulty | Medium |
Estimated Nutrition
Estimated nutrition for the whole recipe (without optional ingredients):
- Calories: 2400-2600
- Protein: 180-200 g
- Fat: 180-200 g
- Carbohydrates: 10-15 g
Ingredients
- 3 lb country pork ribs
- 2 tsp smoked paprika (adds depth and color)
- 2 tsp smoked salt (or Morton Coarse Kosher Salt)
- 1 tsp dried thyme
- 1/2 tsp cayenne pepper
- 1/2 tsp black pepper (freshly ground for best flavor)
Step 1: Prepare the Oven and Ribs
Preheat your oven to 325°F.
Arrange the ribs in a single layer in an ungreased 9 x 13-inch rimmed baking dish.
This setup ensures even cooking.
Step 2: Apply the Dry Rub
Mix the dry rub ingredients in a separate bowl.
Generously sprinkle the rub over the ribs, ensuring even coverage on all sides.
This adds flavor and creates a delicious crust on the meat.
Step 3: Bake the Ribs
Cover the baking dish tightly with heavy-duty foil, or use a double layer of regular foil.
Secure the foil to seal in moisture and heat.
Bake the ribs in the preheated oven until they are very tender, approximately 2 hours.
Step 4: Prepare for Broiling
Once baked, carefully remove the cooked ribs with a slotted spatula and transfer them to a broiler-safe, foil-lined, rimmed baking sheet.
Flip the ribs or position them on their side to expose the fat side to the broiler element.
The goal is to brown the fat for a crisp finish.
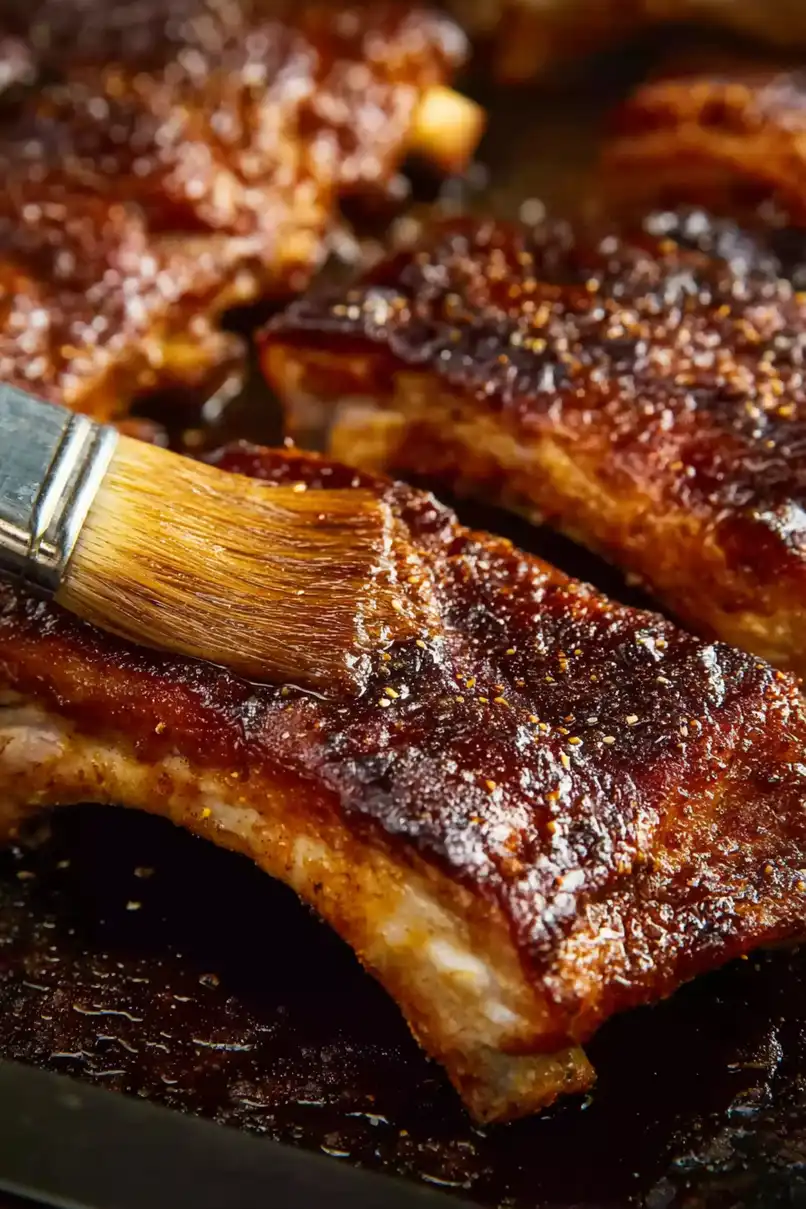
Step 5: Broil the Ribs
Switch the oven setting to broil on high (500°F).
Set an oven rack about 6 inches below the broiler element to prevent burning.
Baste the ribs with the pan juices to enhance flavor and moisture.
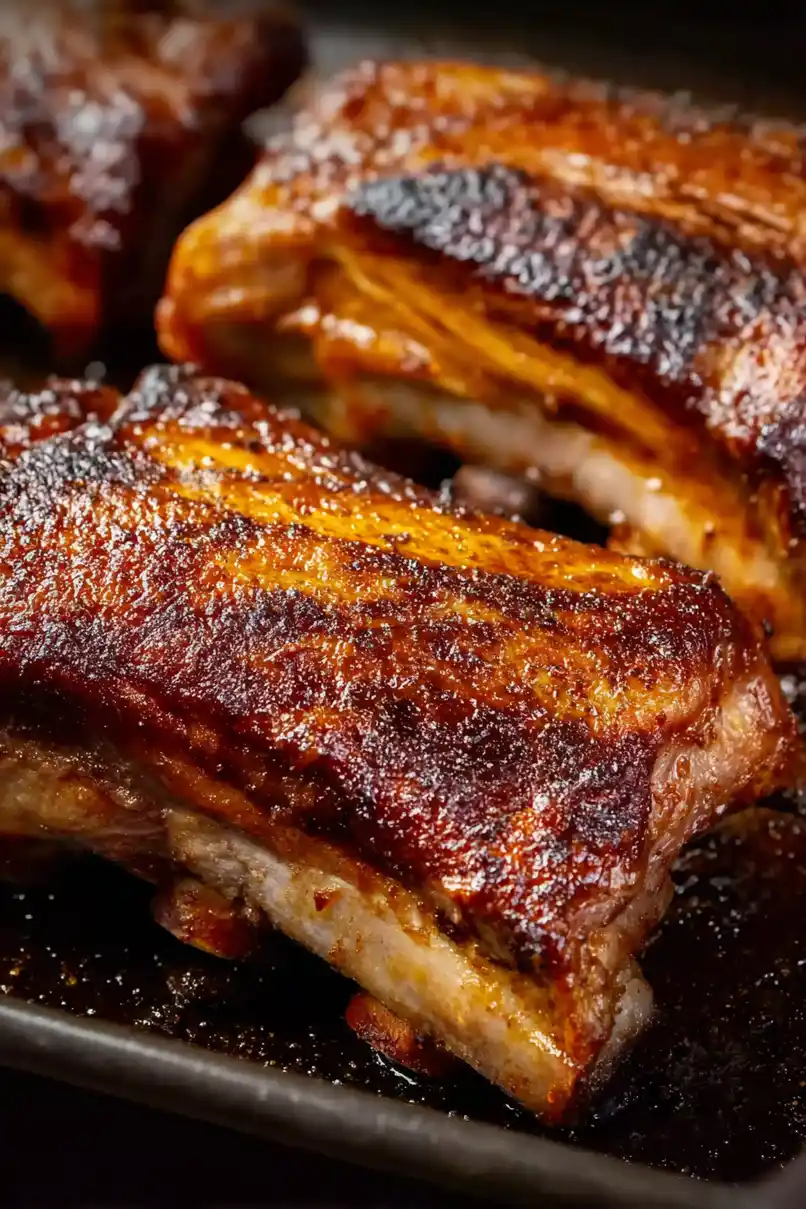
Broil the ribs until the fat is browned and crispy, approximately 3-4 minutes.
Step 6: Final Touches and Serve
Baste the ribs once more with the pan juices for extra flavor and moisture.
Serve the ribs hot and enjoy the tender, flavorful meat with a crispy finish.

Under “Mistakes While Cooking” you write,, “… plan for at least 2-3 hours of cooking time at 300°F.”
Yet your recipe shows that they should be baked at 325°. Which is it?
You can cook it between 300 and 325! I’m sorry!