Easter has always been one of those holidays where I get to have fun in the kitchen. While the kids are busy planning their egg hunt routes in the backyard, I’m usually thinking about what sweet treats I’ll be making for dessert. But let’s be honest – between decorating eggs and preparing the big family meal, who has time for complicated recipes?
That’s why these Easter brownies have become my go-to holiday dessert. I can whip them up the night before while I’m getting everything else ready, and they’re always a hit with both kids and adults. I’ll often make a double batch – one for our family gathering and one for the school bake sale. They’re simple enough that the kids can help mix and decorate, which makes the whole experience even more special.
Want something that brings together the classic chocolate brownie with fun Easter flavors? These brownies are exactly what you’re looking for. Plus, they’re so easy to customize with different toppings that everyone gets to make them their own.
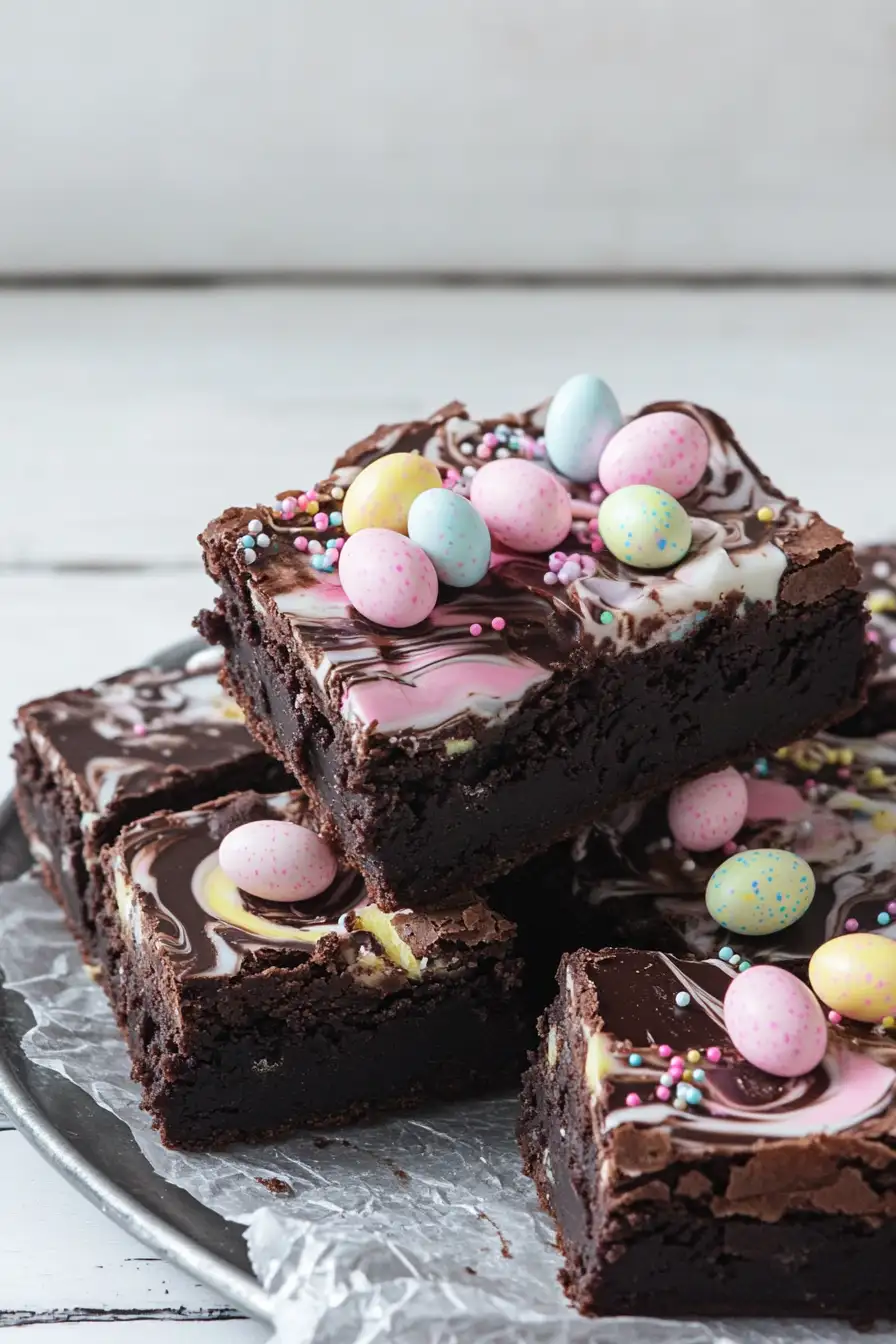
Why You’ll Love These Brownies
- Perfect holiday treat – These brownies are decorated with festive Easter toppings, making them an ideal dessert for your holiday celebrations or spring gatherings.
- Rich chocolate flavor – With three types of chocolate – cocoa powder, chocolate chips, and dark chocolate – these brownies deliver an incredibly deep, satisfying chocolate experience.
- Quick preparation – You can have these brownies ready in under an hour, making them a great last-minute dessert option when you’re short on time.
- Kid-friendly activity – Decorating these brownies with sprinkles and Easter eggs makes for a fun baking project that children will love to help with.
What Kind of Chocolate Should I Use?
For these Easter brownies, you’ll want to use high-quality chocolate since it’s really the star of the show. While you could use chocolate chips in a pinch, choosing bars of good baking chocolate will give you much better results – they melt more smoothly and have a richer flavor. Look for chocolate that’s around 60-70% cocoa content for the dark chocolate portions, which gives you that perfect balance of sweetness and intense chocolate flavor. For the white chocolate, stick to brands that list cocoa butter as one of the main ingredients (avoid those made primarily with vegetable oils). When you’re chopping the chocolate, aim for pieces about the size of a small pea – this helps it melt evenly and creates those lovely chocolate pockets throughout your brownies.

Options for Substitutions
Here’s what you can swap in this brownie recipe if you need to:
- Butter: You can replace butter with an equal amount of vegetable oil or coconut oil. If using coconut oil, make sure it’s melted and cooled slightly before mixing.
- Cocoa powder: Dutch-process or natural cocoa powder both work here. If you’re out of cocoa powder, you can use 1.5 oz of unsweetened chocolate (melted) plus 1 tablespoon less butter.
- All-purpose flour: For a gluten-free version, use a 1:1 gluten-free flour blend. Regular cake flour works too, but avoid bread flour as it will make the brownies too dense.
- Chocolate chips: Any type works – milk, semi-sweet, or dark chocolate chips. You can even use chopped chocolate bars or chocolate chunks instead.
- Dark and white chocolate: For the topping, milk chocolate can replace dark chocolate. For white chocolate, you can use colored candy melts for a festive look.
- Easter eggs and sprinkles: Feel free to use any Easter candy you like – mini eggs, jelly beans, or even chopped up chocolate bunnies. Rainbow jimmies, pearl sprinkles, or holiday-themed decorations all work great.
Watch Out for These Mistakes While Baking
The biggest mistake when making brownies is overbaking them – they should come out slightly underdone since they’ll continue to cook as they cool, so remove them from the oven when a toothpick inserted in the center comes out with a few moist crumbs. Another common error is overmixing the batter after adding the flour, which can lead to tough, dense brownies – instead, fold the dry ingredients gently just until they’re combined. When melting chocolate for the topping, be careful not to let any water droplets get into the bowl, as this will cause your chocolate to seize and become grainy; also, use low heat and stir frequently to prevent scorching. For the perfect fudgy texture, make sure your eggs and butter are at room temperature before starting, and don’t skip the step of tossing your chocolate chips in flour – this prevents them from sinking to the bottom during baking.
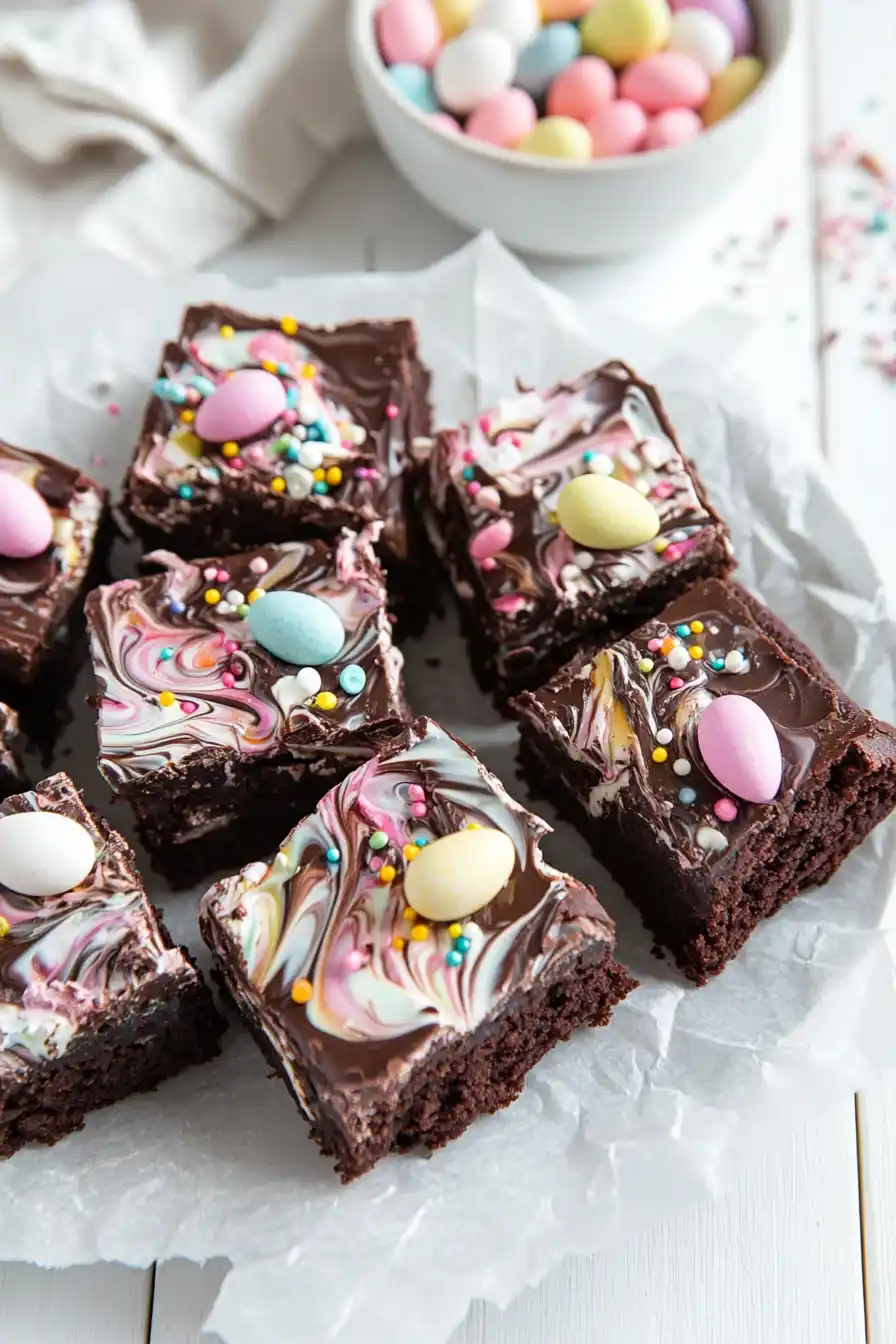
What to Serve With Easter Brownies?
These rich chocolate brownies are perfect for serving at your Easter celebration with some tasty accompaniments! A scoop of vanilla ice cream on the side lets you enjoy the warm-cold contrast, while a glass of cold milk helps balance out all that chocolate goodness. For a spring-inspired twist, try serving these brownies with fresh strawberries or raspberries on the side – the fruit adds a nice pop of color and freshness that works really well with the chocolate. If you’re hosting an Easter dessert spread, these brownies pair nicely with a cup of coffee or hot chocolate for the grown-ups and a glass of chocolate milk for the kids.
Storage Instructions
Keep Fresh: These Easter brownies stay perfectly moist when kept in an airtight container at room temperature for up to 5 days. I like to place a piece of parchment paper between layers to prevent them from sticking together. If your kitchen is warm, you might want to pop them in the fridge instead.
Freeze: Want to make these ahead? Cut them into squares, wrap individually in plastic wrap, and place in a freezer bag. They’ll stay good for up to 3 months in the freezer. This is great for when you want to get ahead on holiday baking!
Thaw: When you’re ready to enjoy your frozen brownies, just transfer them to the fridge overnight or let them sit at room temperature for about 2-3 hours. The chocolate topping might look a bit cloudy after freezing, but they’ll still taste amazing. Just keep them away from direct heat or sunlight while thawing.
| Preparation Time | 15-20 minutes |
| Cooking Time | 30-35 minutes |
| Total Time | 45-55 minutes |
| Level of Difficulty | Medium |
Estimated Nutrition
Estimated nutrition for the whole recipe (without optional ingredients):
- Calories: 2500-2700
- Protein: 25-30 g
- Fat: 150-170 g
- Carbohydrates: 300-320 g
Ingredients
For the brownies:
- 1/4 tsp baking soda
- 3/4 cup all-purpose flour
- 1/2 cup unsweetened cocoa powder
- 1/4 tsp salt
- 1 tbsp vanilla essence
- 1 cup granulated sugar
- 1/2 cup melted butter (unsalted preferred for better control over sodium)
- 2 large eggs (room temperature, about 70°F, for better emulsion)
For the chocolate chips:
- 1 cup chocolate chips (Ghirardelli semi-sweet chips are a great option)
- 1 tbsp all-purpose flour (to coat the chips and prevent sinking)
For the topping:
- 8 oz white chocolate, chopped
- Sprinkles (Easter themed sprinkles are a fun addition)
- Chocolate Easter eggs (mini eggs work well for decoration)
- 12 oz dark chocolate, chopped
Step 1: Prepare the Baking Pan and Preheat the Oven
Preheat your oven to 325 degrees F.
Grease an 8×8 baking pan with butter or nonstick cooking spray to ensure your brownies don’t stick.
Step 2: Make the Brownie Batter
In a large bowl, whisk together the melted butter, cocoa, and sugar until well combined.
Add the eggs one at a time, stirring thoroughly after each addition.
Mix in the vanilla extract.
Gently fold in 3/4 cup flour, salt, and baking soda using a rubber spatula.
Be cautious not to overmix.
In a separate small bowl, coat your chocolate chips in the remaining 1 tablespoon of flour, then fold them into the brownie batter.
Step 3: Bake the Brownies
Spread the brownie batter evenly into your prepared 8×8 baking dish.
Place in the preheated oven and bake for 30-35 minutes or until the brownies are set.
Remove from the oven and allow them to cool completely before proceeding with the chocolate topping.
Step 4: Melt the Chocolate
Add about 1” of water to two medium saucepans or pots and bring to a gentle simmer over low heat.
Ensure the water is not boiling.
Place a heat-safe bowl on top of each pot, making sure the bowl does not touch the water.
Add dark chocolate to one bowl and white chocolate to the other.
Stir gently with a wooden spoon or rubber spatula until each type of chocolate is fully melted.
Alternatively, if you prefer using a microwave, place the chocolate in microwave-safe bowls and microwave at 50% power in 30-second intervals, stirring between each interval, though caution is advised.
Step 5: Apply and Decorate with Chocolate
Pour the melted dark chocolate over the cooled brownies, using a spatula to spread it evenly to the edges.
Drop about 1 tablespoon of white chocolate at 4-5 spots over the dark chocolate.
Use a sharp knife to gently swirl the dark and white chocolates together, avoiding overmixing.
With the remaining white chocolate, mix in 1-2 drops of red food coloring until your desired pink color is achieved.
Repeat the swirling process with the pink chocolate.
While the chocolate is still wet, sprinkle your favorite Easter decorations across the top.
Make it as simple or elaborate as you wish—it’s all about having fun!