Making homemade gravy can feel like a daunting task, especially when you’re juggling all the other dishes that come with preparing a big holiday meal. Between timing the sides just right, keeping the turkey from drying out, and trying to maintain your sanity while relatives chat in the kitchen, the last thing you want is to stress about lumpy or flavorless gravy.
That’s why this roasted turkey gravy recipe has become my go-to method – it’s straightforward, reliable, and brings together all those wonderful turkey drippings into a smooth, rich gravy that makes everything on the plate taste better.
Why You’ll Love This Turkey Gravy
- No-waste recipe – This gravy makes the most of your turkey drippings, ensuring nothing goes to waste and giving you the richest possible flavor from your holiday bird.
- Quick preparation – While your turkey rests, you can whip up this gravy in about 30 minutes – perfect timing for getting everything to the table hot.
- Customizable recipe – You can easily adjust the thickness to your liking and add different herbs or a splash of wine to make it your own.
- Basic ingredients – You likely already have everything you need in your kitchen – no special ingredients required beyond your turkey drippings.
- Smooth and lump-free – Following this method gives you silky smooth gravy every time – no lumps or graininess to worry about.
What Kind of Turkey Drippings Should I Use?
Those golden-brown drippings left in the bottom of your roasting pan after cooking the turkey are pure flavor gold for your gravy. You’ll want to use all the drippings – that’s the liquid and fat that’s collected in the pan, along with those browned bits stuck to the bottom (these are called fond and they’re packed with flavor). If your turkey was brined, you might want to taste the drippings first since they could be on the salty side. For the best results, let the drippings settle for a few minutes after you remove the turkey from the pan – this allows the fat to naturally separate from the juices, making it easier to control how much fat you use in your gravy. If you don’t have enough drippings from your turkey, don’t worry – that’s exactly why we keep stock on hand as backup.
Options for Substitutions
Making gravy but need to switch things up? Here are some helpful substitutions:
- Turkey drippings: If you don’t have enough drippings, you can make up the difference with butter and extra stock. For each ¼ cup of drippings needed, use 2 tablespoons butter plus ¼ cup stock.
- Turkey/chicken stock: You can use chicken bouillon cubes dissolved in water (follow package directions), or vegetable stock if needed. Just know the gravy might be a bit lighter in color and flavor.
- Plain flour: For gluten-free gravy, use cornstarch (half the amount of flour called for) or a 1:1 gluten-free flour blend. With cornstarch, mix with cold water first to prevent lumps.
- Sherry or wine: No alcohol? Try a splash of apple juice mixed with a teaspoon of apple cider vinegar, or just skip it – your gravy will still taste great!
- Fresh herbs: You can use dried herbs instead – just use 1/3 of the amount since dried herbs are more concentrated. Or mix and match whatever fresh herbs you have on hand.
Watch Out for These Mistakes While Cooking
The biggest challenge when making turkey gravy is ending up with lumps – to avoid this, gradually whisk the flour into your fat (drippings and oil/butter) to create a smooth paste before slowly adding the liquid. A common error is adding too much flour too quickly, which can create a paste that’s difficult to incorporate – instead, start with equal parts fat and flour (about 1/4 cup each) to make your roux. The third crucial mistake is not cooking your roux long enough – let it bubble and cook for at least 2-3 minutes to remove the raw flour taste before adding your stock and drippings. For the smoothest possible gravy, strain it through a fine-mesh sieve before serving, and remember to taste and adjust the seasoning at the very end since the saltiness of drippings can vary greatly.

What to Serve With Turkey Gravy?
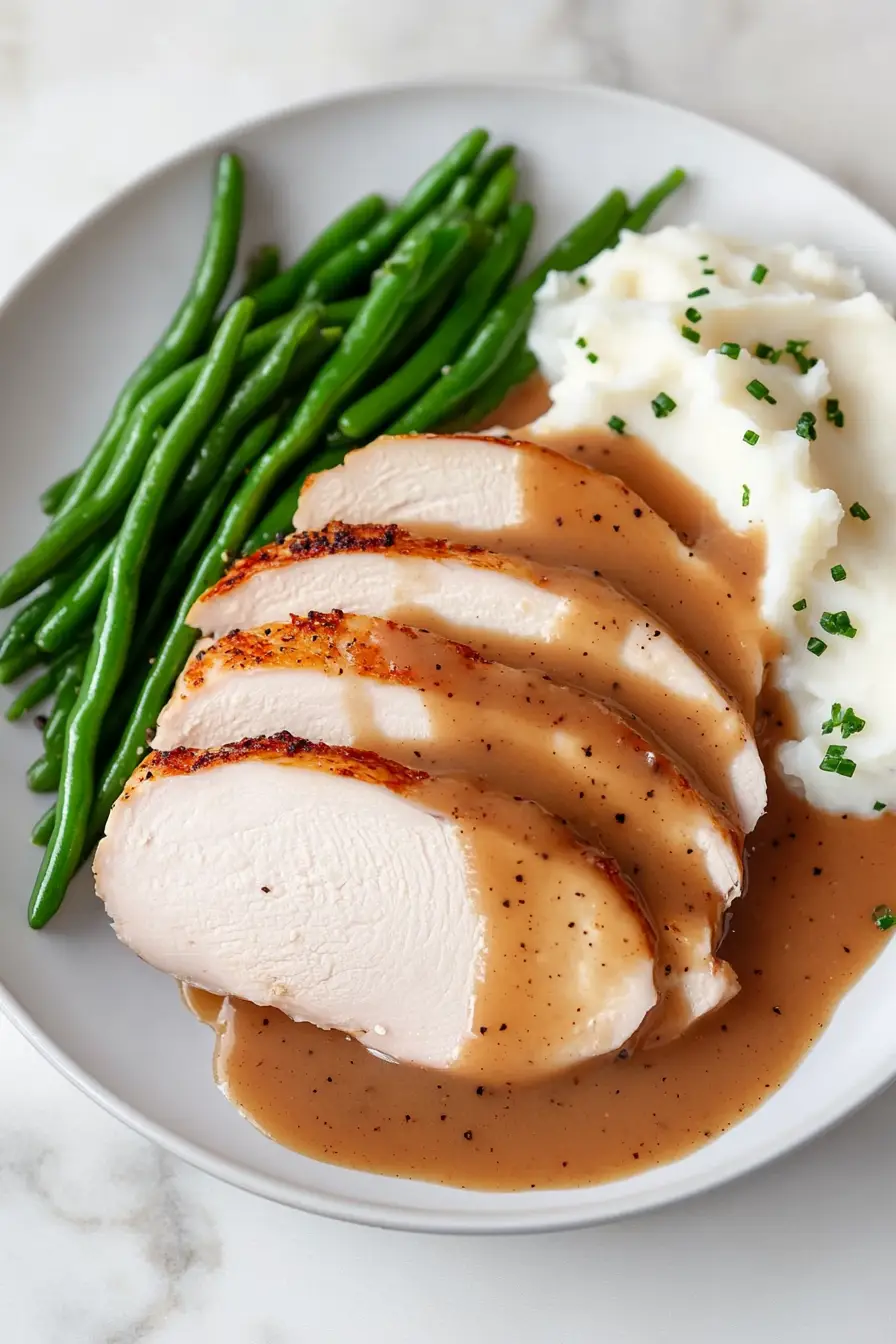
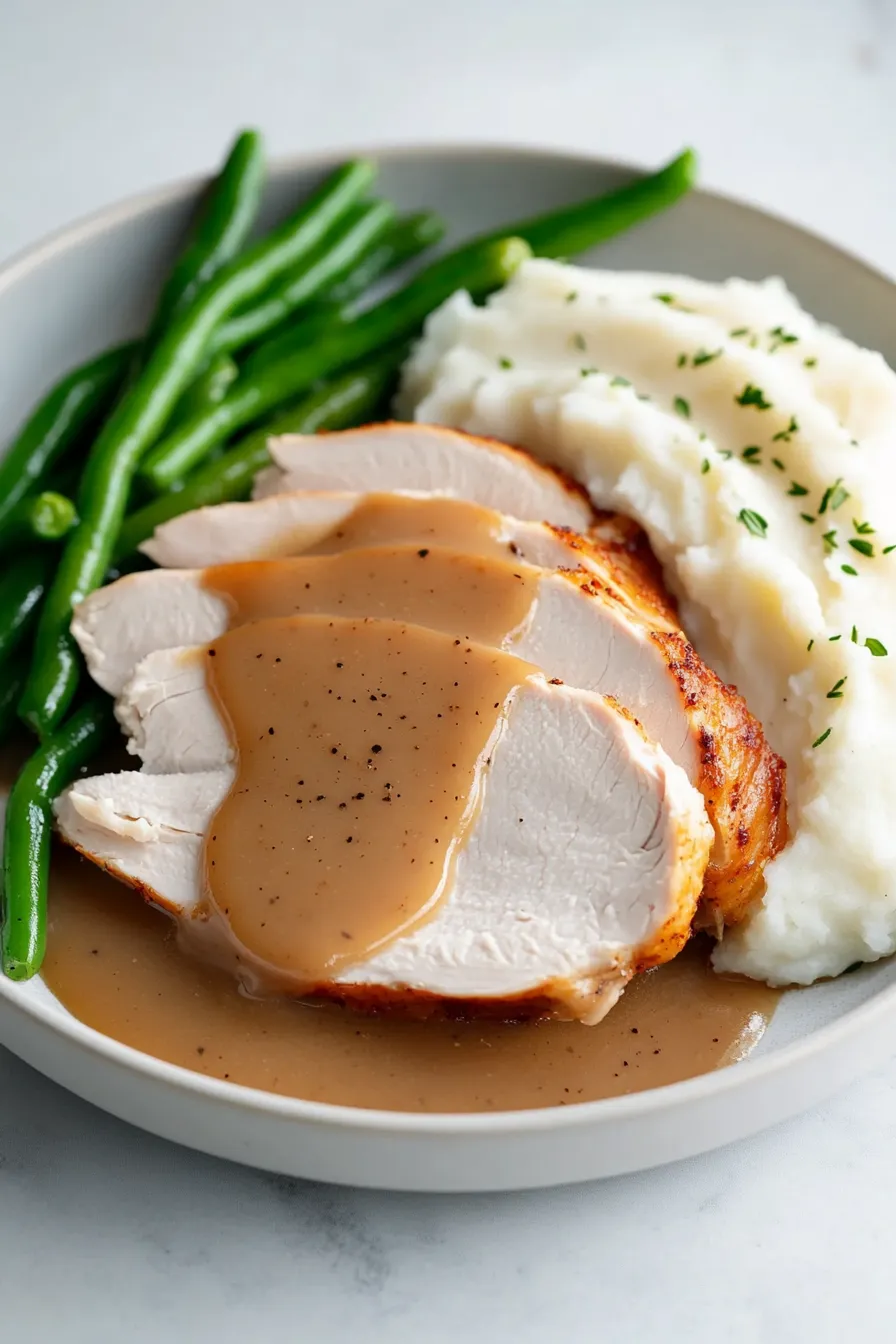
Turkey gravy is one of those must-have additions that makes everything on your holiday plate taste better! Pour it generously over sliced turkey breast and homemade mashed potatoes for that classic combination everyone loves. I like to drizzle it over stuffing too – it soaks up the gravy so nicely and adds an extra layer of flavor. For a complete comfort meal, try spooning some over roasted vegetables like carrots, green beans, or Brussels sprouts, or use it to moisten leftover turkey sandwiches the next day. Just remember to serve it warm – gravy tends to thicken up as it cools down.
Storage Instructions
Keep Fresh: Your homemade turkey gravy will stay good in the fridge for 3-4 days when kept in an airtight container. The gravy might thicken up a bit while chilled, but don’t worry – that’s totally normal!
Freeze: Got extra gravy? Pour it into freezer-safe containers or ice cube trays (for smaller portions) and freeze for up to 4 months. This is super handy for future meals or when you want just a touch of gravy for a quick dinner.
Warm Up: To use your stored gravy, warm it up slowly on the stovetop over medium-low heat, stirring frequently. If it’s too thick, just add a splash of broth or water until you get the right consistency. For frozen gravy, thaw overnight in the fridge before reheating.
Make Ahead: You can make this gravy up to 2 days before your big meal – just leave out the pan drippings and add them in when you reheat. This is a real time-saver during busy holiday cooking!
| Preparation Time | 15-20 minutes |
| Cooking Time | 15-30 minutes |
| Total Time | 30-50 minutes |
| Level of Difficulty | Medium |
Estimated Nutrition
Estimated nutrition for the whole recipe (without optional ingredients):
- Calories: 300-400
- Protein: 15-25 g
- Fat: 25-35 g
- Carbohydrates: 20-25 g
Ingredients
- Drippings from a 12-15 pound roast turkey
- Up to 2 cups unsalted turkey or chicken stock
- Vegetable oil or melted butter, as required
- 1/4 cup plain flour
- Optional add-ins: dash of sherry, bit of wine, 1 teaspoon finely chopped fresh herbs such as rosemary, thyme, or sage
- Kosher salt
- Ground black pepper
Step 1: Prepare the Pan Drippings
Once your turkey is ready, carefully tip it upright to allow the juices to flow out of the cavity into the roasting pan.
Place the turkey aside to rest.
Examine the pan drippings.
If the pan bottom is sufficiently covered with liquid drippings, proceed to the next step.
If there are dry areas, add 1 cup of low-sodium broth and place the roasting pan over medium-high heat (spanning two burners if necessary).
Heat until the drippings are simmering, then turn off the heat.
Use a wooden spoon to scrape up all the bits from the bottom of the pan.
Step 2: Strain and Separate the Drippings
Position a fine-mesh strainer over a heatproof bowl or liquid measuring cup.
Pour the drippings through the strainer, discarding any solids left in the strainer.
Let the drippings sit for about 10 minutes until the fat separates and settles on top.
You can expedite this process by briefly placing the drippings in the refrigerator or freezer.
Step 3: Measure Fat and Liquid
Once the fat has settled, skim off the fat with a ladle or spoon and measure 1/4 cup.
If you have extra fat, you may discard it or reserve it for another use.
If there isn’t enough fat, compensate with vegetable oil or melted butter to get the required 1/4 cup.
Measure 2 cups of the remaining drippings.
If necessary, add low-sodium broth to reach 2 cups.
Step 4: Make the Gravy Roux
Heat the 1/4 cup of fat in a medium saucepan over medium-high heat until hot.
Whisk in 1/4 cup of all-purpose flour, cooking it until bubbling and slightly darker in color, which should take about 1 1/2 to 2 minutes.
You may add a splash of wine or sherry at this point if desired for added flavor.
Step 5: Finish and Thicken the Gravy
Pour the measured drippings into the pan with the roux.
Add 1 teaspoon of fresh minced herbs if you’d like to enhance the gravy’s flavor.
Cook while whisking frequently until the mixture reaches a boil.
For a thicker gravy, reduce the heat and simmer until it reaches your desired consistency.
Finally, taste the gravy and season with kosher salt and black pepper according to your preference.
