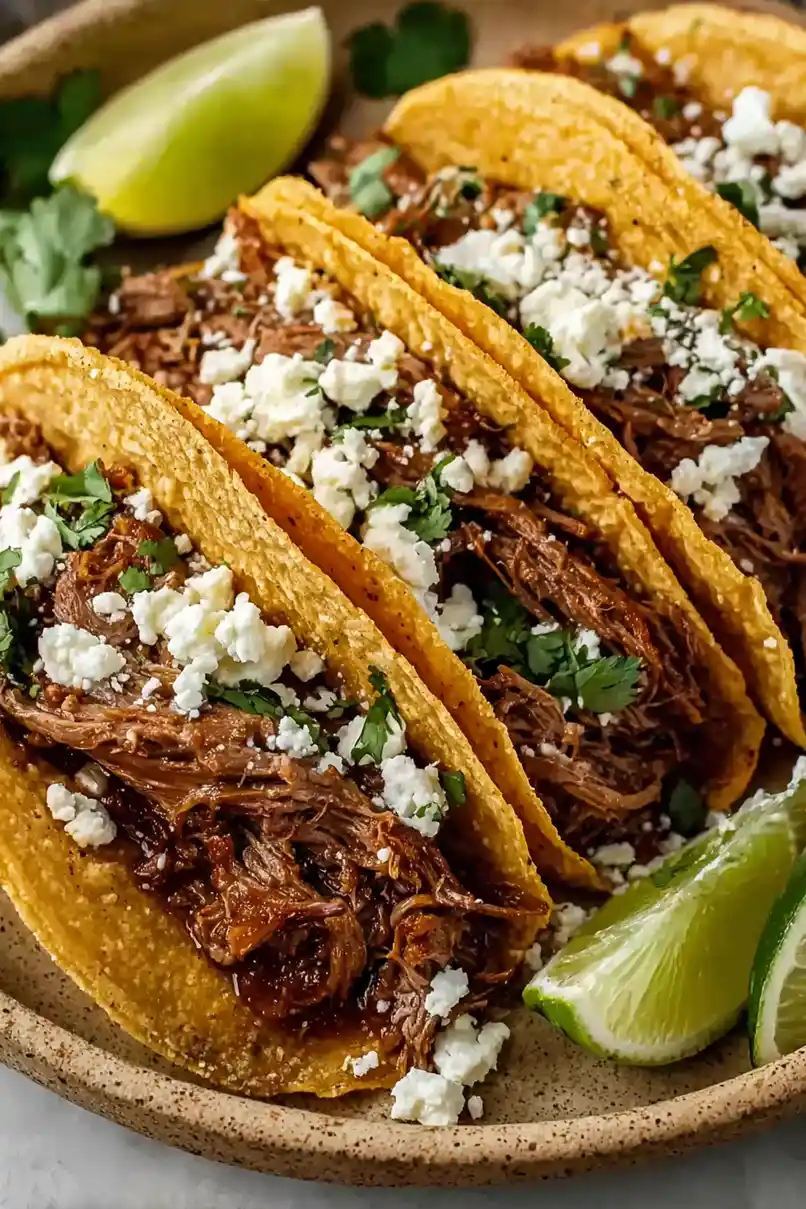
I never thought about turning leftover roast beef into tacos until I saw my neighbor doing it one Sunday afternoon. Growing up, roast beef was strictly a “nice dinner” thing – the kind of meal that came with mashed potatoes and green beans on the side.
But here’s the thing about roast beef – it’s actually perfect for tacos when you slice it thin and warm it up with some Mexican spices. It’s different from the usual ground beef taco meat we all know, and honestly, it might be even better. Plus, it’s a great way to use up those Sunday dinner leftovers that always seem to hang around in the fridge.
Why You’ll Love These Roast Beef Tacos
- Hands-off cooking – Once you get the beef in the slow cooker, you can forget about it for the next 8-10 hours while it transforms into tender, flavorful meat.
- Great for feeding crowds – This recipe makes enough to feed 8-10 people, making it perfect for family gatherings or parties – and everyone can customize their own tacos.
- Simple ingredients – You only need a handful of basic ingredients that you can find at any grocery store, and the slow cooking process makes even budget-friendly chuck roast incredibly tender.
- Make-ahead friendly – The beef can be made ahead and reheated when needed, plus it actually tastes even better the next day as the flavors continue to develop.
What Kind of Chuck Roast Should I Use?
For these tacos, you’ll want to look for a well-marbled chuck roast with good fat distribution throughout the meat – this helps keep the meat tender and juicy during the long cooking process. Chuck roast typically comes from the shoulder area of the cow and might be labeled as “chuck shoulder,” “chuck-eye roast,” or “shoulder steak” at your grocery store. When shopping, pick a piece that’s bright red with white fat marbling (avoid pieces that look too dark or have yellowing fat). If your store offers choice and prime grades, either will work fine, though prime will give you slightly more tender results. Just make sure the roast is at least 2-3 inches thick to prevent it from drying out during cooking.
Options for Substitutions
This taco recipe is pretty adaptable and you can make several swaps based on what you have in your kitchen:
- Chuck roast: While chuck roast is ideal for its marbling and flavor, you can swap it with brisket, bottom round, or even pork shoulder for a different spin. Just keep the cooking time the same to ensure tender meat.
- Enchilada sauce: Out of enchilada sauce? Mix 2 cups of tomato sauce with 2 tablespoons of chili powder, 1 teaspoon each of cumin and garlic powder. Or use your favorite salsa – just drain excess liquid first.
- Queso fresco: Can’t find queso fresco? Try feta cheese (but use less as it’s saltier), shredded monterey jack, or even cotija cheese instead.
- Tortillas: Corn and flour tortillas are interchangeable here – it’s just personal preference. If using corn tortillas, remember to warm them up first to prevent breaking.
- White onion: Red onion works just as well, or try pickled onions for extra tang. You could even use green onions in a pinch.
- Cilantro: If you’re not a cilantro fan or don’t have any, try using fresh parsley, or simply skip it – the tacos will still be tasty!
Watch Out for These Mistakes While Cooking
The biggest mistake when making roast beef tacos is rushing the cooking process – this cut of meat needs low and slow cooking (at least 4-5 hours) to break down the tough muscle fibers and become tender enough to shred easily with two forks. Another common error is not seasoning the meat thoroughly before cooking; make sure to rub the beef stock powder all over the roast and let it sit for 15-20 minutes at room temperature before searing. To prevent dry meat, avoid lifting the lid during cooking as this releases precious moisture and extends cooking time – trust the process and keep that lid on until the time is up. For the best flavor and texture, let the shredded meat sit in its cooking juices for at least 10 minutes before serving, and always warm your tortillas on a hot skillet or griddle to prevent them from breaking when filled.
What to Serve With Roast Beef Tacos?
These roast beef tacos are begging for some classic Mexican side dishes to round out your meal! Mexican rice and refried beans are natural choices that’ll make your plate look like it came straight from your favorite taco shop. I love setting up a toppings bar with shredded lettuce, diced tomatoes, sliced avocados, and extra lime wedges so everyone can customize their tacos. For something fresh and cool, try serving a simple cucumber and radish salad dressed with lime juice and a pinch of salt – it adds a nice crunch and helps balance out the rich beef. You could also whip up some quick guacamole or set out bowls of sour cream and different salsas for extra dipping fun.
Storage Instructions
Keep Fresh: The cooked roast beef filling stays good in the fridge for up to 4 days when stored in an airtight container. I recommend storing the meat, tortillas, and toppings separately – this keeps everything fresh and lets you assemble tacos as needed. The chopped onions and cilantro can be stored in separate containers in the fridge for 2-3 days.
Freeze: The seasoned beef freezes really well! Pack it in freezer-safe containers or bags and it’ll keep for up to 3 months. Just remember to label with the date – you’ll thank yourself later. I often make a double batch just to freeze half for busy weeknights.
Reheat: To warm up the beef, just pop it in a skillet over medium heat with a splash of water or broth to keep it moist. Heat and stir occasionally until it’s warmed through, about 5-7 minutes. You can also microwave it in 30-second intervals, stirring between each. Warm the tortillas quickly in a dry skillet or wrapped in slightly damp paper towels in the microwave.
| Preparation Time | 15-30 minutes |
| Cooking Time | 600-610 minutes |
| Total Time | 615-640 minutes |
| Level of Difficulty | Medium |
Estimated Nutrition
Estimated nutrition for the whole recipe (without optional ingredients):
- Calories: 2500-2800
- Protein: 160-180 g
- Fat: 150-170 g
- Carbohydrates: 180-220 g
Ingredients
For the beef:
- 3 lb chuck roast
- 1 tbsp beef stock powder
- 1 can enchilada sauce
- 1 tbsp olive oil
For the taco assembly:
- 1 cup queso fresco (crumbled)
- 1 white onion (finely diced)
- 25-30 small tortillas (corn, 4.5 inch)
- 2 tbsp cilantro (freshly chopped)
- lime wedges
Step 1: Sear the Chuck Roast
Begin by heating a large cast-iron skillet over medium-high heat and add a bit of oil.
Once the oil is hot, carefully add the chuck roast to the skillet.
Sear the roast on each side for about 3-5 minutes, until each side is nicely browned.
This step helps to lock in the flavors.
Step 2: Slow Cook the Beef
Transfer the seared beef carefully into a crockpot.
Sprinkle with bouillon powder and pour in the enchilada sauce over the top.
Cover the crockpot with a lid and set it to slow cook on low for 10 hours.
This long, slow cooking process will result in tender, flavorful beef.
Step 3: Shred the Beef
After the cooking time is complete, remove the chuck roast from the slow cooker and place it on a large platter or cutting board.
Use two forks to shred the beef gently.
Return the shredded roast to the crockpot, mixing it back into the delicious juices for added flavor.
Step 4: Prepare the Tortillas
Preheat a separate skillet to medium-high heat.
When ready, take one tortilla at a time and dip it briefly into the juices in the crockpot.
Place the tortilla onto the hot skillet.
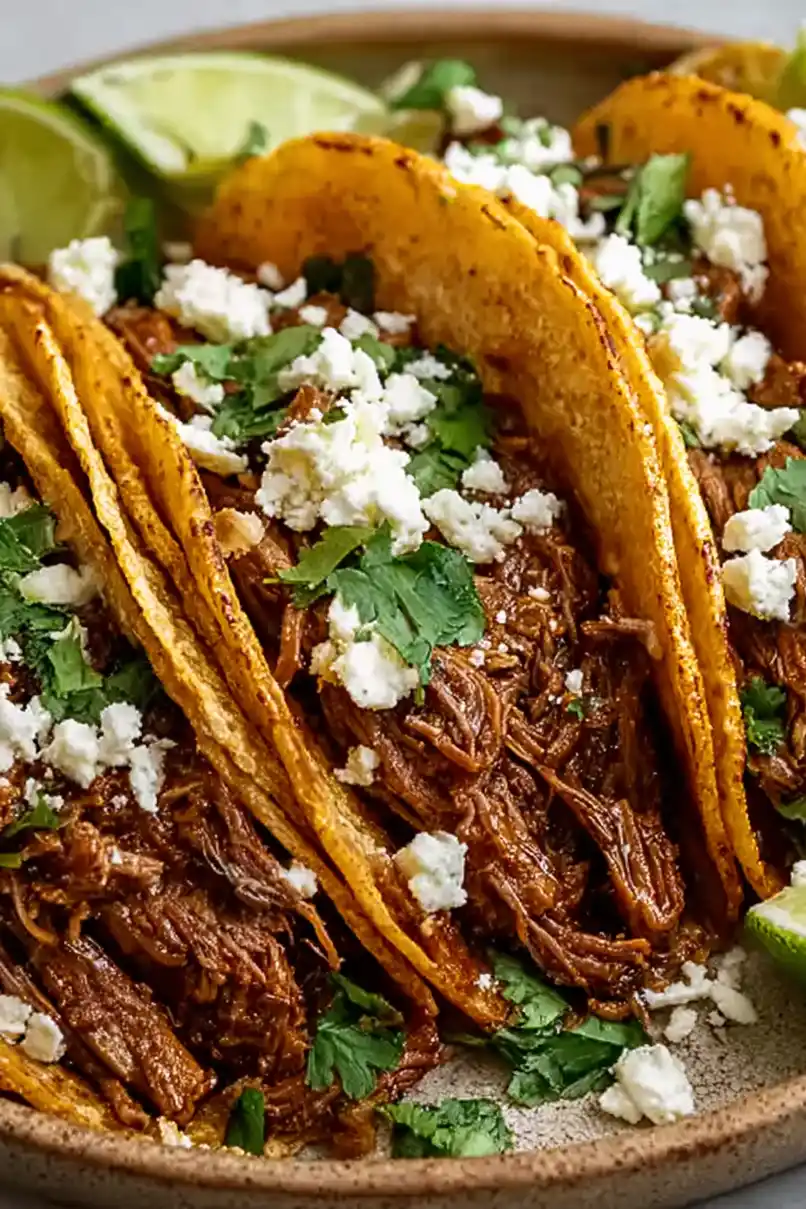
As it cooks, add a portion of the shredded roast, some chopped onion, crumbled queso fresco, and fresh cilantro on top of the tortilla.
Allow to cook for 1-2 minutes, then use a spatula to remove the tortilla from the skillet.
Step 5: Serve and Enjoy
Once off the skillet, fold the tortilla in half to encase the delicious filling.
Repeat with the remaining tortillas and filling.
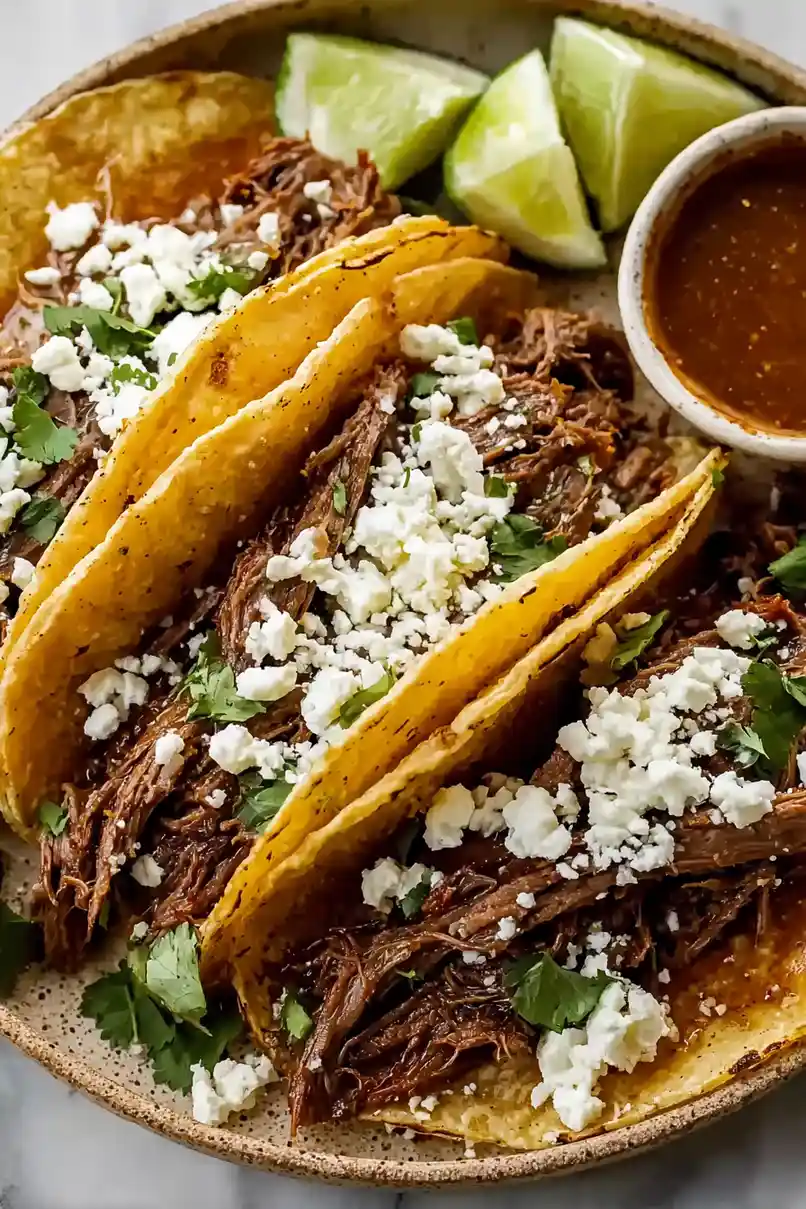
Serve your finished tacos with a small bowl of the leftover juices from the slow cooker for dipping.
Enjoy the rich, savory flavors of this slow-cooked feast!
