Growing up, I always thought nachos meant opening a bag of tortilla chips and dumping some jarred cheese sauce on top. That’s how we did it at home, and honestly, I never questioned it. When my college roommate made her own chips from corn tortillas, I was blown away.
Turns out, making your own nacho chips isn’t just easy – it’s way better than anything from a bag. All you need are some corn tortillas, a bit of oil, and salt. The best part? You can control exactly how crispy they get, and they’re always fresh and warm when you serve them.
Why You’ll Love These Nacho Chips
- Homemade freshness – These chips come out warm, crispy, and so much better than store-bought versions – you’ll taste the difference immediately.
- Simple ingredients – You only need a few basic pantry staples to make these chips, with no artificial preservatives or mystery ingredients.
- Cost-effective – Making your own nacho chips costs much less than buying premium tortilla chips, and you can make them whenever you want.
- Customizable seasoning – You can adjust the cheese powder and seasonings to match your taste preferences – make them as mild or zesty as you like.
What Kind of Corn Flour Should I Use?
For making authentic nacho chips, you’ll want to use masa harina, which is a special type of corn flour that’s been treated with lime water – it’s different from regular cornmeal or corn flour you might find in the baking aisle. While you could use regular corn flour in a pinch, masa harina will give you that genuine tortilla chip taste and texture you’re looking for. Most grocery stores carry masa harina in the international foods section, with Maseca being the most common brand. If you can’t find masa harina locally, regular finely ground corn flour will work, but your chips might turn out a bit more crumbly and less authentic-tasting.
Options for Substitutions
Making these nachos at home? Here are some helpful substitution tips:
- Corn flour: This is a key ingredient that’s hard to substitute since it gives nachos their classic taste and texture. If you absolutely must, use masa harina, but regular wheat flour alone won’t give you authentic results.
- All-purpose flour: You can swap this with whole wheat flour or rice flour. Just note that whole wheat will make the chips slightly denser.
- Powdered cheese: No powdered cheese? Try using finely grated parmesan cheese or nutritional yeast for a similar cheesy flavor. You can even skip it if you prefer plain chips.
- Turmeric: This is mainly for color, so you can leave it out or replace it with a pinch of paprika for a different but nice color.
- Dried oregano: Feel free to swap this with Mexican oregano, dried basil, or Italian seasoning. You can also try taco seasoning for a different twist.
- Water: Water is pretty standard here, but you could use half water and half milk for slightly richer chips. Just keep the total liquid amount the same.
Watch Out for These Mistakes While Baking
The biggest challenge when making homemade nacho chips is getting the dough consistency right – too wet and it’ll stick to everything, too dry and it’ll crumble, so add water gradually until you achieve a smooth, pliable dough that doesn’t stick to your hands.
Rolling the dough to the right thickness is crucial – aim for about 1/8 inch thickness, as thicker chips won’t crisp up properly and thinner ones will burn quickly; using parchment paper above and below the dough while rolling helps prevent sticking and ensures even thickness.
Temperature control is key when baking these chips – watch them carefully as they can go from perfectly golden to burnt in seconds, and it’s better to bake them at 350°F (175°C) for a few extra minutes than to rush them at a higher temperature.
For extra crispiness, let the chips cool completely on the baking sheet before storing them in an airtight container, and if they start to soften, a quick 2-3 minute reheat in the oven will bring back their crunch.
What to Serve With Nachos?
These homemade nacho chips are begging to be paired with all your favorite Mexican-inspired dips and toppings! A good bowl of fresh guacamole or zesty salsa is a must-have – either store-bought or homemade will work great. For a more filling snack spread, set out some queso dip, refried beans, or even some seasoned ground beef to create a DIY nacho bar. You can also serve these chips alongside other party favorites like buffalo wings, jalapeño poppers, or a fresh veggie platter for a complete game day spread that everyone will love.
Storage Instructions
Keep Crispy: Once your homemade nacho chips have cooled completely, put them in an airtight container or zip-top bag. They’ll stay fresh and crunchy at room temperature for up to 5 days. Pro tip: toss a paper towel in the container to absorb any excess moisture and keep them extra crispy!
Make Ahead: You can prepare a big batch of these chips on the weekend for snacking all week long. Just make sure they’re completely cool before storing, otherwise, they might get soft from trapped moisture. If they do lose some crunch, a quick 2-3 minutes in a 350°F oven will bring back their crispiness.
Store Long-Term: For longer storage, place the chips in a freezer-safe container with parchment paper between layers. They’ll keep well in the freezer for up to 2 months. When you’re ready to eat them, let them thaw at room temperature for about 15 minutes.
| Preparation Time | 15-20 minutes |
| Cooking Time | 20-30 minutes |
| Total Time | 35-50 minutes |
| Level of Difficulty | Medium |
Estimated Nutrition
Estimated nutrition for the whole recipe (without optional ingredients):
- Calories: 600-700
- Protein: 15-20 g
- Fat: 10-15 g
- Carbohydrates: 120-130 g
Ingredients
For the dough:
- 1 1/4 cups water
- 1/2 tsp dried oregano (crushed between your fingers for more flavor)
- 1/4 cup all-purpose flour
- salt (as desired)
- 1 1/4 cups corn flour (I use Bob’s Red Mill fine ground corn flour)
- 1/4 tsp ground turmeric
For the seasoning:
- 2 tbsp powdered cheese (such as cheddar cheese powder)
Step 1: Prepare the Maize Flour Mixture
In a pot, heat 1 and 1/4 cups of water with a pinch of salt and 1/2 teaspoon of oregano.
Let the mixture start to boil.
Once boiling, add the maize flour.
Mix well until no dry flour is visible, then switch off the heat.
Cover the pot with a lid and remove it from the flame.
Let the mixture rest for about 5 minutes or until it’s cool enough for you to handle.
Ensure the flour remains moist; if it seems dry, sprinkle a little hot water before kneading.
Step 2: Form the Dough
Transfer the cooked maize flour into a mixing bowl.
Add 1/4 cup of maida (all-purpose flour) and 1/2 teaspoon of oregano.
Knead the mixture until you obtain a smooth, stiff dough.
This process should take at least 5 minutes to ensure a uniform texture.
Once the dough is ready, divide it into lemon-sized balls and set them aside.
Step 3: Roll and Cut the Dough
Dust your working surface with flour and roll each dough ball into a thin circle.
Trim the edges if necessary to ensure even thickness.
Prick the rolled dough with a fork to prevent puffing up during frying.
Cut the rolled dough into strips, then stack the strips and cut them into triangles.
Collect any scraps, combine them with the remaining dough, and repeat the process until all the dough is shaped.
Step 4: Deep Fry the Corn Chips
Heat oil in a kadai (or deep frying pan) over low to medium flame.
Add the dough triangles to the hot oil, ensuring not to overcrowd the pot.
Deep fry until they turn golden brown, then remove them onto a paper towel-lined plate to drain any excess oil.
Repeat this process until all the dough pieces are fried.
Step 5: Add Cheese Flavoring
While the chips are still warm, place them in a large bowl.
Add 1 tablespoon of cheese powder and toss well to coat the chips.
Add another tablespoon of cheese powder and toss again until all chips are evenly coated with the flavoring.
This will give them a delicious cheesy flavor.
Step 6: Serve
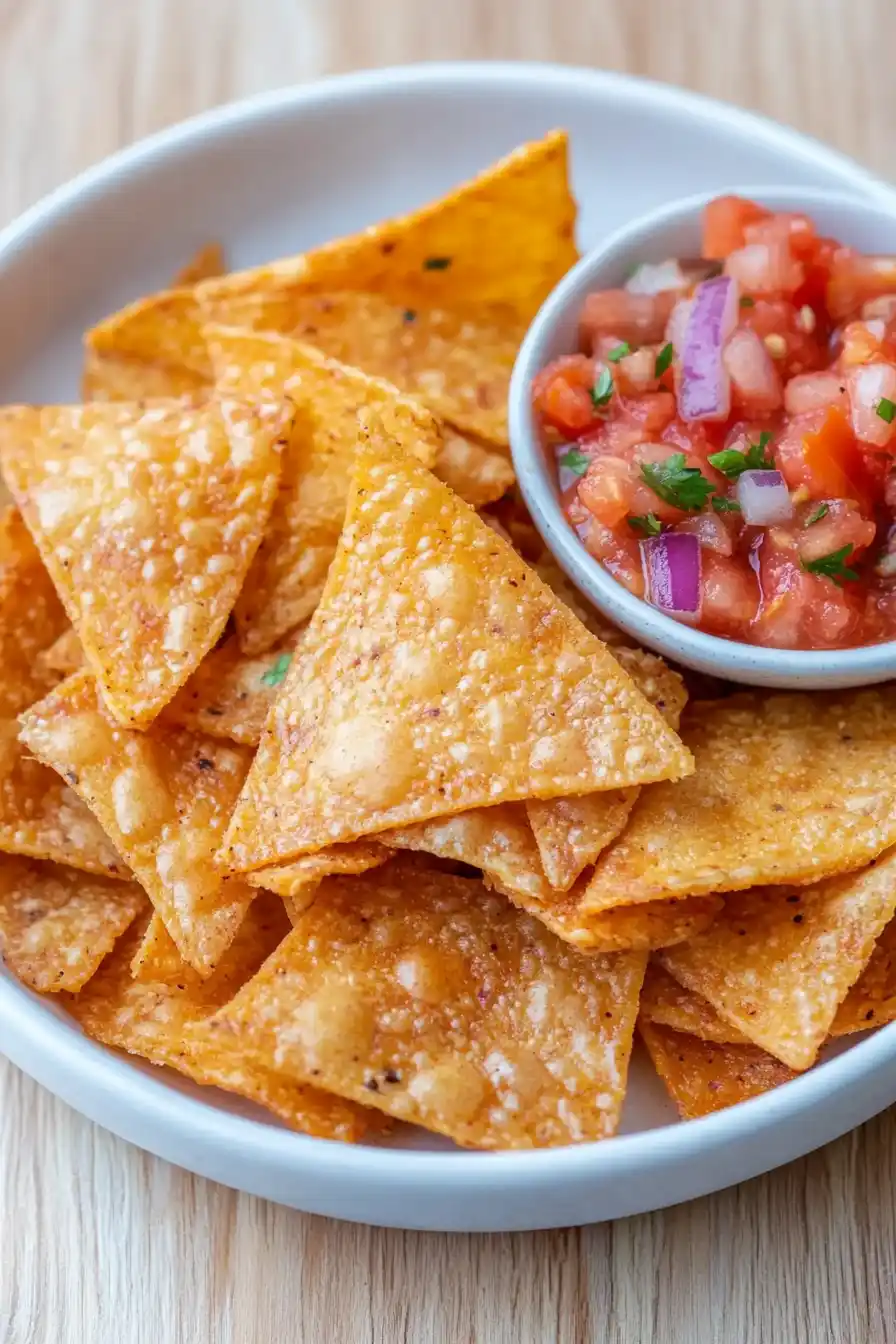
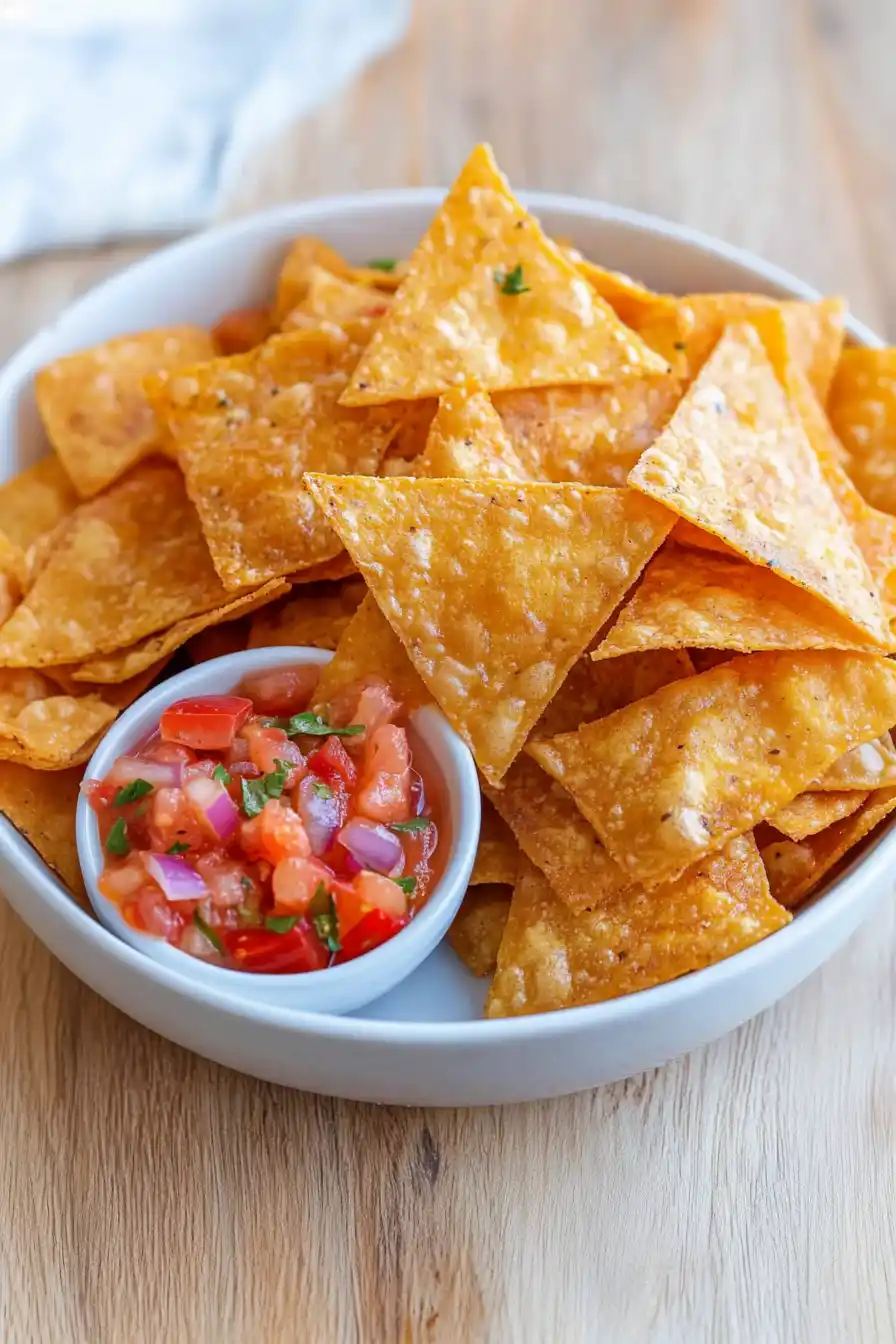
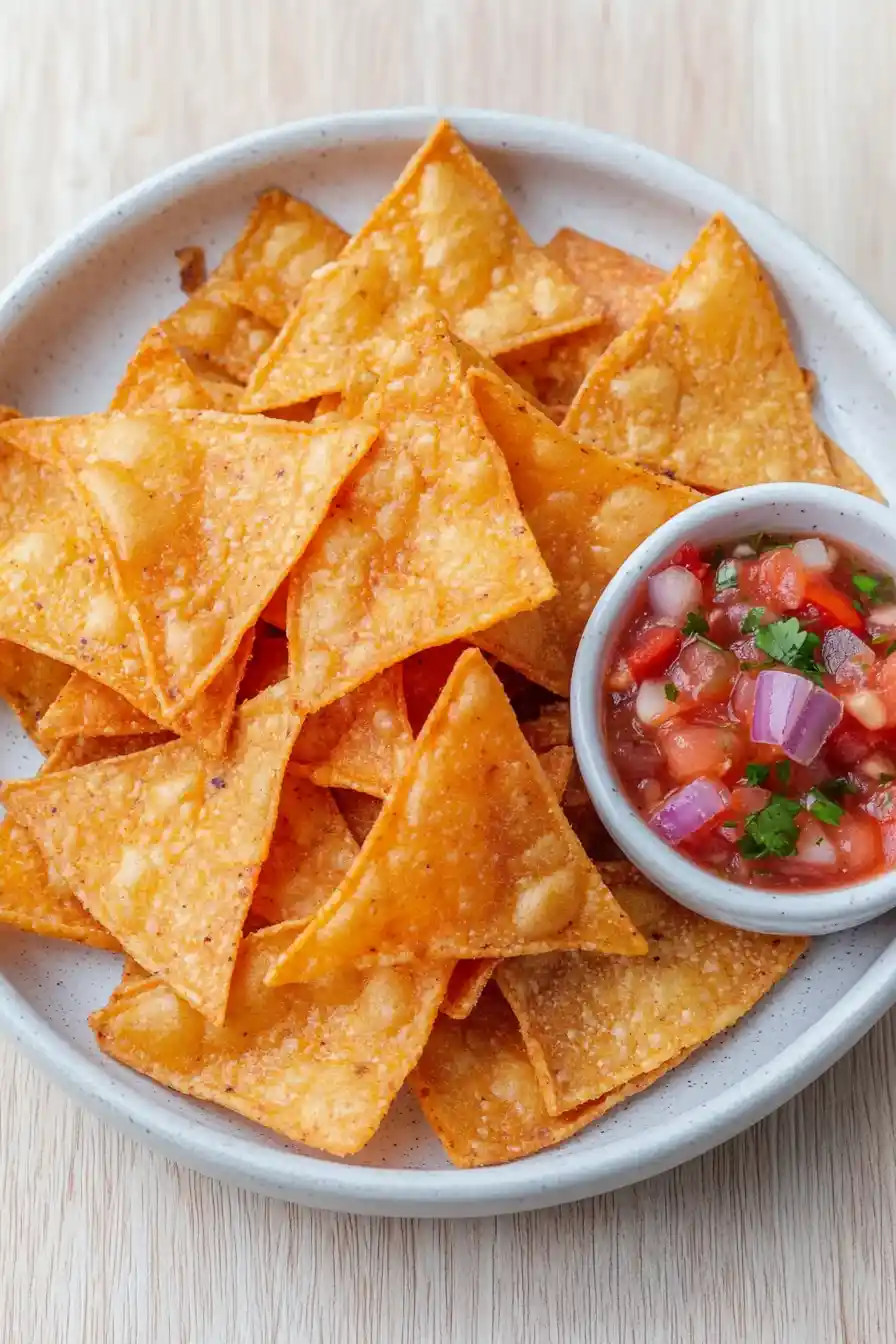
Your corn chips, or nachos chips, are now ready!
Serve them with cheese sauce or salsa as a perfect snack or appetizer.
Enjoy the satisfying crunch and delightful taste of homemade corn chips.
