There’s something so comforting about Southern cooking, and fried okra has always had a special place in my heart. I remember watching my grandmother making it in her cast iron skillet, the kitchen filled with that familiar sizzling sound. Even now, when I make it for my own family, those memories come flooding back. It’s one of those side dishes that feels like home, no matter where you’re serving it.
I know some folks get nervous about cooking okra – worried it might turn out slimy or mushy. But this recipe is actually pretty simple and straightforward. I’ve broken it down into easy steps that’ll give you crispy, golden-brown okra every time. Plus, it pairs perfectly with just about any Southern main dish, from fried chicken to black-eyed peas.

Why You’ll Love This Fried Okra
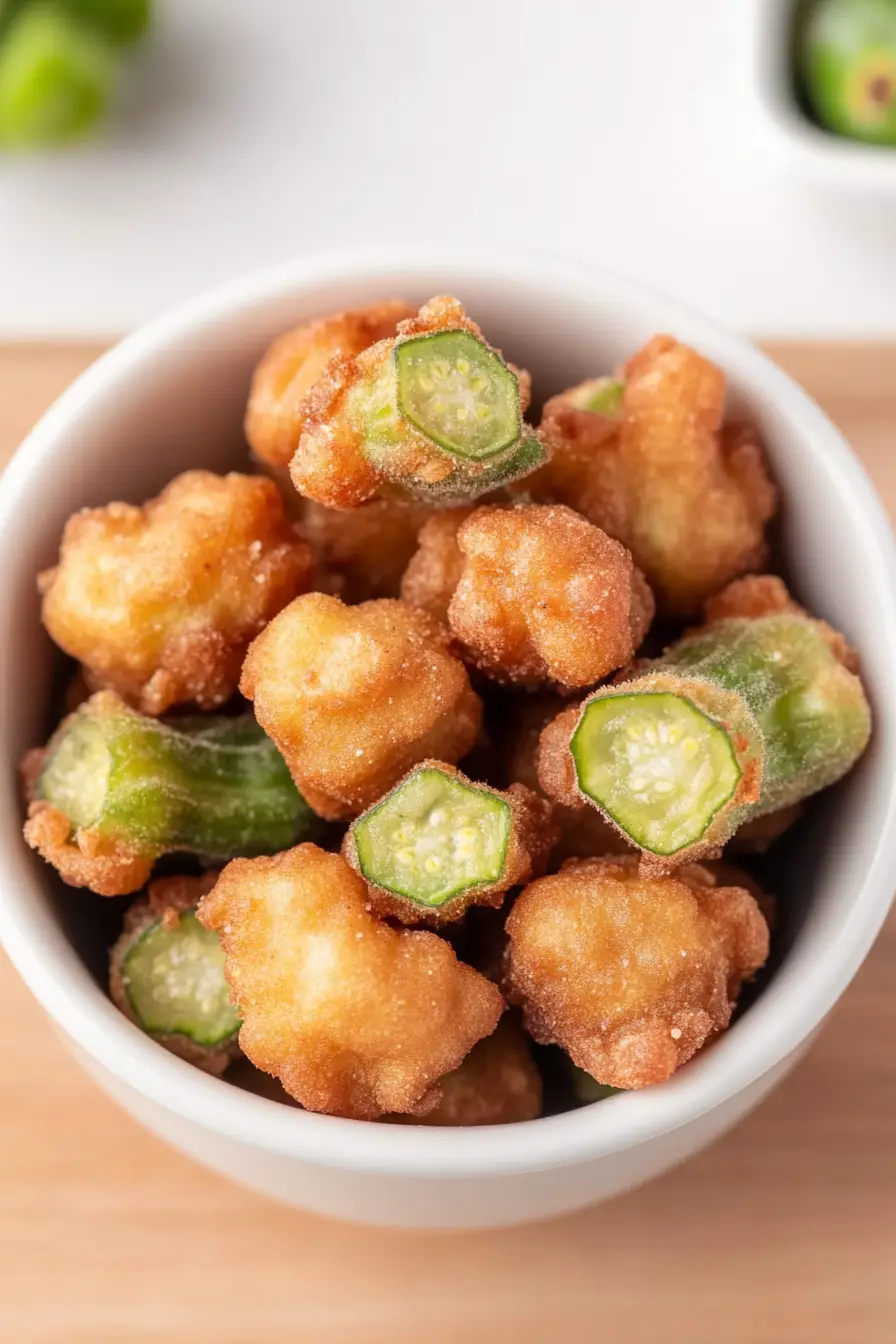
- Crispy exterior – The simple flour coating creates a perfectly crispy shell around each piece of okra, giving you that satisfying crunch in every bite.
- Basic pantry ingredients – You only need a handful of everyday ingredients you probably already have in your kitchen – flour, egg, milk, and seasonings.
- Quick preparation – From start to finish, this classic Southern side dish comes together in less than an hour, making it perfect for busy weeknight dinners.
- Traditional Southern flavor – This recipe stays true to the authentic taste of Southern fried okra, bringing that down-home cooking right to your kitchen.
What Kind of Okra Should I Use?
For the crispiest fried okra, you’ll want to look for young, small to medium-sized pods that are bright green and feel firm when you give them a gentle squeeze. Avoid any pods longer than 4 inches, as they tend to be tough and woody. Fresh okra is best during summer months, but you can also use frozen okra – just make sure to thaw and pat it completely dry before cooking to help the coating stick better. If you’re buying fresh okra from the market, check that the pods snap cleanly when bent rather than bending without breaking, which is a sign they’re too old and will be stringy when cooked.

Options for Substitutions
While this classic Southern dish has some specific needs, there are still several ways you can switch things up:
- Okra: Fresh okra is really the star here and can’t be substituted – frozen okra tends to be too wet and mushy for frying. If you can’t find okra, you might want to try a different recipe altogether.
- All-purpose flour: You can swap regular flour with cornmeal for extra crunch, or use a 50/50 mix of flour and cornmeal. For gluten-free options, try rice flour or a gluten-free all-purpose flour blend.
- Milk: Any type of milk works here – whole, 2%, or plant-based options like unsweetened almond or soy milk. You can even use buttermilk for a tangier flavor.
- Vegetable oil: Any neutral-flavored oil with a high smoke point works well – try canola, peanut, or corn oil. Avoid olive oil as its flavor is too strong and it’s not great for high-heat frying.
- Egg: For a vegan version, mix 2 tablespoons of water with 1 tablespoon of ground flaxseed and let it sit for 5 minutes before using.
Watch Out for These Mistakes While Frying
The biggest challenge when frying okra is dealing with its natural sliminess, which can be minimized by making sure your okra pieces are completely dry before coating – pat them thoroughly with paper towels and let them sit at room temperature for 15-20 minutes before starting. Another common mistake is overcrowding the pan, which leads to soggy rather than crispy okra – fry in small batches and maintain an oil temperature around 350°F for the perfect crunch. The coating can easily fall off during frying if you don’t follow the right order: dip the okra in the egg-milk mixture first, then dredge in the seasoned flour, and shake off any excess before carefully placing in the hot oil. For the crispiest results, avoid flipping the okra too frequently while frying – let each piece cook for 2-3 minutes per side until golden brown, and drain on paper towels immediately after removing from the oil.
What to Serve With Fried Okra?
Fried okra is a Southern staple that pairs perfectly with other down-home favorites! This crispy side dish goes great with barbecue ribs, pulled pork, or fried chicken for a true Southern feast. I love serving it alongside cornbread and black-eyed peas or with a plate of country-fried steak and mashed potatoes. For a lighter meal, it works really well next to grilled fish or as part of a vegetable plate with corn on the cob and sliced tomatoes – just don’t forget the sweet tea!
Storage Instructions
Keep Fresh: Southern fried okra is best enjoyed right after cooking when it’s hot and crispy. If you have leftovers, place them in an airtight container lined with paper towels and keep in the fridge for up to 2 days. Just know that the crispy coating might soften a bit in storage.
Make Ahead: You can prep your okra ahead of time by slicing it and storing it in the fridge for up to 2 days. Mix your dry ingredients in advance too – it makes the cooking process much quicker when you’re ready to fry!
Crisp Up: To bring back some crispiness to leftover fried okra, spread them on a baking sheet and pop them in a 350°F oven for about 5-7 minutes. This helps restore some of that wonderful crunch we all love in fried okra.
| Preparation Time | 20-30 minutes |
| Cooking Time | 15-25 minutes |
| Total Time | 35-55 minutes |
| Level of Difficulty | Easy |
Estimated Nutrition
Estimated nutrition for the whole recipe (without optional ingredients):
- Calories: 800-900
- Protein: 15-20 g
- Fat: 50-60 g
- Carbohydrates: 70-80 g
Ingredients
- 1.5 lb okra (cut into 1/2-inch thick slices)
- 1 cup all-purpose flour (I always use King Arthur all-purpose flour)
- vegetable oil (for deep frying, use a neutral oil with high smoke point)
- 1 egg
- 1/4 cup milk
- 1/2 tsp salt
- 1/4 tsp black pepper (freshly ground preferred for more flavor)
Step 1: Prepare the Coating Mixtures
Begin by mixing together flour, salt, and pepper in a pie plate or a paper lunch bag.
In a separate small bowl, whisk together the egg and milk until well combined.
These will be your coating mixtures for the okra.
Step 2: Coat the Okra
Working in several batches, place the okra pieces into the egg mixture, ensuring they are well coated.
Then, transfer the okra to the flour mixture in the pie plate or paper bag.
Toss or shake to thoroughly coat each piece in the seasoned flour.
Step 3: Heat the Oil
Pour about 1 inch of vegetable oil into a large cast iron skillet or Dutch oven.
Heat the oil to approximately 375 degrees Fahrenheit, using a kitchen thermometer for accuracy.
The oil needs to be hot to ensure a crispy coating on the okra.
Step 4: Fry the Okra
Carefully place a single layer of the coated okra into the hot oil.
Allow the okra to cook until it turns golden brown on the bottom.
Use a spoon to flip each piece over, trying to flip several at a time to prevent burning.
Continue cooking until both sides are golden brown.
Step 5: Drain and Season
Utilize a slotted spoon to remove the cooked okra from the skillet, and transfer it to a plate lined with paper towels to drain excess oil.
Immediately sprinkle the okra with a bit of salt to enhance its flavor while hot.
Step 6: Repeat and Serve
If necessary, add more oil to the pan and continue to fry the remaining batches of okra.
Once all the okra is golden and crispy, serve warm as a tasty side dish or appetizer.
