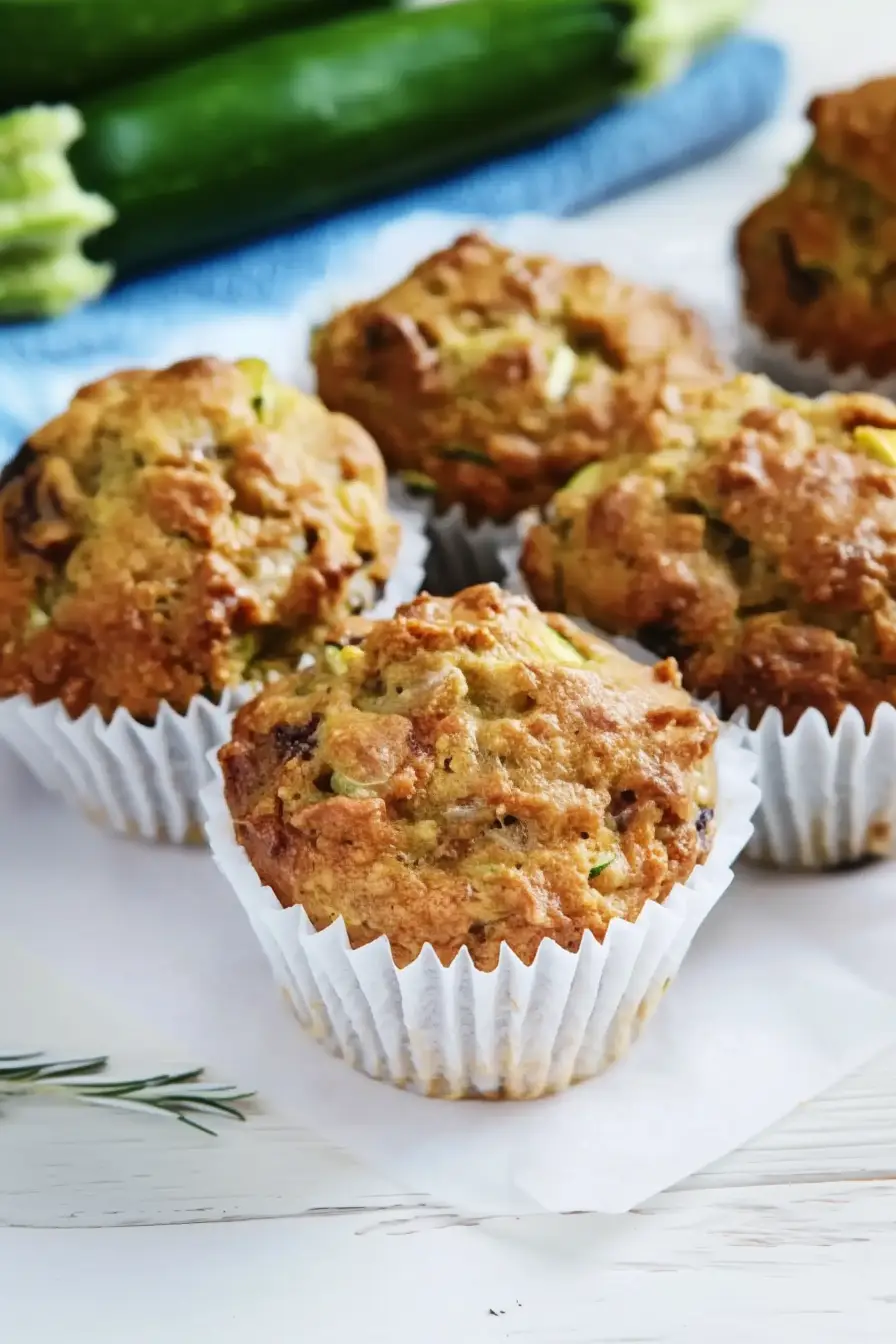
Here’s my trusted mulberry zucchini bread recipe, with a simple homemade batter that combines fresh garden zucchini, sweet mulberries, and just the right blend of warm spices.
This quick bread has become my go-to recipe during late summer when both mulberries and zucchini are at their peak. I often make a double batch – one loaf for now and one for the freezer. Nothing beats a warm slice with butter for an afternoon snack, don’t you think?
Why You’ll Love This Zucchini Bread
- Allergy-friendly – This gluten-free and vegan zucchini bread is perfect for anyone with dietary restrictions, but tastes so good that everyone will enjoy it.
- Naturally sweetened – Using maple syrup and dried mulberries instead of refined sugar means you get natural sweetness without the sugar crash.
- Sneaky vegetables – The zucchini adds moisture and nutrients while being completely undetectable – perfect for picky eaters or kids who avoid their veggies.
- Quick preparation – You can mix this bread together in just 15 minutes, and the rest is hands-off baking time.
- Healthy ingredients – With chia seeds, almond flour, and fresh zucchini, this bread packs in protein, fiber, and nutrients while still tasting like a treat.
What Kind of Zucchini Should I Use?
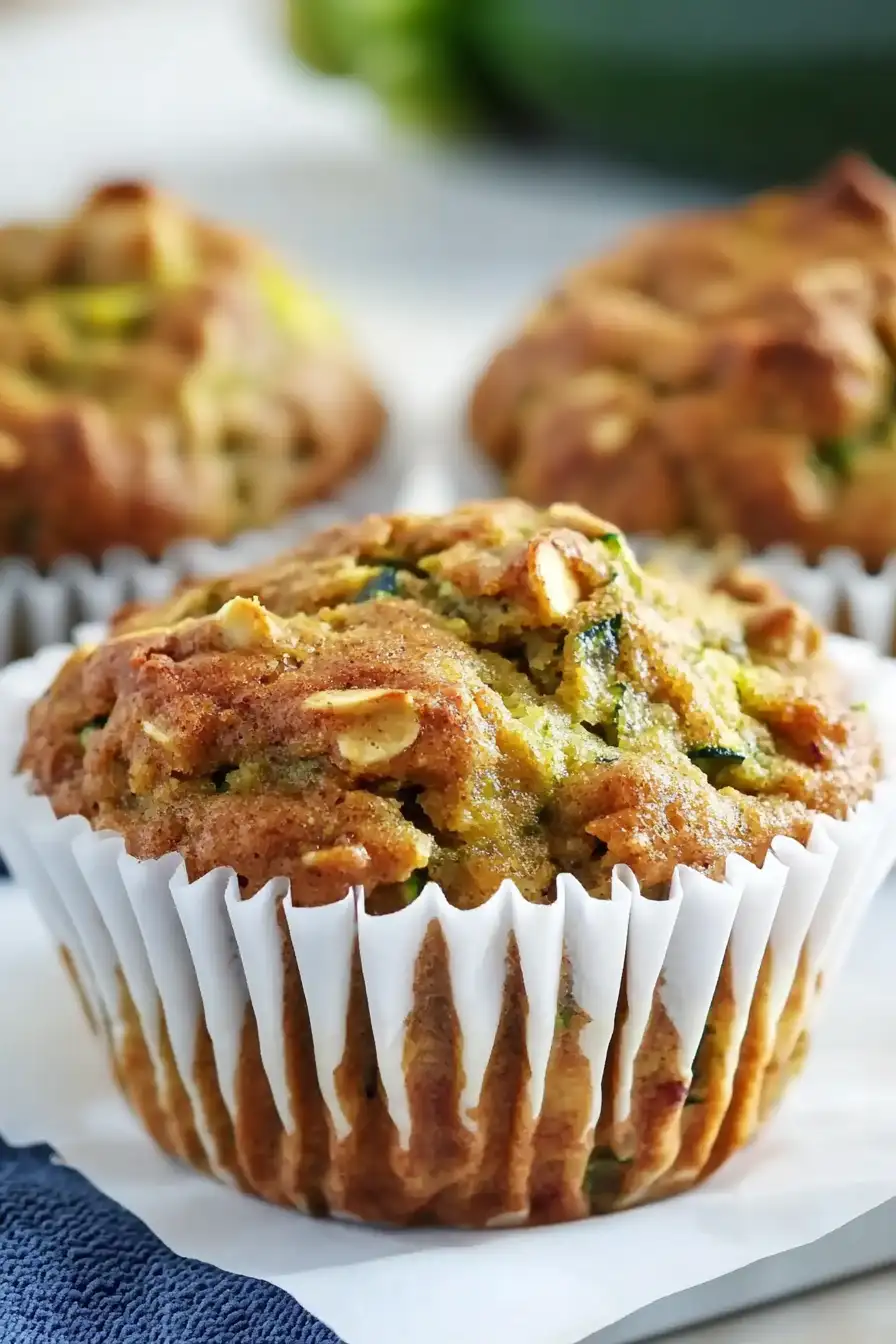
For zucchini bread, medium-sized zucchini (about 6-8 inches long) are your best bet since they’re tender and have smaller seeds than larger ones. If you can only find large zucchini, that’s okay too – just be sure to remove the seedy center before grating, as those bigger seeds can make your bread texture a bit off. Fresh, firm zucchini from your garden or grocery store will work great, and there’s no need to peel them – the skin adds nice flecks of green to your bread and contains good nutrients. Before adding the grated zucchini to your batter, give it a gentle squeeze to remove excess moisture, but don’t go overboard – you want to keep some of that moisture to help make your bread nice and moist.
Options for Substitutions
This healthy bread recipe has several ingredients that you can swap if needed:
- Chia seed powder: You can replace this with ground flaxseed (same amount) – just mix with water as directed. This acts as an egg replacer, so you could also use 2 regular eggs instead.
- Gluten-free flour: Regular all-purpose flour works fine if you don’t need the recipe to be gluten-free. Just make sure to use the same amount.
- Almond flour: Other nut flours like cashew or hazelnut flour work well here. For nut allergies, try oat flour, but the texture might be slightly different.
- Coconut oil: Any neutral oil works – try light olive oil, avocado oil, or melted butter if you’re not keeping it dairy-free.
- Maple syrup: Honey or agave nectar can replace maple syrup in equal amounts. If using honey, reduce the oven temperature by 25°F to prevent over-browning.
- Dried mulberries: Can’t find mulberries? Try raisins, dried cranberries, or chopped dried figs instead. Any dried fruit will work well here.
- Applesauce: Mashed banana or pumpkin puree can replace applesauce – just know they might add their own subtle flavor to the bread.
Watch Out for These Mistakes While Baking
The biggest challenge when making gluten-free zucchini bread is excess moisture, so be sure to squeeze out as much liquid as possible from your grated zucchini using a clean kitchen towel or cheesecloth before adding it to the batter. Another common mistake is overmixing the batter – stir just until the ingredients are combined, as too much mixing can lead to a dense, tough bread. When measuring your gluten-free flour, avoid scooping directly with the measuring cup; instead, spoon the flour into the cup and level it off with a knife for accurate measurements. For the best texture, let your chia seed and water mixture sit for at least 10 minutes before incorporating it into the batter – this allows it to properly gel and act as an effective egg replacer. Finally, test for doneness by inserting a toothpick in the center – if it comes out with wet batter, keep baking, but if it has a few moist crumbs, it’s perfect.
What to Serve With Mulberry Zucchini Bread?
This healthy zucchini bread makes a wonderful breakfast or afternoon snack that pairs perfectly with your favorite hot drinks. Try serving a warm slice with a cup of coffee or herbal tea – I especially love it with chai tea since it complements the cinnamon in the bread. For breakfast, spread a slice with almond butter or cream cheese and serve alongside fresh fruit for a filling morning meal. If you’re hosting brunch, set out a plate of this bread with some honey butter or maple butter on the side – your guests will love having something a bit different from the usual banana bread!
Storage Instructions
Counter Storage: This mulberry zucchini bread stays fresh at room temperature for about 2-3 days. Just wrap it well in plastic wrap or keep it in an airtight container. I like to place a paper towel in the container to absorb any extra moisture from the zucchini.
Refrigerate: For longer storage, pop your bread in the fridge in an airtight container. It’ll stay good for up to a week this way. The cool temperature helps prevent the moisture from the zucchini from making the bread too soft.
Freeze: This bread freezes really well! Slice it up before freezing, then wrap individual pieces in plastic wrap and store them in a freezer bag. You can keep it frozen for up to 3 months. It’s super handy to grab a slice whenever you want a quick breakfast or snack!
Thaw: When you’re ready to enjoy your frozen bread, just take out what you need and let it thaw at room temperature for about an hour. You can also give it a quick 20-second warm-up in the microwave if you’re in a hurry.
| Preparation Time | 15-20 minutes |
| Cooking Time | 30-35 minutes |
| Total Time | 45-55 minutes |
| Level of Difficulty | Medium |
Estimated Nutrition
Estimated nutrition for the whole recipe (without optional ingredients):
- Calories: 1500-1700
- Protein: 30-40 g
- Fat: 70-80 g
- Carbohydrates: 225-250 g
Ingredients
For the chia seed gel:
- 1/2 cup water
- 1/4 cup chia seed powder
For the dry ingredients:
- 1 cup ground almond flour
- 1 tbsp cinnamon
- 2 tsp baking powder (ensure it’s fresh for best rise)
- 1/2 tsp sea salt
- 1 3/4 cups gluten-free flour (Bob’s Red Mill 1-to-1 Baking Flour works great)
- 1 tsp baking soda
For the wet ingredients:
- 2/3 cup pure maple syrup (grade A amber for rich flavor)
- 1/3 cup plain applesauce
- 1/4 cup melted coconut oil (measured after melting)
- 1 tsp vanilla essence
Additions:
- 2/3 cup dried mulberries (adds a unique sweetness and chewiness)
- 1 1/2 cups grated zucchini (pat dry with paper towel to remove excess moisture)
Step 1: Prepare the Oven and Muffin Tray
Begin by heating your oven to 350°F (175°C).
While the oven heats, line a 12-cup muffin tray with paper liners to prevent the muffins from sticking and to make cleanup easier.
Step 2: Make the Chia Gel
In a small bowl, combine water and chia powder.
Stir the mixture well, then set it aside for about 10 minutes.
This allows the chia seeds to absorb the water and form a thick gel, which will help bind the ingredients together in the absence of eggs.
Step 3: Mix the Dry Ingredients
In a medium-sized bowl, mix together the gluten-free flour, almond flour, baking powder, baking soda, salt, and cinnamon.
Stir well to ensure that all dry ingredients are evenly distributed.
Step 4: Combine the Wet Ingredients
In a large bowl, whisk together the coconut oil, applesauce, maple syrup, and vanilla extract until well combined.
Add the gelled chia mixture and whisk until smooth.
This ensures a homogenous wet base for your muffin batter.
Step 5: Combine All Ingredients
Add the dry ingredient mixture to the wet ingredients.
Mix until just combined, being careful not to overmix to keep the muffins light.
Gently fold in the grated zucchini and mulberries, ensuring they are evenly distributed throughout the batter.
Step 6: Divide and Bake
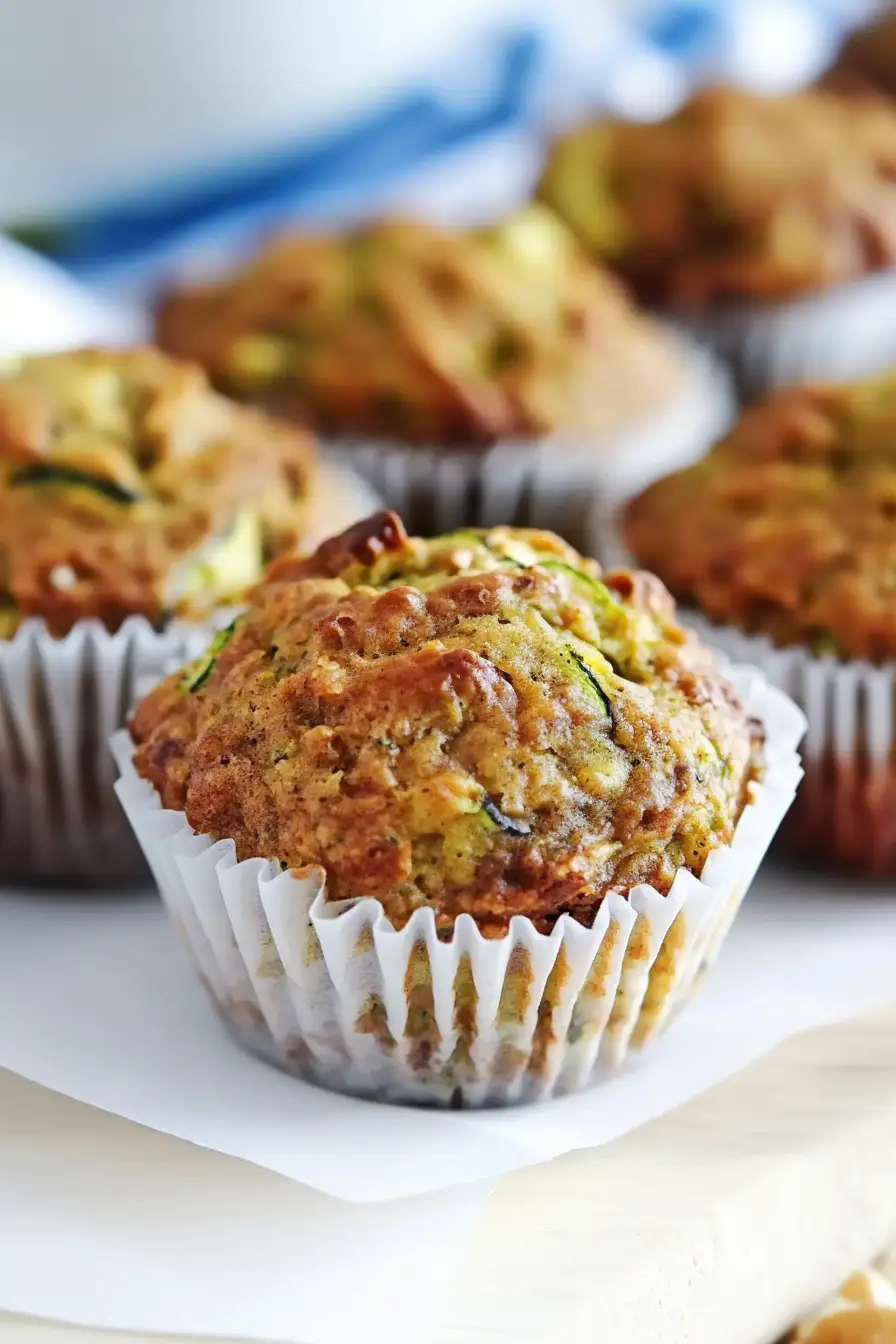
Spoon the batter evenly into the prepared muffin cups, filling each about 3/4 full.
Place the muffin tray into the preheated oven and bake for 30-35 minutes, or until the muffin tops are lightly golden and a toothpick inserted into the center comes out clean.
Step 7: Cool the Muffins
Once baked, remove the muffins from the oven and let them cool in the muffin tray for about 10 minutes.
After that, carefully transfer the muffins to a wire rack to cool completely.
Be gentle, as the muffins will be fragile until fully cooled.
Enjoy your delicious zucchini mulberry muffins!
