Let’s be honest – finding a dessert that satisfies those sudden sweet cravings without making a huge mess in the kitchen can feel impossible. We’ve all been there, standing in front of the freezer hoping to find something chocolate-y and cold, especially during those warm summer evenings when the kids are asking for a treat.
That’s why these homemade chocolate ice cream bars are such a winner: they’re quick to put together, way better than anything from the store, and you can easily make a batch ahead to keep in the freezer for whenever that chocolate craving strikes.
Why You’ll Love This Chocolate Ice Cream Bar
- No ice cream maker needed – This recipe skips the fancy equipment – all you need is a few basic kitchen tools to create smooth, creamy ice cream bars at home.
- Just 5 ingredients – With only heavy cream, condensed milk, cocoa powder, chocolate, and optional nuts, this recipe keeps things deliciously simple.
- Rich chocolate flavor – The combination of cocoa powder and real milk chocolate creates an indulgent, deep chocolate taste that’s better than store-bought.
- Make-ahead friendly – These bars can be made days in advance and stored in the freezer, perfect for having a cool treat ready whenever a craving hits.
What Kind of Chocolate Should I Use?
For this ice cream bar recipe, you’ll want to focus on using good quality milk chocolate since it’s one of the main flavors. While brands like Callebaut are excellent choices, other options like Ghirardelli, Lindt, or Guittard will work great too. The key is to look for real milk chocolate that lists cocoa butter in the ingredients, not palm oil or other substitutes. Regular chocolate chips aren’t the best choice here since they contain stabilizers that can affect the texture. If you’re having trouble finding milk chocolate, you could substitute semi-sweet chocolate, though your bars will have a slightly more intense chocolate flavor. Just make sure to chop your chocolate into small, even pieces before melting to ensure it melts smoothly and evenly.
Options for Substitutions
Let’s talk about what you can swap in this recipe if you need to:
- Heavy cream: You can use whipping cream instead of heavy cream. Half-and-half won’t work here as it doesn’t have enough fat content to set properly.
- Sweetened condensed milk: This is a key ingredient that’s hard to substitute as it provides both sweetness and the right texture. If you must, you can make your own by simmering 2 cups whole milk with ¾ cup sugar until reduced by half.
- Cocoa powder: Any unsweetened cocoa powder works – Dutch-process or natural. Just avoid hot chocolate mix as it contains added sugar and other ingredients.
- Milk chocolate: Feel free to use any good quality milk chocolate. If you prefer a darker taste, you can replace up to half of it with dark chocolate. White chocolate isn’t recommended as it will change the recipe completely.
- Almonds: Since these are optional, you can skip them or swap with any other nuts like hazelnuts, pecans, or even crushed pistachios. You could also use chocolate chips or crushed cookies instead.
Watch Out for These Mistakes While Making
The biggest challenge when making chocolate ice cream bars is getting the temperature right – if your mixture is too hot when you add the chocolate, it can become grainy or separate, so always let your cream mixture cool to just warm before incorporating the chocolate.
Working with melted chocolate requires careful attention to temperature – if you overheat the chocolate while melting, it can become thick and lumpy, so use gentle heat and stir frequently, removing from heat when there are still a few small pieces that will melt from residual warmth.
Many home cooks rush the freezing process, but these bars need at least 6 hours (preferably overnight) to freeze completely solid – removing them too early will result in a soft, messy texture that won’t hold its shape.
For the smoothest texture, make sure to sift your cocoa powder before adding it to avoid any dry lumps in the final product, and if you’re adding nuts, toast them lightly first to bring out their flavor and ensure they stay crunchy even when frozen.
What to Serve With Chocolate Ice Cream Bars?
These homemade chocolate ice cream bars are perfect on their own, but there are some fun ways to make them even more special! A drizzle of warm caramel sauce or a spoonful of fresh whipped cream adds a nice finishing touch. For a quick dessert party spread, serve these bars alongside some fresh berries like strawberries or raspberries – the fruit adds a nice tartness that balances out the rich chocolate. If you’re feeling extra indulgent, set out small bowls of chopped nuts, sprinkles, or mini chocolate chips so everyone can add their own toppings.
Storage Instructions
Keep Frozen: These chocolate ice cream bars need to stay in the freezer to maintain their perfect texture. Place them in a freezer-safe container, with pieces of parchment paper between each bar to prevent them from sticking together. They’ll stay fresh and tasty for up to 2 months.
Prevent Freezer Burn: To keep your ice cream bars at their best, wrap them individually in plastic wrap or aluminum foil before placing them in the container. This extra step helps prevent ice crystals from forming and keeps that chocolate coating nice and crisp.
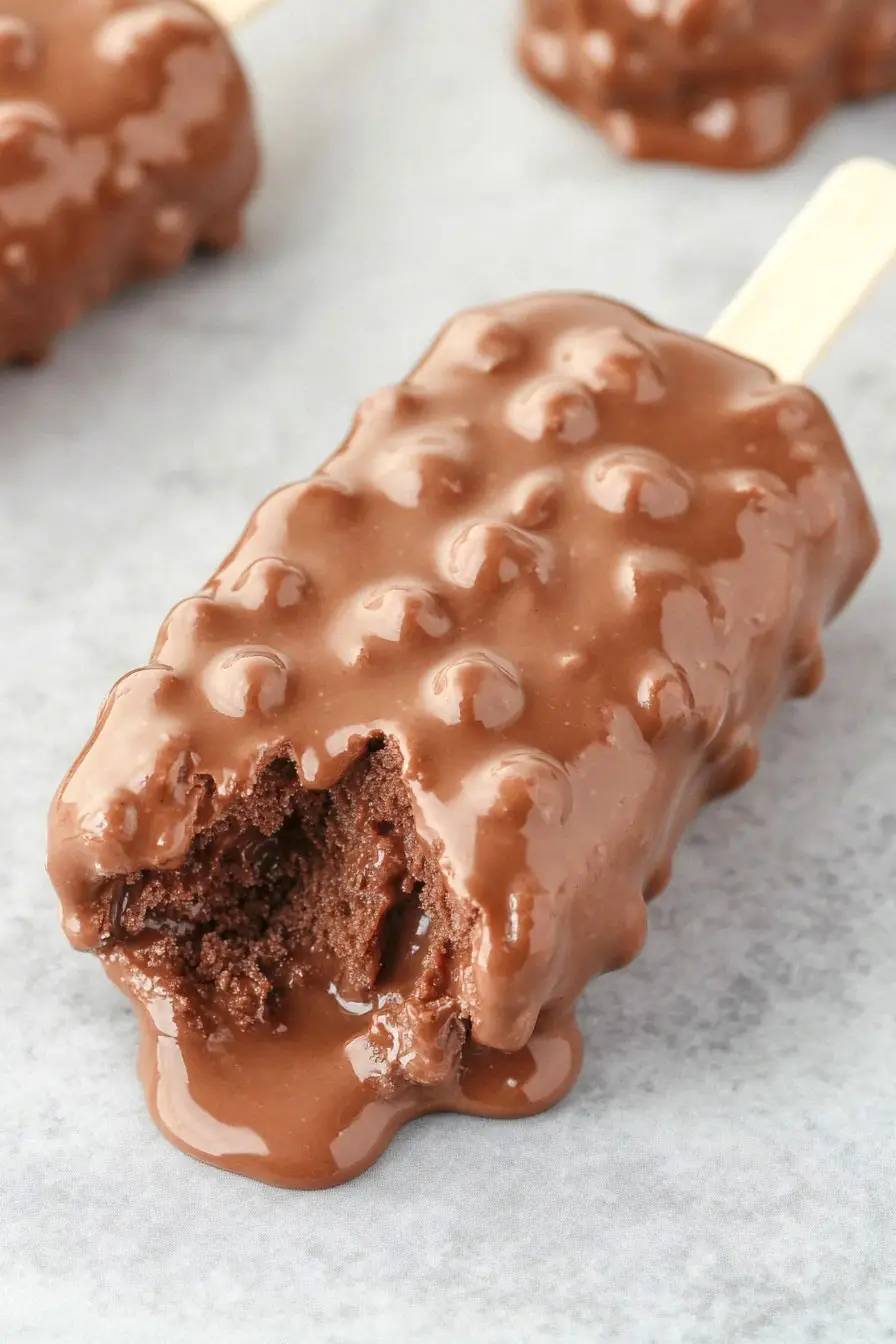
Serve: When you’re ready to enjoy your ice cream bar, let it sit at room temperature for about 2-3 minutes before eating. This quick rest makes the chocolate coating and ice cream just soft enough for the perfect bite – not too hard, not too melty!
| Preparation Time | 30-45 minutes |
| Cooking Time | 6 hours |
| Total Time | 6 hours 30-45 minutes |
| Level of Difficulty | Medium |
Estimated Nutrition
Estimated nutrition for the whole recipe (without optional ingredients):
- Calories: 2400-2600
- Protein: 30-40 g
- Fat: 140-160 g
- Carbohydrates: 280-300 g
Ingredients
For the ice cream:
- 30g dark unsweetened cocoa powder (I use Valrhona cocoa powder)
- 110g sweetened condensed milk
- 160g heavy cream (chilled well for whipping)
For the coating:
- 250g milk chocolate (finely chopped for easier melting)
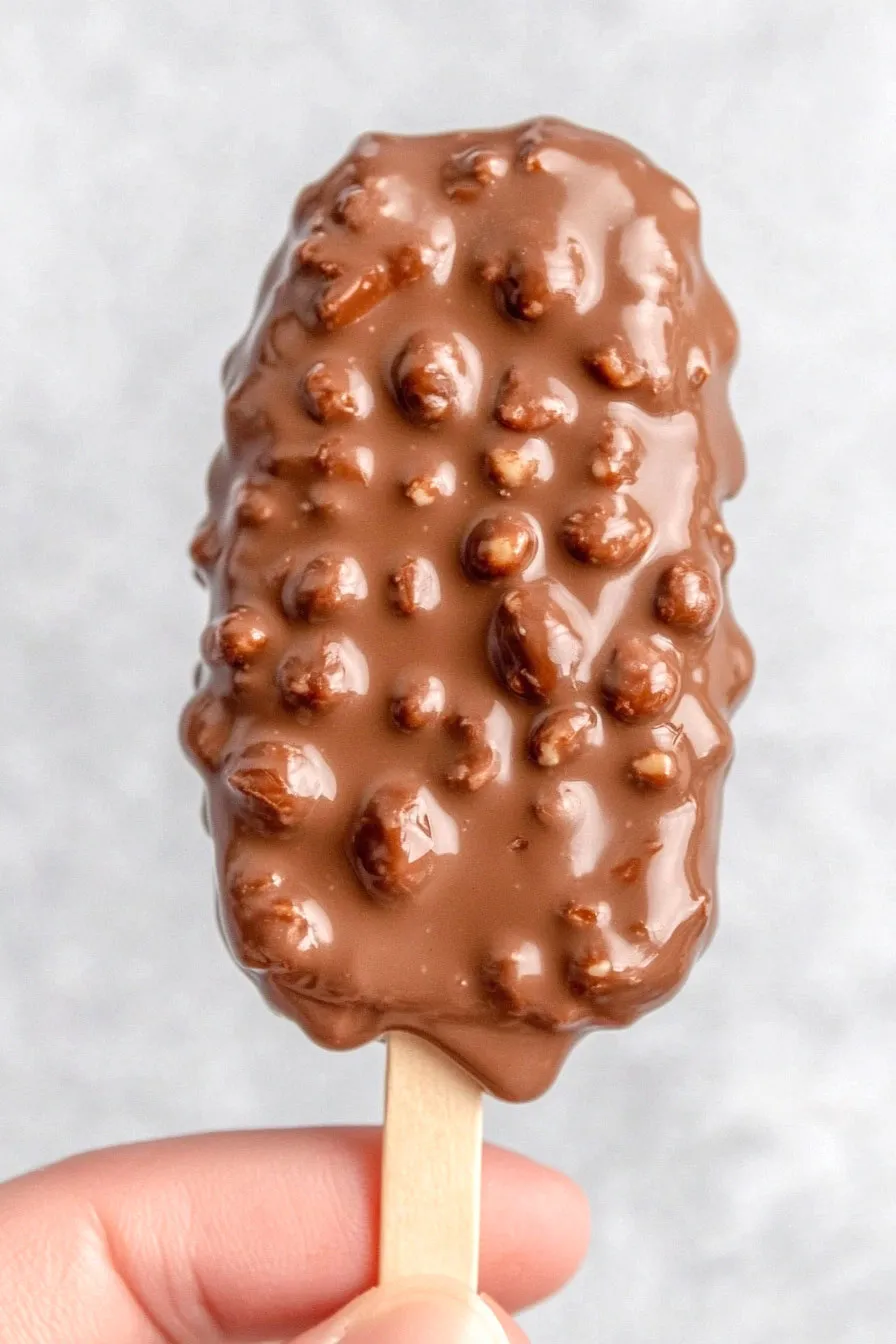
- 40g chopped roasted almonds (optional, adds a nice crunch)
Step 1: Prepare the Cocoa Condensed Milk Mixture
Begin by sifting cocoa powder into sweetened condensed milk to ensure there are no lumps.
Mix them together just until they are combined to form a smooth, chocolatey mixture.
Step 2: Whip the Heavy Cream
Using an electric hand mixer, whip the heavy cream until it reaches early hard peaks.
Be careful not to overwhip, as you want the cream to be light and airy.
Step 3: Combine the Mixtures
With the help of a rubber spatula, gently fold the whipped heavy cream into the condensed milk and cocoa powder mixture.
Be sure to mix carefully to maintain the volume and airy texture of the whipped cream.
Step 4: Fill and Prepare the Ice Cream Moulds
Use a spoon to fill 4 cavities of your ice cream mould with the mixture.
Gently tap the mould on the kitchen counter a few times to let any air bubbles surface.
Insert one stick into each filled cavity and use an offset spatula to smooth the top.
Place the mould into the freezer for at least 6 hours, allowing the ice cream to set fully.
Step 5: Melt Chocolate for the Coating
Once the ice cream is properly frozen, melt chocolate in the microwave, stirring every 30 seconds until fully melted and smooth.
Optionally, you can mix chopped almonds into the melted chocolate for added texture.
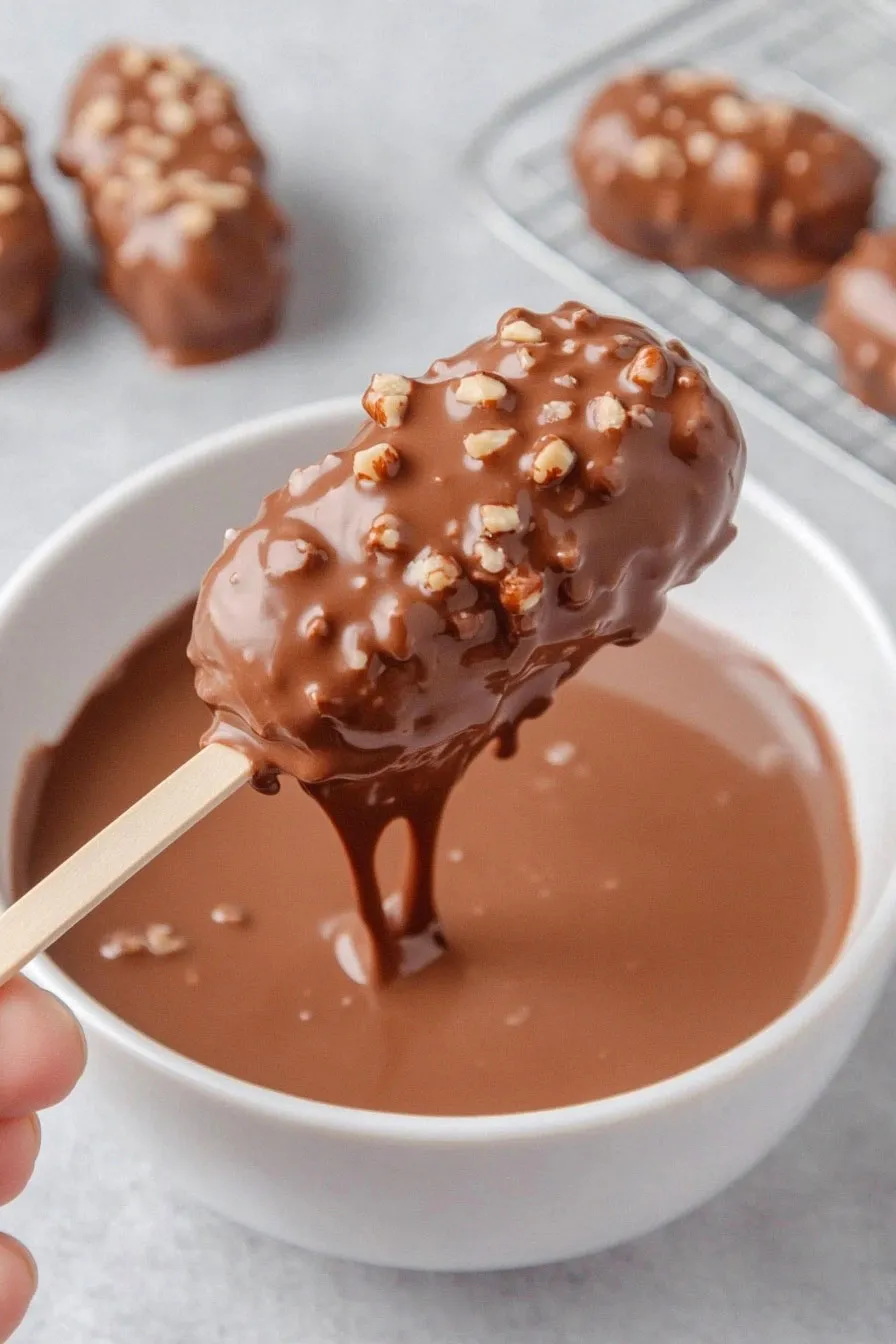
Step 6: Coat and Finalize the Ice Cream Bars
Pour the melted chocolate into a tall, skinny glass.
Carefully unmould the ice cream by gently releasing it from the ice cream mould.
While holding the stick, immediately dip each ice cream bar into the melted chocolate.
Slightly shake the ice cream to allow any excess coating to run off without setting too thick.
The chocolate coating should set on the ice cream fairly quickly, within 30-60 seconds at room temperature.
Once coated, store the ice cream bars in the freezer until ready to serve or enjoy immediately.
