There’s something magical about picking fresh mulberries on a summer morning. Every year, I find myself gathering these sweet berries by the handful, staining my fingers purple and filling my basket to the brim. Making mulberry jam has become a yearly tradition in my kitchen – it’s one of those simple pleasures that brings back memories of sunny days and berry-picking adventures.
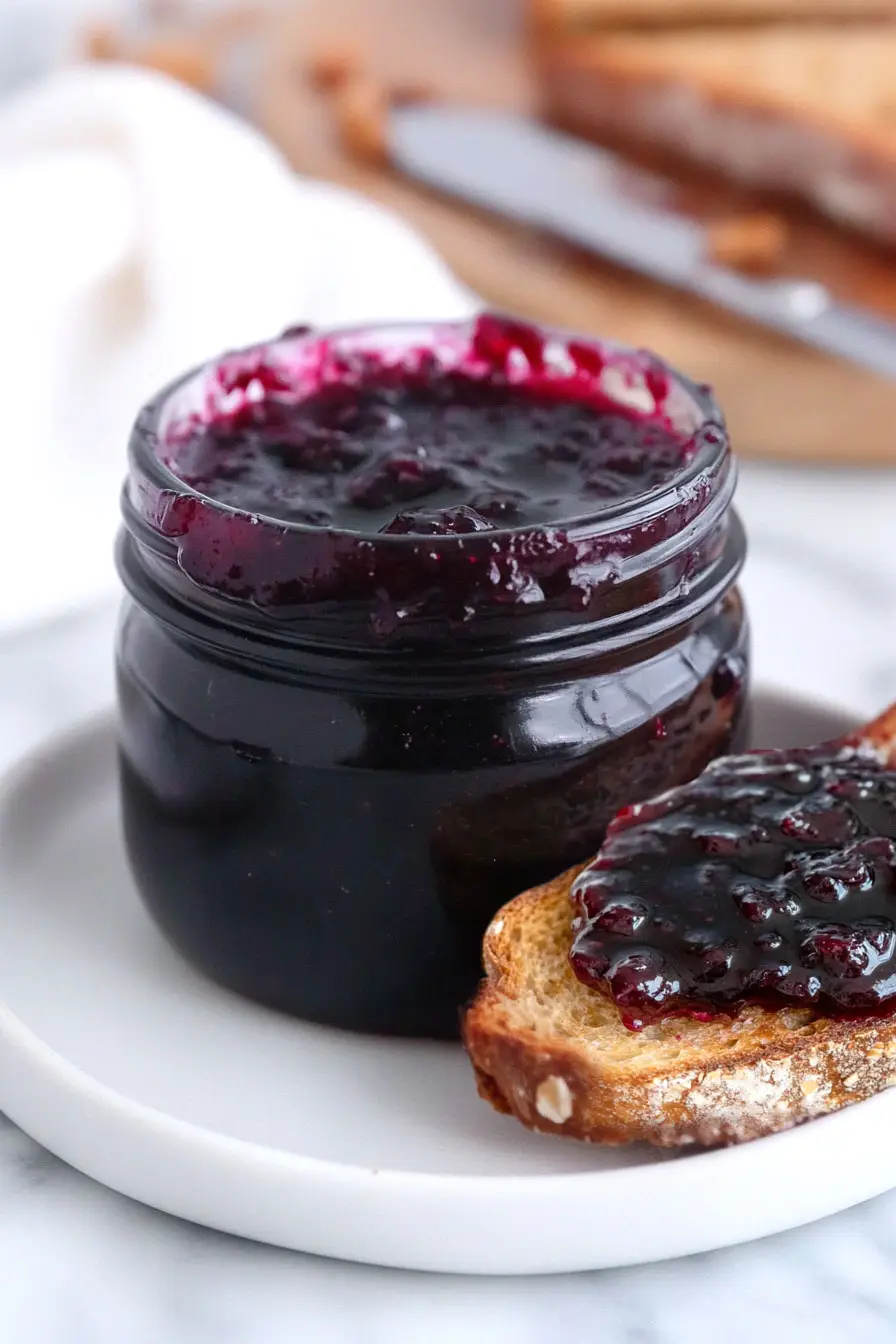
The best part about making mulberry jam is how straightforward it is. You don’t need fancy equipment or hard-to-find ingredients. Just fresh berries, sugar, and a bit of patience. I love spreading this homemade jam on warm toast or stirring it into my morning yogurt. Sometimes I’ll make extra batches to give as gifts, and my friends always ask for more.
If you’ve never made jam before, don’t worry – this recipe is perfect for beginners. You’ll be surprised at how easy it is to capture the natural sweetness of mulberries in a jar, ready to brighten up your breakfast table any time of year.
Why You’ll Love This Mulberry Jam
- Quick homemade preserves – This jam comes together in under an hour, making it perfect for a weekend preserving project without taking up your whole day.
- Simple 5-ingredient recipe – With just mulberries, sugar, lemon juice, nutmeg, and pectin, you can create a delicious homemade jam using basic pantry ingredients.
- Perfect consistency – The liquid pectin ensures your jam sets perfectly every time – no guesswork needed about whether it will thicken properly.
- Make-ahead convenience – Once canned, this jam stays good for months, letting you enjoy fresh mulberry flavor long after the season ends.
What Kind of Mulberries Should I Use?
Both fresh and frozen mulberries work great for making jam, so you can use whichever you have access to. Black mulberries tend to make the richest-flavored jam, but red mulberries are also excellent and typically easier to find in North America. If you’re using fresh mulberries, look for ones that are fully ripe – they should be deep in color and come off the stem easily when picked. When using frozen mulberries, there’s no need to thaw them first; you can add them straight to the pot, though they might need an extra minute or two of cooking time. Just be sure to remove any stems before cooking, as they can make your jam bitter.
Options for Substitutions
Making jam is a bit of science, but there’s still room for some substitutions in this recipe:
- Mulberries: If mulberries aren’t in season, you can use blackberries or a mix of blackberries and raspberries instead. The texture will be slightly different, but you’ll still get a tasty jam.
- White sugar: While regular white sugar is best for jam-making, you can try using a mix of white and brown sugar (maximum 1 cup brown sugar) for a deeper flavor. Just don’t reduce the total amount of sugar as it’s crucial for proper setting and preservation.
- Liquid pectin: This is pretty important for the jam to set properly, but you can use powdered pectin instead. Use 1 box (1.75 oz) of powdered pectin, but add it at the beginning of cooking rather than at the end like liquid pectin.
- Lemon juice: Fresh is best, but bottled lemon juice works too. Don’t skip this ingredient as it’s needed for proper setting and food safety.
- Nutmeg: Feel free to skip the nutmeg or try cinnamon or allspice instead. You could even add a tiny splash of vanilla extract for a different flavor profile.
Watch Out for These Mistakes While Cooking
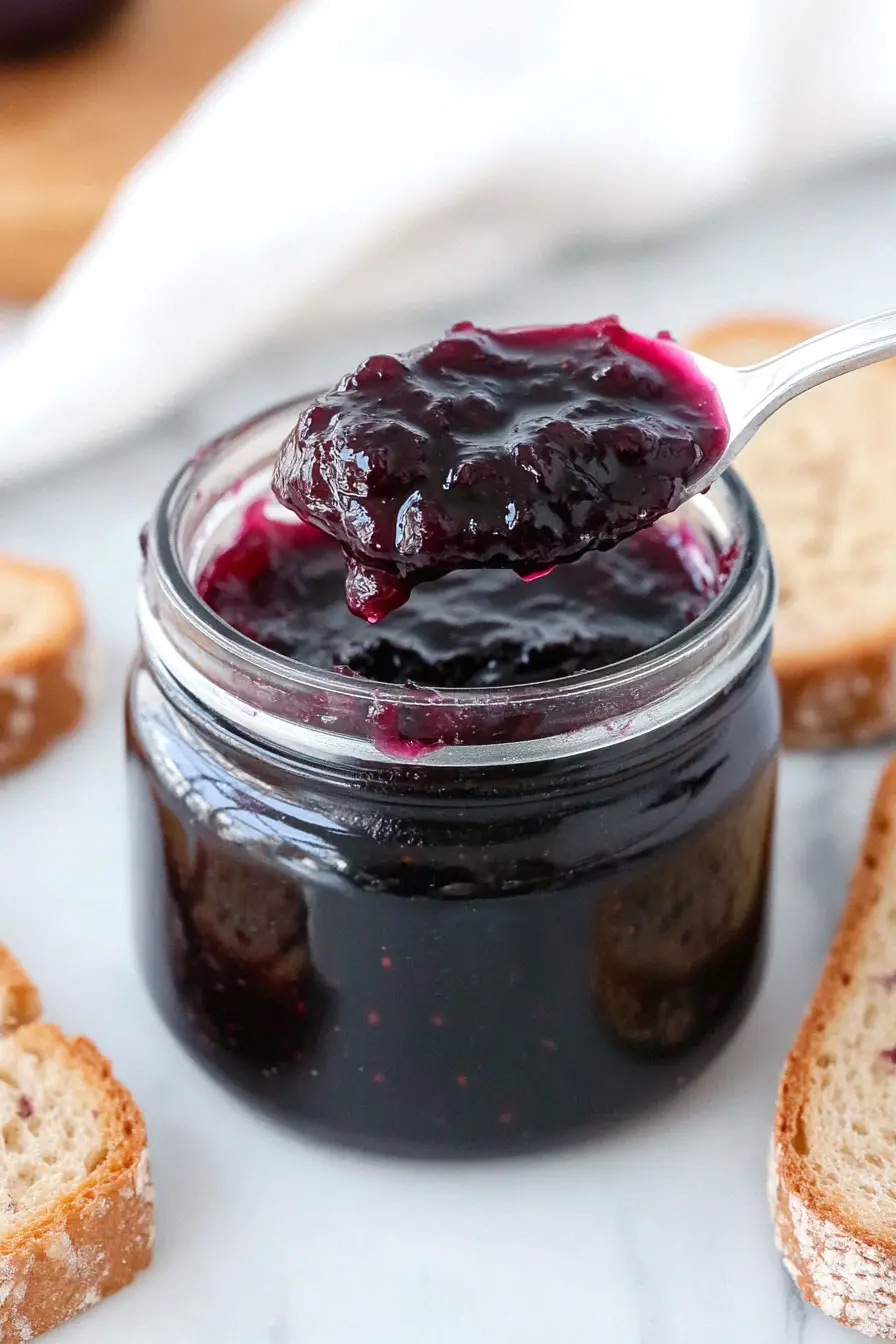
The biggest challenge when making mulberry jam is achieving the right consistency – using too little pectin or not cooking it long enough can leave you with runny jam that won’t set properly. To test if your jam is ready, place a small plate in the freezer before you start cooking, then drop a spoonful of hot jam on the cold plate – if it wrinkles when you push it with your finger, it’s ready to be jarred. Another common mistake is skipping the lemon juice, which isn’t just for flavor – it provides the necessary acid that helps activate the pectin and creates that perfect jammy texture. For the best results, make sure to thoroughly crush your mulberries before cooking, as whole berries can float to the top of your jars, and don’t forget to sterilize your jars properly – even the perfect jam can spoil if not properly stored.
What to Serve With Mulberry Jam?
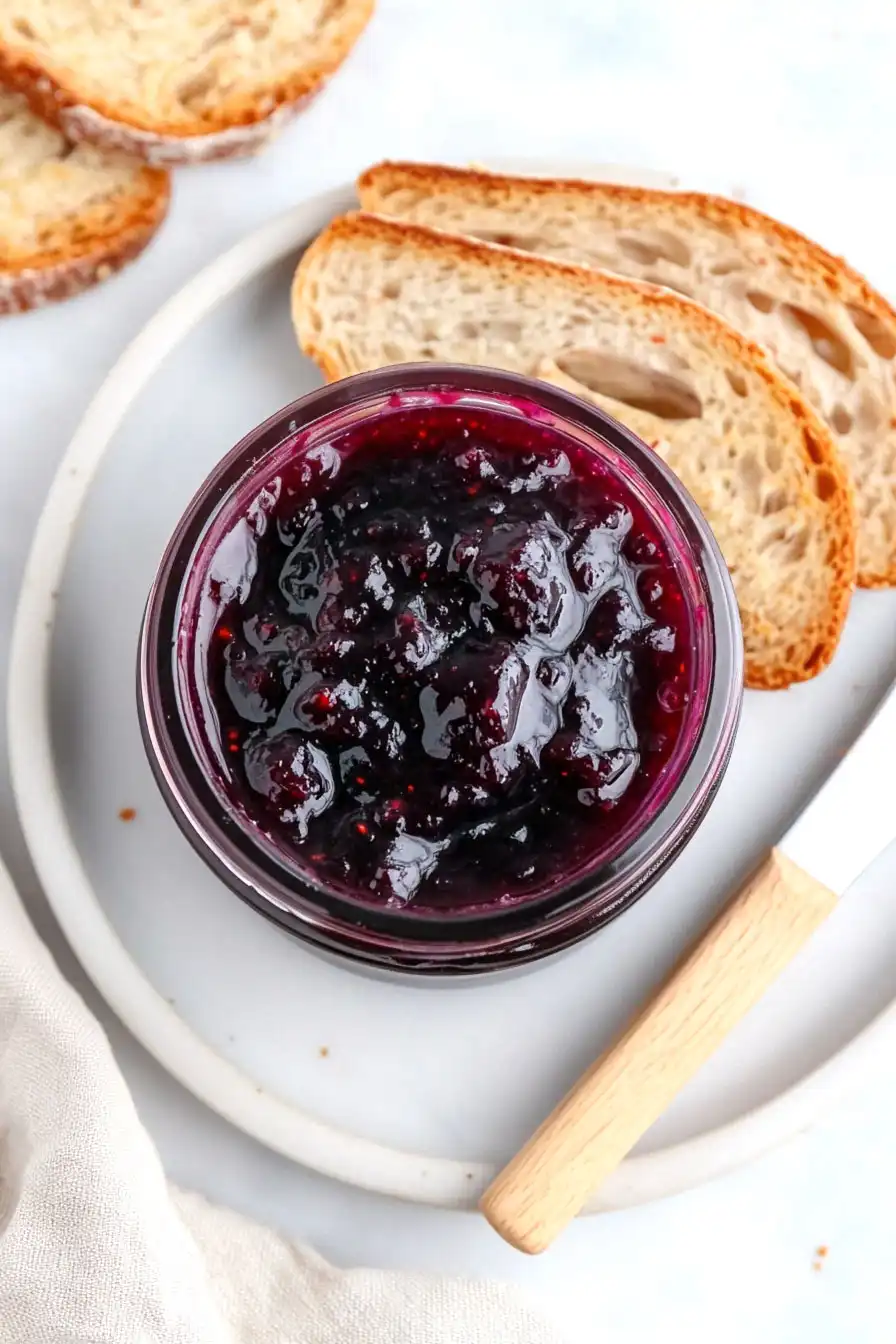
This sweet and fruity mulberry jam is super versatile for breakfast and snack time! Spread it thick on warm buttermilk biscuits, English muffins, or your favorite crusty bread for a classic morning treat. I love using it as a filling between layers of vanilla cake or swirling it into plain yogurt with some granola on top. For a quick appetizer that always gets compliments, spoon the jam over a block of cream cheese and serve it with butter crackers – it’s such an easy way to make something basic feel special.
Storage Instructions
Preserve: For the best results, store your mulberry jam in properly sterilized glass jars. Once sealed, unopened jars will keep well in a cool, dark pantry for up to 18 months. Just remember to check that the seal is intact before using.
Keep Fresh: After opening a jar of your homemade mulberry jam, pop it in the fridge. It’ll stay good for about 2-3 months when refrigerated. I like to write the date on the lid so I know when I opened it – this little trick has saved me more than once!
Shelf Life Tips: Keep an eye out for any changes in color, texture, or smell once your jam is opened. If you notice any mold or fermentation bubbles, it’s best to say goodbye to that jar. A dark, cool spot in your pantry is perfect for unopened jars – just keep them away from direct sunlight and heat.
| Preparation Time | 20-30 minutes |
| Cooking Time | 15-25 minutes |
| Total Time | 35-55 minutes |
| Level of Difficulty | Medium |
Estimated Nutrition
Estimated nutrition for the whole recipe (without optional ingredients):
- Calories: 4200-4600
- Protein: 5-10 g
- Fat: 0-5 g
- Carbohydrates: 1050-1100 g
Ingredients
- 1 pinch ground nutmeg
- 1/2 cup lemon juice (freshly squeezed for best flavor)
- 2 lb mulberries (fresh or frozen, stems removed)
- 1 (3-oz) pouch liquid pectin (I use Certo brand)
- 6 cups white sugar (Domino granulated sugar works great for jams)
Step 1: Prepare Ingredients and Begin Cooking
Start by gathering your ingredients.
Place 2 pounds (900 grams) of fresh or frozen mulberries, 6 cups (1.35 kilograms) of granulated sugar, and 1/2 cup (120 milliliters) of freshly squeezed lemon juice into a large, non-reactive pot.
Avoid aluminum or non-enameled cast iron to prevent off flavors and colors.
Use stainless steel or enameled cast iron instead.
Bring the mixture to a boil over high heat, stirring constantly to dissolve the sugar and prevent scorching.
Step 2: Add Nutmeg and Pectin
Once the sugar has completely dissolved, add a pinch of freshly ground nutmeg for flavor enhancement.
Stir in 2 (3-ounce) pouches of liquid pectin and return the mixture to a boil.
Let it boil for 1 minute, stirring continuously to ensure it’s well-combined.
Step 3: Cool the Jam Mixture
Remove the pot from the heat and allow the mixture to cool slightly as you prepare your canning jars.
During this cooling period, skim off any foam that might have formed on the surface of the jam.
If you decide not to can the jam, let it cool completely, stirring frequently to encourage gelling.
Then transfer to sealed containers for refrigeration or freezing.
Step 4: Sterilize and Fill the Jars
To preserve the jam, start by sterilizing your canning jars in boiling water.
Using a ladle, fill the sterilized jars with the jam, ensuring you leave 1/2 inch of headspace at the top.
Clean the rims of the jars with a damp cloth or paper towel to remove any residue.
Step 5: Seal and Process the Jars
Secure the lids on the jars and process them in a boiling water bath for 5 minutes.
Carefully remove the jars from the water bath using a jar lifter or tongs, and place them on a cooling rack or towels, ensuring they are spaced 1 inch apart.
Allow the jars to cool completely without disturbance for 12 to 14 hours.
As they seal, you may hear the distinctive pop or ping of the lids.
Step 6: Check Seals and Store
Once cooled, test the seal of each jar by pressing down on the center of the lid; it should feel firm and not pop back.
If you remove the ring, the lid should remain secure.
Jars that haven’t sealed properly should be refrigerated and consumed promptly, or if less than 24 hours have passed since canning, they can be reprocessed with new lids and, if necessary, jars.
Store properly sealed jars in a dark, cool place for up to 18 months for optimal quality and flavor.
