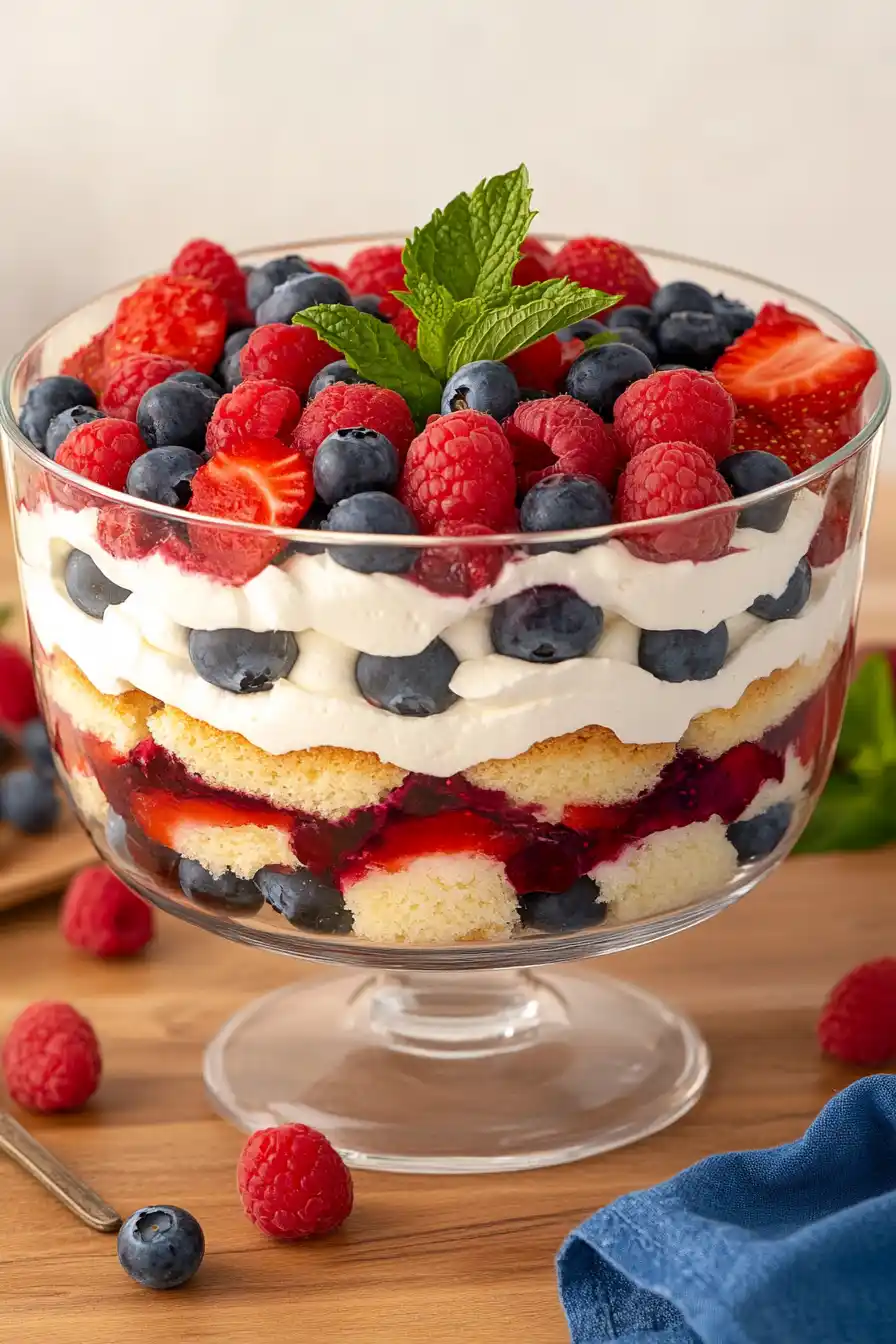
Growing up, trifle was always that fancy dessert my mom would bring out when company came over. For years, I thought it was some complicated recipe that required special skills and fancy ingredients. The truth is, I was way off. Berry trifle is actually one of the most forgiving desserts you can make – it’s basically just layers of cake, berries, and cream that come together to make something that looks like you spent hours in the kitchen.
Looking back, I wish I’d known sooner how simple it really is. You don’t need perfect technique or special equipment – just some basic ingredients and a clear glass bowl to show off those pretty layers. And the best part? Even if your layers aren’t perfectly even or your cake pieces aren’t uniform, it still turns out great every time.
Why You’ll Love This Berry Trifle
- No-bake dessert – Perfect for hot summer days when you don’t want to turn on the oven, this trifle comes together with just assembly – no cooking required!
- Make-ahead friendly – You can prepare this dessert several hours before serving, making it perfect for entertaining or bringing to potlucks and parties.
- Simple ingredients – Using store-bought angel food cake and fresh berries means minimal prep work while still creating an impressive-looking dessert.
- Crowd-pleasing presentation – The layers of colorful berries, white cream, and cake create a beautiful dessert that looks like you spent hours in the kitchen – but only takes 30 minutes to make.
What Kind of Berries Should I Use?
Fresh berries are the star of any good trifle, and you’ve got plenty of options to work with here. Strawberries, blueberries, and raspberries are the classic trio, but you can adjust the mix based on what’s in season and looking best at your store. When picking strawberries, look for bright red ones without any white or green patches – they should smell sweet and fragrant. For blueberries, choose firm ones with a dusty blue color (avoid any that look red or feel soft). If you’re adding raspberries, they should be dry and plump, with no signs of mold or mushiness. If fresh berries aren’t at their peak, you can use frozen ones in a pinch – just thaw and drain them well to prevent your trifle from getting soggy.
Options for Substitutions
This trifle recipe is pretty flexible and you can make several swaps depending on what you have available:
- Angel food cake: Don’t have angel food cake? You can use pound cake, sponge cake, or even leftover vanilla cake. Just make sure it’s not too moist to start with, as it needs to soak up those lovely fruit juices.
- Heavy cream: While heavy cream gives the best results for whipping, you could use whipping cream instead. Just avoid half-and-half or milk as they won’t whip up properly.
- Fresh berries: Fresh berries are best, but you can use frozen ones in a pinch – just thaw and drain them well first. You can also mix up the berry types – blackberries, boysenberries, or any combination works great. Just keep the total amount of fruit about the same.
- Cream cheese: Mascarpone cheese makes a nice substitute for cream cheese, though it’s a bit softer so reduce the heavy cream by about ¼ cup if you use it.
- Honey: Feel free to swap honey with maple syrup or agave nectar. Regular sugar works too – just make sure to stir it well so it dissolves completely.
- Lemon juice and zest: Orange juice and zest can work instead of lemon, or you can skip the citrus altogether if you prefer – it won’t affect the texture, just the flavor.
Watch Out for These Mistakes While Making
The biggest challenge when making a trifle is rushing the layering process – taking your time to create even, distinct layers will give you that classic, eye-catching presentation that makes trifles so special. The cream cheese mixture can become lumpy if not properly softened, so make sure to leave it at room temperature for at least 30 minutes before mixing, and beat until completely smooth before folding in the whipped cream. Another common mistake is not patting the berries dry after washing them, which can lead to excess liquid seeping into your layers – take a moment to gently dry them with paper towels to keep your trifle from becoming watery. For the best texture and flavor, assemble your trifle at least 4 hours before serving (but not more than 24 hours) to allow the cake to soften slightly and the flavors to meld together perfectly.
What to Serve With Berry Trifle?
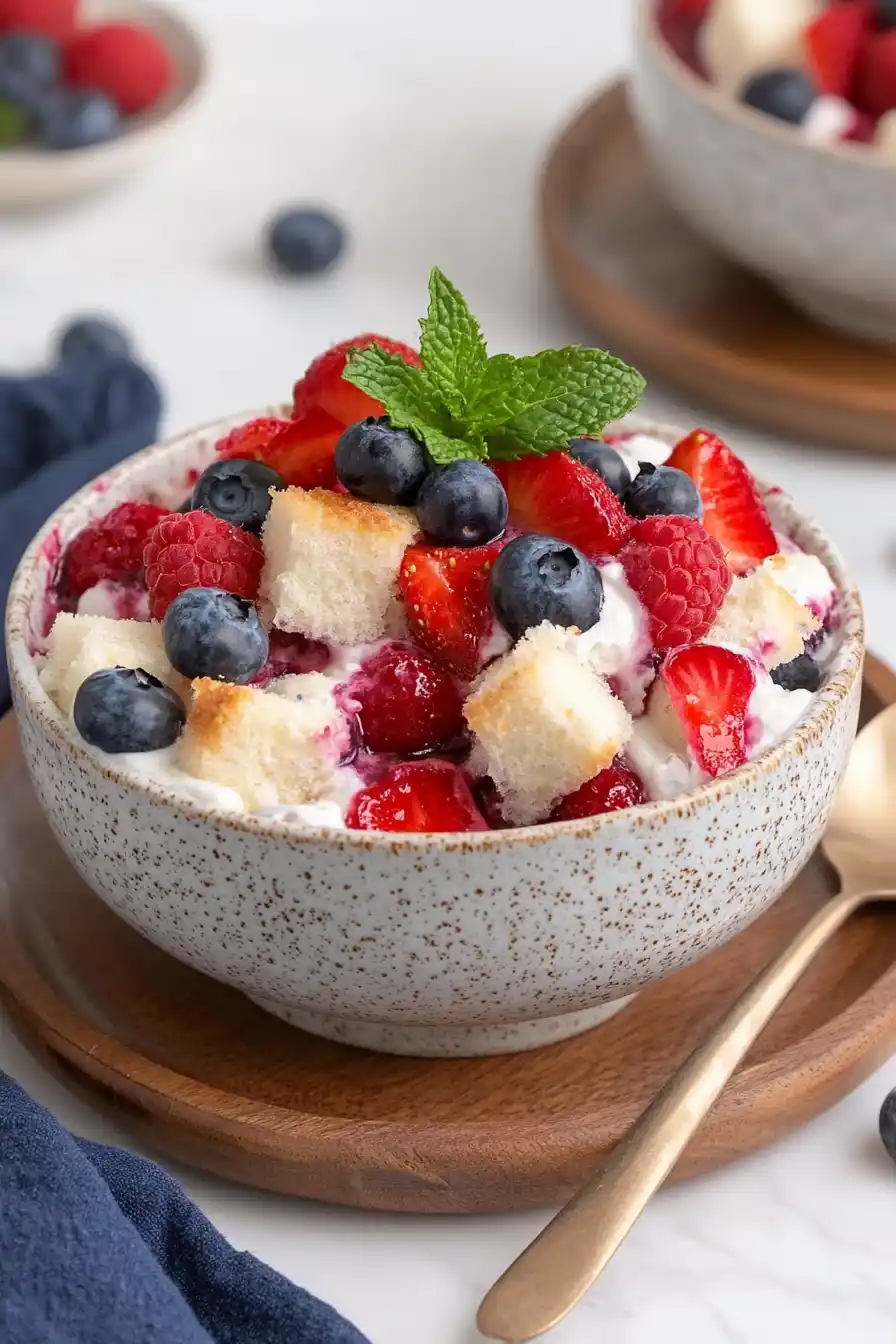
This sweet and creamy berry trifle is a showstopper dessert that really shines when served with a hot beverage on the side. A cup of freshly brewed coffee or Earl Grey tea creates a nice balance with the sweet berries and cream, while an iced coffee works great during summer months. Since trifle is pretty rich on its own, keep the accompaniments simple – I like to add a small scoop of vanilla ice cream or whipped cream on the side of each serving plate. For brunch gatherings, try serving this trifle alongside a platter of fresh fruit and some crispy butter cookies for people to nibble on between bites.
Storage Instructions
Keep Fresh: Your berry trifle will stay good in the refrigerator for up to 2 days when covered with plastic wrap or in an airtight container. The cake will slowly absorb the fruit juices and cream, making it even more flavorful – though the berries might soften a bit over time.
Make Ahead: Want to prep this ahead? You can make the cream cheese mixture up to 24 hours in advance and store it separately in the fridge. Clean and slice the berries up to 4 hours before assembly. Just wait to layer everything together until 2-3 hours before serving for the best texture and presentation.
Leftovers: If you have any leftovers, keep them in the fridge and try to enjoy them within 2 days. The berries might release more juice and the cake will become softer, but it’ll still taste great! Just note that this dessert isn’t suitable for freezing as the texture of the fruits and cream would change too much.
| Preparation Time | 20-30 minutes |
| Cooking Time | 0-0 minutes |
| Total Time | 20-30 minutes |
| Level of Difficulty | Medium |
Estimated Nutrition
Estimated nutrition for the whole recipe (without optional ingredients):
- Calories: 2800-3200
- Protein: 25-30 g
- Fat: 160-180 g
- Carbohydrates: 350-400 g
Ingredients
For the cake:
- 1 1/2 tsp lemon zest
- 3 tbsp lemon juice (freshly squeezed for best flavor)
- 3 tbsp honey
- 1 angel food cake (13-16 oz packaging)
For the cream mixture:
- 1 1/4 cups powdered sugar
- 12 oz cream cheese (softened at room temperature for smooth mixing)
- 1 1/2 tsp vanilla extract (I use Nielsen-Massey brand)
- 1 3/4 cups heavy cream (chilled, for easier whipping)
For the fruit layers:
- 6 oz raspberries (optional, for extra color and tartness)
- 18 oz blueberries
- 16 oz strawberries (hulled and sliced)
For garnish:
- fresh mint leaves (optional)
Step 1: Prepare the Angel Food Cake
Slice the angel food cake into 3/4-inch thick slices.
In a small mixing bowl, whisk together lemon juice, lemon zest, and honey until well blended.
Brush this mixture over both sides of each angel food cake slice, ensuring you use all the mixture.
Then, cut the slices into 3/4-inch cubes and set them aside.
Step 2: Whip the Cream
In a large mixing bowl, use an electric hand mixer to whip the heavy cream on medium speed until it is slightly thickened.
Then, increase the speed to high and continue whipping until very stiff peaks form.
The whipped cream should lose its wet sheen, indicating it’s ready.
Step 3: Prepare the Cream Cheese Mixture
In a separate large mixing bowl, without needing to clean the beater blades, whip the cream cheese, powdered sugar, and vanilla extract on low speed until blended.
Increase the speed to high and whip until the mixture is light and fluffy, taking about 2 to 3 minutes.
Gently fold the whipped cream into the cream cheese mixture using a spatula until combined evenly.
Step 4: Assemble the Trifle
In a 13 to 14 cup trifle dish, layer 1/2 of the angel food cake cubes evenly at the bottom.
Set aside 3/4 cup of blueberries, and sprinkle 1/2 of the remaining blueberries over the cake layer.
Top this with 1/2 of the whipped cream mixture, spreading it into an even layer.
Add a layer of 1/2 of the strawberries.
Repeat this layering process with the remaining angel food cake cubes, blueberries, whipped cream mixture, and strawberries.
Leave some space in the center of the strawberry layer for the next step.
Step 5: Add Final Touches
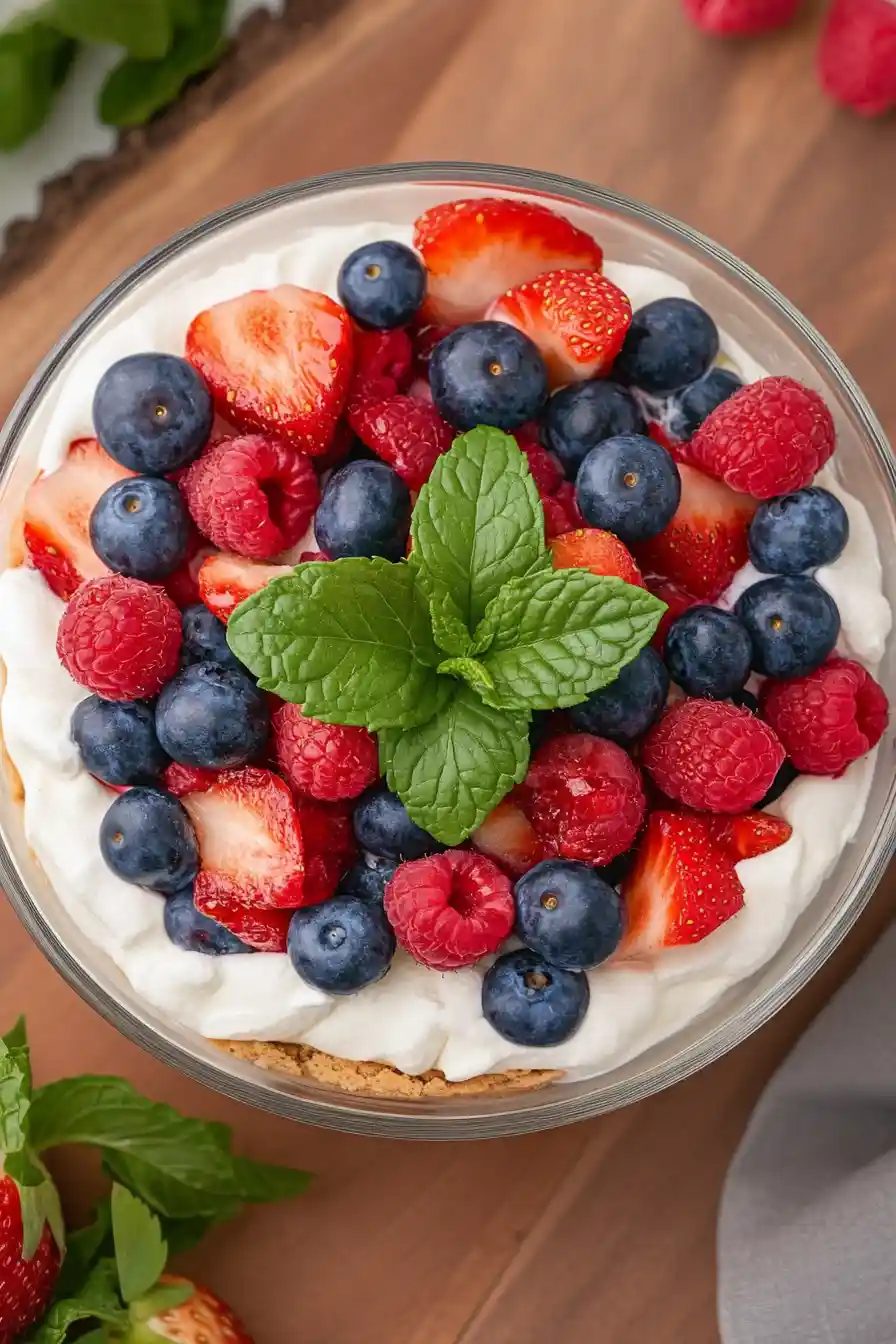
Finish off the trifle by adding the reserved blueberries and raspberries on top, placing them in the center.
Decorate with mint leaves if desired, just before serving.
For the best flavor and texture, serve the trifle on the same day it is prepared, though it can be kept in the refrigerator for up to 24 hours.
