Desserts hold a special place in my heart, and trifles have been my go-to when I want something that looks fancy but doesn’t require hours in the kitchen. There’s something so fun about seeing all those pretty layers through a glass bowl, especially when fresh berries and lemon are involved.
I started making this lemon berry trifle years ago when I needed a quick dessert for a summer potluck. Now it’s become one of those recipes I can practically make with my eyes closed. The best part? You can put it together the night before, and it actually tastes better after the flavors have had time to mix and mingle.
Whether you’re hosting a backyard BBQ or just craving something sweet and refreshing, this trifle hits all the right notes. The combination of tart lemon and sweet berries always gets people asking for the recipe, and I love how simple it is to customize with whatever berries are in season.

Why You’ll Love This Berry Trifle
- Make-ahead friendly – This dessert actually tastes better when made a day in advance, letting all the flavors meld together perfectly. It’s perfect for preparing before parties or special occasions.
- No-bake assembly – Once you have your pound cake, it’s just a matter of layering ingredients – no additional baking required. The hardest part is waiting for it to chill!
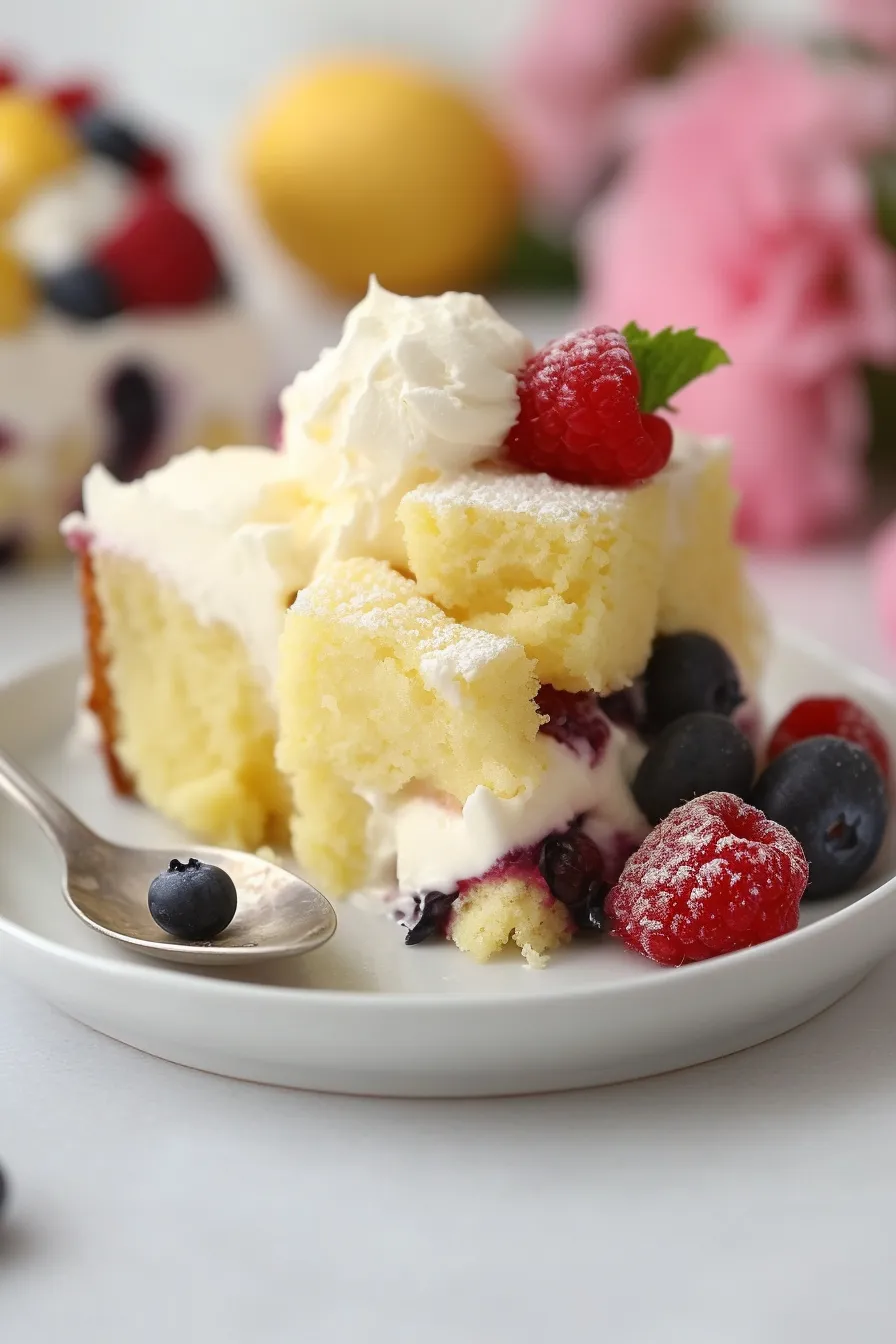
- Show-stopping presentation – The colorful layers of berries, cream, and lemon curd create a beautiful dessert that looks like it came from a fancy bakery, even though it’s simple to put together.
- Fresh and light taste – The combination of tangy lemon, fresh berries, and creamy layers makes this dessert refreshing and not too heavy, perfect for summer gatherings or spring celebrations.
What Kind of Berries Should I Use?
For a trifle, you’ll want to use fresh berries that are ripe but still firm – overripe berries can get mushy and make your dessert watery. Raspberries and blueberries are perfect choices since they hold their shape well and offer different textures and flavors, but you can also throw in some blackberries or strawberries (just cut the strawberries into bite-sized pieces). If fresh berries aren’t in season, you can use frozen ones in a pinch – just make sure to thaw and drain them really well to avoid excess moisture in your trifle. When shopping for fresh berries, look for ones that are bright in color, free from mold, and not too soft or squished.

Options for Substitutions
This trifle recipe is pretty adaptable and you’ve got several options for switching things up:
- Lemon pound cake: If you can’t find lemon pound cake, regular pound cake works great – just add 2 teaspoons of lemon zest to your layers. You could also use angel food cake or even store-bought ladyfingers in a pinch.
- Whipping cream: While fresh whipping cream gives the best results, you can use frozen whipped topping if you’re short on time. Just skip the sugar and vanilla in the whipping cream portion of the recipe.
- Cream cheese: Need a cream cheese substitute? Try mascarpone cheese – it’ll give you that same creamy texture. Just make sure it’s at room temperature before using.
- Lemon curd: No lemon curd? Mix vanilla pudding with 3 tablespoons of lemon juice and 1 tablespoon of lemon zest. Or try lime curd for a different citrus kick.
- Fresh berries: Fresh berries are best, but you can use frozen berries – just thaw and drain them well first. Mix and match any berries you like – strawberries, blackberries, or mixed berries all work great.
Watch Out for These Mistakes While Making
The biggest challenge when assembling a trifle is working with cream cheese that’s not properly softened, which can lead to lumpy layers – make sure to leave it at room temperature for at least 2 hours before mixing.
Temperature control is crucial throughout the process: cold berries can cause the lemon curd to seize up, so let your fruit come to room temperature, and ensure your lemon curd isn’t straight from the fridge.
A common mistake is rushing the whipping cream process – start with a chilled bowl and beaters, then whip on medium speed until soft peaks form, as overbeating can turn your cream grainy and butter-like.
For the cleanest layers, avoid pressing down too hard when adding each component, and if you’re making this ahead, wait to add the final berry topping until just before serving to prevent any color bleeding into your white layers.
What to Serve With Lemon Berry Trifle?
This lemon berry trifle is a showstopper dessert that really shines when served with a few simple accompaniments. A cup of hot coffee or tea makes the perfect beverage pairing, helping to balance out the sweetness of the trifle. If you’re hosting a summer gathering, try serving it with a scoop of vanilla ice cream on the side – the cold, creamy texture works so well with the layers of fruit and cake. For brunch settings, I like to offer a glass of prosecco or champagne alongside, which adds a nice fizzy contrast to the creamy layers and brings out the bright lemon flavors.
Storage Instructions
Keep Chilled: This lemon berry trifle needs to stay cool! Pop it in the fridge, covered with plastic wrap or in an airtight container. It’ll stay fresh and tasty for up to 2 days. The longer it sits, the softer the cake layers will become – but many folks actually prefer it this way!
Make Ahead: Want to prep in advance? You can make the components separately up to a day ahead. Store the whipped cream mixture, lemon curd, and cut pound cake separately in the fridge. When you’re ready to serve, just layer everything together with fresh berries. This helps keep everything fresh and prevents the berries from getting mushy.
Serving Tips: Take your trifle out of the fridge about 10 minutes before serving – this lets the flavors come alive a bit. If you notice any liquid collecting at the bottom of your bowl after a while, that’s totally normal with berry desserts. Just scoop deep to get all those yummy layers in each serving!
| Preparation Time | 20-30 minutes |
| Cooking Time | 0-0 minutes |
| Total Time | 120-360 minutes |
| Level of Difficulty | Medium |
Estimated Nutrition
Estimated nutrition for the whole recipe (without optional ingredients):
- Calories: 2500-2800
- Protein: 25-30 g
- Fat: 150-170 g
- Carbohydrates: 300-350 g
Ingredients
For the cake base:
- 1 loaf lemon pound cake (9×5 inch, store-bought for convenience)
For the whipped cream:
- 1 tsp vanilla essence
- 1/4 cup sugar
- 2 cups whipping cream (heavy cream works best for stable whipped cream)
For the lemon cheesecake mixture:
- 8 oz cream cheese (brick-style, softened to room temperature about 70°F)
- 1 cup lemon curd (I use Dickinson’s Lemon Curd)
- 1/2 tsp vanilla essence
For assembly and garnish:
- 5-6 cups fresh mixed berries (such as strawberries, blueberries, raspberries)
- lemon slices (thinly sliced for garnish)
- additional berries (for decorative topping)
Step 1: Prepare the Lemon Pound Cake
Begin by slicing the lemon pound cake into 9 equal 1-inch slices.
Cut each slice into bite-sized cubes.
Once cut, set the pound cake cubes aside until they’re needed for assembly.
Step 2: Whip the Cream
In a large mixing bowl, use a hand mixer or a stand mixer fitted with a whisk attachment to beat together the heavy cream, granulated sugar, and vanilla extract on high speed until stiff peaks form.
This should take about 3 minutes.
Once whipped, cover the bowl and store it in the refrigerator until it’s required in step 3.
Step 3: Make the Lemon Cheesecake Mixture
With a hand mixer or stand mixer fitted with a paddle or whisk attachment, beat the cream cheese on medium-high speed in a large bowl until creamy.
Incorporate the vanilla extract and lemon curd, and continue beating at medium-high speed until thoroughly combined.
Gently fold in half of the whipped cream (about 2 cups) prepared in step 2, then set this mixture aside for assembly.
Step 4: Assemble the Trifle
The trifle will be made up of 3 layers of lemon pound cake, 3 layers of fresh berries, and 2 layers of the lemon cheesecake mixture.
Start by placing a layer of pound cake cubes at the bottom of your trifle dish.
Add an even layer of fresh berries over the pound cake, followed by half of the lemon cheesecake mixture.
Repeat the layering process once more: pound cake cubes, berries, and the remaining lemon cheesecake mixture.
Finish with a final layer of pound cake cubes topped with a layer of fresh berries.
Pipe or spread the remaining whipped cream on top of the trifle.
For a decorative finish, use a Wilton 1M piping tip if available.
Step 5: Chill and Serve
Refrigerate the assembled trifle for at least 2 hours, and up to 6 hours, to allow the flavors to meld and the cake to absorb some of the lemon cheesecake mixture.
If refrigerating for longer than 2-4 hours, loosely cover the trifle to keep it fresh.
Before serving, garnish the trifle with additional berries and/or lemon slices for a vibrant and refreshing presentation.
Store any leftovers covered in the refrigerator for up to 2-3 days.
