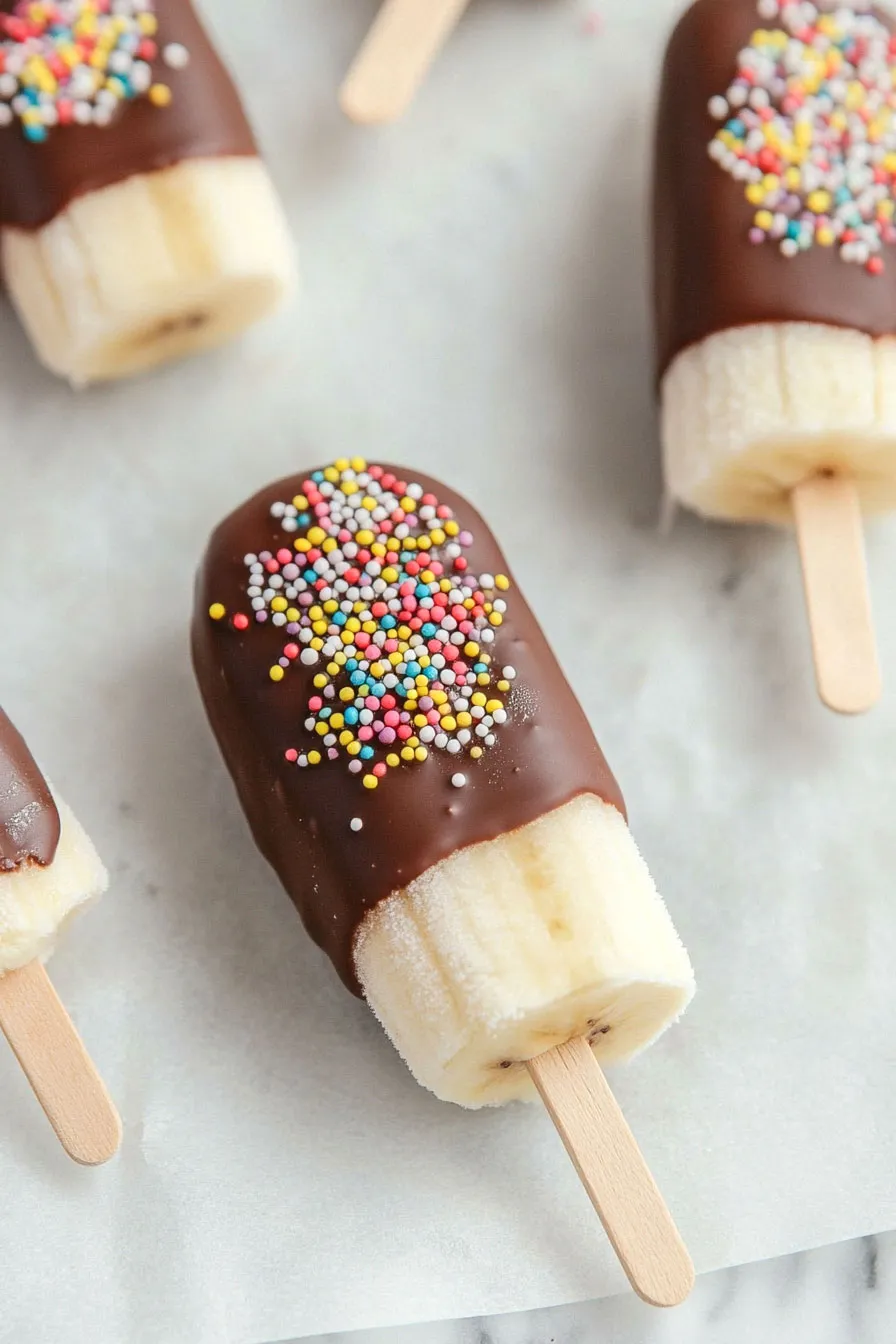
Here’s my go-to frozen banana popsicle recipe, with simple ingredients, creamy texture, and natural sweetness that makes them perfect for hot summer days. You just need ripe bananas, some basic add-ins, and popsicle molds.
These banana popsicles have become my kids’ favorite afternoon treat, and I always keep a batch in the freezer. They’re so easy to make that we usually prep them together on weekends. Plus, they’re a healthier alternative to store-bought ice cream – and who doesn’t love that?
Why You’ll Love These Banana Popsicles
- Kid-friendly treat – These frozen banana pops are a fun activity to make with kids, and they’ll love decorating them with colorful sprinkles.
- Simple ingredients – You only need 4 basic ingredients to make these popsicles – perfect for when you want a quick treat without a grocery store run.
- Healthier dessert option – Made with real fruit and dark chocolate, these pops satisfy your sweet tooth while being more nutritious than store-bought frozen treats.
- Make-ahead friendly – You can prepare a batch and keep them in the freezer for whenever you need a cool, sweet snack.
What Kind of Bananas Should I Use?
For banana popsicles, you’ll want to use bananas that are fully ripe – look for ones with plenty of brown spots on the peel, as these will be naturally sweeter and have a stronger banana flavor. Regular Cavendish bananas (the most common type found in grocery stores) work perfectly for this recipe, though you could also use smaller varieties like Lady Finger bananas if you prefer. Just make sure to avoid underripe bananas, which can taste starchy and won’t give you that creamy texture you’re looking for. If your bananas aren’t quite ripe enough, you can speed up the process by placing them in a paper bag with an apple for a day or two.
Options for Substitutions
This simple frozen treat recipe can be customized with several easy swaps:
- Dark chocolate morsels: You can use milk chocolate, white chocolate, or even butterscotch chips instead. Just keep in mind that different types of chocolate might need slightly different melting times.
- Refined coconut oil: Regular coconut oil works too, though it might add a slight coconut taste. You can also use shortening or even butter, but coconut oil gives the best texture when frozen.
- Sprinkles: Get creative with your toppings! Try crushed nuts, shredded coconut, mini chocolate chips, or crushed graham crackers. You can even skip toppings altogether.
- Bananas: This is the one ingredient you shouldn’t substitute since it’s the base of the recipe. Just make sure they’re ripe with some brown spots for the best natural sweetness.
Watch Out for These Mistakes While Making
The biggest challenge when making banana popsicles is using bananas that aren’t ripe enough – you want them to have plenty of brown spots on the peel, which means they’re at their sweetest and will give you the best flavor. Another common mistake is rushing the freezing process – make sure to freeze your banana pieces for at least 2 hours before dipping them in chocolate, or they’ll slide right off the stick and create a messy situation. The temperature of your melted chocolate coating is crucial too – if it’s too hot, it won’t adhere properly to the frozen bananas, so let it cool for a few minutes after melting and stir in the coconut oil thoroughly to create that perfect magic shell effect. For the best results, work quickly when dipping the bananas and add your sprinkles immediately before the chocolate sets, which happens fast due to the frozen banana underneath.
What to Serve With Banana Popsicles?
These chocolate-dipped banana popsicles make a perfect summer treat on their own, but there are some fun ways to turn them into a more special dessert experience! I like setting up a little toppings bar with extra sprinkles, crushed nuts, and shredded coconut so everyone can add their own finishing touches. For a kid’s party or casual get-together, serve these pops alongside some vanilla ice cream or whipped cream for dipping. You can also put out some caramel sauce or peanut butter for drizzling – because let’s be honest, you can never go wrong with the banana-peanut butter combo!
Storage Instructions
Keep Frozen: These banana popsicles need to stay in the freezer to maintain their shape and texture. Place them in a freezer-safe container or zip-top bag, and they’ll keep fresh for up to 2 months. I like to put a piece of parchment paper between each popsicle to prevent them from sticking together.
Wrap Well: To prevent freezer burn and keep your popsicles tasting fresh, make sure they’re wrapped tightly or stored in an airtight container. The chocolate coating helps protect the banana, but proper storage is still important to maintain the best taste and texture.
Serve: When you’re ready to enjoy your popsicle, let it sit at room temperature for about 1-2 minutes before eating. This helps soften the chocolate coating just enough to make it easier to bite into. Don’t leave them out too long though, or you’ll end up with a melty mess!
| Preparation Time | 15-20 minutes |
| Cooking Time | 0 minutes |
| Total Time | 135-145 minutes |
| Level of Difficulty | Easy |
Estimated Nutrition
Estimated nutrition for the whole recipe (without optional ingredients):
- Calories: 500-600
- Protein: 4-6 g
- Fat: 30-35 g
- Carbohydrates: 60-70 g
Ingredients
For the banana pops:
- 3 ripe bananas (peeled and cut in half)
- popsicle sticks
For the chocolate coating:
- decorative sprinkles (optional, for fun)
- 1/2 cup dark chocolate morsels (I use Ghirardelli 60% cacao biting-size squares)
- 2 tbsp refined coconut oil (to help the chocolate melt smoothly)
Step 1: Prepare the Bananas
Select bananas that are ripe but not overripe to ensure they are sweet yet firm enough to hold their shape.
Cut each banana in half.
Insert a popsicle stick into the bottom of each banana half to create your banana pops.
Step 2: Freeze the Banana Pops
Line a baking sheet with parchment paper and carefully lay the banana pops onto the parchment paper.
Place the entire sheet in the freezer and let the banana pops freeze for at least 2 hours, or until solid.
Step 3: Melt the Chocolate
In a small cup, combine the chocolate chips with coconut oil.
Heat the mixture until the chocolate chips are fully melted, stirring until smooth.
This mixture will be used for dipping the banana pops.
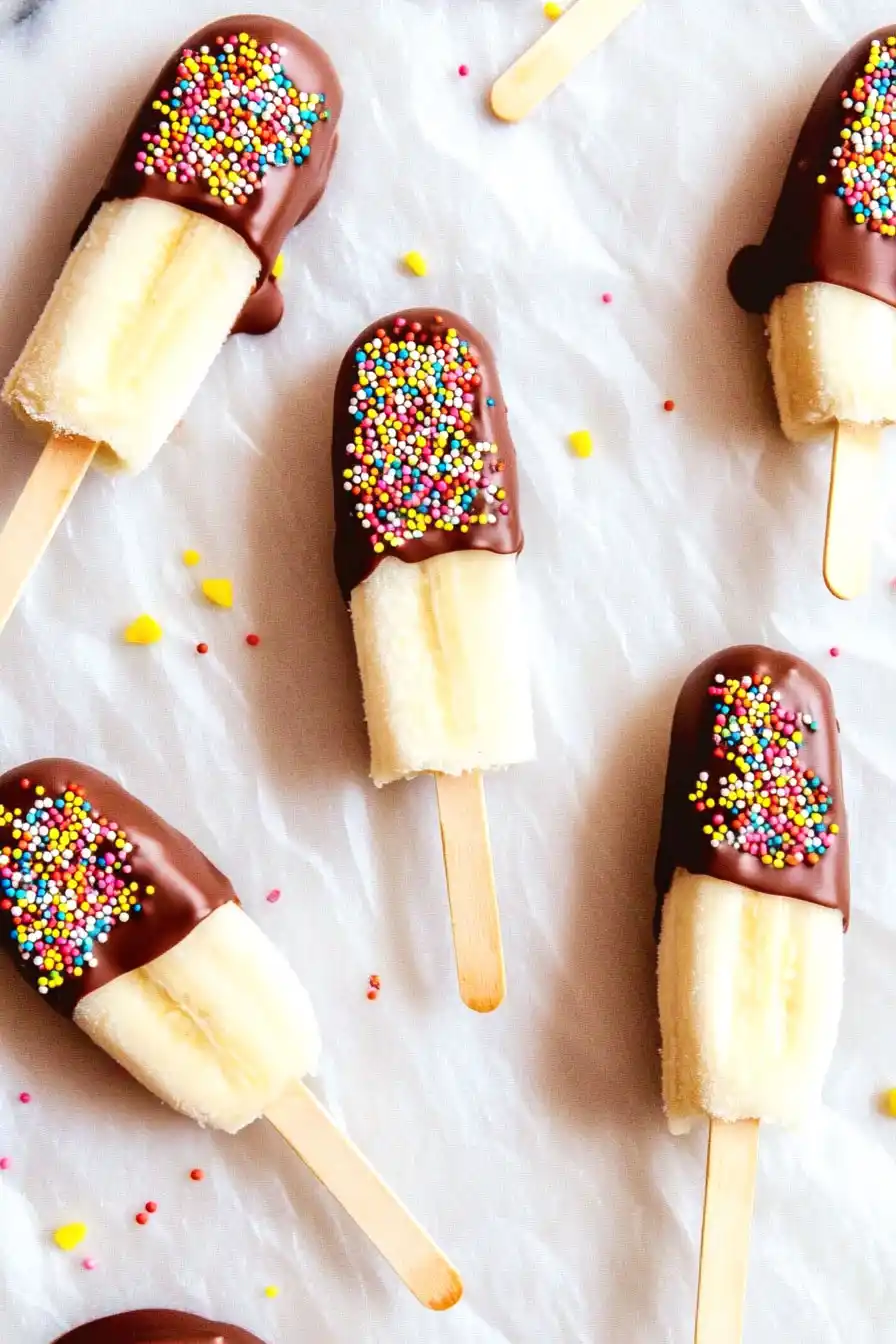
Step 4: Dip and Decorate the Banana Pops
Once the bananas are frozen, hold each pop by the stick and dip it straight into the melted chocolate mixture.
The chocolate will begin to harden quickly, so promptly add your choice of sprinkles after dipping.
Hold the banana pop upside down until the chocolate fully hardens, then return it to the parchment paper.
Repeat this process until all the banana pops are coated with chocolate and sprinkled.
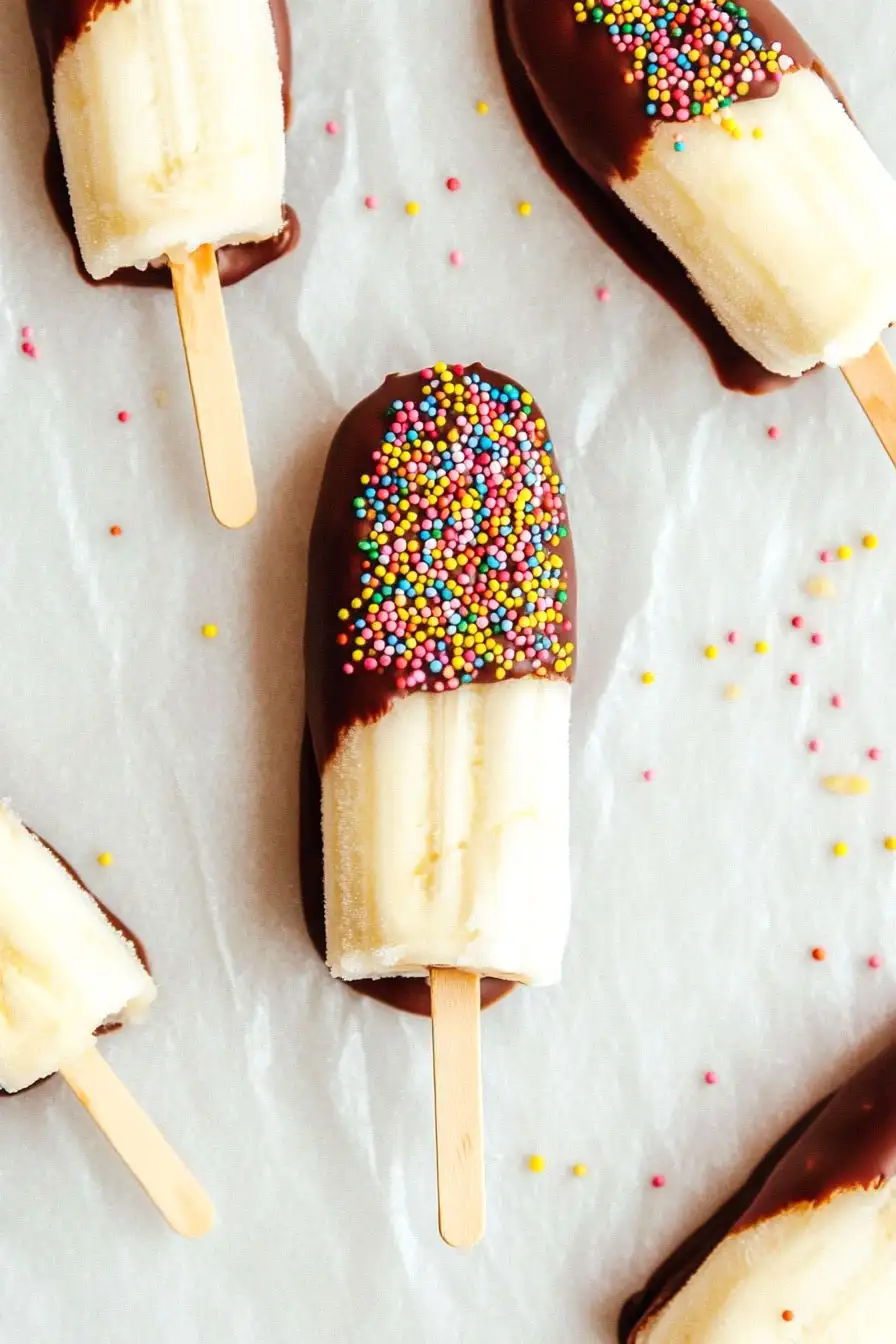
Step 5: Serve or Store
You can enjoy the chocolate-coated banana pops immediately for a delightful treat.
Alternatively, store them in the freezer until you’re ready to eat.
Just make sure to keep them on the parchment-lined baking sheet or another container with parchment paper to prevent sticking.
