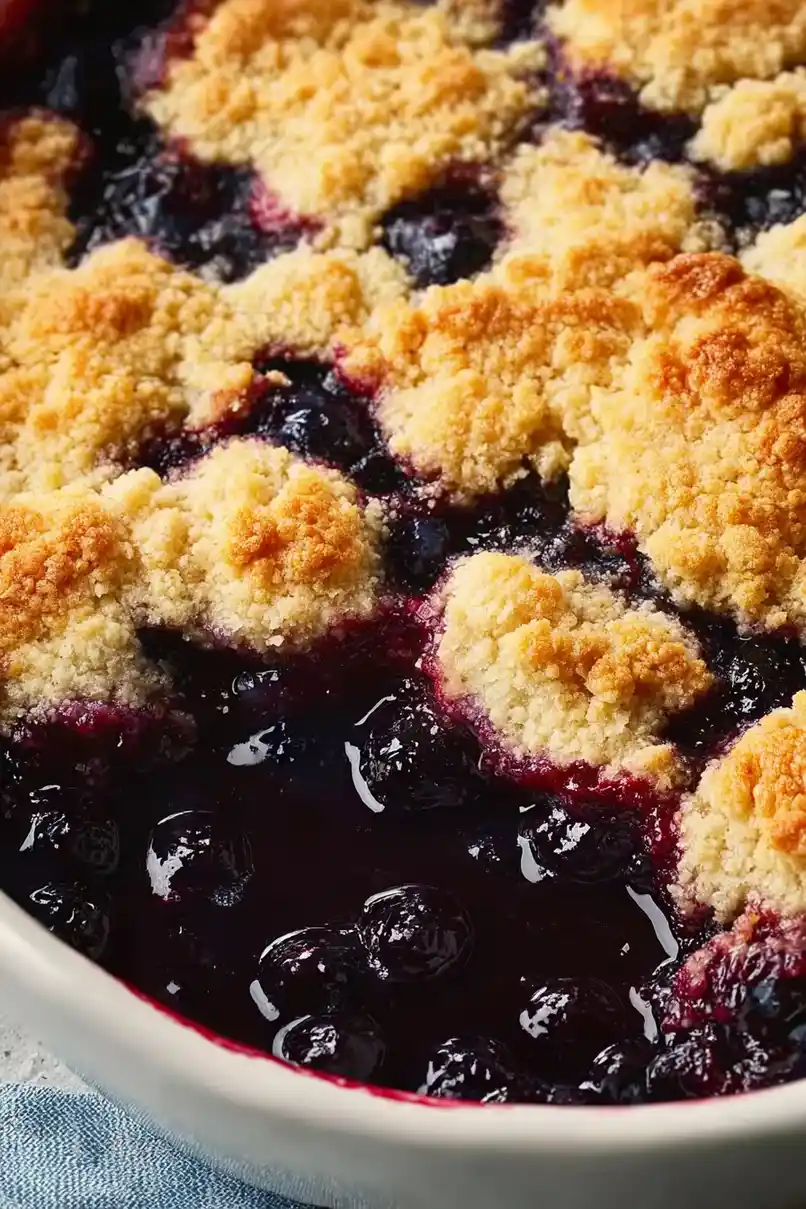
There’s something comforting about a warm cobbler fresh from the oven. When I need a dessert that feels like home but doesn’t require hours in the kitchen, this Bisquick blueberry cobbler is my go-to recipe. The best part? It uses ingredients I usually have in my pantry, and the prep is so simple that I can whip it up even on busy weeknights.
Using Bisquick as the base makes this recipe practically foolproof. I’ve made it so many times that I could probably do it with my eyes closed (though I definitely don’t recommend that!). Whether the blueberries are fresh from the farmers market or frozen from my freezer stash, this cobbler turns out great every time.
Want to know what makes this recipe even better? You can enjoy it warm with ice cream for dessert, or heat up the leftovers for breakfast the next morning. I won’t tell anyone if you do both – because that’s exactly what I do!
Why You’ll Love This Blueberry Cobbler
- 5-ingredient dessert – With just Bisquick, blueberries, sugar, milk, and butter, you can create a warm, homestyle dessert without a long grocery list.
- No baking skills needed – If you can stir ingredients together, you can make this cobbler – it’s that simple! The Bisquick mix does all the heavy lifting for you.
- Perfect for fresh berries – This is an ideal recipe when blueberries are in season and you want to showcase their natural sweetness in a warm, comforting dessert.
- Make-ahead friendly – You can prepare this cobbler earlier in the day and simply warm it up when you’re ready to serve – it tastes just as good reheated!
What Kind of Blueberries Should I Use?
Fresh blueberries are ideal for this cobbler, but don’t worry if you can’t find them – frozen blueberries work just as well and are often more budget-friendly. If you’re using fresh berries, look for ones that are firm, plump, and have a dusty blue color with no red tinge, which means they’re perfectly ripe. When shopping, give the container a gentle shake – if the berries move freely, they’re fresh, but if they stick together, they might be starting to spoil. If you do end up using frozen blueberries, don’t thaw them before adding to your cobbler – pop them in while they’re still frozen to prevent them from getting mushy and staining your batter too much.
Options for Substitutions
This easy cobbler recipe can be adapted with several substitutions if needed:
- Bisquick mix: If you’re out of Bisquick, you can make your own by mixing 1¼ cups all-purpose flour with 1½ teaspoons baking powder, ¼ teaspoon salt, and 3 tablespoons cold butter cut into the flour mixture.
- Fresh blueberries: Fresh or frozen blueberries both work great here! If using frozen, don’t thaw them first. You can also swap in other berries like blackberries or raspberries, or try a mix of different berries.
- Whole milk: Any type of milk works fine – 2%, 1%, or even non-dairy options like almond or oat milk. Just note that lower-fat options might make the cobbler slightly less rich.
- Melted butter: You can use margarine instead of butter, though butter gives the best flavor. Coconut oil can work too, but it will add a slight coconut taste to your cobbler.
- Granulated sugar: Brown sugar can be used instead of white sugar – it will give a deeper, more caramel-like flavor. You could also reduce the sugar to ⅓ cup if you prefer less sweetness.
Watch Out for These Mistakes While Baking
The biggest mistake when making Bisquick blueberry cobbler is overmixing the batter – just stir until the ingredients are combined, as overmixing will result in a tough, dense topping instead of the light, fluffy texture you’re looking for.
Another common error is using frozen blueberries without thawing and draining them first, which can make your cobbler watery and prevent the topping from baking properly – if using frozen berries, thaw them completely and drain off any excess liquid before using.
Temperature control is crucial too – baking at too high a temperature can burn the top while leaving the inside undercooked, so stick to a moderate 350°F and check for doneness by looking for golden-brown spots and bubbling fruit around the edges.
For the best texture, let your cobbler rest for 15-20 minutes after baking – this allows the fruit juices to thicken and makes serving much neater (though we know it’s tempting to dig in right away!).
What to Serve With Blueberry Cobbler?
This warm, fruity cobbler practically begs to be topped with a scoop of vanilla ice cream or a dollop of freshly whipped cream! For breakfast or brunch, try serving it with a spoonful of Greek yogurt and a drizzle of honey – it’s such a cozy way to start the day. If you’re serving this as dessert after dinner, a cup of coffee or tea makes the perfect companion to balance out the sweetness. You can also add some extra fresh blueberries on top or even a light dusting of powdered sugar for a simple but pretty presentation.
Storage Instructions
Keep Fresh: Once your blueberry cobbler has cooled down, cover it with plastic wrap or aluminum foil and pop it in the fridge. It’ll stay good for about 4-5 days, though the topping might soften a bit over time. The flavors actually get even better after a day!
Freeze: If you want to save some for later, this cobbler freezes pretty well. Just wrap it tightly in plastic wrap and aluminum foil, then freeze for up to 3 months. Keep in mind the texture of the topping might change slightly after freezing.
Warm Up: When you’re craving some cobbler, warm individual portions in the microwave for about 30 seconds, or pop the whole dish in a 350°F oven for 10-15 minutes until heated through. Add a scoop of vanilla ice cream on top, and it’ll taste just like it’s fresh from the oven!
| Preparation Time | 10-15 minutes |
| Cooking Time | 45 minutes |
| Total Time | 55-60 minutes |
| Level of Difficulty | Easy |
Estimated Nutrition
Estimated nutrition for the whole recipe (without optional ingredients):
- Calories: 800-900
- Protein: 10-15 g
- Fat: 40-45 g
- Carbohydrates: 110-120 g
Ingredients
For the fruit filling:
- 1/2 cup granulated sugar
- 3 cups fresh blueberries (rinsed and drained)
For the topping:
- 5 tbsp melted butter
- 1 1/4 cups Bisquick baking mix (I use Betty Crocker Bisquick Original)
- 2/3 cup whole milk
For serving (optional):
- whipped cream
- ice cream (vanilla bean is a classic choice)
Step 1: Prepare the Baking Supplies
Start by preheating your oven to 350 degrees Fahrenheit.
While the oven is heating, grease a 9-inch baking pan with oil or butter.
This will ensure that the blueberry cobbler doesn’t stick to the pan.
Step 2: Coat the Blueberries
In a large bowl, combine the blueberries with sugar.
Toss them until the blueberries are fully coated with sugar.
Set this mixture aside while you prepare the dough.
Step 3: Prepare the Dough
In another bowl, mix together the Bisquick, milk, and melted butter until fully combined.
The resulting dough should be soft and easy to spoon over the blueberries.
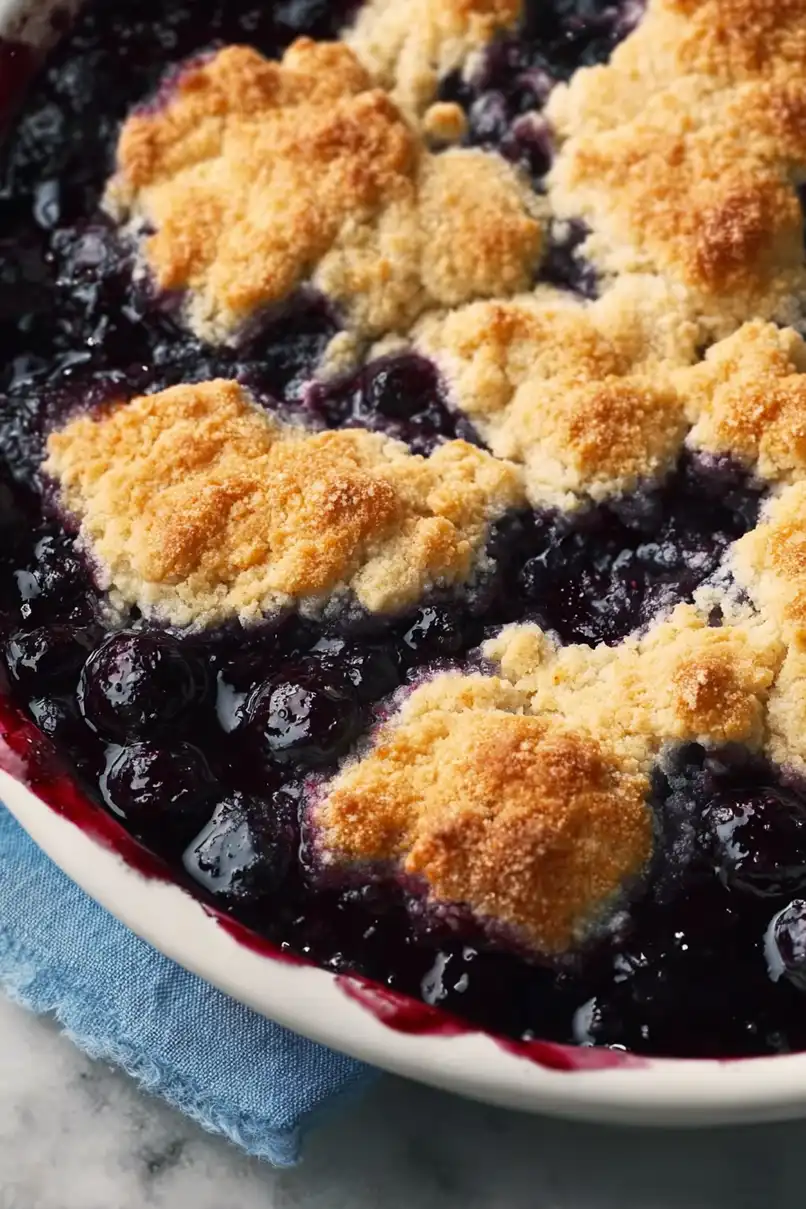
Step 4: Assemble the Cobbler
Pour the sugared blueberries into the prepared, greased baking pan.
Then, using a spoon, evenly distribute the prepared dough over the top of the blueberries, covering them as best as you can.
Step 5: Bake the Cobbler
Place the baking pan in your preheated oven and bake for about 45 minutes, or until the topping turns golden brown and the blueberry filling begins to bubble.
This indicates that the cobbler is ready to come out of the oven.
Step 6: Serve and Enjoy
Once done, let the cobbler cool slightly before serving, as it will be very hot.
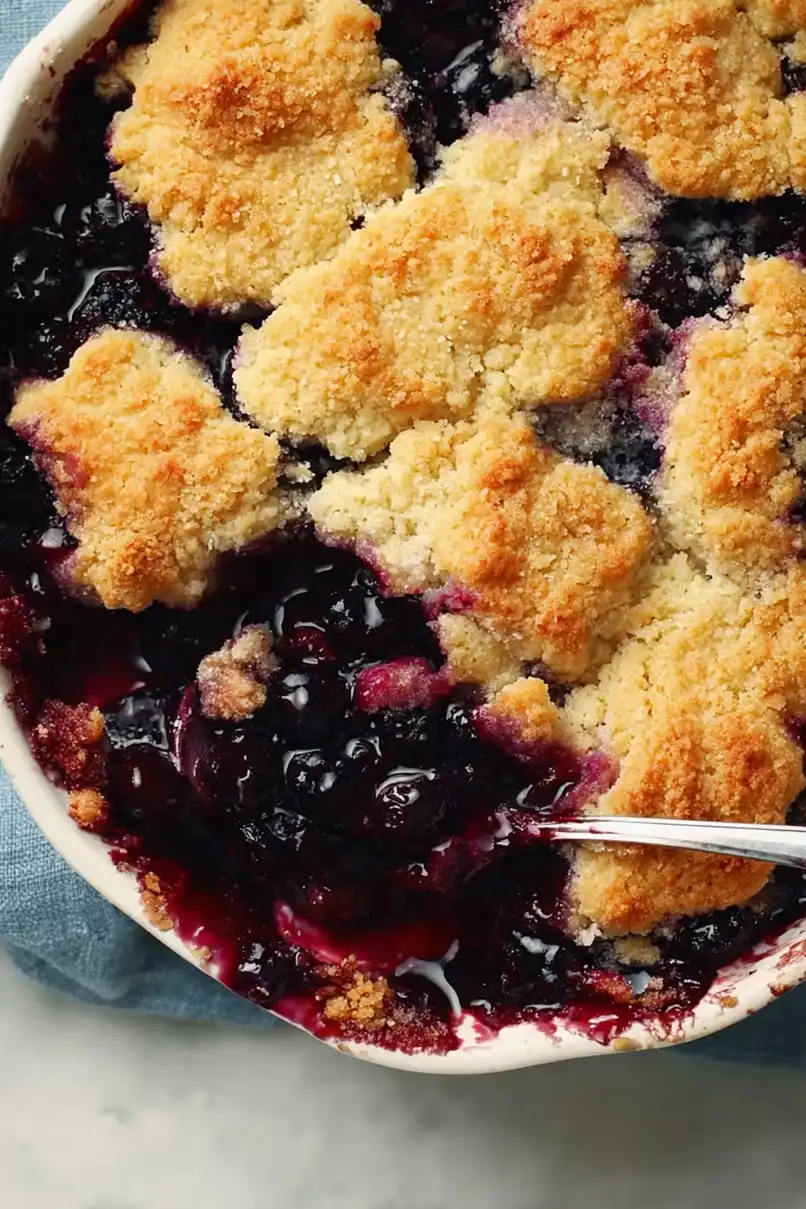
Serve it warm, paired with a scoop of ice cream or a dollop of whipped cream on top for an extra treat.
Enjoy your homemade blueberry cobbler!
