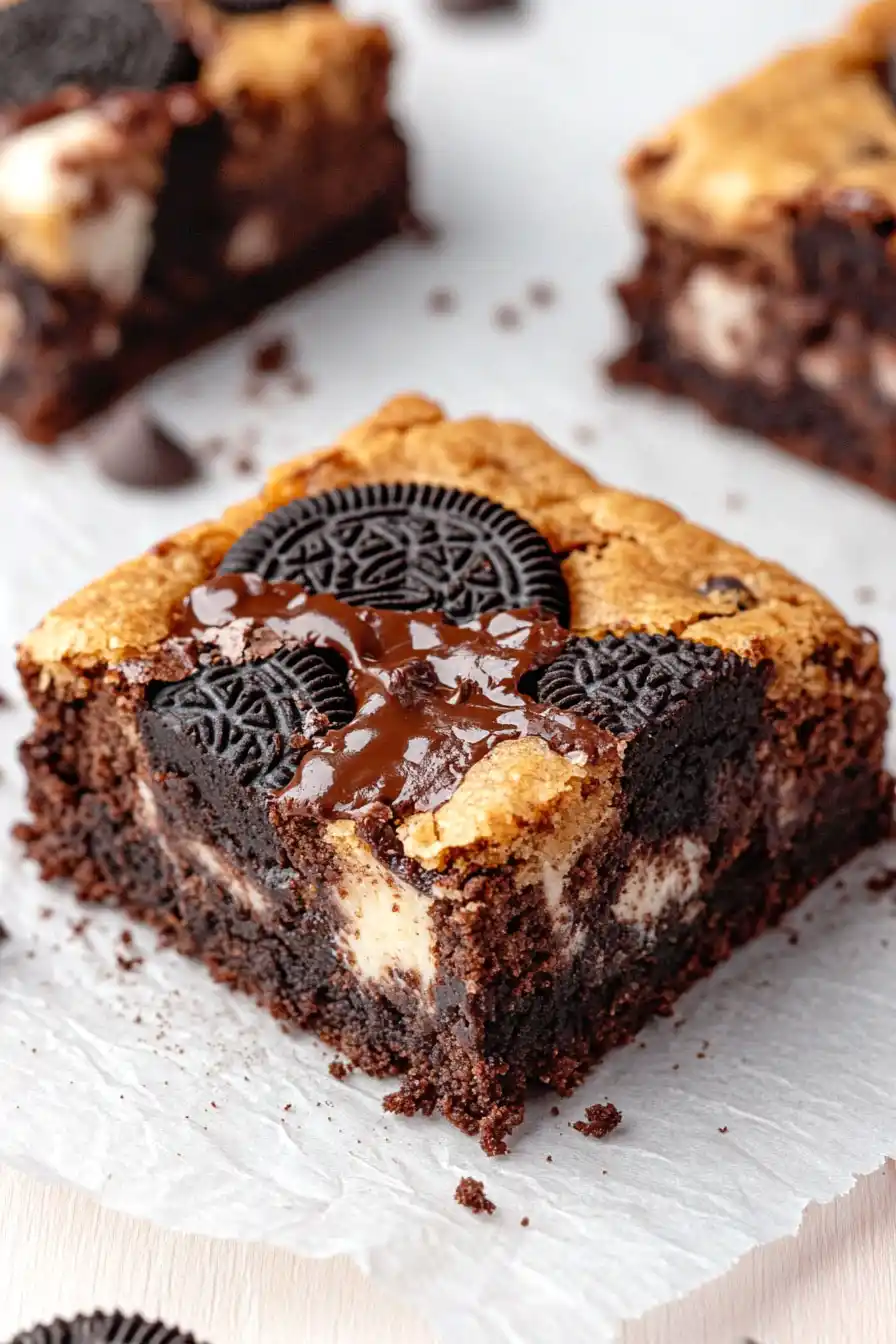
Here’s my go-to recipe for Oreo brookies, combining the best of both worlds – fudgy brownies and chewy cookies, all mixed together with chunks of everyone’s favorite sandwich cookies.
These brookies are my kids’ most requested treat for bake sales and birthday parties. I usually make a double batch because they disappear so quickly from the cookie jar. Nothing beats having one (or two!) with a cold glass of milk, right?
Why You’ll Love These Brookies
- Two desserts in one – You get the best of both worlds – chewy chocolate chip cookies and fudgy brownies combined into one amazing treat, with Oreos adding an extra layer of deliciousness.
- Quick preparation – These brookies come together in under an hour, making them perfect for last-minute dessert cravings or unexpected guests.
- Basic pantry ingredients – Most of these ingredients are likely already in your kitchen – just grab some Oreos and chocolate chips, and you’re ready to bake.
- Perfect for sharing – These treats are always a hit at bake sales, parties, or family gatherings – everyone loves the combination of cookies, brownies, and Oreos.
What Kind of Oreos Should I Use?
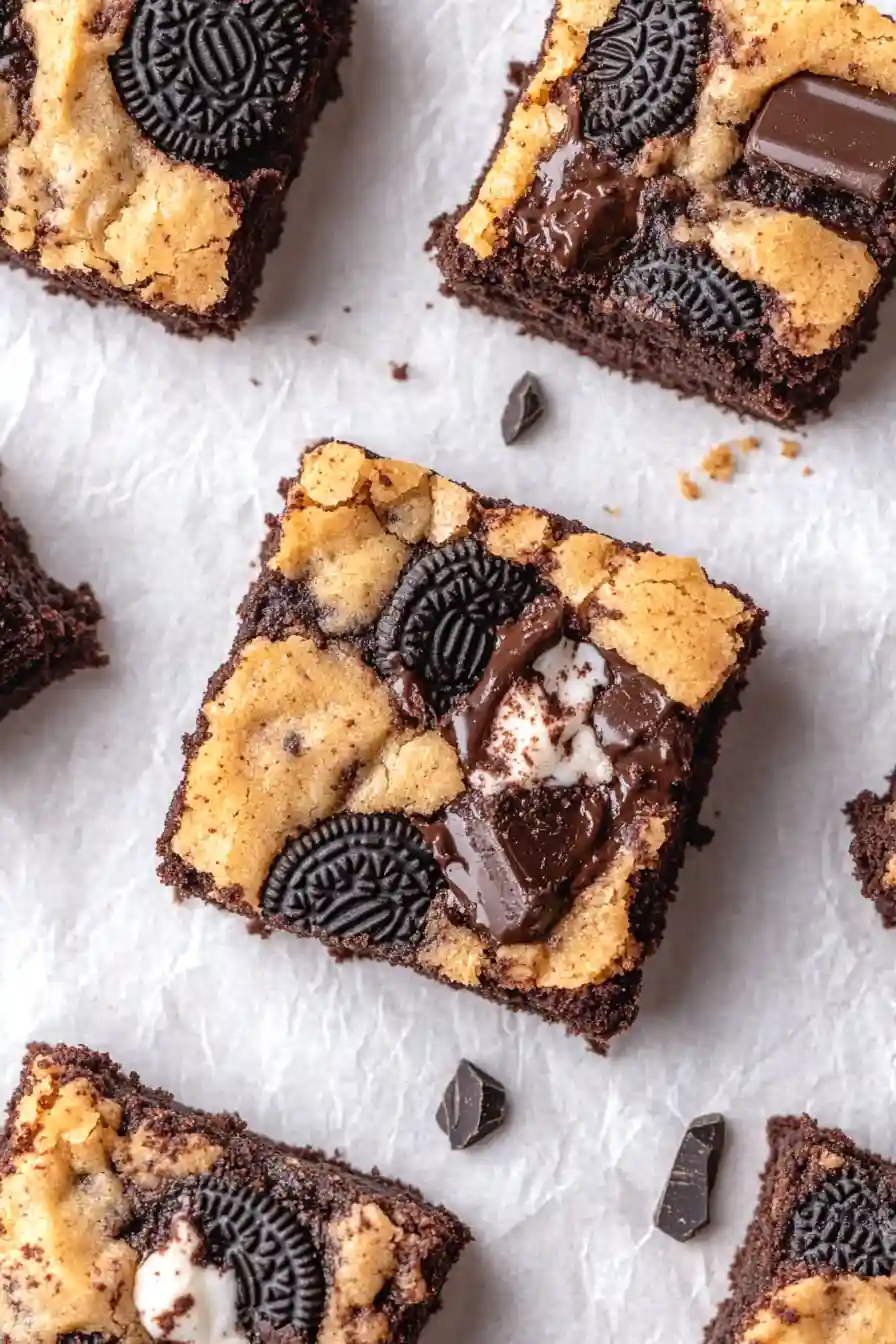
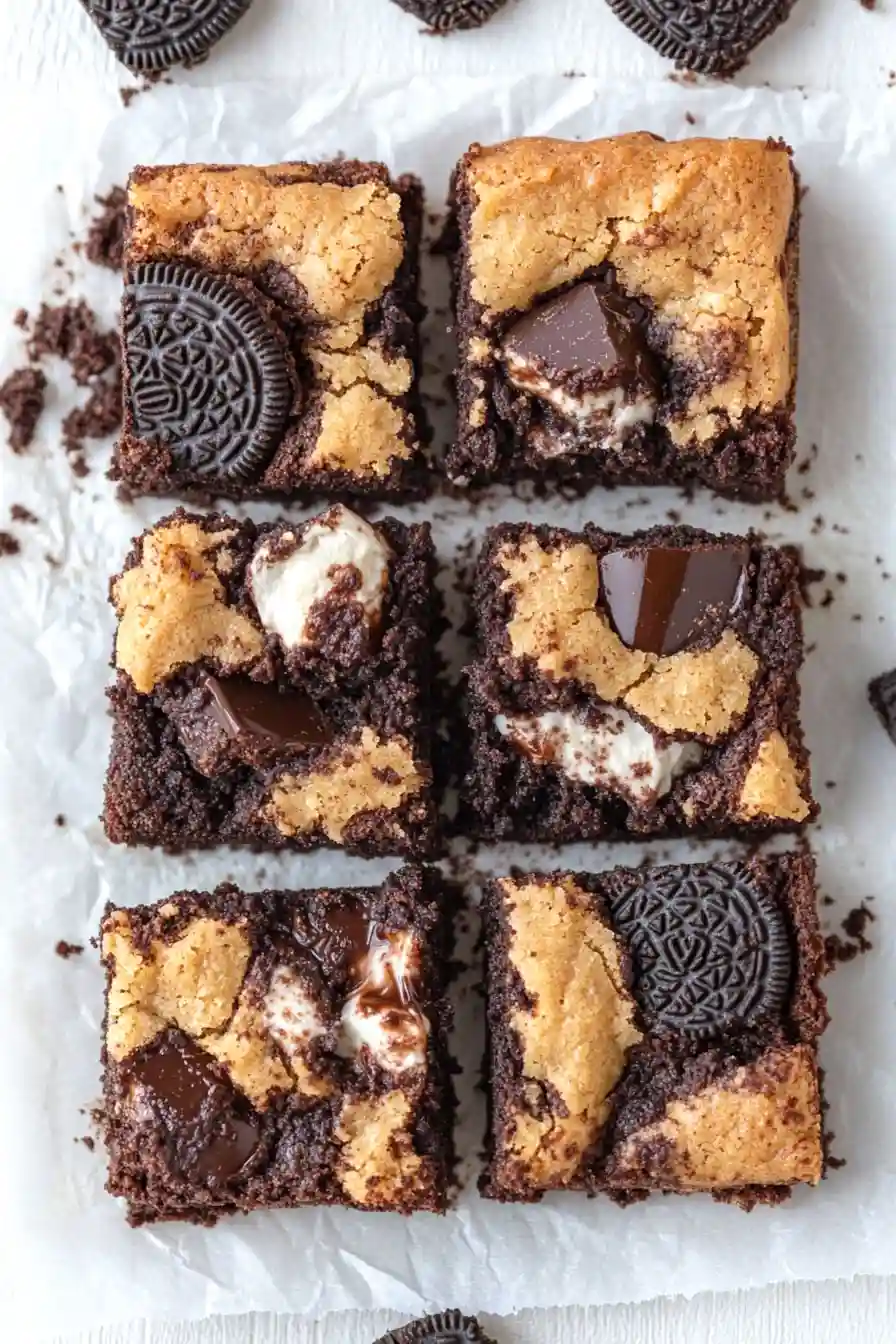
Regular classic Oreos are perfect for this recipe, but don’t feel limited to just the original variety. Double Stuf Oreos will work just as well, adding extra creaminess to your brookies, while Thin Oreos might give you a slightly more subtle cookie presence. When chopping your Oreos, aim for chunks rather than fine crumbs – this creates nice pockets of cookie goodness throughout your brookies. Just make sure to give them a rough chop with a sharp knife rather than crushing them too finely, as you want those distinctive black-and-white pieces to be visible in the final product. And here’s a little tip: store-brand sandwich cookies can work too, but authentic Oreos tend to hold their shape better during baking.
Options for Substitutions
Looking to make these brookies but missing a few things? Here are some helpful swaps you can try:
- Unsalted butter: You can use salted butter – just reduce the added salt in the recipe by 1/4 teaspoon per stick of butter. Plant-based butter also works, but might change the texture slightly.
- Semi-sweet chocolate chips: Dark chocolate chips or chopped chocolate bars work great here. Milk chocolate can be used too, but the brownies will be sweeter.
- Light brown sugar: Dark brown sugar is fine to use, it’ll just give a stronger molasses flavor. You can also make your own by mixing 1/2 cup white sugar with 1 tablespoon molasses.
- Oreos: Any cream-filled chocolate sandwich cookie will work here. Try different Oreo flavors too – mint or peanut butter ones can add a fun twist!
- Cocoa powder: Both Dutch-process or natural cocoa powder work in this recipe. Just make sure it’s unsweetened.
- Vanilla essence: Vanilla extract, paste, or powder can be used interchangeably. If you’re out completely, you can skip it, though you’ll miss some flavor depth.
Watch Out for These Mistakes While Baking
The biggest challenge when making brookies is achieving the perfect balance between the cookie and brownie layers – overmixing either batter will lead to tough, dense results, so mix just until the ingredients are combined. Getting the temperature of your ingredients right is crucial – cold butter and eggs won’t blend properly, so make sure they’re truly at room temperature before starting (let them sit out for at least 1 hour). Another common mistake is overbaking these treats – they should look slightly underdone when you take them out of the oven, as they’ll continue to set while cooling in the pan. For the best texture contrast, press some extra Oreo pieces on top of the batter just before baking, and remember to let the brookies cool completely before cutting them – this helps prevent the layers from separating and gives you cleaner slices.
What to Serve With Brookies?
These cookie-brownie hybrids are perfect with a cold glass of milk, just like their parent desserts! For a cozy after-dinner treat, serve them slightly warm with a scoop of vanilla ice cream on top – the ice cream gets all melty and wonderful against the warm brookie. If you’re feeling extra indulgent, drizzle some chocolate sauce or caramel over the top, or add a dollop of whipped cream. These also pair really well with a hot cup of coffee or tea, especially when you’re looking for an afternoon pick-me-up.
Storage Instructions
Keep Fresh: Your Oreo brookies will stay soft and chewy for up to 5 days when kept in an airtight container at room temperature. Pro tip: toss a piece of bread in the container – it helps keep the brookies from drying out and maintains that perfect texture you love!
Freeze: These treats are perfect for stashing away in the freezer! Place them in a freezer-safe container with parchment paper between layers and they’ll keep for up to 3 months. I like to make a double batch – one for now and one for later!
Thaw & Enjoy: When you’re craving a frozen brookie, just pull out what you need and let them thaw at room temperature for about 1-2 hours. If you want that fresh-baked taste, pop them in the microwave for 10-15 seconds – they’ll be slightly warm and extra gooey!
| Preparation Time | 15-20 minutes |
| Cooking Time | 25-30 minutes |
| Total Time | 40-50 minutes |
| Level of Difficulty | Medium |
Estimated Nutrition
Estimated nutrition for the whole recipe (without optional ingredients):
- Calories: 1200-1400
- Protein: 15-20 g
- Fat: 70-80 g
- Carbohydrates: 150-160 g
Ingredients
- 6 tablespoons unsalted butter (softened)
- 1/2 cup packed light brown sugar
- 2 tablespoons granulated sugar
- 1 large egg yolk (at room temperature)
- 1 teaspoon vanilla essence
- 3/4 cup plus 2 tablespoons all-purpose flour
- 1/2 teaspoon fine sea salt
- 1/2 teaspoon baking soda
- 4 chopped oreos (plus extras for topping)
- 4 tablespoons unsalted butter
- 1/3 cup semi-sweet chocolate chips
- 6 tablespoons granulated sugar
- 1 large egg (room temperature)
- 1 teaspoon vanilla essence
- 1/4 cup all-purpose flour
- 1/4 cup unsweetened cocoa powder
- 1/4 teaspoon fine sea salt
Step 1: Prepare the Baking Pan and Preheat Oven
Line an 8×8 square baking pan with parchment paper, ensuring it hangs over all four sides for easy removal later.
Preheat the oven to 350°F (180°C) so it’s ready once your batter is prepared.
Step 2: Make the Cookie Dough
Cream together the butter, sugar, and light brown sugar for about 2 minutes until light and fluffy.
Mix in the egg yolk and vanilla extract until well combined.
Gently fold in the flour, salt, baking soda, and chopped Oreos into the creamed mixture until just combined.
Set the cookie dough aside while you prepare the brownie batter.
Step 3: Prepare the Brownie Batter
Melt the butter and chocolate chips together until smooth and well combined.
In a separate bowl, whisk the sugar, egg, and vanilla together until the mixture is light and fluffy, approximately 2 minutes.
Slowly stream in the melted butter and chocolate into this mixture, stirring until just combined.
Fold in the flour, cocoa powder, and salt until just incorporated.
Step 4: Assemble the Cookie Brownie Bars
Scoop two-tablespoon-sized portions of the cookie dough into the prepared baking pan, leaving spaces in between each portion.
Next, scoop the brownie batter into the alternate empty spots in between the cookie dough balls.
Gently press down on the top of the cookie dough balls to ensure they are the same height as the brownie batter.
Step 5: Bake and Finish
Sprinkle any additional chopped Oreos on top of the assembled cookie brownie bars.
Place the baking pan in the preheated oven and bake at 350°F (180°C) for 25-27 minutes.
Monitor the progress by inserting a toothpick into the brownie portion; it should come out with a few moist crumbs.
To prevent the cookie dough from over-browning, loosely cover the top with foil after 20 minutes.
Once baked, remove from the oven and allow to cool before lifting out the bars using the parchment overhang.
