If you ask me, strawberry shortcake is the perfect summer dessert.
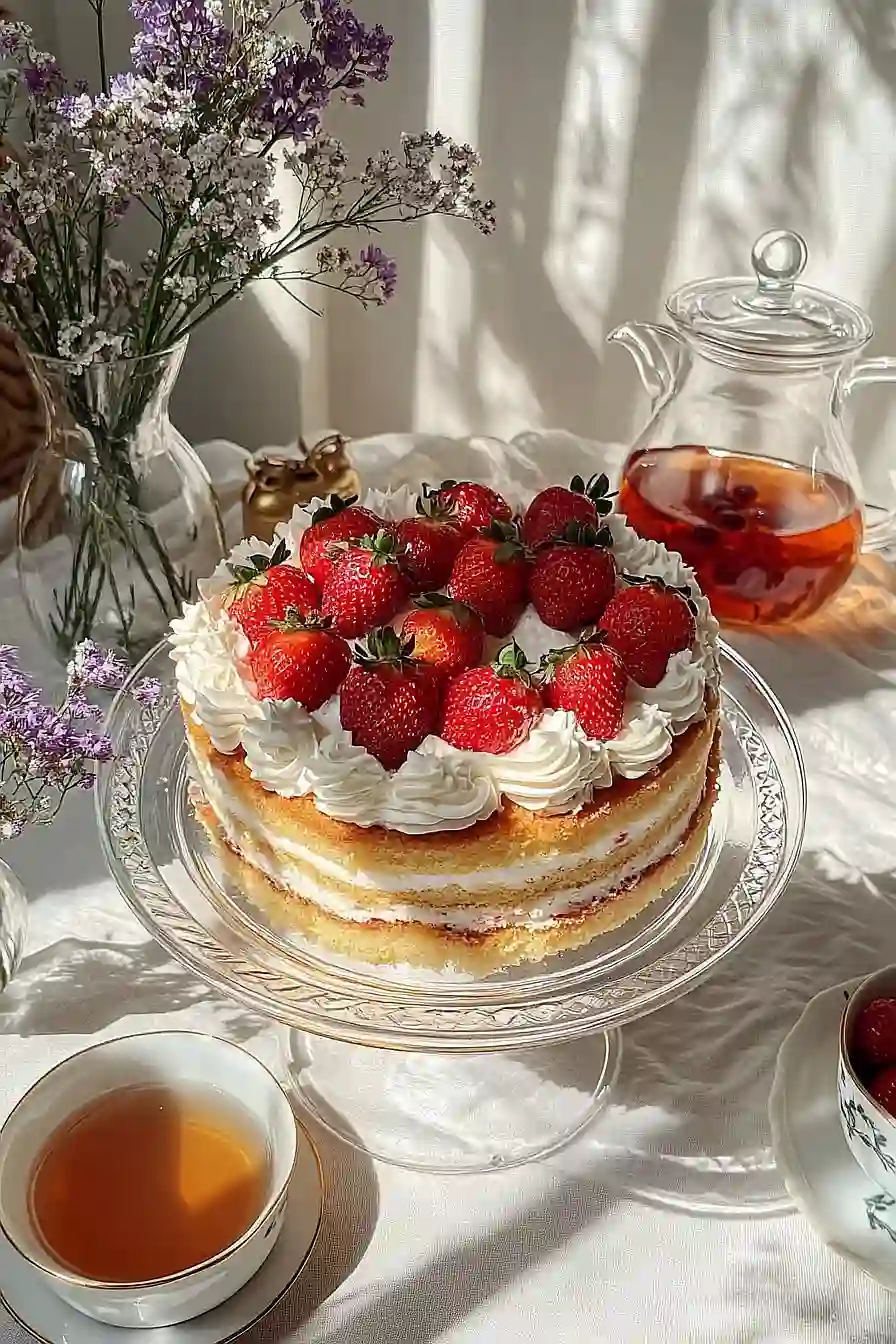
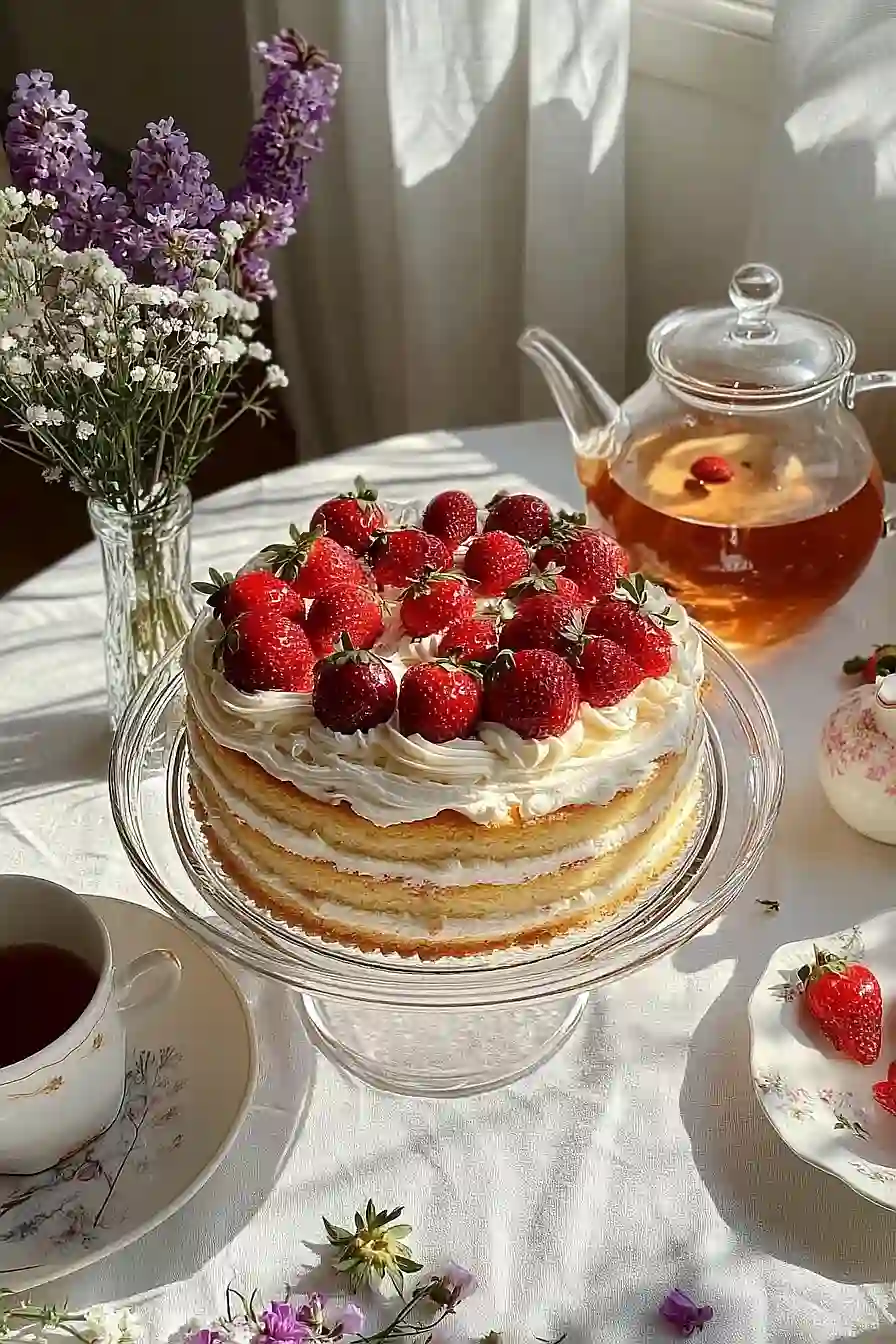
This classic American treat brings together three simple elements that just work – sweet, ripe strawberries, fluffy biscuits, and clouds of whipped cream. Each bite takes me right back to sunny afternoon picnics and backyard gatherings.
The biscuits are tender and buttery, acting as the perfect base for juicy strawberries that have been lightly macerated with sugar until they release their sweet syrup. A generous dollop of freshly whipped cream ties it all together.
It’s a no-fuss dessert that feels special enough for company but easy enough for a casual family dinner on the porch.
Why You’ll Love This Strawberry Shortcake
- Classic comfort dessert – This traditional recipe brings back memories of summer picnics and family gatherings, with its perfect balance of sweet cake, fresh berries, and creamy topping.
- Basic pantry ingredients – You probably have most of these ingredients in your kitchen already – no fancy or hard-to-find items needed.
- Make-ahead friendly – You can bake the shortcake base ahead of time and assemble with fresh berries and cream just before serving, making it perfect for entertaining.
- Customizable serving options – Whether you’re serving 2 or 20, you can easily portion this dessert to your needs and let everyone add their preferred amount of berries and cream.
What Kind of Strawberries Should I Use?
Fresh strawberries are the top choice for shortcake when they’re in season – typically spring through early summer in most areas. Look for berries that are bright red all the way through with no white or green patches, and avoid any that show signs of mushiness or mold. If fresh strawberries aren’t in season, frozen strawberries can work too, but let them thaw completely and drain off any excess liquid before using them. When using frozen berries, try to find ones that were frozen at peak ripeness, which usually means they’ll have better flavor than out-of-season fresh ones. Just remember that frozen strawberries will be softer than fresh ones once thawed, so handle them gently when mixing with sugar to avoid turning them to mush.

Options for Substitutions
This classic strawberry shortcake recipe can be adapted with several ingredient swaps if needed:
- Shortening: You can replace shortening with an equal amount of butter or margarine. Keep in mind that butter will make the cake slightly more dense and give it a richer taste.
- All-purpose flour: Cake flour can be used for a lighter texture – use 3 cups plus 6 tablespoons of cake flour. For a gluten-free version, try a 1:1 gluten-free flour blend, but the texture might be slightly different.
- Milk: Any milk alternative works well here – almond, soy, or oat milk can be substituted in equal amounts. Buttermilk is also great and will give a slight tang to the cake.
- Whipped cream topping: Make your own by whipping 2 cups of heavy cream with ¼ cup sugar, or use coconut whipped cream for a dairy-free option. Just make sure to chill the coconut cream overnight first.
- Strawberries: When strawberries aren’t in season, try other berries like raspberries or mixed berries. If using frozen berries, thaw and drain them well to prevent excess liquid.
Watch Out for These Mistakes While Baking
The biggest mistake when making strawberry shortcake is overworking the dough – mix just until the ingredients are combined, as overmixing will lead to tough, dense shortcakes instead of light and fluffy ones.
Temperature control is crucial – make sure your ingredients (especially eggs and milk) are at room temperature before starting, and avoid opening the oven door while baking as this can cause uneven rising.
When it comes to the strawberries, a common error is not letting them macerate with sugar for at least 30 minutes before serving – this step draws out their natural juices and creates that perfect sweet syrup that makes shortcake so delicious.
For the whipped cream, avoid overbeating it (stop when soft peaks form) and make sure it’s well-chilled before whipping – warm cream won’t hold its shape and can turn grainy if beaten too long.
What to Serve With Strawberry Shortcake?
This sweet and creamy dessert is perfect on its own, but there are some fun ways to make it even more special! A scoop of vanilla ice cream on the side adds an extra layer of cool, creamy goodness that works so well with the fresh strawberries and cake. I love serving this dessert with a hot cup of coffee or tea to balance out the sweetness – try a dark roast coffee or Earl Grey tea for the best pairing. For brunch gatherings, you can’t go wrong with adding a glass of champagne or making it part of a dessert board with some chocolate-covered strawberries and fresh mint leaves for garnish.
Storage Instructions
Keep Components Separate: For the best results, store the shortcake, whipped cream, and strawberries separately. The baked shortcake layers will stay fresh in an airtight container at room temperature for 2 days. The sliced strawberries can go in a covered container in the fridge for up to 3 days, and whipped cream should be kept refrigerated and used within 2 days.
Freeze: The plain shortcake layers freeze really well! Wrap them tightly in plastic wrap, then aluminum foil, and pop them in the freezer for up to 3 months. I don’t recommend freezing assembled shortcakes since the texture of the strawberries and cream won’t be the same after thawing.
Assemble Fresh: For the yummiest results, put your shortcake together just before serving. If you have leftovers already assembled, they’ll keep in the fridge for about a day, but the cake might get a bit soggy from the strawberry juice and cream.
| Preparation Time | 30-45 minutes |
| Cooking Time | 20-25 minutes |
| Total Time | 50-70 minutes |
| Level of Difficulty | Medium |
Estimated Nutrition
Estimated nutrition for the whole recipe (without optional ingredients):
- Calories: 4000-4500
- Protein: 40-50 g
- Fat: 200-220 g
- Carbohydrates: 600-650 g
Ingredients
For the cake:
- 1 cup milk
- 3 cups all-purpose flour
- 1/2 cup shortening
- 4 tsp baking powder
- 1/2 tsp salt
- 2 large eggs (room temperature for best emulsification)
- 2 1/2 tsp vanilla extract (I use Nielsen-Massey for rich flavor)
- 1 1/3 cups sugar
For the topping:
- 3 qt strawberries (fresh, sliced)
- 16 oz whipped cream topping
- 1/4 cup sugar
Step 1: Prepare the Baking Pan and Dry Ingredients
- 3 cups all-purpose flour
- 4 tsp baking powder
- 1/2 tsp salt
Preheat your oven to 350°F (175°C).
Line a 9 x 11-inch baking pan with foil or parchment paper, then grease it lightly.
In a separate medium or large bowl, whisk together the dry ingredients: all-purpose flour, baking powder, and salt.
Set both the pan and mixed dry ingredients aside for later use.
Step 2: Cream the Wet Ingredients
- 1/2 cup shortening
- 1 1/3 cups granulated sugar
- 2 large eggs
- 2 1/2 tsp vanilla extract
In a bowl fitted with a mixer, cream together the shortening and granulated sugar until the mixture is light and fluffy.
Add the eggs one at a time, beating well after each addition, then mix in the vanilla extract until fully incorporated.
Step 3: Combine Wet and Dry Ingredients
- dry ingredients from Step 1
- creamed mixture from Step 2
- 1 cup milk
With the mixer on low speed, alternately add the whisked dry ingredients (from Step 1) and the milk to the creamed mixture (from Step 2), beginning and ending with the dry ingredients.
Mix until everything is just combined, being careful not to overmix the batter.
Personally, I like to scrape down the bowl once or twice during this process to ensure an even blend.
Step 4: Bake the Cake
- batter from Step 3
Pour the batter evenly into the prepared and greased baking pan.
Bake in the preheated oven for 20-25 minutes, or until a toothpick inserted into the center comes out clean.
Once done, remove from the oven and let the cake cool completely on a wire rack in the pan.
Step 5: Cool and Slice the Cake
Once the cake has cooled fully, carefully remove it from the pan.
Cut the cake into 9 or 12 evenly sized pieces, depending on your preference.
Then, slice each piece in half horizontally to create a top and bottom layer for each portion.
Step 6: Assemble and Serve the Cake
For each sliced cake portion, spread whipped cream on the bottom half and spoon strawberries over the top.
Place the top cake layer back on, then finish with more whipped cream and strawberries on each piece before serving.
I like to chill the assembled cakes for a bit before serving—this makes them even more refreshing!
