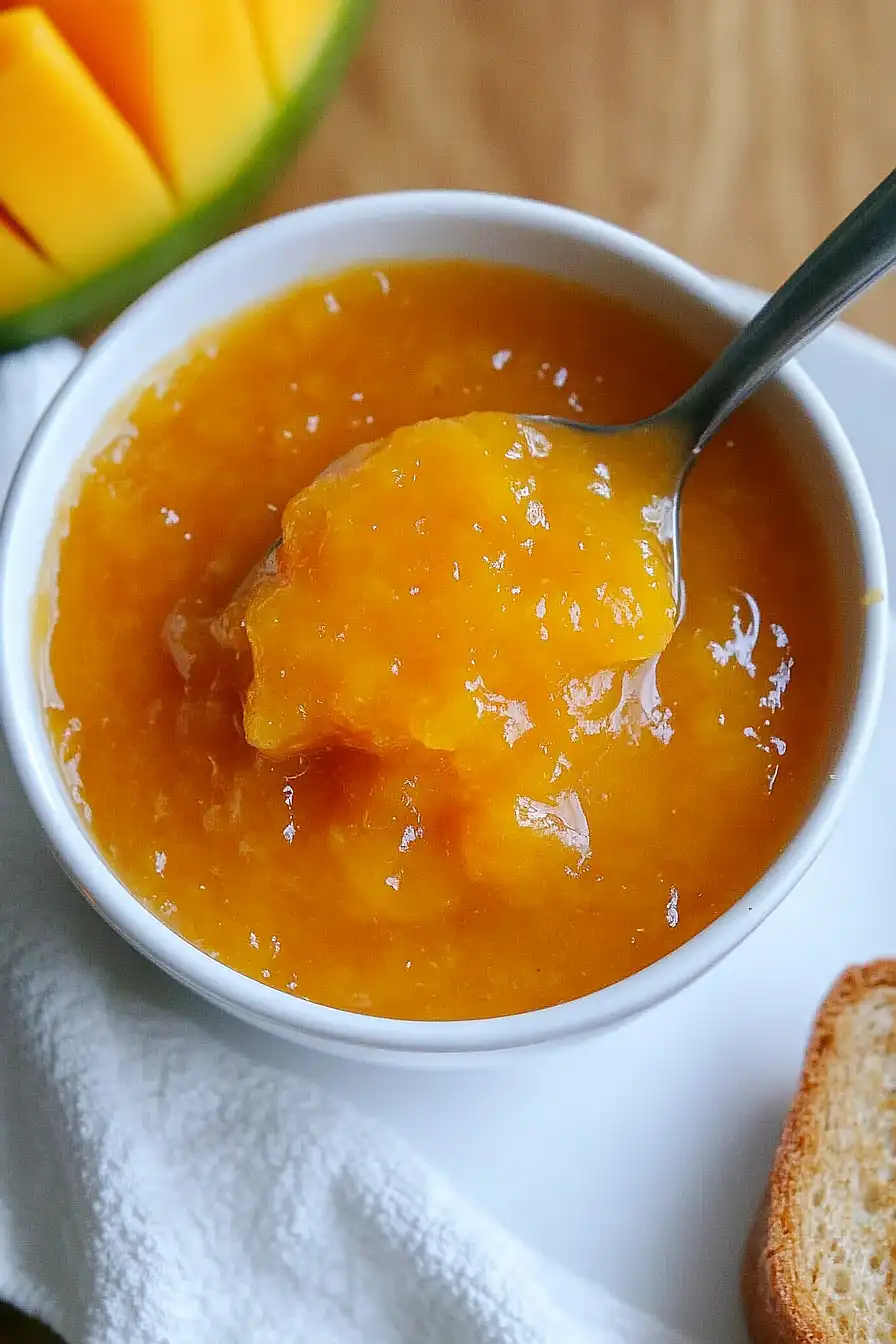
I never realized how easy it was to make mango jam until last summer when I had way too many ripe mangoes sitting on my counter. Growing up, my mom always bought jam from the store – I guess she thought making it at home would be too complicated or time-consuming.
Turns out, homemade mango jam is actually pretty simple to make. You don’t need any fancy equipment or hard-to-find ingredients. Just some fresh mangoes, sugar, and a bit of lemon juice. The whole process takes about 30 minutes, and the result tastes so much better than anything you’ll find at the grocery store.
Why You’ll Love This Mango Jam
- Quick preparation – This jam comes together in just 30-45 minutes, making it much faster than traditional jam recipes that can take hours to prepare.
- Simple ingredients – You only need 4 basic ingredients to make this jam – mangoes, sugar, lime juice, and lime zest. No pectin or special ingredients required!
- Natural sweetness – Using fresh mangoes means you need less added sugar than store-bought jams, letting the fruit’s natural sweetness shine through.
- Homemade goodness – Making your own jam lets you control exactly what goes into it, with no preservatives or artificial ingredients needed.
What Kind of Mango Should I Use?
For making mango jam, you’ll want to choose mangoes that are perfectly ripe – they should give slightly when gently squeezed and have a sweet, fruity aroma at the stem. The most common varieties you’ll find in US grocery stores are Tommy Atkins, Ataulfo (also called honey mangoes), or Kent mangoes, and any of these will work great for jam. Ataulfo mangoes tend to be sweeter and less fibrous, which makes them particularly good for smooth, creamy jam. Just make sure to avoid mangoes that are too firm (they won’t be sweet enough) or too soft (they’re past their prime and might be starting to ferment). If your mangoes aren’t quite ripe when you buy them, you can speed up the process by placing them in a paper bag with a banana for a day or two.

Options for Substitutions
While this jam recipe is pretty simple, here are some helpful substitution tips if you need them:
- Mango: Fresh mango is best, but you can use frozen mango chunks in a pinch – just thaw and drain them well first. You could also try peaches or nectarines for a different but equally tasty jam.
- Granulated sugar: Regular white sugar works best, but you can try coconut sugar for a slightly different flavor. Just know that it might make your jam darker in color. Honey isn’t recommended as it can change the consistency too much.
- Lime juice and zest: Lemon juice and zest work perfectly fine as a substitute. The citrus adds necessary acidity, so don’t skip it entirely. If using bottled juice, use about 1½ tablespoons since it’s usually less potent than fresh.
Watch Out for These Mistakes While Cooking
The biggest challenge when making mango jam is getting the right consistency – using underripe mangoes will result in a jam that’s too tart and won’t break down properly, so make sure to choose mangoes that are ripe but still firm to the touch.
Temperature control is crucial – cooking the jam on too high heat can cause the sugars to burn and create a bitter taste, so keep it at a gentle simmer and stir frequently to prevent sticking to the bottom of the pan.
A common mistake is not testing for doneness correctly – place a small plate in the freezer before you start, then drop a small amount of jam on the cold plate and run your finger through it; if the line holds and the jam doesn’t run back together, it’s ready.
For the best flavor balance, don’t skip the lime juice and zest – they’re not just for taste, but also help with the natural pectin formation that gives your jam the perfect spreadable texture.
What to Serve With Mango Jam?
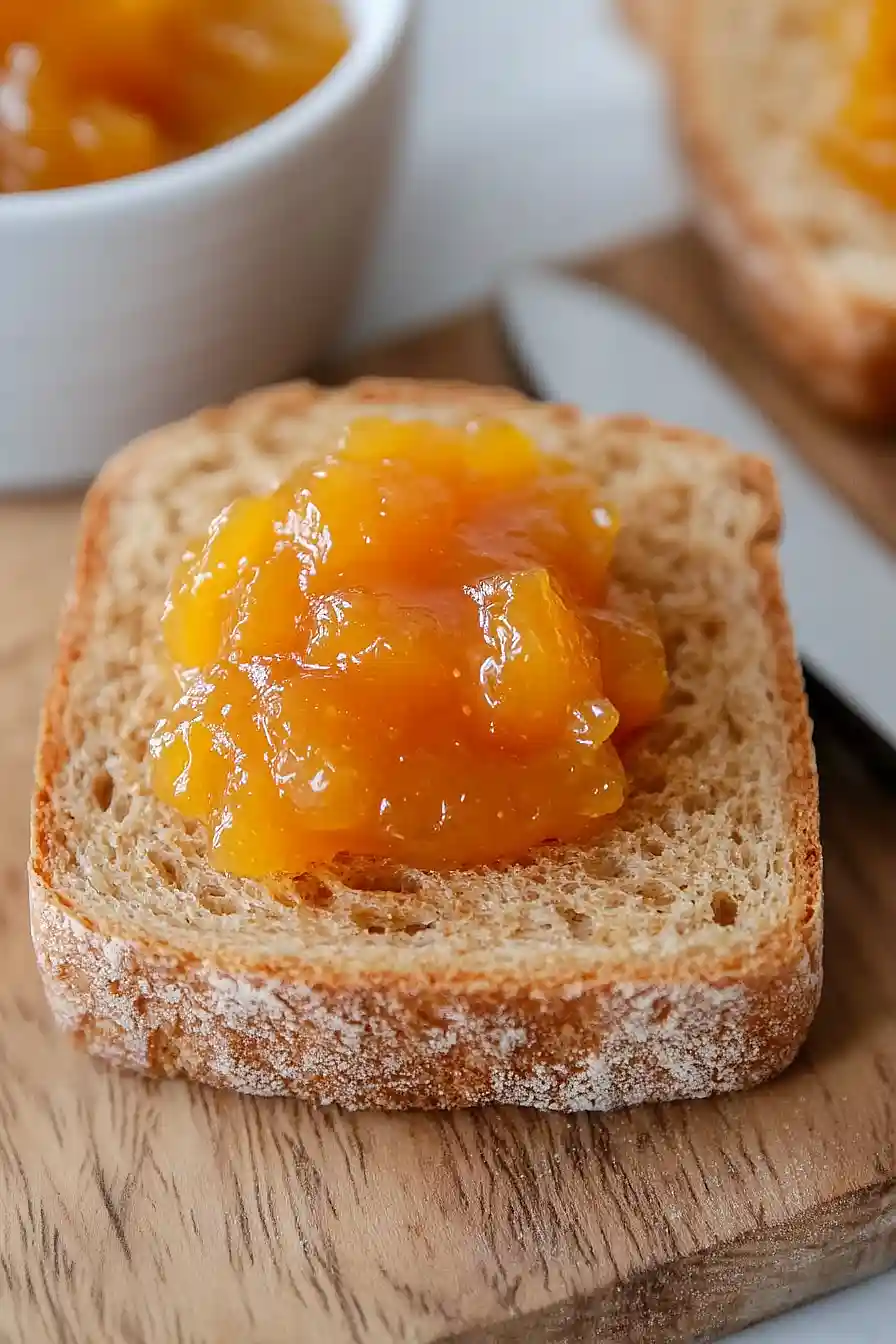
This sweet and tropical mango jam is super versatile and works great as a spread for your morning breakfast routine. Slather it on warm buttered toast, English muffins, or freshly baked scones for a bright start to your day. For a quick snack, try spreading it on crackers with cream cheese, or use it to jazz up plain yogurt and granola. You can even use this jam as a filling between vanilla cake layers or as a topping for cheesecake when you want to add a tropical twist to your desserts.
Storage Instructions
Keep Fresh: Your homemade mango jam will stay good in the fridge for up to 2 weeks when stored in a clean, airtight jar or container. Make sure to always use a clean spoon when scooping out the jam to prevent any contamination that could shorten its shelf life.
Can: If you want to keep your jam for longer, you can process it in sterilized jars using the water bath canning method. Properly canned mango jam will last up to 1 year when stored in a cool, dark place. Once opened, transfer to the fridge and use within 2 weeks.
Enjoy: This jam is perfect to spread on your morning toast, mix into yogurt, or use as a topping for pancakes. You can even warm it up slightly to use as a sauce for desserts – just pop it in the microwave for a few seconds!
| Preparation Time | 10-15 minutes |
| Cooking Time | 20-30 minutes |
| Total Time | 30-45 minutes |
| Level of Difficulty | Easy |
Estimated Nutrition
Estimated nutrition for the whole recipe (without optional ingredients):
- Calories: 600-700
- Protein: 2-4 g
- Fat: 0-1 g
- Carbohydrates: 150-160 g
Ingredients
- 2 cups chopped mango (fresh or frozen, thawed)
- zest from 1/2 lime (use a microplane for fine zest)
- 1 tbsp lime juice
- 1/2 cup granulated sugar
Step 1: Prepare and Cook the Ingredients
Begin by dicing the mango into relatively small pieces.
Place the diced mango and other ingredients (which you should have prepared beforehand) into a small saucepan.
Stir everything together thoroughly.
Bring the mixture to a boil, then reduce the heat to let it simmer.
Allow it to cook for 20-30 minutes until it thickens.
You can test the consistency by placing a small amount on a cold plate to see if it sets properly.
Step 2: Can and Store
If you plan to keep the mixture for an extended period, follow proper canning practices.
This involves sterilizing the jar and keeping it airtight to preserve the contents safely.
However, if you intend to use the mixture immediately, you can simply transfer it to a clean, but not necessarily sterile, jar or closed container.
Store it in the refrigerator, where it will keep for about a week.
Make sure to let the mixture cool down to room temperature before sealing the container.
