Growing up, my mom always made apple crisp the same way – with way too much cinnamon and not enough topping. I thought that’s just how it was supposed to be, until I started making it myself as an adult. Turns out, I had it all wrong.
The secret to a really good apple crisp isn’t drowning the apples in spices – it’s all about finding the right balance of sweet, tart apples and that perfectly buttery, crumbly topping. Once I figured that out, this simple dessert became a regular at our family dinners, especially during fall when the local orchards are bursting with fresh apples.
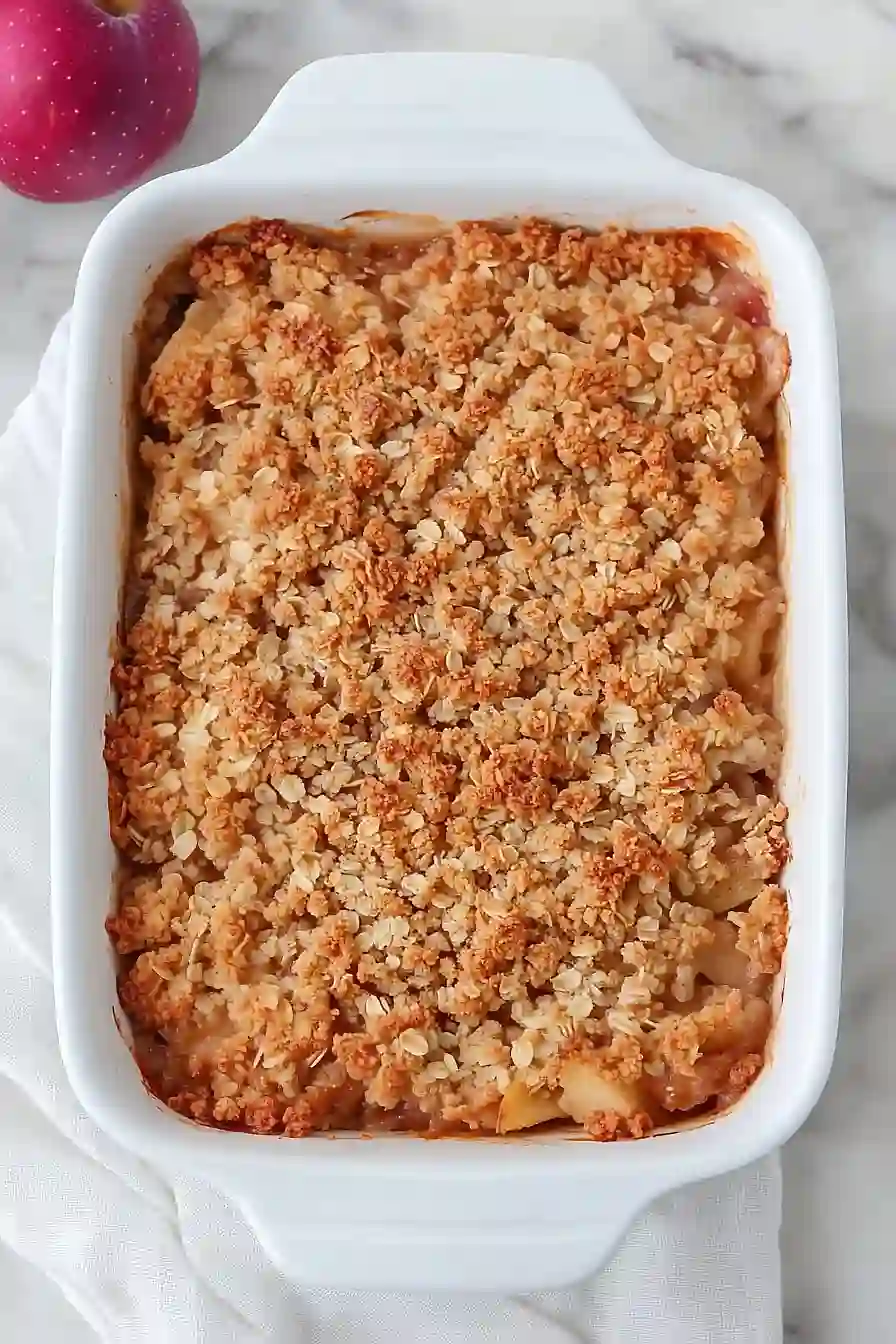
Why You’ll Love This Apple Crisp
- Simple ingredients – You probably have most of these pantry staples on hand already – just grab some fresh apples and you’re ready to bake!
- Easy preparation – No fancy techniques needed here – just chop, mix, and layer. It’s much simpler than making a traditional apple pie but just as satisfying.
- Cozy comfort dessert – The combination of warm, tender apples and crispy, buttery oat topping makes this the perfect dessert for chilly evenings or family gatherings.
- Flexible recipe – You can use any apple variety you like, adjust the sweetness to your taste, and even make it ahead of time – it reheats beautifully.
What Kind of Apples Should I Use?
While this recipe calls for Golden Delicious apples, you’ve got plenty of options that’ll work great in an apple crisp. Honeycrisp and Granny Smith are popular choices because they hold their shape well during baking and don’t turn mushy. If you like your crisp on the sweeter side, go for Fuji or Gala apples, but if you prefer a nice balance of sweet and tart, Pink Lady or Braeburn apples are your best bet. For the best results, try using a mix of two different apple varieties – like Granny Smith and Honeycrisp – to create more interesting flavors and textures in your dessert. Just make sure to pick apples that feel firm and heavy for their size, with no bruises or soft spots.
Options for Substitutions
This cozy apple crisp recipe is pretty adaptable – here’s what you can switch up:
- Apples: Golden apples can be swapped with Granny Smith for more tartness, or Honeycrisp, Fuji, or Gala for different levels of sweetness. Just avoid Red Delicious as they get too mushy when baked.
- Brown sugar: Out of brown sugar? Mix 1 cup white sugar with 1 tablespoon molasses. Coconut sugar works too, though it will give a slightly different flavor.
- Rolled oats: Quick oats work fine here – they’ll just give you a less chunky topping. Steel-cut oats aren’t recommended as they’ll stay too hard.
- Plain flour: For a gluten-free version, use almond flour or a 1:1 gluten-free flour blend. For a nutty twist, replace 1/4 cup of the flour with finely chopped nuts.
- Butter: You can use salted butter (just skip the extra salt), coconut oil, or even dairy-free butter alternatives. Just make sure whatever you use is cold when you mix it in.
- Lemon juice: Orange juice or apple cider vinegar can work instead – you just need something acidic to prevent the apples from browning.
Watch Out for These Mistakes While Baking
The success of your apple crisp largely depends on the apples – cutting them too thin will turn them into mush during baking, while pieces that are too thick won’t cook through properly, so aim for uniform 1/4-inch thick slices or 1-inch chunks. A common mistake is using warm or room-temperature butter for the topping, which creates a greasy rather than crispy texture – instead, make sure your butter is cold and cut into small pieces before mixing it into the dry ingredients. The third crucial error is overbaking the crisp until the topping burns – check it at the 35-minute mark and look for a golden-brown color on top and bubbling around the edges. For the perfect texture, let your apple crisp rest for 15-20 minutes after baking, as this allows the filling to thicken and the topping to become perfectly crispy.
What to Serve With Apple Crisp?
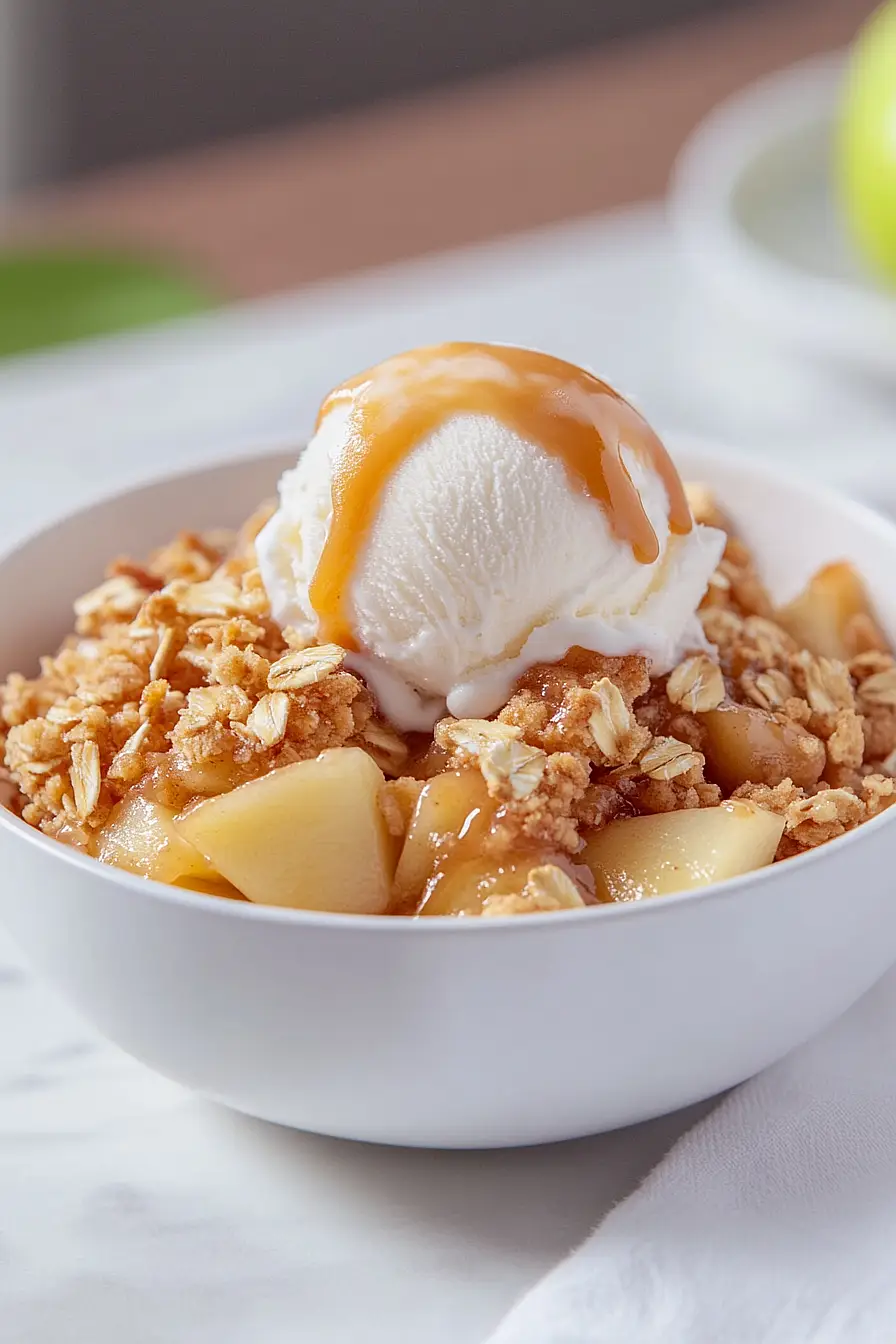
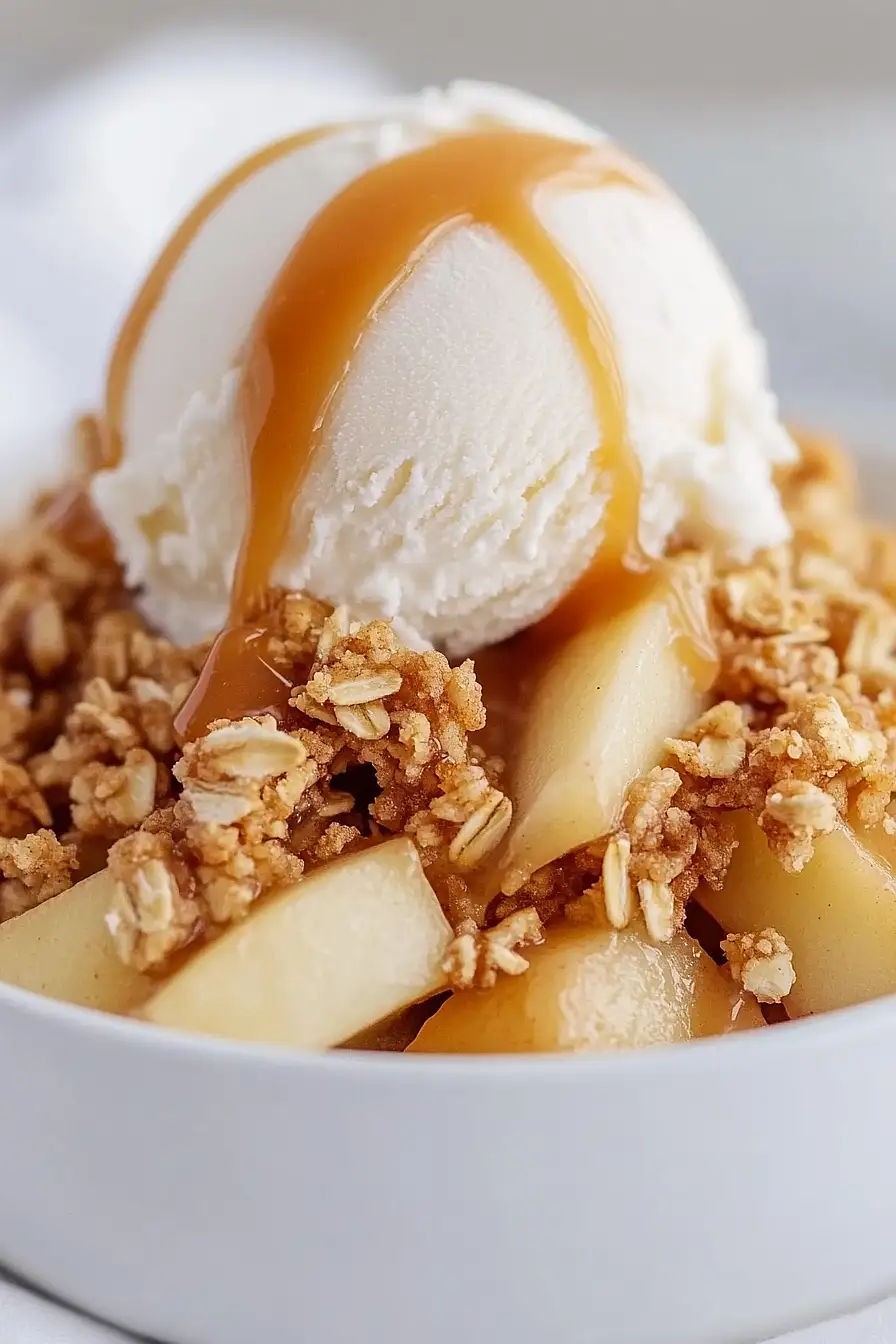
A warm bowl of apple crisp practically begs for a scoop of vanilla ice cream on top – the way it melts into all those sweet, cinnamon-spiced apples is just perfect! For a morning treat, you can serve it with a dollop of Greek yogurt and a drizzle of honey, which adds a nice tangy balance to the sweet apples and buttery topping. If you’re feeling extra indulgent, try adding a splash of warm caramel sauce or a swirl of whipped cream (or both – I won’t tell!). You can also pair it with a hot cup of coffee or spiced chai tea to make it feel even more cozy and special.
Storage Instructions
Keep Fresh: Once your apple crisp has cooled down, cover it tightly with plastic wrap or aluminum foil and pop it in the fridge. It’ll stay good for up to 5 days, though the topping might lose some of its crunch over time. The flavors actually get even better after a day as everything melds together!
Freeze: This dessert is perfect for freezing! Let it cool completely, then wrap it well in plastic wrap and aluminum foil. It can hang out in your freezer for up to 3 months. I like to make a double batch and freeze one for later – it’s such a time-saver when you need a quick dessert.
Warm Up: To bring back that fresh-baked taste, warm individual portions in the microwave for about 30-45 seconds. For the whole crisp, pop it in the oven at 350°F for about 15-20 minutes. Pro tip: add a fresh sprinkle of cinnamon before reheating to make it taste like it just came out of the oven!
| Preparation Time | 15-20 minutes |
| Cooking Time | 40-50 minutes |
| Total Time | 55-70 minutes |
| Level of Difficulty | Easy |
Estimated Nutrition
Estimated nutrition for the whole recipe (without optional ingredients):
- Calories: 1500-1700
- Protein: 15-20 g
- Fat: 80-90 g
- Carbohydrates: 200-220 g
Ingredients
For the filling:
- 3/4 tsp cinnamon
- 6 golden apples (peeled and chopped into 1-inch pieces)
- 1 1/2 tsp lemon juice (freshly squeezed for best flavor)
- 2 tbsp white sugar
For the topping:
- 1 pinch coarse salt
- 1/2 cup unsalted butter (cold and cut into small pieces)
- 3/4 cup rolled oats (old-fashioned work best for texture, I use Quaker)
- 1 cup brown sugar (packed well, dark brown sugar preferred for deeper flavor)
- 3/4 cup plain flour
- 1 tsp cinnamon
Step 1: Prepare the Baking Dish and Preheat the Oven
Start by preheating your oven to 350°F (175°C).
Butter an 8×8-inch baking dish, or alternatively, spray it with non-stick cooking spray.
Once prepared, set the dish aside while you work on the filling and topping.
Step 2: Make the Apple Filling
In a mixing bowl, combine the chopped apples with granulated sugar, 3/4 teaspoon of cinnamon, and lemon juice.
Stir the mixture well to ensure the apples are evenly coated with the sugar and cinnamon.
Then, transfer the apple mixture into the prepared baking dish, spreading it out evenly.
Step 3: Prepare the Topping
In a separate mixing bowl, add the topping ingredients: brown sugar, oats, flour, 1 teaspoon of cinnamon, salt, and diced cold butter.
Use a pastry cutter with a slight downward twisting motion to cut the butter into the oat mixture until it resembles pea-sized crumbs.
If you don’t have a pastry cutter, you can use two forks or your hands to achieve the same texture.
Be sure the butter is well incorporated into the dry ingredients.
Step 4: Assemble the Apple Crisp
Spread the prepared topping evenly over the apples in the baking dish.
Gently pat the topping to even it out, ensuring that the entire surface of the apple mixture is covered.
Step 5: Bake the Apple Crisp
Place the baking dish in the preheated oven and bake for 40-50 minutes, or until the topping is golden brown and the filling is bubbly around the edges.
This indicates that the apples are cooked through and the flavors have melded together beautifully.
Step 6: Serve and Enjoy
Once the apple crisp is done baking, let it cool for a short time before serving.
Enjoy it warm, and for an extra treat, top it with some vanilla bean ice cream or a dollop of whipped cream.
Savor the delicious combination of flavors and textures!