Finding a quick, satisfying lunch that actually fills you up can feel impossible when you’re juggling work deadlines, school pickups, and everything else life throws your way. You want something that tastes good, won’t leave you hungry an hour later, and doesn’t require standing over the stove for thirty minutes.
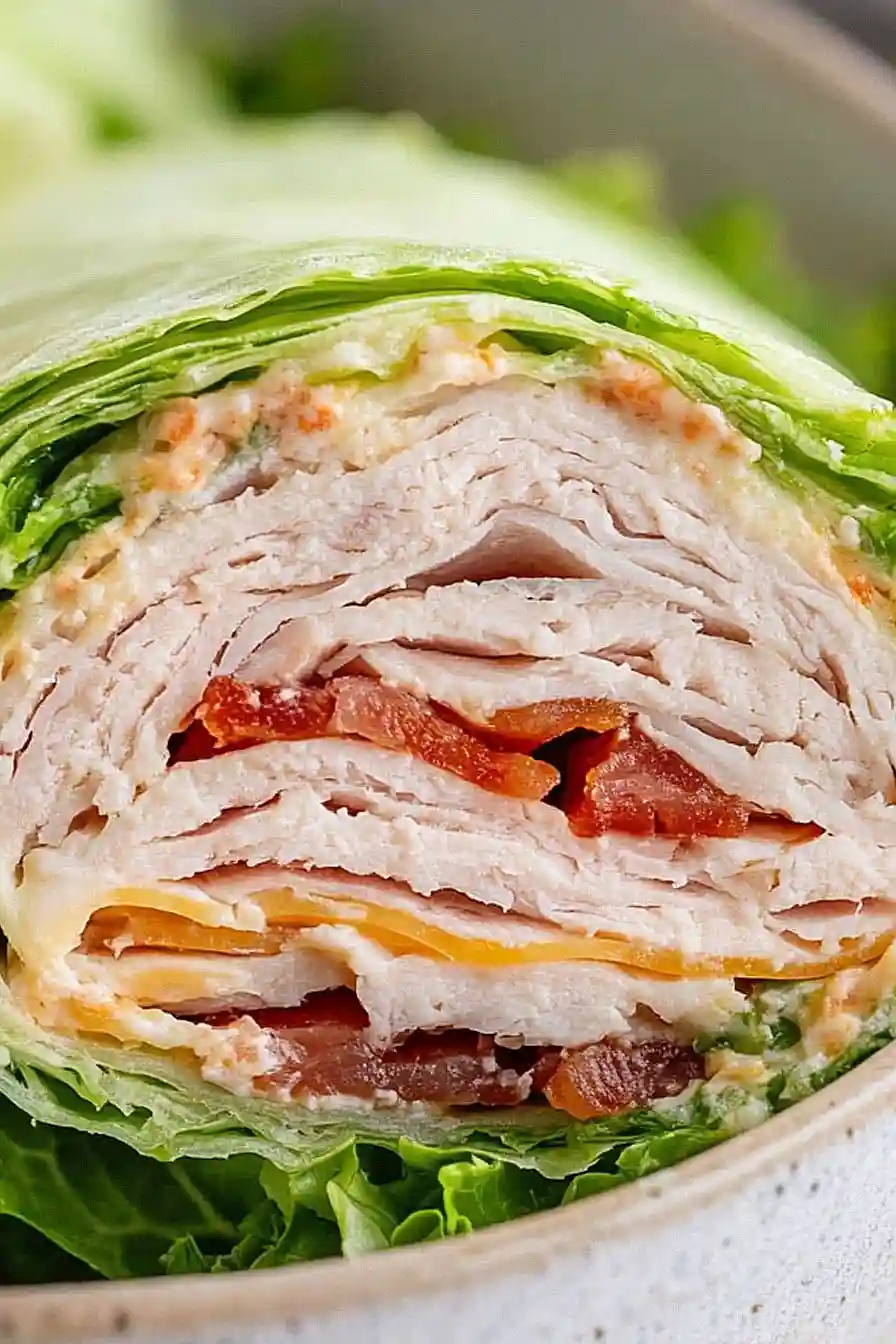
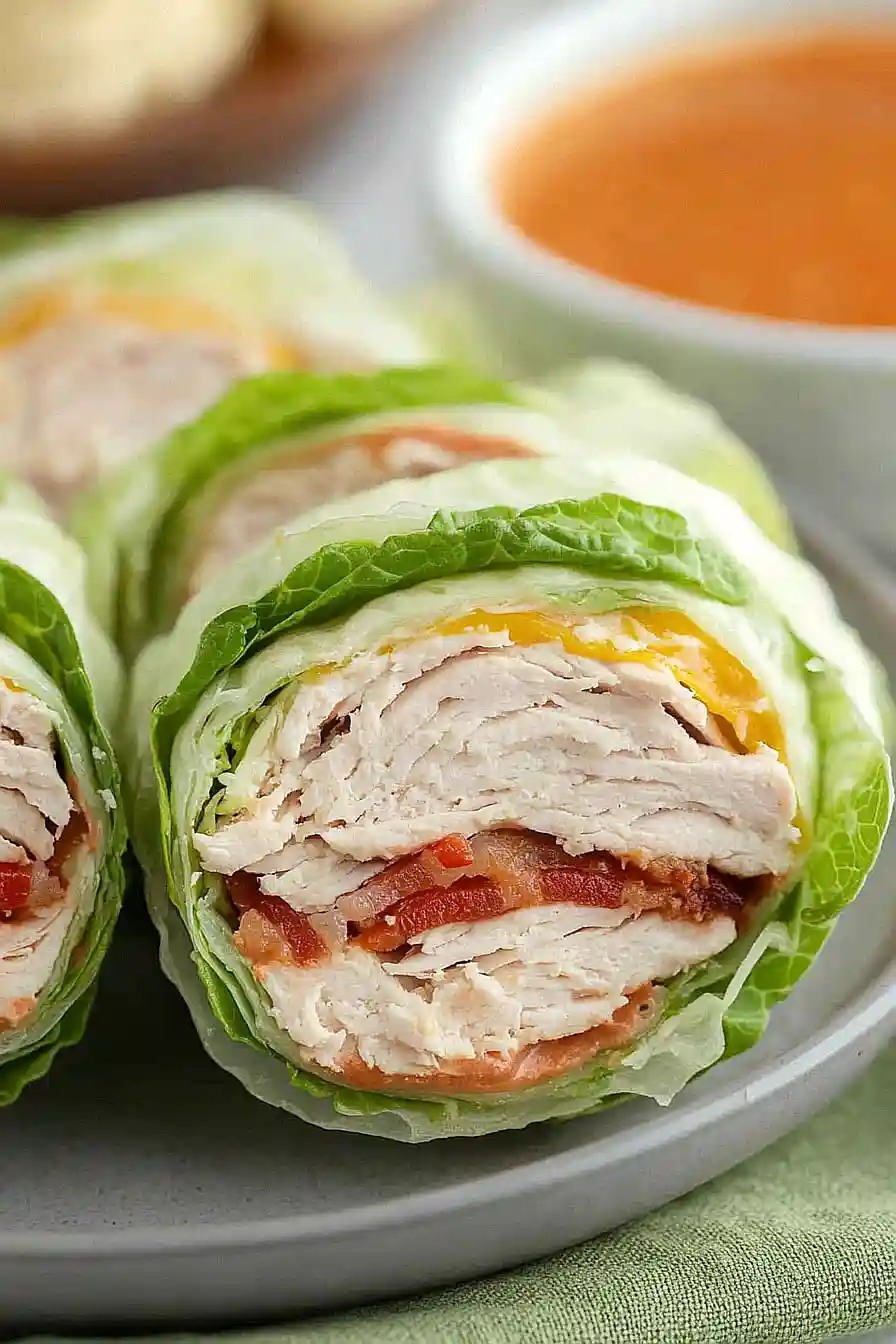
That’s where these turkey bacon cheese wraps come to the rescue: they’re packed with protein to keep you full, take just minutes to throw together, and work perfectly whether you’re eating at home or need something to grab and go.
Why You’ll Love These Turkey Bacon Cheese Wraps
- Quick and easy meal – Ready in just 15-25 minutes, these wraps are perfect when you need something satisfying without spending much time in the kitchen.
- Simple ingredients – You probably already have most of these basic ingredients on hand, making it a go-to option for busy weeknights or quick lunches.
- Customizable to your taste – Add or skip the mayo, mustard, lettuce, and tomato based on what you like, making it perfect for picky eaters or personal preferences.
- Protein-packed and filling – The combination of turkey and bacon gives you plenty of protein to keep you satisfied, while the cheese adds that creamy richness we all crave.
- Great for meal prep – Make several at once and wrap them up for grab-and-go lunches throughout the week.
What Kind of Turkey Should I Use?
For this wrap, you’ll want to grab some good quality deli turkey from the meat counter or pre-packaged section. Oven-roasted turkey tends to have the best flavor and texture, but honey roasted or smoked varieties work great too if you want a little extra taste. Try to avoid the really thin, processed turkey slices since they can get a bit slimy and don’t hold up well in wraps. Look for turkey that’s sliced medium-thick – it should have some substance to it but still be easy to bite through. If you’re buying from the deli counter, ask them to slice it fresh at about a 3 or 4 setting, which gives you that perfect thickness for wrapping.
Options for Substitutions
This wrap is super easy to customize based on what you have in your fridge:
- Deli turkey: Feel free to swap turkey for ham, roast beef, chicken, or even leftover rotisserie chicken. You can also use about 3 oz of any deli meat you prefer.
- Bacon: Turkey bacon, Canadian bacon, or even crispy prosciutto work great here. If you want to skip the pork altogether, try some roasted red peppers for that smoky flavor.
- Cheddar cheese: Swiss, provolone, pepper jack, or American cheese all melt nicely in wraps. You can also use shredded cheese instead of sliced.
- Large tortilla: Flour tortillas work best for wrapping, but you can use whole wheat, spinach, or tomato tortillas. In a pinch, you can make this as a sandwich with regular bread instead.
- Mayonnaise and mustard: Try ranch dressing, honey mustard, avocado spread, or even cream cheese as your base. You can also skip the spread entirely if you prefer.
- Lettuce and tomato: Spinach, arugula, cucumber slices, or bell pepper strips add nice crunch. Really, any fresh veggies you have on hand will work.
Watch Out for These Mistakes While Cooking
The biggest mistake when making turkey bacon cheese wraps is using wet ingredients like tomatoes or lettuce without properly drying them first, which can make your wrap soggy and cause it to fall apart when you try to eat it.
Another common error is overloading the wrap with too many fillings – stick to a thin layer of each ingredient and keep everything centered to avoid tearing the tortilla when you roll it up.
Make sure your bacon is completely crispy and cooled before adding it to the wrap, as warm bacon can wilt the lettuce and make the cheese too melty, creating a messy eating experience.
For the cleanest wrap, spread any condiments like mayo or mustard in a thin, even layer right to the edges, then roll tightly from one end while tucking in the sides as you go.

What to Serve With Turkey Bacon Cheese Wraps?
These wraps are pretty filling on their own, but they pair perfectly with some crispy potato chips or baked sweet potato fries on the side. A simple side salad with ranch or vinaigrette dressing makes a nice fresh contrast to the savory wrap, especially if you want to add more veggies to your meal. For something lighter, try serving them with pickle spears, fresh fruit like apple slices or grapes, or even some crunchy raw veggies with hummus. If you’re feeding a crowd, cut the wraps in half and serve them as part of a lunch spread with different chips and dips.
Storage Instructions
Refrigerate: These wraps are best enjoyed fresh, but you can wrap them tightly in plastic wrap or foil and keep them in the fridge for up to 2 days. Just know that the tortilla might get a bit soggy from the tomatoes and mayo, so I’d recommend keeping those ingredients separate if you’re planning to store them.
Make Ahead: If you want to prep these for lunch during the week, I suggest assembling everything except the tomatoes and any wet condiments. Wrap them up and add the fresh stuff right before eating. You can also cook the bacon ahead of time and store it in the fridge for up to a week.
Pack: For on-the-go meals, wrap your turkey bacon cheese wrap in parchment paper or foil to keep everything together. If you’re packing it in a lunch box, throw in an ice pack to keep the turkey and cheese nice and cold until you’re ready to eat.
| Preparation Time | 10-15 minutes |
| Cooking Time | 5-10 minutes |
| Total Time | 15-25 minutes |
| Level of Difficulty | Easy |
Estimated Nutrition
Estimated nutrition for the whole recipe (without optional ingredients):
- Calories: 500-550
- Protein: 35-40 g
- Fat: 30-35 g
- Carbohydrates: 40-45 g
Ingredients
- lettuce leaves, as desired (use crisp varieties like romaine or iceberg)
- 1 large flour tortilla (I use Mission Burrito Size)
- 2 tomato slices, as desired
- mustard, as desired
- mayonnaise, as desired (I prefer Hellmann’s Mayonnaise)
- 2 oz sliced turkey breast
- 1 slice cheddar cheese
- 2 pieces bacon, cooked crisp (drain excess fat for best results)
Step 1: Cook the Bacon
- 2 pieces bacon, cooked crisp
Arrange the bacon slices on a microwave-safe plate lined with a paper towel.
Microwave them on high until they are crispy, about 2-3 minutes depending on your microwave.
Carefully transfer the bacon to a fresh paper towel to drain and let cool slightly.
I like to microwave bacon because it’s quick, easy, and results in less mess than using a skillet.
Step 2: Prepare the Tortilla
- 1 large flour tortilla
- mayonnaise, as desired (optional)
- mustard, as desired (optional)
Place the large flour tortilla flat on a clean surface.
Spread a thin layer of mayonnaise evenly over the top.
If you like extra tang, you can also add a small amount of mustard at this stage.
Adjust the quantity of mayo and mustard to taste.
Step 3: Assemble the Wrap
- lettuce leaves (optional)
- 2 tomato slices (optional)
- 2 pieces bacon, cooked crisp (from Step 1)
- 2 oz sliced turkey breast
- 1 slice cheddar cheese
In the center of the tortilla, layer the lettuce leaves if using, then add the tomato slices on top.
Place the crispy bacon from Step 1, followed by the sliced turkey breast and cheddar cheese.
If you haven’t added mustard yet, drizzle a little over the ingredients now.
Step 4: Fold and Slice the Wrap
Fold the sides of the tortilla in toward the center, then tightly roll it up burrito-style to enclose the fillings.
Using a sharp knife, slice the wrap in half on a diagonal.
I find that slicing at a slight angle makes for a more attractive presentation and easier handling.
Step 5: Store or Serve
Serve the wrap immediately or place it in a lunch container.
If packing for later, keep any sides like fruit and veggies separate.
Refrigerate the wrap until you’re ready to put it in a lunch bag, adding an ice pack if necessary to keep everything fresh.
